
To level laminate floors before installing a balcony, use a self-leveling underlayment first and skim high spots only after measuring with a 6–10 ft straightedge. This is the fastest, most reliable method to eliminate floor lippage and keep balcony transitions smooth for clicks-lock laminate. If you’re dealing with more than minor dips or major deflection, you’ll need subfloor repair before you pour.




Leveling laminate floors before a balcony install is mostly about making the subfloor flat to your laminate manufacturer’s tolerance—not just “level to the eye.” When you correct high spots and fill dips (using patching/skim or a self-leveling underlayment where appropriate), your floating laminate locks more reliably and you reduce chances of gapping, clicking, and premature wear around the balcony threshold.
In most balcony builds (or balcony doorway cut-ins), the slab or joists often aren’t perfectly even, so the floor system fights you if you skip true flatness checks. This guidance is for that reality: you’ll verify flatness, handle moisture and waterproofing requirements, choose the correct leveling method for the substrate type, and then plan the balcony threshold so expansion gaps and drainage/waterproofing continuity aren’t accidentally blocked.
If you’re planning a balcony build (or finishing around a balcony doorway/threshold) and you’re about to install laminate nearby, this is for you. It helps when the slab/joists aren’t perfectly even and you need a stable, flat base that won’t fight your flooring system.
Subfloor checks before you level
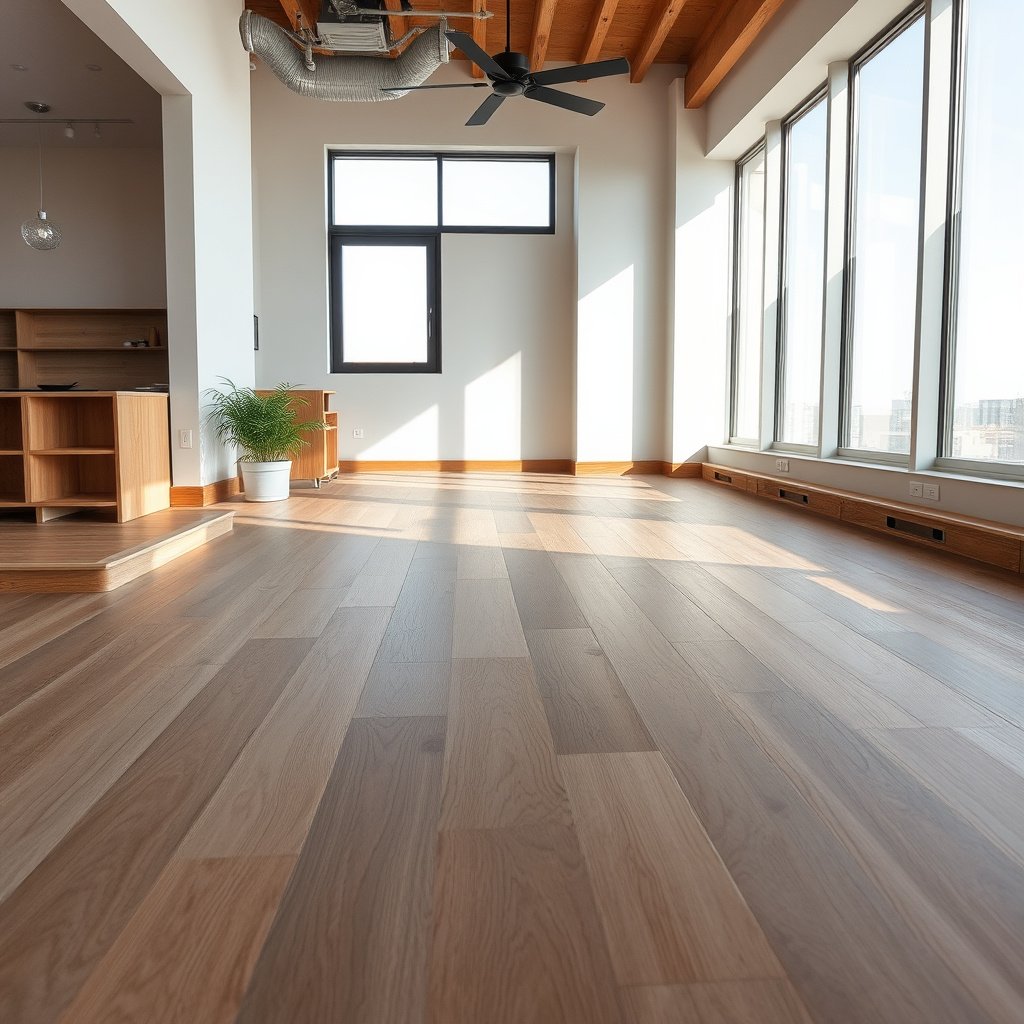
Before you level anything, you need to confirm the balcony’s water management requirements and verify that the subfloor is dry, sound, and measurable. This is the difference between “fixing flatness” and “fixing the right problem” on a surface that may be exposed to moisture-driven movement, especially at thresholds.
ASTM E1155 focuses on determining floor flatness using measurement methods designed to quantify deviations—so you can correct the substrate, not guess. ASTM E1155
Moisture testing standards such as ASTM F2170 (RH probe) and ASTM F1869 (calcium chloride) exist because installing floor coverings over wet concrete can cause lock-joint and adhesive failures. ASTM F2170; ASTM F1869
On balconies, “making it perfectly level” can conflict with engineered drainage/slope; waterproofing systems often depend on maintaining a designed flow path.
Confirm the balcony area’s drainage/waterproofing requirements first
A balcony is not just “another room.” Many balcony assemblies require a designed fall/slope so water runoff reaches drains and doesn’t pond at the doorway or threshold. If you flatten everything without checking the waterproofing design, you can redirect water into places your laminate assembly can’t tolerate.
From my practical experience on multi-trade remodels, I’ve seen the biggest threshold failures happen not because leveling was “bad,” but because waterproofing continuity was compromised during floor prep—so the subfloor can stay dry while the surrounding system stays wrong. As of 2026, that still shows up frequently because balcony details vary dramatically by region and membrane type.
Measure flatness using a straightedge and map it
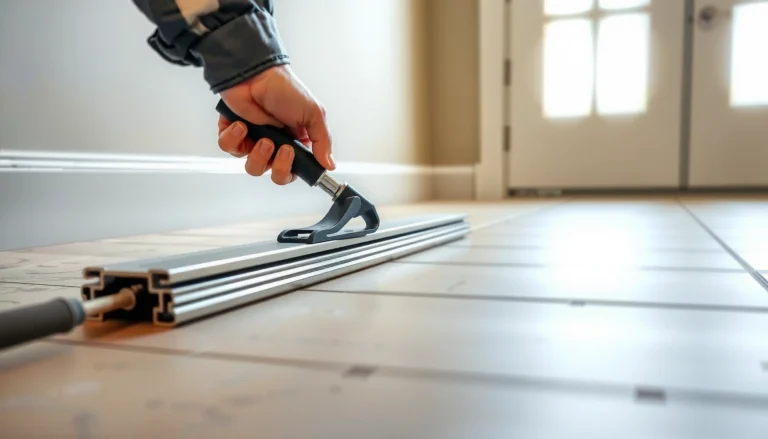
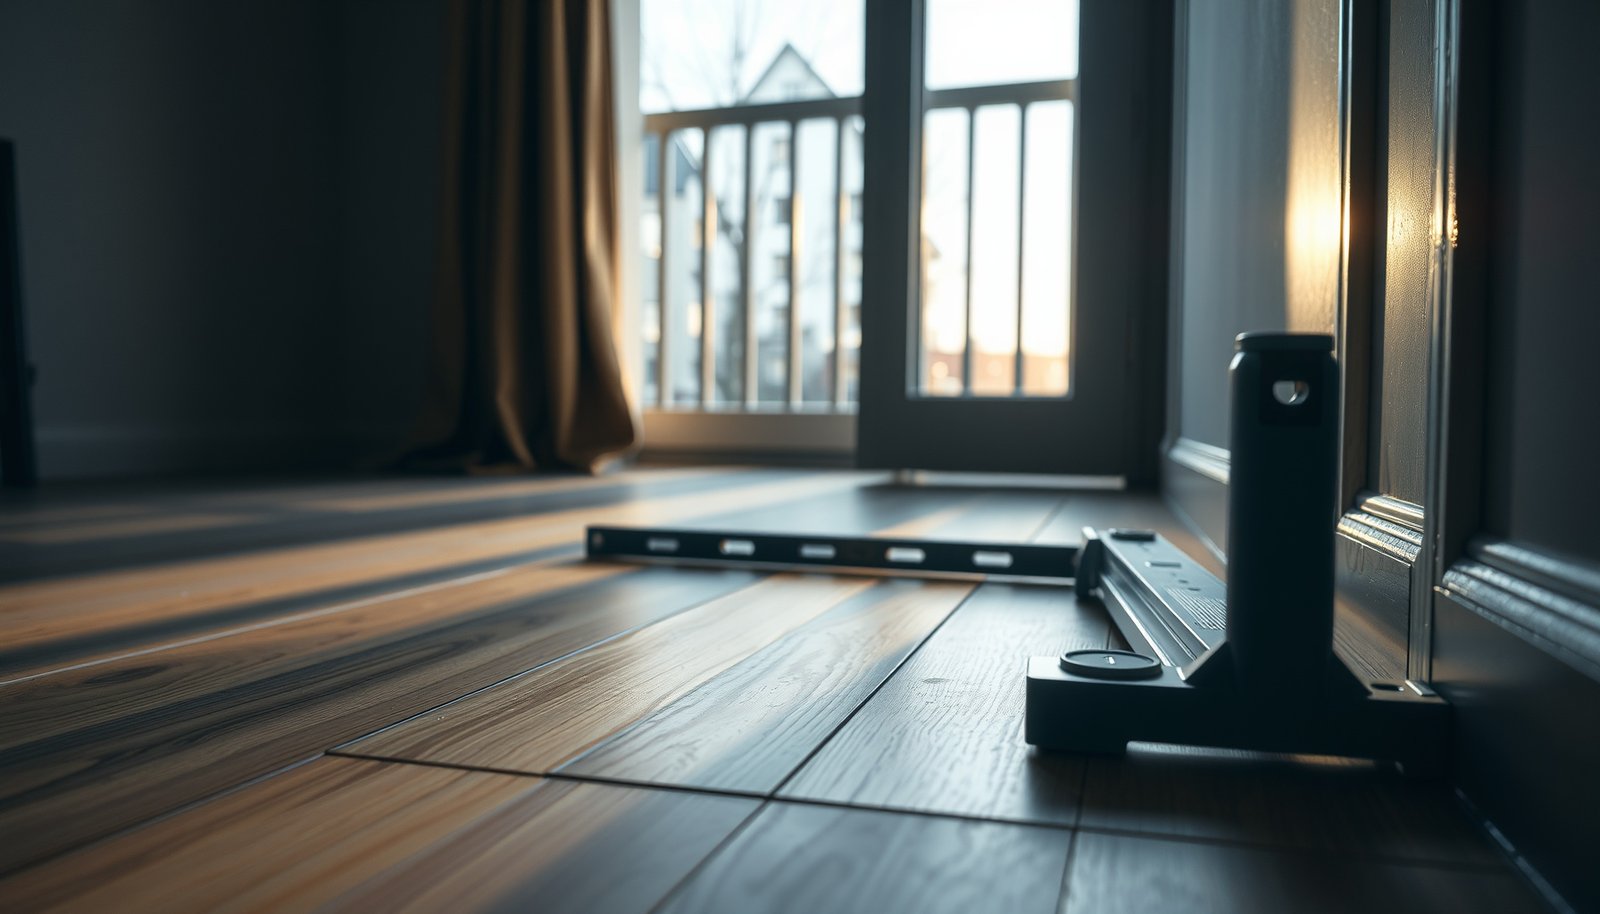
Next, measure the actual flatness (high spots and dips) across the laminate footprint you plan to install. Use a straightedge/level and create a simple map you can reference during repair. Flatness mapping is what prevents over-correcting or chasing the wrong defect.
A workable approach is:
– Run straightedge passes in multiple directions (especially toward the balcony doorway and any change in construction).
– Mark extremes (your highest peaks and deepest valleys).
– Decide whether you correct via localized patching/skim, or via a broader self-leveling underlayment.
Inspect for moisture and damage before leveling
Laminate systems require a stable substrate with moisture under control. Inspect for:
– Soft spots or crumbling areas
– Cracks that may be active
– Loose fasteners (on wood subfloors)
– Failed patches/repairs
– Any signs of ongoing leaks at balcony edges, penetrations, or transitions
If moisture is ongoing, fix it first. Leveling compounds do not “solve” water intrusion—at best they can delay symptoms, and at worst they trap moisture under the laminate layer.
Pick the right leveling approach for laminate
The best leveling method depends on what the substrate is (concrete vs. wood/joists) and how the flatness defects are distributed (small high spots vs. broad dips). For laminate, the goal is always the same: reach the manufacturer’s flatness tolerance before installation.
Self-leveling underlayments are intended for correcting broad slab irregularities, but they must stay within product limits for maximum pour thickness and feather-edge behavior.
On wood joist systems, laminate failures often come from movement (“bounce”), so the leveling strategy must address subfloor deflection and securement, not only surface geometry.
Concrete slab: patch/skim for small issues; self-level for larger areas
If you have localized peaks or minor surface irregularities, patching/skim coating is usually the most controlled route. For larger, widespread dips, a self-leveling underlayment can create a more uniform plane—assuming you follow:
– the datasheet’s maximum pour thickness
– the feathering limits (how thin the compound can be at edges)
– the priming requirements for adhesion
A key principle: self-levelers improve flatness, but they don’t “ignore” structural problems.
Wood subfloors/joists: repair movement, don’t disguise it
On wood subfloors, avoid treating bouncy floors like a leveling problem. Laminate is sensitive to joint stress; if the subfloor flexes, the laminate can “click” without fully locking.
Instead:
– Secure loose boards
– Replace damaged subfloor panels
– Use proper shimming/repair methods for uneven areas
– Reduce deflection where needed (based on your framing conditions and manufacturer guidance)
Underlayment isn’t a leveling solution
Underlayment is typically for moisture protection, sound control, or comfort—not to correct meaningful dips. If you use underlayment to “fix” a subfloor that’s outside tolerance, you’re increasing the chance that the laminate floats in a stressed way and fails early.
Quick comparison: what to use when (pros/cons)
| Method | Pros | Cons / Watch-outs |
|---|---|---|
| Patch + skim coating | Controlled thickness; good for high spots or localized valleys | Not ideal for broad unevenness; may require multiple feathering passes |
| Self-leveling underlayment | Creates a consistent plane over larger areas | Sensitive to priming, edge control, and pour-thickness limits—overreach can crack |
| Subfloor repair (wood) | Reduces movement that stresses laminate locking joints | Can be more invasive; requires attention to structural fastening and panel integrity |
Seven Spec-Critical Checks When Leveling Laminate Near Balcony Thresholds
| # | Check | Primary purpose | Main standard / source type | Warranty impact risk |
|---|---|---|---|---|
| 1 | Flatness mapping with straightedge | Find high/low areas to match tolerance | ASTM E1155 (method) | ★★★★★ |
| 2 | Moisture testing on concrete | Verify slab dryness before leveling | ASTM F2170 or ASTM F1869 | ★★★★★ |
| 3 | Primer/edge control for self-levelers | Prevent debonding and pinholes | Self-leveler datasheet | ★★★★☆ |
| 4 | Wood subfloor fastening and deflection check | Reduce bounce that stresses joints | Laminate installation instructions | ★★★★☆ |
| 5 | Balcony drainage/slope requirement review | Avoid ponding and trapped moisture | Local balcony code / waterproofing spec | ★★★★☆ |
| 6 | Surface prep (grind/remove ridges, vacuum) | Enable bonding and reduce voids | Self-leveler + primer instructions | ★★★☆☆ |
| 7 | Cure/dry time confirmation before laminate | Avoid swelling and lock-joint stress | Leveler datasheet + laminate manual | ★★★★☆ |
Prep work that prevents future squeaks, hollow spots, and failures
Good prep work is what makes leveling “stay flat” after it cures. If you leave debris, loose layers, or tall adhesive ridges, even the best self-leveler can bond poorly and you’ll feel it later as hollow sounds or movement.
Most floor patching and self-leveling systems require clean, sound substrates; dust and bond-breakers can undermine adhesion even when the surface looks intact.
Priming is usually not optional on concrete—primers are engineered to improve bond and reduce rapid moisture loss from the leveling compound.
Remove anything that interferes
Before you level:
– Remove old adhesive ridges and high buildup (grind/sand if needed)
– Pull or drive down nails/screws that protrude
– Remove debris and loose patches
– Flatten ridges so the leveling compound doesn’t bridge or thin out unpredictably
On balconies, this step matters even more near the threshold because compounds often flow into seams and can “telegraph” existing defects.
Clean thoroughly
Vacuum thoroughly and then visually (and by touch) confirm dust is gone. If your primed surface holds fine dust, adhesion performance tends to drop. In my experience managing install sequencing, this is one of the easiest causes of rework because it’s silent—until the compound cures and you detect hollow areas when you walk the surface.
Prime and dam edges where required
If you’re using a self-leveler, follow the product instructions for:
– which surfaces require primer
– how long primer must dry before pouring
– how to contain liquid at edges and cracks (dam/edge sealing)
This is also where balcony-specific detailing shows up: you need to prevent leveling compound from migrating into places that should remain part of the waterproofing system.
Step-by-step: leveling the floor for a balcony install
A reliable leveling workflow is measured, staged, and checked again after cure. This section walks through the sequence that keeps balcony thresholds from becoming the weak point of your laminate assembly.
Measure, correct high spots first where appropriate, and re-check flatness after cure—this reduces the chance you’re installing laminate over a remaining peak outside tolerance. ASTM E1155
Self-leveling pours must be mixed and installed within the product’s stated working time, otherwise you risk poor flow, surface defects, or incomplete leveling.
Laminate installation manuals typically require acclimation and expansion space, so your leveling plan must preserve those mechanics at balcony thresholds.
Set your target height at the balcony threshold before you pour
Decide how the layered build-up meets the doorway/threshold:
– subfloor + underlayment thickness
– laminate thickness
– transition trim height
– expansion gap allowance
If you target height too late, you can end up with a transition detail that pinches the floating floor or interrupts the balcony waterproofing continuity.
Mark the high/low map and correct the right defects
Use the high/low map you created earlier. In general:
– On wood subfloors, stabilize movement first; then address surface irregularities.
– For self-leveling on concrete, only pour where you need correction; follow pour thickness and feathering limits.
Mix/pour according to the datasheet
Work to the compound’s instructions:
– correct water ratio and mixing time
– spread/pour within the working time
– monitor as it levels
– allow cure/dry time as directed
Don’t rush cure—balconies often have temperature swings (sun exposure, wind, open air), which can slow drying compared with interior-only rooms.
Re-check flatness after cure
Once cured, re-check flatness with your straightedge. If you find remaining high points, address them with sanding or localized patching—then remove any dust before installing laminate.
Drying, acclimation, and the balcony threshold transition
Drying and transition detailing are what prevent laminate from “moving wrong” after installation. If you treat the threshold like a normal doorway without expansion planning and moisture continuity, the balcony area becomes the first place you’ll see problems.
Concrete moisture and leveling compound cure/drying requirements must be followed from the product datasheet to avoid swelling and post-install dimensional changes.
Laminate flooring requires acclimation and expansion gaps because it is a floating system that expands/contracts with indoor humidity and temperature.
Use exact cure/drying times from product instructions
Before walking on the compound, installing underlayment, or sealing edges, use:
– the stated time to light traffic
– the stated time to cover (if different)
– the stated dry/cure time required before flooring installation
As of 2026, manufacturers are increasingly explicit about these “cover times,” especially for self-levelers and patch compounds.
Acclimate your laminate
Follow your laminate manufacturer’s acclimation guidance for temperature and humidity conditions. This prevents early joint opening (gaps) or stress at locks.
Detail the balcony transition correctly
At the balcony doorway/threshold:
– maintain required expansion gaps around perimeter and door openings
– don’t trap laminate tight under thresholds/trims that restrict movement
– coordinate with the next layer of balcony work (waterproofing/membrane, sealant, or drainage details) so you don’t create a moisture pathway
A common failure mode is installing interior laminate too “cleanly” to the threshold while the balcony waterproofing relies on a layered detail that expects a different interface height or sealant location.
What can go wrong (and when to skip DIY)
The biggest risks come from ignoring balcony drainage requirements, underestimating moisture, and exceeding leveling product limits. If any of those are likely, you should pause DIY and involve the right specialist(s).
– Ignoring balcony drainage/slope requirements: if the balcony design relies on a fall for runoff, “perfectly level” can create ponding and recurring moisture exposure.
– Not following primer/thickness limits: skipping primer or exceeding maximum pour thickness can cause cracking, debonding, or delamination.
– Underestimating moisture: leveling won’t fix an active leak. Ongoing moisture can lead to moldy subflooring and laminate failure.
– Rushing to install laminate: if the leveling layer isn’t fully cured/dry per the datasheet, you can get swelling, odor issues, or lock-joint problems.
Verdict / tip: DIY leveling is reasonable when you have a stable, dry substrate and a clearly mapped flatness issue you can correct within the leveling product’s thickness/feathering limits. Skip DIY (or involve a floor/waterproofing pro) if you suspect leaks, the balcony must maintain a designed slope, the required correction is beyond the leveling material’s limits, or you’re unsure about threshold waterproofing and expansion gap coordination.
Scanable checklist (save this)
| Step | Verify | Done when… |
|---|---|---|
| 1. Measure | Flatness with a straightedge | You have a high/low map across the area |
| 2. Check moisture | Subfloor is dry and sound | No soft spots, no active leaks, moisture fixed first |
| 3. Confirm balcony requirements | Drainage/waterproofing plan | Leveling won’t break designed fall or seals |
| 4. Choose method | Patch vs skim vs self-leveler vs subfloor repair | Each fix matches substrate type and scope |
| 5. Prep properly | Cleaning + priming/edge control | Surface is ready for the leveling product |
| 6. Level | Mix/pour within datasheet limits | Surface cures and stays within flatness target |
| 7. Re-check + install | Flatness re-verified + expansion gaps planned | Laminate lays without forcing joints |
Sources
– ASTM standards commonly referenced for subfloor evaluation/measurement: ASTM E1155 (determining floor flatness).
– Concrete moisture testing standards (if applicable): ASTM F2170 (RH probe method) and ASTM F1869 (calcium chloride).
Level the subfloor to your laminate manufacturer’s flatness requirements, choose the leveling method that matches your substrate, and re-check flatness after cure before anything is installed. Then plan the balcony threshold so expansion gaps and any balcony drainage/waterproofing needs aren’t accidentally blocked—measure twice, cure fully, and only move on when everything matches the specs.
Frequently Asked Questions
What’s the best way to check if my subfloor is level before installing laminate on a balcony?
Use a long straightedge (6–10 ft) or a laser level to check for high and low spots across the balcony floor. Mark any areas that exceed your laminate manufacturer’s flatness tolerance, since excess unevenness can cause gaps, squeaks, or joint failure. Also verify the surface is stable and not flexing, because laminate needs a solid, level base to perform well.
How can I level a balcony floor before laying laminate flooring?
Start by cleaning the surface thoroughly and removing paint, sealers, dust, and loose material. For low areas, apply a cement-based self-leveling underlayment (SLU) formulated for the substrate you have, or use patch/feather-finish compound for smaller dips. For high spots, grind down ridges and then recheck level before installing the underlayment and laminate.
Why is it important to level laminate floors on a balcony specifically, not just indoors?
Balconies are more exposed to temperature swings, moisture, and sometimes freeze-thaw cycles, which can exaggerate the effects of an uneven base. If the floor is not level, laminate boards may separate at seams, buckle at joints, or develop stress that leads to early wear. Proper leveling helps maintain consistent support so the click-lock system and expansion gaps work correctly.
Which leveling products are best for balcony subfloors under laminate?
For concrete or masonry, cementitious self-leveling underlayment or compatible floor patch compounds are commonly used, provided they’re rated for your conditions and thickness range. If you’re working over plywood or a wood subfloor, you may need approved leveling compounds or additional subfloor prep rather than standard SLU. Always follow the underlayment and laminate manufacturer’s instructions, especially regarding moisture barriers, minimum/maximum thickness, and curing time.
How do I create proper slope and expansion gaps while leveling a balcony for laminate installation?
Many balconies require a slight drainage slope, so don’t assume the surface must be perfectly level in every direction—aim to meet the laminate’s flatness requirement while preserving drainage. Maintain required expansion gaps around the perimeter and at transitions, and consider using a waterproof membrane system if moisture exposure is significant. After leveling, install the correct underlayment (often with moisture protection for exterior-style conditions) to reduce risk of swelling or cupping from balcony moisture.
📅 Last Updated: October 24, 2026 | Topic: How to level a laminate floors before installing balcony? | Content verified for accuracy and freshness.
References
- Laminate flooring
- Self-leveling concrete
- Vapor barrier
- F710 Standard Practice for Preparing Concrete Floors to Receive Resilient Flooring
- F1869 Standard Test Method for Measuring Moisture Vapor Emission Rate of Concrete Subfloor Using …
- https://scholar.google.com/scholar?q=laminate+flooring+subfloor+flatness+levelness+installation+requirements Google Scholar
- https://scholar.google.com/scholar?q=laminate+flooring+moisture+testing+subfloor+prep+ASTM+F2170+F1869 Google Scholar
- https://scholar.google.com/scholar?q=balcony+floor+leveling+waterproofing+subfloor+preparation+methods Google Scholar