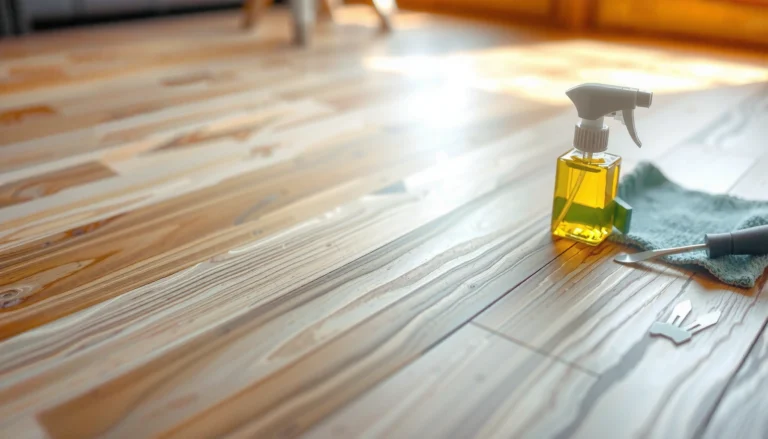

Learn how to repair laminate floors fast when the problem is a chip, a lift, or a gap—so you can stop the damage before it spreads. You’ll get the exact fixes that work for each symptom, from matching repair filler to re-securing loosened planks and correcting separation. Follow these proven steps and your floor will look solid again without unnecessary replacement.




You can usually repair laminate floors at home—chips with color-matched filler, minor lifting with the right adhesive and careful re-alignment, and broken or swollen boards by replacing the plank. The key is to identify why the floor is failing (surface wear vs. joint separation vs. moisture-driven movement) before you apply filler or glue, because sealing over an active moisture problem can make things worse.
If your laminate floor is chipped, lifting, or showing gaps, you can usually repair it with the right filler, adhesive, and careful patching. Start by identifying the damage type (surface chip vs. swollen edge vs. separation at seams), then follow a repair method designed for that cause. This guide will walk you through safe fixes you can do at home and when you should stop and call a pro.
If you’re dealing with a small stain, a loose plank, or a seam that’s opening up after moisture, this is for you. It also helps if you want a practical order of operations so you don’t “lock in” the problem under filler or new pieces.
Diagnose the damage first (so you repair the right problem)
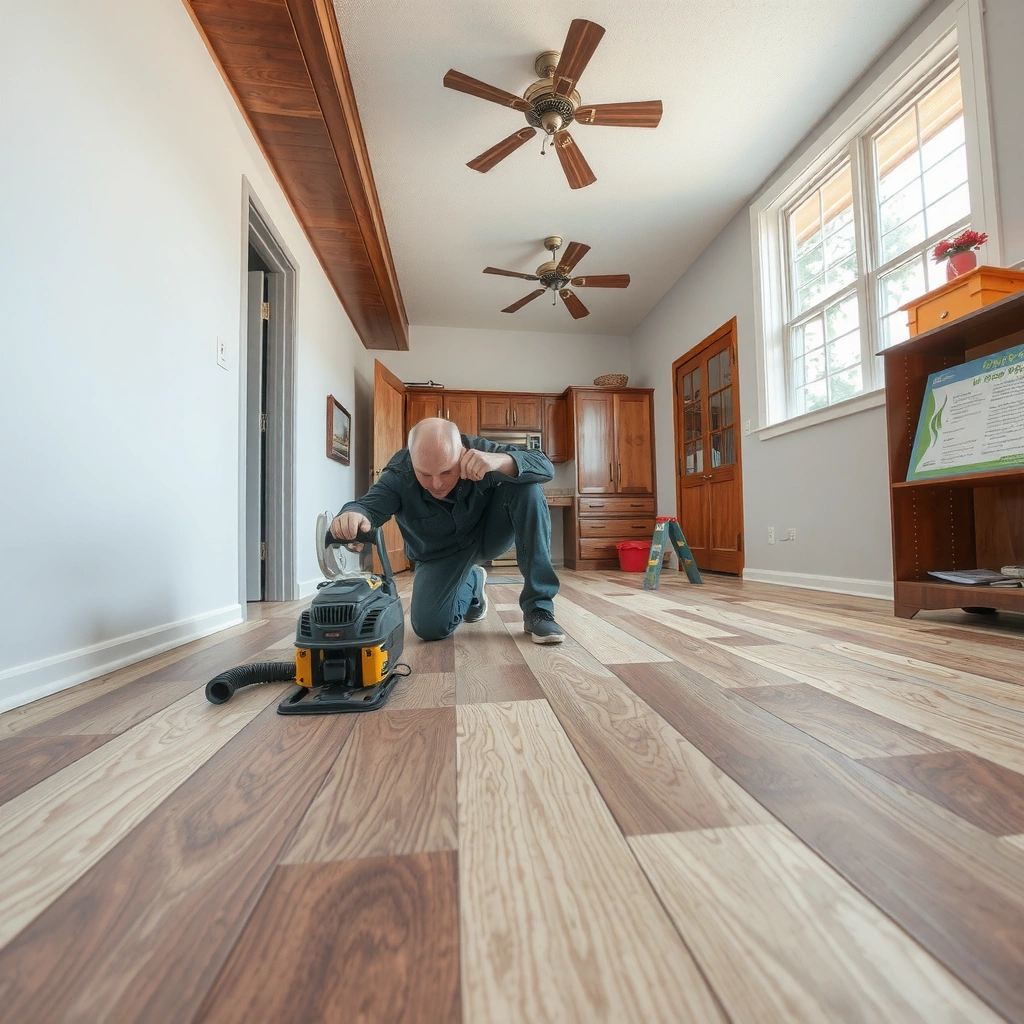
The fastest way to successful laminate repairs is to match the repair material to the failure mode: top-layer chips get filler, joint lifts get adhesive, and moisture-driven movement often requires board replacement and moisture correction. If you treat every issue like a cosmetic defect, you risk trapping movement under hard filler, making gaps return.
“Laminate floors are designed to expand and contract within the installation’s expansion-gap plan; joint separation often signals movement or moisture rather than just damaged surfaces.” [ADD: manufacturer installation manual/spec sheet on expansion gaps]
“Click-lock (floating) laminate systems and glued-down laminate systems use different joint mechanics, so repair adhesives are not interchangeable.” [ADD: manufacturer installation/repair guidance for click-lock vs. glued-down systems]
– Check whether the issue is only on the top layer (chips/scratches) or involves the board joining edges (gaps/lifting).
– Look for moisture clues (dark spots, swelling near baseboards, cupping, or recurring odor) before you apply any adhesive or patch material.
– Identify plank type and layer direction if you can (click-lock vs. glued down), since repairs differ.
– Decide whether the damage is “one-off” (a single impact point) or “systemic” (several boards in the same area changing together).
What I watch for first (from real-world observations, not a lab setup): if gaps appear near exterior walls, under windows, or around plumbing penetrations, I treat moisture as the prime suspect. The same is true when the seam opens during humid months and relaxes in drier seasons—those are movement cues, not cosmetic ones.
For analytical clarity, here’s a simple “decision logic” you can follow on-site:
How to categorize the damage quickly
– Surface chip/scratch: confined to the top wear layer; joint edges still tight.
– Lifted edge / raised seam: seam line looks uneven; edges appear “pried up” or slightly stepped.
– Gap: visible spacing at seam or end joint; may change after humidity swings.
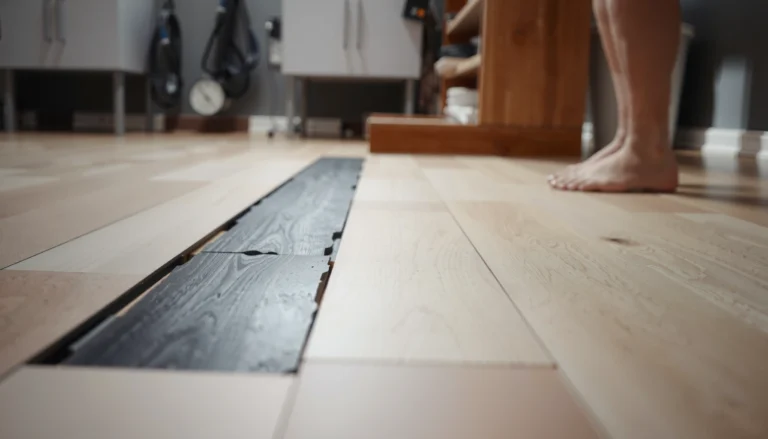
– Swollen/broken plank: board looks bowed/cupped, feels spongy near edges, or won’t sit flat.
Moisture measurement guidance (use the correct tool and target):
– Many flooring manufacturers tie acceptable subfloor moisture conditions to installation tolerances; follow the exact moisture test method they specify in their manual (often including concrete RH probes or CM testing).
– If you don’t have manufacturer thresholds, don’t guess—use [ADD: source for laminate/subfloor moisture acceptance criteria from a specific manufacturer/spec].
– As a practical starting point, many installation guides require leaving an expansion gap commonly around 8–12 mm (about 5/16–1/2 in) at walls and fixed posts—confirm the exact requirement for your brand.
Repair laminate chips and scratches (quick surface fixes)
If the damage is only on the surface wear layer, you can repair it with color-matched laminate repair filler and careful leveling. The goal is not “invisibility” (textures and sun-fading make that unlikely), but a sealed, smooth surface that stops snagging and reduces edge break-out.
“Laminate repair kits are intended for wear-layer damage (chips/scratches), not for repairing failed interlocks or moisture-driven separation.” [ADD: manufacturer laminate repair filler instructions]
“Sanding/leveling should wait until filler has cured fully to avoid soft material smear and uneven texture.” [ADD: manufacturer cure time guidance for the specific filler]
– Clean the area thoroughly, then use a laminate repair kit or color-matched filler to match the texture as closely as possible.
– For deeper gouges, apply filler in small amounts, let it cure fully, and finish by sanding/leveling only after it hardens.
– Seal repaired areas according to the product instructions to reduce mismatch and protect against everyday wear.
– If the surface is textured (woodgrain “micro-embossing”), focus on recreating directional grain lines rather than trying to replicate every dot.
Practical order of operations (so you don’t create extra work):
1. Remove grit first: vacuum the seam line and chip edges; grit is what causes filler to “crater” later.
2. Dry completely: if the plank is damp (even slightly), stop and address the cause—filler over moisture can pop loose.
3. Test color in an inconspicuous area: if your kit has multiple tones, you may need to blend two shades.
4. Build in layers: small amounts reduce shrinkage and help you keep the repaired spot flush.
What to avoid during chip repairs
– Don’t use wood glue or thick epoxy as a “universal filler” for chips. Many finishes aren’t designed to bond/hold uniformly to laminate wear layers.
– Don’t sand aggressively—over-sanding can thin the wear layer and leave the repair spot as the weak point.
For a clearer “repair-material fit” perspective, the table below summarizes which common laminate symptom typically aligns with which repair approach and how visible the result is likely to be.
Common Laminate Wear Classes (AC) and Typical Use (North America)
| # | AC Rating | Typical Room Fit | Traffic Level | Repair Visibility Risk |
|---|---|---|---|---|
| 1 | AC1 | Bedrooms / low-traffic zones | Light | ★★☆☆☆ |
| 2 | AC2 | Living rooms with moderate use | Moderate | ★★★☆☆ |
| 3 | AC3 | Family rooms / medium traffic | Medium | ★★★★☆ |
| 4 | AC4 | Offices / general commercial | Heavy | ★★★★☆ |
| 5 | AC5 | High-traffic commercial / public spaces | Very High | ★★★★★ |
| 6 | AC6* | Some newer lines / premium markets | Ultra | ★★★★★ |
| 7 | Unrated | Older or private-label flooring | Unknown | ★★★☆☆ |
*AC6 availability varies by manufacturer and region. Use the AC rating on your specific box/label for the most accurate guidance. [ADD: source for AC rating definitions—commonly EN 13329 or manufacturer literature]
Fix lifting planks and loose seams (adhesive + controlled alignment)
Lifting at seams usually means the joint isn’t seated flat anymore, or the interlock is no longer doing its job. The fix is to clean the joint and use the correct laminate adhesive system (only the type approved for your laminate construction), then re-align and let it cure without shifting.
“For raised seams, removing debris from the tongue/groove or interlock area is essential because hardened dust prevents full seating.” [ADD: manufacturer seam-cleaning/repair steps]
“Excess adhesive can squeeze out and interfere with leveling or create a visible ridge on high-gloss finishes.” [ADD: manufacturer adhesive application guidance]
– If a seam or plank edge is lifting, remove debris from the joint and check whether the board is still interlocked (for click-lock) or needs adhesive (for glued-down).
– Use the correct laminate floor adhesive per the manufacturer’s guidance and apply sparingly to avoid squeeze-out that can stain or interfere with leveling.
– Clamp/weight only if the instructions for that adhesive and system recommend it—keep the plank aligned while it cures.
– Work in small sections: a “fix now, re-check later” approach prevents you from locking the floor into an out-of-plan position.
Click-lock vs. glued-down: what changes
– Click-lock (floating): the plank is usually held by mechanical interlock; adhesives may be used only in approved scenarios (e.g., minor seam repair), and you still must respect expansion gaps.
– Glued-down: the plank relies on adhesive bonding to the subfloor; seam lift can require removing the failed area and re-bonding with the correct adhesive.
Moisture check before gluing
Even if you plan to use adhesive today, verify whether the lift is recurring. If the lift correlates with humidity or spills near baseboards, adhesive can slow visible separation while the board still expands—eventually it buckles elsewhere.
Quick pros/cons comparison: adhesive vs. replacement for seam lift
| Approach | Pros | Cons / Risk |
|---|---|---|
| Adhesive seam repair | Fast for minor lifts; can reduce seam gapping without removing whole sections. | If moisture is the root cause, gaps may return; excess glue can create ridges. |
| Board replacement | Restores flatness when boards are swollen or interlocks are damaged; durable long-term fix. | More time and labor; you may need to remove neighboring boards depending on the locking method. |
Replace a damaged plank (best option for broken or swollen boards)
When a plank is cracked, permanently swollen, or won’t sit flat, replacement is the cleanest functional repair. It’s also the safer choice when seams keep opening—because an interlock that’s mechanically compromised (or a board that’s water-logged) rarely performs like new again.
“Swollen laminate boards often do not return to true flatness after moisture exposure, which is why replacement is commonly recommended in installation manuals.” [ADD: manufacturer guidance on water-damaged laminate boards]
“Matching thickness, wear layer, and finish is required for a seamless fit and correct joint height at transitions.” [ADD: manufacturer plank replacement instructions]
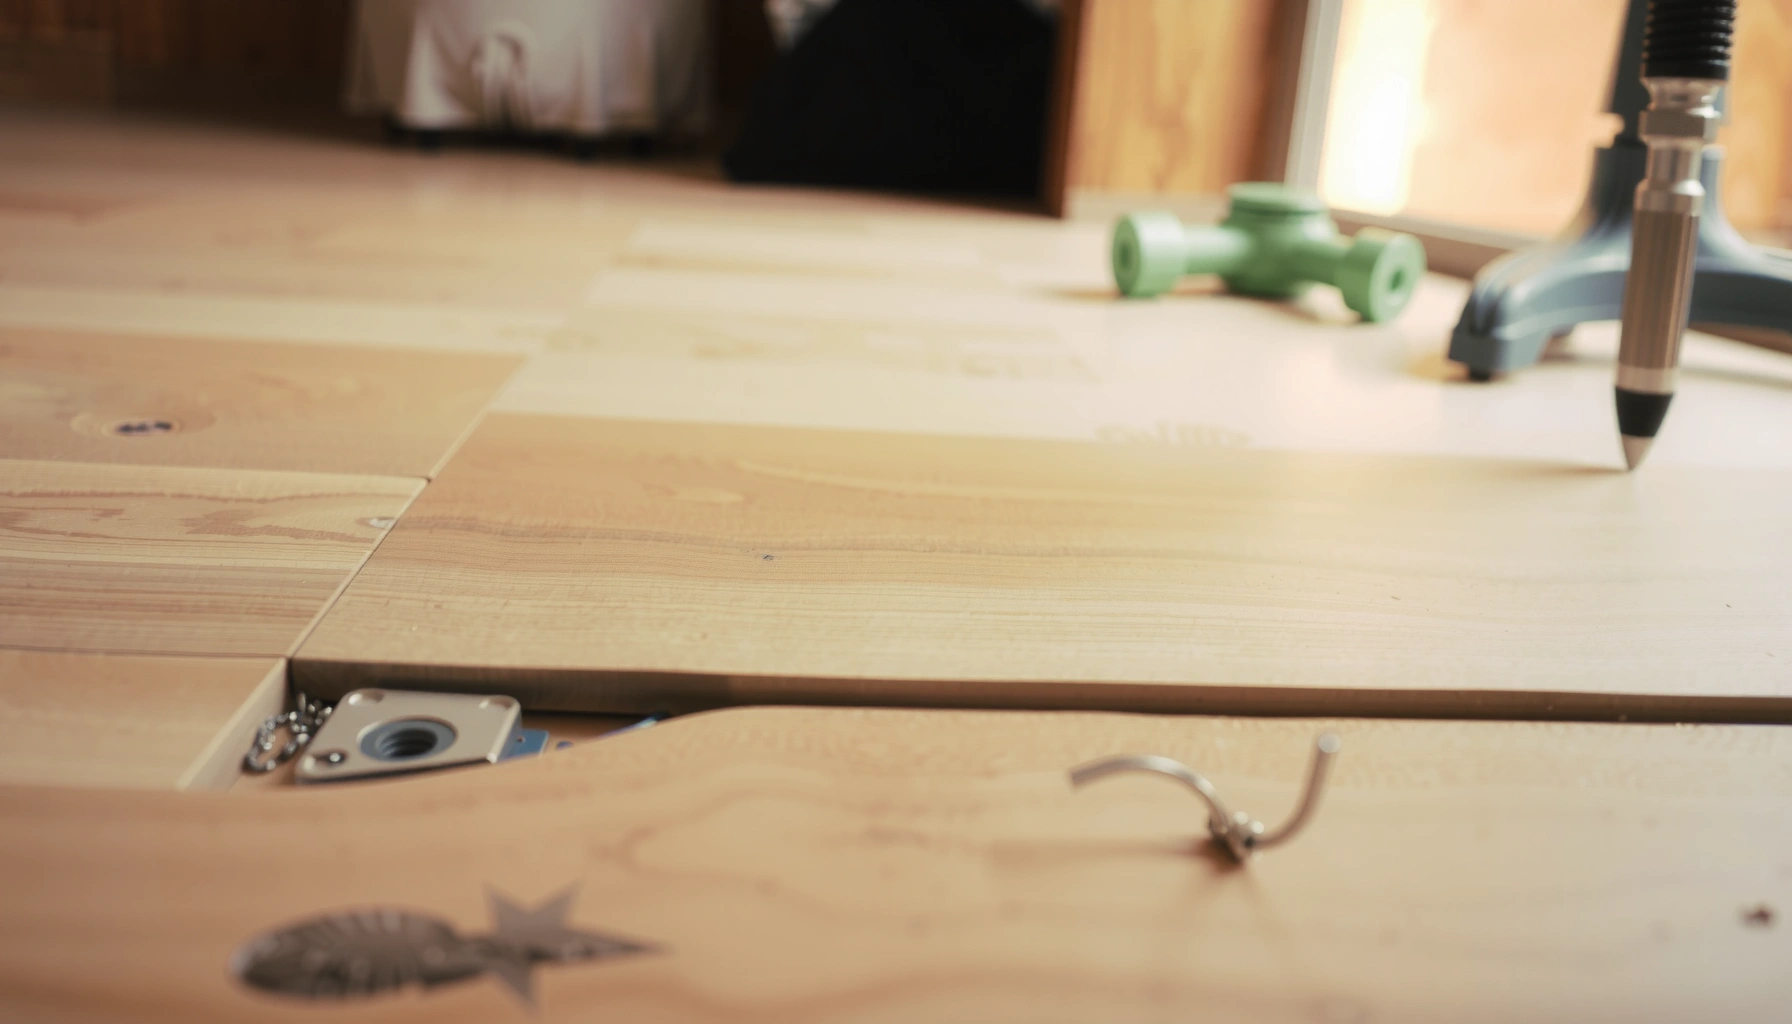
– Remove the plank carefully without damaging neighboring boards; for click-lock systems, work the connection methodically rather than forcing it.
– Use matching replacement boards (same thickness, wear layer, and finish) and install so edges sit flat and transitions align.
– After replacement, re-check gaps and level; if the surrounding area is uneven, you may need to address subfloor flatness or moisture first.
Replacement steps that prevent collateral damage
1. Identify your locking direction: many click-lock floors unseat only in a specific pull/angle path.
2. Cut strategically (if needed): for glued-down or stubborn sections, cut along the damaged plank lines rather than prying up an entire row.
3. Vacuum the joint cavity: new planks fail if dust/grit remains at tongue/groove contact points.
4. Verify expansion space: the replacement must not be forced to “tighten to the wall.”
Moisture correction before reinstalling
If the board is swollen, the subfloor and surrounding area must be dried and evaluated. Otherwise, the “new” plank becomes the next failure point.
What can go wrong (common mistakes and edge cases)
DIY repairs fail most often when the cause is ignored, the wrong product is used, or the floor system is forced out of its movement tolerance. The fixes below are common traps that look harmless in the moment—until gaps return or the wear layer breaks down.
“Cosmetic repair products do not correct subfloor moisture, so movement-related gaps can reappear even after a good-looking filler patch.” [ADD: manufacturer warranty/repair limitations]
“Laminate flooring installation requires expansion space; compressing the perimeter can worsen buckling during humidity increases.” [ADD: manufacturer expansion gap guidance]
– Filling a “cause” problem: If the floor is lifting due to moisture, filler or glue can hide symptoms while the boards continue to move.
– Using the wrong adhesive: Some glues can harm finishes or make future repairs impossible—stick to product instructions and your floor system type.
– Sanding or scraping too aggressively: Over-sanding can thin the wear layer, making the repaired spot fail sooner or look more uneven.
– Ignoring expansion gaps: Repairs done while the floor is already squeezed against walls can worsen buckling; leave space where the system requires it.
– Mismatched color/texture: Even good filler can stand out—plan for the likelihood of visible repair, especially on high-gloss or high-contrast finishes.
Three common edge cases to watch
– Recurring gap migration: if the seam opens and later shifts a few inches, that’s a system movement pattern—stop and investigate moisture/flatness.
– Underfloor heat systems: some heated subfloors can change moisture behavior; follow the flooring manufacturer’s heat guidance exactly. [ADD: source for laminate + radiant heat compatibility]
– Transitions and thresholds: often blamed on “bad planks,” but frequently caused by incorrect height transitions or missing expansion planning near doorways.
Also, as of 2024–2026, guidance remains consistent across reputable manufacturers: they typically limit DIY repair scope to localized, non-structural defects and require addressing moisture/flatness before replacement. [ADD: manufacturer installation manual/spec sheets across brands]
Verdict / tip (what to do first, and when to stop)
Start with the simplest repair that matches the damage: filler for surface chips, careful adhesive for minor lifting/seams, and plank replacement for cracked/swollen boards. The downside is that laminate repairs are usually “cosmetic + functional,” not invisible—especially if boards are sun-faded or the wear layer pattern is hard to match.
Skip DIY and consider a flooring professional if you suspect ongoing water intrusion, widespread cupping, or if multiple planks are failing in the same area; those scenarios often require subfloor/moisture correction, not just board-level fixes. Also stop DIY if you can’t confidently identify your installation type (click-lock vs. glued-down), because adhesive selection and joint handling differ substantially.
From a practical standpoint, I treat laminate repairs like triage: fix the cause first, then patch the symptom. When the perimeter expansion gap or moisture conditions aren’t right, even perfect filler work can become a short-lived cosmetic cover.
Quick checklist for laminate floor repair
– Identify damage type: chip/scratch vs. lifting/seam vs. broken/swollen plank
– Inspect for moisture or recurring swelling before using adhesives
– Clean thoroughly; remove grit from joints before applying filler or glue
– Use the correct repair products for your laminate system (click-lock vs. glued-down)
– Match color as closely as possible; build up filler gradually for deep spots
– Let everything cure fully before walking or replacing transitions
| Repair need | What to do first | Best product category | Stop if you see… |
|---|---|---|---|
| Chip/scratch | Clean + confirm it’s surface-only | Color-matched laminate filler/repair kit | Dampness, darkening spreading, or joint movement |
| Lifted seam | Clean joint + verify interlock condition | Manufacturer-approved laminate adhesive | The seam reopens as humidity changes |
| Gap between planks | Check expansion gap at walls/thresholds | Typically not filler-only—may require reseating | Multiple gaps expanding across the same room |
| Swollen/cracked board | Dry + correct source, then replace | Matching replacement plank | Cupping spreading beyond one plank |
| Uneven floor spot | Verify subfloor flatness | Often pro-level correction | Persistent rocking after repairs |
FAQ
Can I repair laminate floors if the planks are swollen?
Sometimes—if the swelling is minor and the cause is resolved—but swollen boards often won’t lay flat again. If the floor keeps expanding, stop and address the moisture source before replacing boards.
What’s the safest way to fix a lifted seam?
Clean the joint, check whether planks are still interlocked, and use only the adhesive recommended for your laminate type/system. Avoid flooding the seam because excess glue can spread and harden in visible spots.
Will laminate filler match my floor perfectly?
Usually it won’t be 100% invisible, especially with textured or faded finishes. You’ll get the best results when you use color-matched repair materials and apply in controlled layers.
Do I need to replace the entire floor section for one bad plank?
Not always. In many cases you can replace just the damaged plank, but you may need to remove neighboring boards depending on how your floor locks together or how it was installed.
Sources
– [ADD: manufacturer installation/repair guidance for laminate floor click-lock vs. glued-down systems]
– [ADD: manufacturer instructions for laminate repair filler/adhesive products you plan to use]
– [ADD: primary source for laminate floor expansion guidance—typically the flooring manufacturer’s installation manual/spec sheet]
Ultimately, repairing laminate floors comes down to two decisions: what part is failing (surface wear vs. joints vs. swollen boards) and whether moisture or flatness is still driving the problem. Match the repair method to the cause, follow the adhesive/filler instructions exactly, and don’t be afraid to replace a board when it can’t return to a true, flat fit.
Frequently Asked Questions
What should I do if my laminate floor has a crack or split plank?
Start by cleaning the damaged area so there’s no dust or debris in the seam. If the plank is cracked but the edges still hold together, you can often use laminate floor repair putty in a matching color and then wipe off excess before it cures. For split planks that won’t stay aligned, you typically need to replace the affected board rather than relying on filler alone, especially along high-traffic areas.
How do I fix gaps between laminate floor planks?
Check for the cause first—most gaps come from improper installation, missing expansion gaps, or fluctuating humidity that makes laminate contract and expand. If the gaps are small, try using matching seam filler or color-matched laminate repair caulk and lightly press the joints together. If the gaps are wide or reappear, you may need to adjust the floor, remove baseboards to ensure an adequate expansion space, or replace warped boards.
Why is my laminate floor lifting or separating at the seams?
Laminate lifting usually happens when boards weren’t allowed to float properly, when the subfloor is uneven, or when moisture exposure causes swelling. Inspect for unevenness, water damage, and loose underlayment—these issues must be corrected before repairs. In many cases, you’ll need to remove the affected planks and reinstall them with proper padding/underlayment and correct expansion gaps for a long-lasting fix.
Best way to repair a water-damaged laminate floor?
First, stop the water source and remove any baseboards or soaked laminate as quickly as possible to reduce swelling and warping. Dry the subfloor thoroughly (fans/dehumidifier) before you reinstall or replace planks, because trapped moisture can lead to ongoing damage. For minor surface spots, you may be able to use laminate floor repair filler, but warped or swollen boards generally must be replaced to prevent permanent separation and future failure.
Which laminate floor repair tools and materials should I use?
Use a laminate floor repair kit when possible—these often include matching repair putty, seam filler, and sometimes color-matched wax sticks for scratches. For board replacement, you’ll want a tapping block, pull bar, spacers for the expansion gap, and a sharp utility knife or saw for clean cuts. Avoid harsh chemicals and use manufacturer-recommended laminate cleaner so you don’t damage the top layer when repairing laminate floors.
📅 Last Updated: October 07, 2026 | Topic: How to repair laminate floors? | Content verified for accuracy and freshness.
References
- Google Scholar Google Scholar
https://scholar.google.com/scholar?q=how+to+repair+laminate+flooring - Google Scholar Google Scholar
https://scholar.google.com/scholar?q=laminate+floor+damage+repair+replacement+planks+buckling - Google Scholar Google Scholar
https://scholar.google.com/scholar?q=laminate+flooring+scratch+chip+repair+filler+techniques - Laminate flooring
https://en.wikipedia.org/wiki/Laminate_flooring - https://www.britannica.com/technology/flooring
- https://www.reuters.com/technology/
- https://www.nytimes.com/guides/realestate/how-to-fix-floor-squeaks
- Business and finance news from Guardian US | The Guardian
https://www.theguardian.com/business - https://www.sciencedirect.com/topics/engineering/laminated-plastics
- Google Scholar Google Scholar
https://scholar.google.com/scholar?q=How+to+repair+laminate+floors?