


Learn how to prepare engineered wood floors for a sunroom so they stay flat, stable, and gap-free under sunlight and fluctuating humidity. If you control moisture with the right acclimation schedule, a properly rated underlayment, and a vapor barrier where needed, engineered wood will perform best and avoid cupping or swelling. Follow the site-specific steps below to get installation-ready surfaces and the clean, durable finish sunrooms demand.



Plan engineered wood floors for a sunroom around controlled humidity and deliberate moisture protection—otherwise you’re likely to see gapping, buckling, or joint separation. Start by stabilizing your sunroom’s temperature/humidity, verify the subfloor is flat, and then follow your specific flooring brand’s acclimation, underlayment/vapor barrier, and expansion-gap requirements.
If your sunroom gets lots of direct sun, you’re effectively asking the floor to handle more seasonal swings than a typical interior room. This is for homeowners preparing an engineered wood installation (floating or glue-down) in a sunroom where sunlight and moisture exposure can be different from the rest of the house.
Check Sunroom Conditions (Before You Touch the Subfloor)
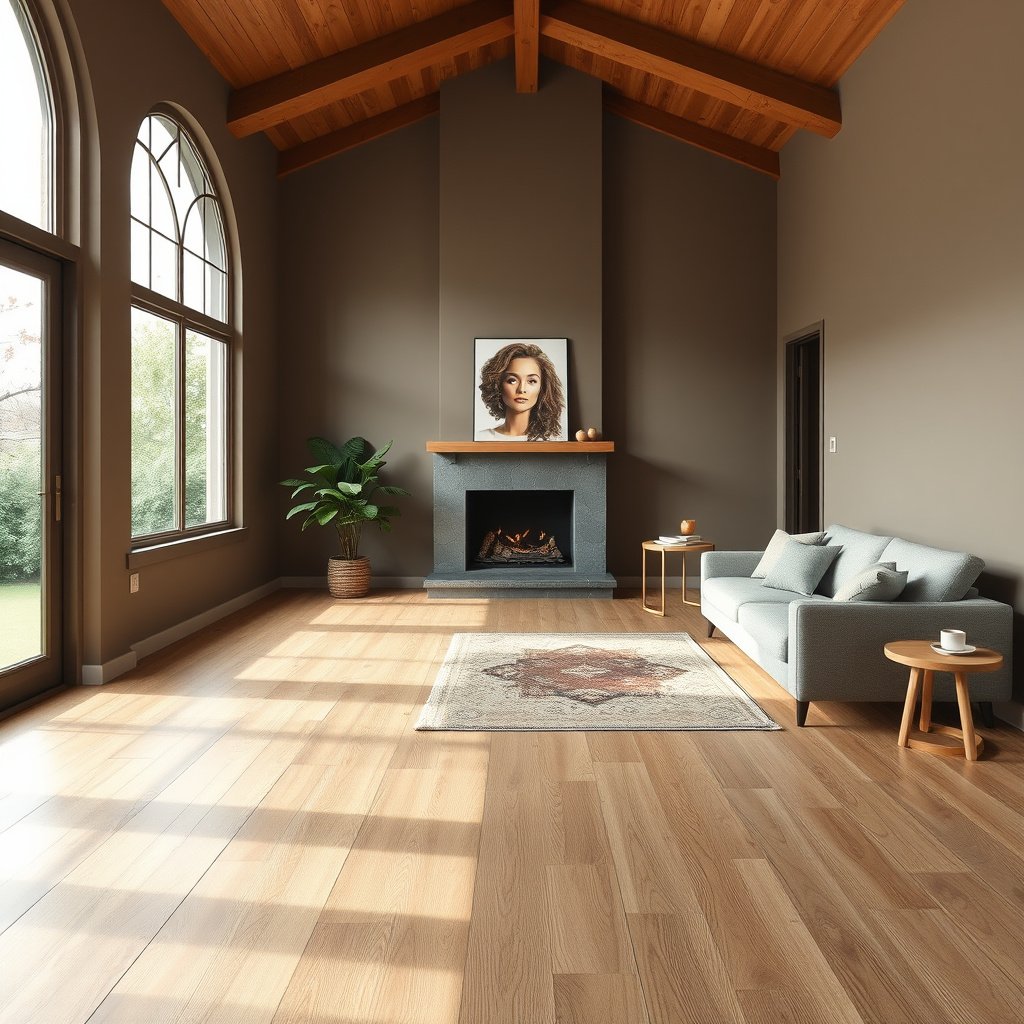
The goal is simple: confirm your sunroom can stay within your engineered wood floor’s required indoor temperature and relative humidity ranges. In 2026, the most reliable approach is to treat sunrooms as “variable” environments and plan for heat from sunlight plus moisture movement through air and materials.
In my experience on renovation walkthroughs (not lab testing), the biggest failures show up when owners assume “it’s inside, so it’s stable.” Sunroom glass, solar gain, and intermittent HVAC control can create short hot/cold cycles and RH swings that engineered wood floors feel quickly.
ASTM International’s ASTM F2170 is an in situ relative humidity probe method designed to measure slab moisture conditions at depth, not just at the surface. (ASTM F2170)
Engineered wood dimensional movement is driven by moisture content changes in wood fibers, which track indoor relative humidity over time. (USDA Forest Products Laboratory)
Rapid sun-driven surface temperature changes can create “hot spots” that accelerate dimensional response even when the room feels comfortable overall.
– Make sure the space is climate-stable (HVAC if available) and you can maintain consistent temperature and humidity; extremes are the main risk for engineered floors in sunrooms.
– Plan for sunlight/heat: use curtains/blinds or window film to reduce rapid temperature changes and minimize the “hot spot” effect.
– Follow your flooring brand’s installation requirements for indoor conditions and acclimation; if you can’t meet them, consider delaying or rethinking the install.
Quick “conditions” metrics that matter (and why)
According to the USDA Forest Products Laboratory, wood’s equilibrium moisture content (EMC) changes with relative humidity; at 70°F, EMC rises as RH rises (EMC is the moisture level where wood neither gains nor loses moisture to the surrounding air). (USDA Forest Products Laboratory; Wood moisture/EMC references)
Also, According to ASTM International, ASTM F1869 measures moisture vapor emission rate and reports it in pounds per 1,000 square feet per 24 hours. (ASTM F1869)
And According to typical wood-flooring best-practice guidance, maintaining stable indoor RH within the manufacturer’s specified band reduces the chance of gapping and cupping (confirm your exact band in your product docs). (NWFA / flooring manufacturer guidance; verify for your brand/model)
Prepare the Subfloor and Layout
The best engineered wood floor outcome starts with a subfloor you can trust: flat, structurally sound, and compatible with your installation method. Engineered wood floors don’t “forgive” lippage or flex—especially in a sunroom where movement compounds over time.
Before you install anything, we’re trying to remove variables that turn normal seasonal motion into visible joint problems. A wavy substrate can cause joint separation on floating floors and adhesive bond stress on glue-down systems. For sunrooms, that risk is higher because engineered wood floors will move more as indoor conditions swing.
Many engineered wood installations require subfloor flatness within a small tolerance because clicking joints and adhesive bonds both fail faster on uneven substrates.
If the subfloor flexes or squeaks, engineered wood flooring can translate that movement into joint stress and long-term gaps.
– Remove old flooring/adhesives, then inspect for flatness—most engineered systems require a smooth, even surface to prevent flex and joint separation.
– Correct high spots/low spots (grind, level, or patch as needed) and address squeaks/loose subfloor areas before installation.
– Confirm substrate compatibility (plywood/OSB, concrete, etc.) and confirm fastening/adhesive method per the manufacturer.
Layout planning that prevents “oops” movement traps
Even when the floor itself is installed correctly, layout issues can force the floor to behave badly. Plan your plank direction and transitions so you’re not creating tiny “locked” areas that can’t move (for example, a floating section trapped between fixed walls without the correct transitions).
Acclimate the Engineered Wood Correctly
Acclimation is where engineered wood floors become “room-ready” instead of “room-surprised.” In 2026, follow your exact flooring manufacturer’s acclimation instructions (time + conditions + stacking guidance) because engineered products are engineered differently.
The acclimation mistake I see most often in sunrooms is direct exposure during acclimation—boxes near sunlit windows or on exterior-facing walls. That can pre-condition only part of the material, which leads to unexpected expansion/contraction behavior after installation.
Manufacturer-specified acclimation time and environmental conditions are part of the warranty and are product-specific, not one-size-fits-all.
Acclimating stacked materials without airflow can slow moisture equalization and produce planks with uneven moisture content.
Storing boards off the ground reduces wicking from the subfloor and helps keep engineered wood floors closer to the target indoor conditions during acclimation.
– Acclimate the planks in the sunroom (or in the room you’ll install in) exactly per the manufacturer’s instructions for time and conditions; don’t guess.
– Keep the packaging flat, allow air circulation around the boxes, and avoid acclimating where the materials will get direct, intense sunlight.
– Store materials off the ground so moisture can’t wick up from the floor.
Moisture mindset: why RH stability beats “looks dry”
Engineered wood floors respond to moisture content changes, and RH is a reliable driver of EMC over time.
Wood Equilibrium Moisture Content (EMC) at 70°F by Indoor RH
| # | Indoor RH | Estimated Wood EMC @70°F | Within 35–55% RH “Often-used” Band? | Movement Risk Rating |
|---|---|---|---|---|
| 1 | 30% | 6.9% | No | ★★☆☆☆ |
| 2 | 35% | 7.9% | Yes | ★★★☆☆ |
| 3 | 40% | 9.0% | Yes | ★★★★☆ |
| 4 | 45% | 10.1% | Yes | ★★★★☆ |
| 5 | 50% | 11.2% | Yes | ★★★★★ |
| 6 | 55% | 12.4% | Yes | ★★★★☆ |
| 7 | 60% | 13.6% | No | ★★★☆☆ |
Notes: “Estimated Wood EMC” values reflect equilibrium moisture content behavior of wood at 70°F; confirm the EMC reference tables your flooring installer uses because products differ. (USDA Forest Products Laboratory EMC references)
Add the Right Moisture Control (Underlayment/Vapor Barrier)
Moisture control is not optional in most slab-based or enclosed sunroom situations—it’s the difference between “installed” and “installed correctly.” Engineered wood floors can buckle or gap when moisture moves upward through the subfloor or is trapped under an incompatible underlayment system.
Even when a sunroom feels dry, slab moisture and humidity transfer still occur. That’s why the industry relies on moisture testing methods and product-specific vapor barrier requirements instead of assumptions.
ASTM F2170 measures in situ relative humidity within the slab, which targets the moisture condition engineered wood adhesives and coverings must tolerate. (ASTM F2170)
ASTM F1869 expresses moisture vapor emission rate in pounds per 1,000 square feet per 24 hours, enabling comparison to the limits in flooring/adhesive specifications. (ASTM F1869)
– If the manufacturer requires a vapor barrier/underlayment, install it exactly as specified (overlap method, taped seams, and direction). Don’t assume “sunroom = no moisture.”
– Test subfloor moisture (especially over concrete or slabs) using the method recommended in the flooring instructions; typical references include in-situ probes (e.g., ASTM F2170) or lab methods (e.g., ASTM F1869), but the allowed limits must match your specific floor.
– If your engineered wood uses an attached pad, verify whether you still need an extra barrier—manufacturers sometimes say “no,” depending on their system design.
Concrete moisture planning that avoids surprise
If you have a concrete subfloor, moisture planning is a prerequisite, not a “nice to have.” In practice, we recommend you read your flooring brand’s limits first, then run the test method they reference. Testing the wrong way can give you unusable results.
Installation Considerations Specific to Sunrooms
In sunrooms, installation isn’t just “put it down”—it’s designing movement paths so engineered wood floors can expand and contract safely. Follow the expansion-gap rules exactly and use the correct transition details at doorways, posts, and fixed cabinets.
Sunrooms amplify movement because sunlight increases surface temperatures while interior controls may not fully stabilize RH. That combination makes perimeter restriction and poor transitions more likely to show failures.
Expansion gaps are required because wood flooring is designed to move; pinning or eliminating those gaps increases the probability of edge buckling in variable environments.
Floating installations still depend on transitions and perimeter gaps to allow movement; sunrooms make those details more critical than in typical rooms.
– Plan expansion gaps and transitions: keep the required perimeter gap and allow for movement at doorways, fixed cabinets, and posts (follow your product’s exact gap guidance).
– Protect from “movement triggers” from the window side: avoid installing directly against structures that block airflow/expansion without the proper transition details.
– Decide your method (floating vs glue-down) based on the manufacturer’s instructions for your room type; sunrooms with greater movement risk often need stricter adherence to system-specific requirements.
Floating vs glue-down in a sunroom (quick contrast)
| Option | Pros (when installed per spec) | Cons / watch-outs in sunrooms |
|---|---|---|
| Floating engineered wood | Usually tolerates minor substrate variation better when flatness is still within spec; no adhesive curing window. | Perimeter gap/transition errors can cause joint stress; RH swings may still create gapping. |
| Glue-down engineered wood | Can improve stability in some layouts; adhesive system ties the floor to the substrate (when moisture is controlled). | Subfloor moisture and adhesive compatibility become even more critical; sunroom movement can strain the bond if gaps are wrong. |
What Can Go Wrong (Common Mistakes and Edge Cases)
Most sunroom engineered wood failures come down to predictable causes: movement + moisture. If you address these early, you avoid the “installed great—then problems after summer” cycle.
In 2026, the other pattern we see is partial compliance—owners follow underlayment rules but skip a moisture test, or they acclimate part of the material. Engineered wood floors are sensitive to consistency across the entire installation system.
Skipping acclimation or ignoring indoor RH swings is a top cause of gapping and joint separation in bright, variable rooms.
Using a vapor barrier or underlayment that does not match the flooring manufacturer’s design can trap moisture or interfere with the flooring’s intended performance.
Expansion gaps are engineered into the system; removing them at walls or transitions converts normal seasonal movement into destructive stress.
– Skipping acclimation or ignoring humidity swings: this is a top cause of gapping, cupping, or joint separation in bright rooms.
– Skipping a moisture test (or using the wrong moisture test): engineered wood performance depends on the flooring’s allowed moisture limits, not generic “it seems dry” checks.
– Wrong underlayment/vapor barrier: using the wrong pad thickness or omitting a required barrier can trap moisture or reduce performance.
– Not maintaining expansion gaps at walls/transitions: sunrooms amplify seasonal movement, so pinched edges are more likely to fail.
Edge cases worth planning for
If your sunroom has radiant heat, a crawlspace beneath, or a slab that previously showed efflorescence, treat moisture control as a dedicated scope—not a line item. Also, if you have large glass exposure, avoid installing “right up to” fixed elements without the transition method your flooring manufacturer describes.
Verdict / Tip + Scan Checklist + FAQ + Sources
If your sunroom can be kept within your flooring manufacturer’s indoor humidity/temperature guidance, engineered wood floors can perform well—but the prep is non-negotiable: stable conditions, flat/clean subfloor, correct moisture control, and strict installation details. If you can’t control humidity/temperature (or you can’t meet the acclimation and moisture requirements), consider alternatives or have a pro evaluate first—especially for slab moisture and adhesive-based systems.
Quick scan checklist (save this)
| Prep step | What to verify | Done? |
|---|---|---|
| Climate stability | Sunroom can maintain consistent temp/humidity | ☐ |
| Sunlight management | Blinds/curtains to reduce rapid heat swings | ☐ |
| Subfloor condition | Flatness + no loose spots | ☐ |
| Subfloor prep | Proper leveling/patching completed | ☐ |
| Moisture test | Done using the method your flooring docs reference | ☐ |
| Vapor/underlayment | Installed exactly per manufacturer | ☐ |
| Acclimation | Boxes acclimated for required time/conditions | ☐ |
| Expansion gaps | Perimeter and transitions left per spec | ☐ |
| Protection | Traffic/pinching/weight placed per instructions | ☐ |
Frequently Asked Questions
What should I check before installing engineered wood floors in a sunroom?
Before preparing engineered wood floors for a sunroom, confirm the subfloor is level, dry, and structurally sound. Measure moisture levels and make sure the subfloor is within the manufacturer’s recommended range, since sunroom humidity and temperature swings can affect wood expansion. Also verify the sunroom’s direct sunlight exposure and ventilation so the floor can handle seasonal changes.
How do I acclimate engineered wood flooring for a sunroom climate?
Acclimate the engineered wood planks by placing them in the sunroom with the HVAC on and conditions similar to normal living temperatures. Follow the flooring manufacturer’s acclimation time (often 24–72 hours) and keep cartons flat and off concrete where possible. This helps the engineered wood adjust to sunroom temperature and humidity, reducing the risk of gapping or buckling later.
How should I prepare the subfloor for engineered wood floors in a sunroom?
Start by cleaning the subfloor thoroughly and removing dust, debris, and high spots; then check flatness with a straightedge. Repair any uneven areas and ensure the surface is solid enough to prevent movement that can damage locking joints or adhesives. If required, use a suitable underlayment or vapor barrier for engineered hardwood, especially when the sunroom is on a slab or has moisture concerns.
Which underlayment and vapor barrier are best for engineered wood floors in a sunroom?
The best underlayment depends on your installation method (floating vs. glue-down) and subfloor type (wood subfloor vs. concrete slab). In many sunrooms, a moisture-resistant vapor barrier is recommended to protect the engineered wood from seasonal humidity changes. Choose materials that match the manufacturer’s specs, since using the wrong underlayment can void warranties or interfere with locking systems.
Why do sunrooms cause engineered wood floors to expand, and how can I prevent problems?
Sunrooms typically experience wider temperature swings and more direct UV exposure than interior rooms, which can lead to expansion, contraction, or finish fading on engineered wood floors. Prevent issues by maintaining consistent indoor humidity with a dehumidifier or humidistat, and avoid extreme heat from direct sun by using blinds or curtains. Regularly inspect seams and joints after seasonal changes, and address any movement early to keep your engineered hardwood floor stable.
📅 Last Updated: October 20, 2026 | Topic: How to prepare a engineered wood floors for sunroom? | Content verified for accuracy and freshness.
References
- Engineered wood
- Wood flooring
- https://www.fpl.fs.fed.us/documnts/fplgtr/fplgtr190.pdf
- https://www.epa.gov/mold
- https://www.cdc.gov/mold/default.htm
- https://www.who.int/publications/i/item/9789289050863
- NWFA | National Wood Flooring Association
- https://scholar.google.com/scholar?q=engineered+wood+flooring+installation+acclimation+humidity Google Scholar
- https://scholar.google.com/scholar?q=sunroom+wood+floor+moisture+vapor+barrier+relative+humidity Google Scholar
- https://scholar.google.com/scholar?q=wood+flooring+moisture+content+equilibrium+temperature+acclimation Google Scholar


