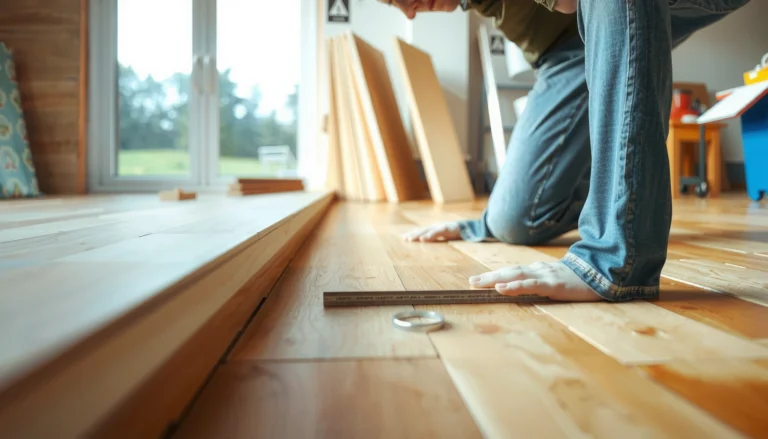
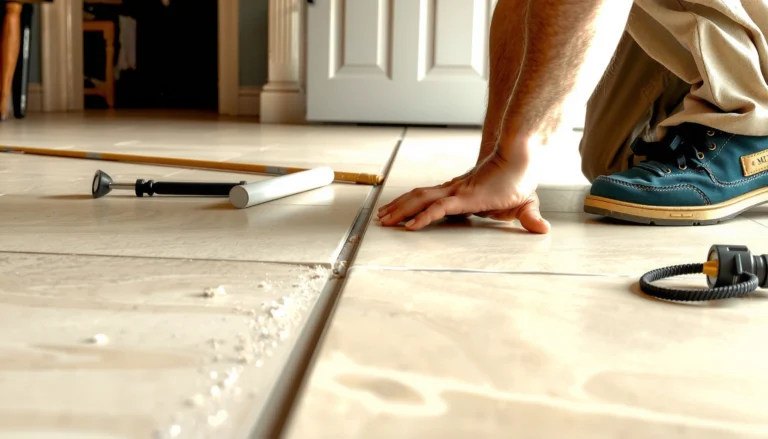
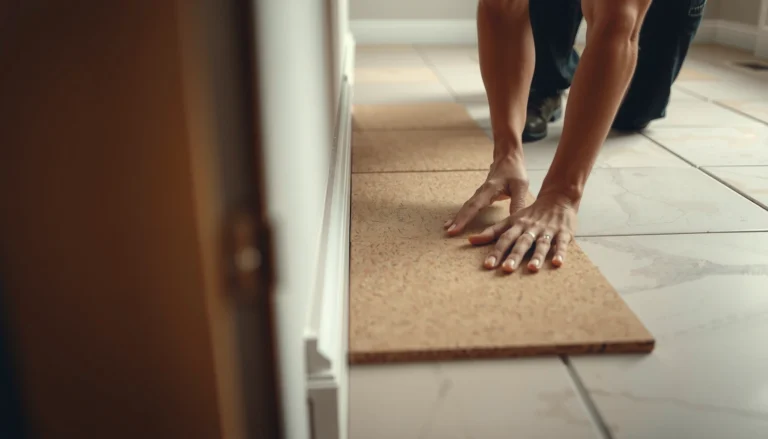
Need to remove hardwood floors from a kitchen—without surprises, damage, or unnecessary cost? This step-by-step guide shows the fastest safe way to pull up the planks, handle nails and adhesive, and prep the subfloor for what comes next. Follow it closely and you’ll know exactly what tools to use, what order to work in, and when to stop before the job turns into a mess.


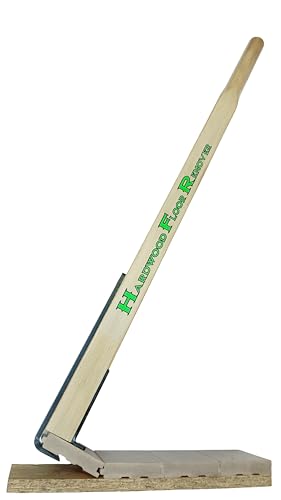

Remove kitchen hardwood floors by protecting the surrounding cabinets, creating a gap at the perimeter (after removing baseboards/trim), then pulling boards row-by-row using the correct method for nails, glue, or click-lock installation. Start by identifying the fastener method under the first rows, because that single detail determines whether you’ll pry carefully, scrape adhesive residue, or separate a floating system—otherwise you risk damaging the subfloor.
This guide is for homeowners who need the hardwood out for a renovation, not just to lift a section. If your goal is full removal (often for replacement flooring, plumbing work, or subfloor repair), follow the workflow below to keep dust under control and preserve what matters beneath the boards.
Safety & prep before you pry anything up
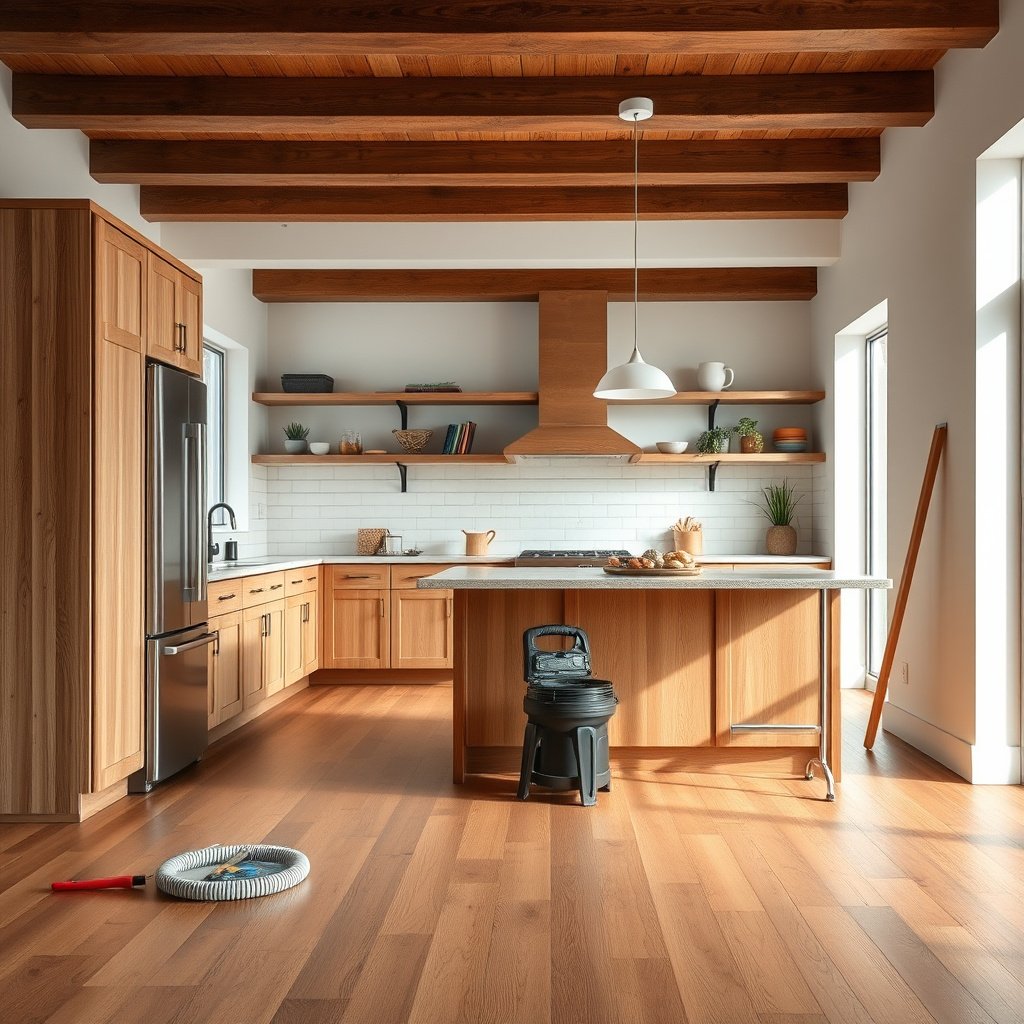
You can prevent most removal problems by preparing first—especially dust control, power isolation, and protecting adjacent surfaces. Before you pry a single plank, treat the kitchen like a small demolition job with staged containment, correct PPE, and clear plans for what you’ll reuse afterward.
OSHA guidance emphasizes that eye and face protection should be used when there is a risk of flying particles during tasks like cutting or demolition work.
EPA guidance for older homes focuses on safe handling practices when materials like lead or asbestos are a concern, including avoiding activities that generate uncontrolled dust.
– Turn off power to nearby outlets/lighting, and cover openings (especially under cabinets and in adjacent rooms) so debris doesn’t spread. Kitchens often have low-voltage wiring, receptacles, and junctions near the floor edges, so isolation reduces the risk of shock and accidental contact.
– Wear PPE: gloves, eye protection, and a proper dust mask/respirator as needed. For fine wood dust, a particle-filtering respirator is typically more protective than a basic face covering (confirm what’s appropriate for your expected dust level).
– Protect cabinets, countertops, and walls with painter’s plastic and tape. Keep plastic pulled tight and sealed at edges so pry dust doesn’t drift into cabinet interiors or HVAC returns.
– If your kitchen is older, check for hazardous materials before you disturb finishes/adhesives. In homes where lead-based paint or asbestos-containing materials are possible, EPA guidance typically directs you to stop and follow a safer plan (often including professional testing/abatement).
Stat anchors you can use while planning
– According to OSHA, employers are expected to protect workers from workplace hazards using appropriate PPE, including eye protection when there’s a risk from flying particles (OSHA workplace PPE guidance).
– According to EPA, older-home renovation activities should consider lead and asbestos risks and avoid creating uncontrolled dust when these hazards are suspected.
– According to NIOSH, N95 filtering facepiece respirators are designed to filter at least 95% of airborne particles under test conditions (42 CFR Part 84 / NIOSH testing framework).
📊 DATA: Filter Classes Commonly Used for Dust Control During Hardwood Removal
NIOSH-Defined Particulate Filter Classes (for Wood Dust), Min Efficiency @0.3µm
| # | Filter class | Oil resistance | Typical dust type | Min filtration @0.3µm |
|---|---|---|---|---|
| 1 | N95 | Not oil resistant | Non-oily particulates | ★ ★ ★ ☆ ☆ (≥95%) |
| 2 | N99 | Not oil resistant | Non-oily particulates | ★ ★ ★ ★ ☆ (≥99%) |
| 3 | N100 | Not oil resistant | Non-oily particulates | ★ ★ ★ ★ ★ (≥99.97%) |
| 4 | R95 | Limited oil resistance | Dusts with some oil | ★ ★ ★ ☆ ☆ (≥95%) |
| 5 | R99 | Limited oil resistance | Dusts with some oil | ★ ★ ★ ★ ☆ (≥99%) |
| 6 | R100 | Limited oil resistance | Dusts with some oil | ★ ★ ★ ★ ★ (≥99.97%) |
| 7 | P100 | Oil-proof | Oily and non-oily particulates | ★ ★ ★ ★ ★ (≥99.97%) |
Identify how the hardwood is installed (nail-down vs glue-down)
You should identify the installation method before you pry, because nail-down, glue-down, and click-lock floors each fail differently. A 5–10 minute inspection can save hours of subfloor scraping—and prevent irreversible damage.
Visible nail holes, filled fastener spots, or boarded seams that look “nailed” typically indicate nail-down installation rather than an adhesive-only system.
Glue-down installations commonly leave adhesive residue; if boards release as a bonded unit, expect you’ll need a scraper and adhesive-removal guidance.
– Look for clues at the edges: visible nail holes, gaps filled with putty, or seams where boards were pressed and bonded.
– Remove a small test section at a corner or near a doorway to check the underside method. If you see nails/staples, assume nail-down. If you see adhesive residue and no mechanical fasteners, assume glue-down.
– If you find a floating/click-lock system, don’t brute-force prying. Click-lock floors generally “lift and separate” in sections and rely on interlocking tongues/grooves, so you’ll use a different removal approach.
Fastener quick logic (what you’re really checking)
– Nail-down = mechanical load is transferred through fasteners into the subfloor.
– Glue-down = adhesive transfers load, and residue can be harder to remove cleanly.
– Click-lock = boards float over padding or underlayment; stability comes from interlocks and flatness.
Remove trim and create a clean starting edge
You’ll remove far less drywall than you expect if you prep the perimeter first. The goal is a controlled starting edge that lets you open the first row without tearing the wall, cabinets, or baseboard surfaces.
Cutting through paint and caulk lines along the perimeter reduces tear-out when you remove baseboards and when the floor shifts during dismantling.
Using an oscillating tool at tight joints can be safer for drywall than relying on force alone, especially when trim is painted or caulked.
– Pull baseboards/quarter round carefully with a pry bar (or oscillating tool where needed) so you don’t damage drywall. Work slowly, starting at the least visible section so you can refine your technique.
– Cut through any caulk or paint lines along the perimeter. This matters because baseboards often seal to the floor edge; if you don’t cut, the seal can “peel” the drywall paper.
– Plan your exit route: removing the first row near a doorway or open area often reduces stress on the rest of the floor and helps you avoid unsupported long plank lifts.
– Protect cabinet toe-kick areas. In kitchens, cabinets are often installed first, and floors tuck under/against them—so your starting edge needs to account for how boards transition around the cabinet base.
Remove the hardwood boards without wrecking the subfloor
Remove boards in a sequence that respects how they’re fastened, and you’ll avoid gouging the underlayment. Once the first row is open, your workflow should become methodical: pry correctly, control leverage, and clear fasteners/residue as you go.
Nail-down removal is safer when you create a controlled gap and remove fasteners as exposed, rather than waiting until boards are fully lifted.
Glue-down removal is safer when you lift slowly and keep a scraper’s angle controlled, because adhesive can tear subfloor layers if forced.
Nail-down vs glue-down vs click-lock: what changes
- Nail-down (mechanical fasteners)
- Work from the starting edge. Use wedges to control leverage, then lift boards while pulling/knocking out nails as you go.
- Glue-down (adhesive bond)
- Lift slowly to avoid ripping subfloor layers. Use a floor scraper and follow adhesive-remover or SDS guidance if residue won’t release.
- Click-lock (floating system)
- Disconnect rows by separating interlocks. Typically you remove planks by working back toward the perimeter seam, not by prying upward aggressively.
Work row-by-row with controlled pry and scraping
– Nail-down: Start at the edge you created, insert a pry bar/wedge to reduce sudden leverage, and remove each plank with the least flex possible. As nails become visible, remove them immediately so you don’t rip fibers or tear the subfloor.
– Glue-down: Move slower than you think you need. Keep the scraper flat and follow adhesive release patterns; once you feel stronger resistance, stop and reassess rather than “pushing through.”
– As you remove rows, keep boards organized by area. This matters if you’re planning reuse—reuse is sometimes possible for intact nail-down boards, but glue-down boards often don’t release cleanly.
Reality check on subfloor flatness
Before any new flooring goes down, installers usually require a flat, sound surface. The more you gouge or leave ridges of adhesive, the more underlayment/leveling compounds you may need.
Mini “what to keep” and “what to discard” approach
– Keep: fasteners you can safely remove, intact underlayment pieces (if they’re in good condition), and any transition strips labeled for reinstallation.
– Discard: damaged boards, crumbly subfloor patches, and any underlayment contaminated with adhesive residue you cannot control.
What can go wrong (and how to avoid it)
Most DIY removal failures come from rushing the moment resistance changes. When you feel new resistance, stop—because you may be transitioning from nail-down to glue-down, hitting underlayment seams, or encountering a subfloor patch that behaves differently.
Tearing the subfloor often happens when a glued board is forced up too quickly or when a scraper is used too aggressively, especially near edges and seams.
Leaving adhesive residue is a common cause of later flooring problems, because leveling compounds and new adhesive systems can fail over contaminated surfaces.
– Tearing up the subfloor: For nail-down boards, forcing a board early can pull subfloor fibers. For glue-down, aggressive scraping can gouge underlayment—so slow down once the “feel” changes.
– Leaving too much adhesive: Thin residue can interfere with leveling and the bonding surface for new flooring. Plan for thorough scraping and surface prep, and follow manufacturer instructions for whatever primer/leveler you’ll use next.
– Hidden hazards: Older kitchens may include risky adhesives/finishes. If you suspect hazardous materials, don’t power through—stop and follow professional guidance.
Pros/cons comparison (installation method impact)
| Method | Pros of DIY removal | Common failure risk |
|---|---|---|
| Nail-down | Fasteners are identifiable; controlled lifting is possible. | Subfloor gouging if you pry with high leverage or miss nail removal. |
| Glue-down | Boards may release in large sections if adhesive is old but stable. | Residue buildup and underlayment tearing if lifted/harshly scraped. |
| Click-lock | Often reversible: interlocks can be separated row-wise. | Breaking tongues/grooves if removal direction is wrong. |
A practical note from the field:
Verdict: DIY removal is doable—unless you hit specific red flags
DIY removal is a realistic project if you can identify nail-down vs glue-down (or confirm click-lock) and you’re prepared for careful scraping, nail removal, and cleanup. Skip “muscling through” when you encounter hazardous materials risk, major subfloor deterioration, or glue that won’t release safely.
If you can identify fastener type and protect cabinetry/trim, DIY removal can preserve the subfloor enough for proper refinishing or replacement flooring.
When hazardous materials (like possible lead paint or asbestos-containing components) are suspected, EPA guidance generally supports stopping and using proper risk-mitigation steps.
– DIY is a good fit if you’re comfortable doing detail work: scraping residue, pulling nails, and patching the subfloor before installing anything new.
– Consider hiring a pro if you find severe subfloor damage, extensive glue that won’t release safely, or any indication you need hazardous-material handling.
– Downsides to expect: it’s usually dusty, time-consuming, and it can turn into subfloor repair faster than planned. In 2026, the “small extra cleanup” usually includes additional surface prep, more leveling compound, or replacement of damaged underlayment sections.
Quick reminder: once all boards are out, you’re not “done.” Thoroughly clean residue, inspect for damage, and patch/prepare the base. A new floor usually won’t forgive a rough, contaminated, or uneven subfloor.
| Quick checklist | Why it matters |
|---|---|
| Protect cabinets/walls with plastic + tape | Prevents damage from dust and prying |
| Remove baseboards/trim (cut caulk/paint lines first) | Easier access; less drywall tearing |
| Identify nail-down vs glue-down first | Determines whether you pry, scrape, or use controlled removal |
| Work row-by-row; clear fasteners/residue | Reduces subfloor gouging and bonding problems later |
| Inspect and patch/level the subfloor | New flooring usually won’t forgive a rough base |
Frequently Asked Questions
What tools and materials do I need to remove hardwood floors in a kitchen?
To remove hardwood floors, you’ll typically need a pry bar, floor scraper, hammer, utility knife, oscillating multi-tool (helpful for trim and nail plates), and a hammer drill with a pry-friendly bit. Plan on using a reciprocating saw or oscillating saw to cut through nailed or glued sections, plus a chisel for small areas. You’ll also want heavy-duty trash bags, drop cloths, painter’s tape, wood floor pullers, and protective gear like safety glasses and a dust mask. For a kitchen, consider extra plastic sheeting and vacuum attachment (HEPA) to control dust around cabinets and subfloor edges.
How do I safely remove kitchen hardwood flooring without damaging the subfloor?
Start by removing appliances, baseboards, and any transition strips so you can work without prying against finished edges. Check whether the hardwood is nailed-down, glued-down, or a hybrid installation—this determines whether you should pry boards up or cut and scrape glue residue. Use a pry bar at a shallow angle and pull boards sequentially while watching for nail locations so you don’t gouge the subfloor. If you plan to reuse hardwood, remove fasteners carefully and label plank orientation; if not, focus on clean subfloor prep by scraping remaining adhesive and smoothing high spots.
Why is removing hardwood floors in a kitchen more difficult than in other rooms?
Kitchens often have extra obstacles like built-in cabinets, under-cabinet toe-kick areas, plumbing penetrations, and tile transitions that can lock the flooring in place. The subfloor may also be more sensitive to moisture exposure from spills, which can weaken adhesives or cause boards to warp, making removal harder. Additionally, kitchens tend to have more embedded fasteners and thicker underlayment layers, especially near doorways and heavy appliance zones. Because of these factors, taking time to test the flooring method and protect adjacent surfaces helps prevent costly subfloor repairs.
What’s the best way to remove glue-down hardwood flooring in a kitchen?
For glue-down hardwood floors, begin by cutting the boards into manageable sections using a utility knife for top cuts and a circular saw or oscillating tool for deeper separation—avoid digging into the subfloor. Once the planks are loosened, use a floor scraper to remove adhesive while keeping the blade angle shallow to reduce gouging. If adhesive remains, a dedicated adhesive remover or heat method may be needed, but always follow product directions and test a small area first. Finish by sanding or smoothing the subfloor, then vacuum thoroughly before installing new flooring.
Which order should I follow when removing hardwood floors around cabinets and tile transitions?
Start at the least obstructed edge, usually near the entry or a room doorway, and work toward cabinet lines to maintain control of plank removal. For areas under cabinets, you can often leave the hardwood intact if you’re not removing cabinetry; otherwise, use an oscillating multi-tool to cut boards flush with cabinet bases and then scrape remnants. When transitioning to tile, score along the grout line or caulk seam so you don’t pull up tile or damage the subfloor edges. After removal, inspect for leveling issues, nails, and adhesive residue, then patch and prep the kitchen subfloor so the new floor install is even and secure.
📅 Last Updated: October 16, 2026 | Topic: How to remove hardwood floors from a kitchen? | Content verified for accuracy and freshness.