
Protect hardwood floors in your workshop by using a solid floor barrier (like a shop mat or breathable protective covering) and controlling the two biggest threats: moisture and grit. Pair that with a routine for sweeping/vacuuming before and after work so abrasive dust doesn’t get ground into the finish.


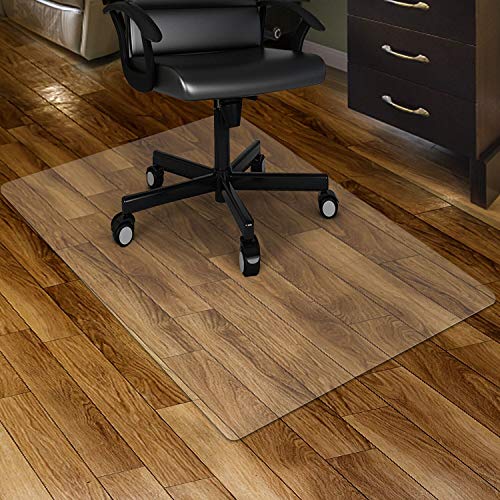

If you build, sand, or run noisy power tools in the same space where hardwood sits, this guide is for you—especially if you’re dealing with seasonal humidity swings, frequent sawdust, or wet-cleaning habits that might be harming the finish.
Set up a protective barrier where damage starts
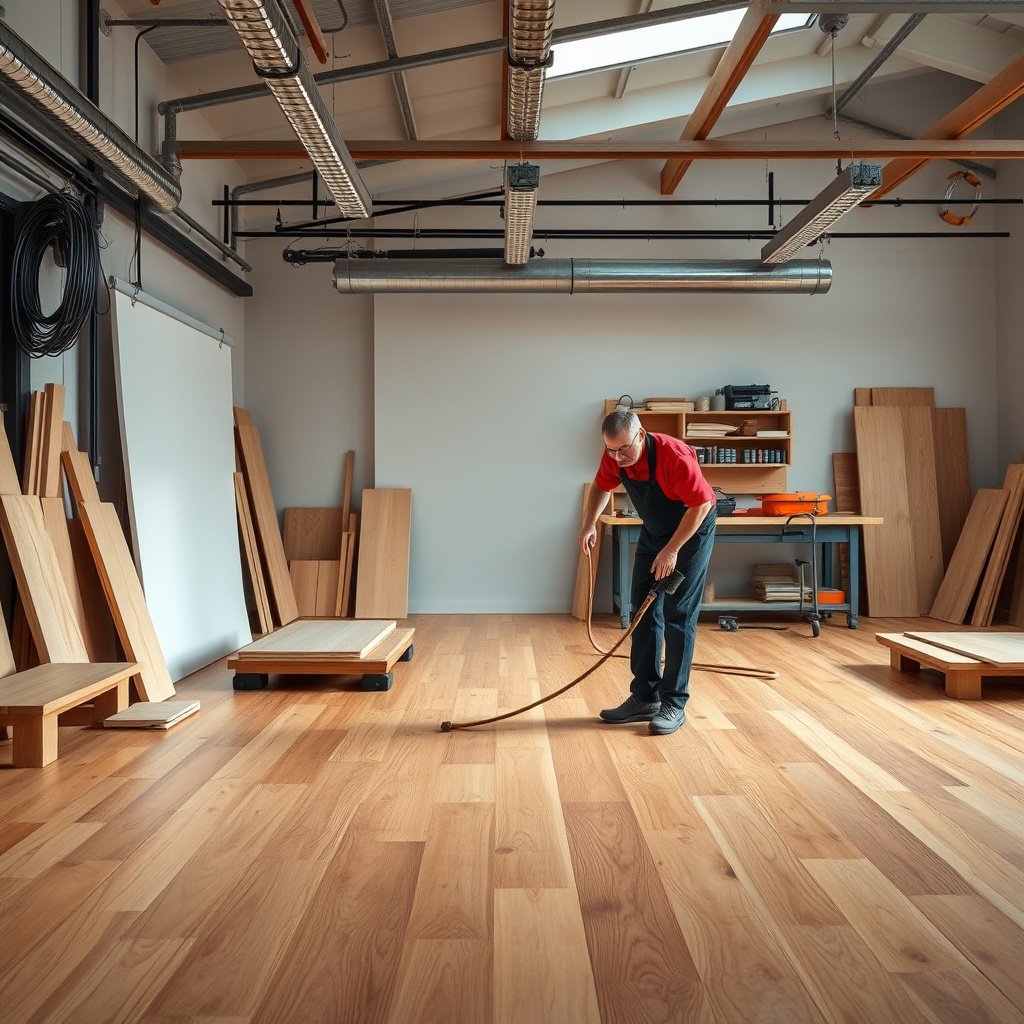
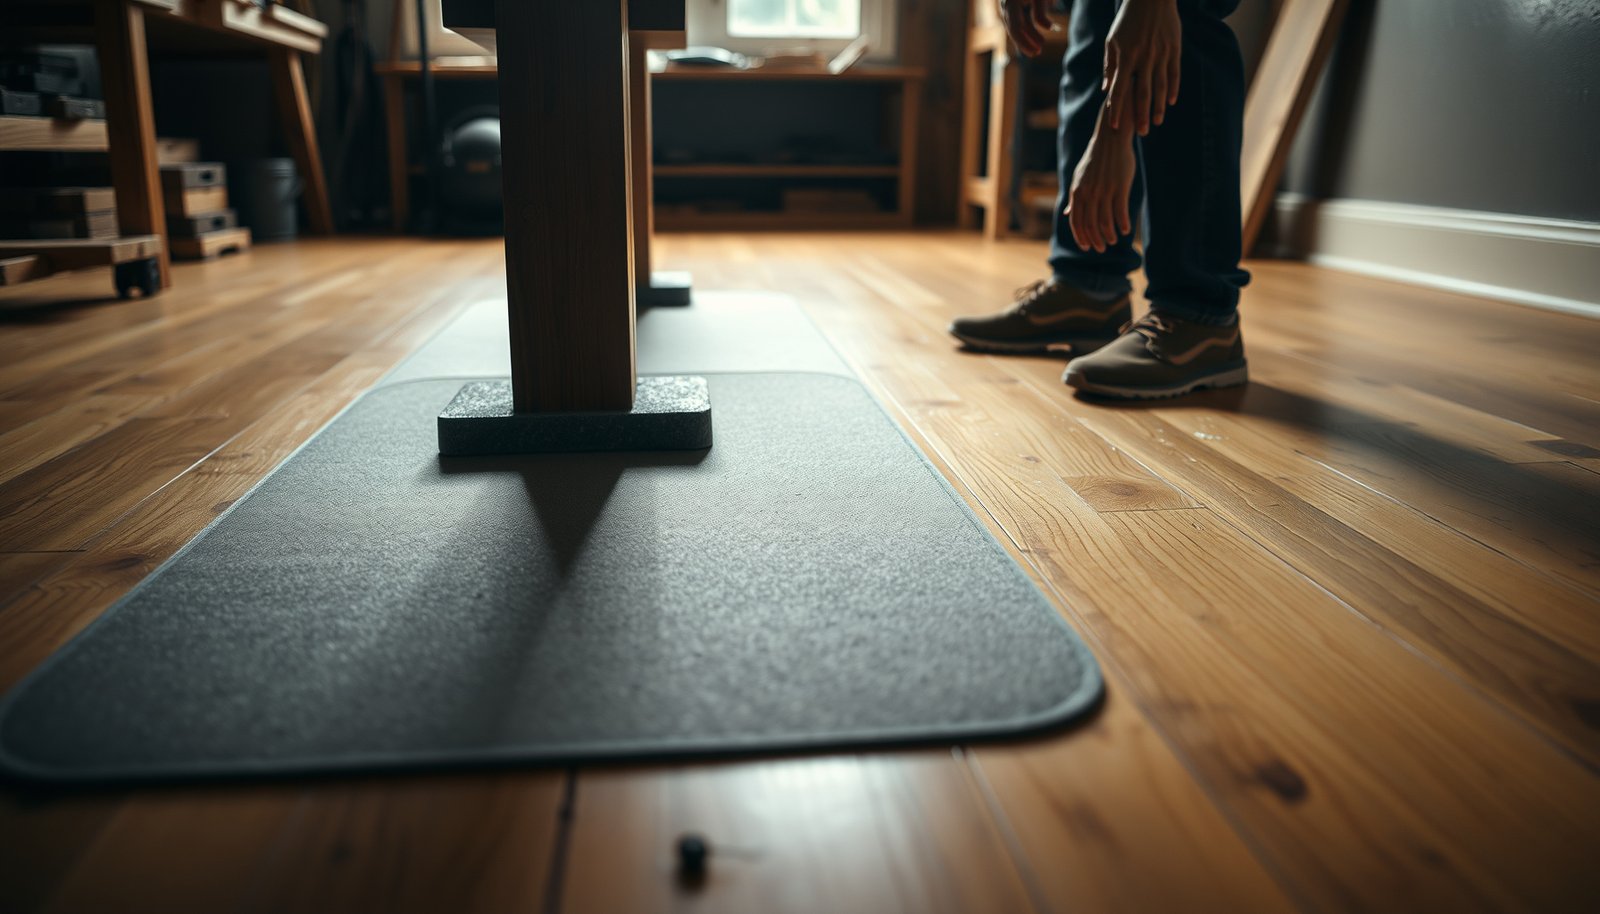
The best first move for protecting hardwood floors is to prevent scuffs and abrasion at the exact spots where foot traffic and debris concentrate—your work zones and paths to them. A stable, purpose-built covering reduces wear from both dropped parts and everyday “micro-grit” that hardwood floors can’t tolerate.
Cover work zones and transition paths (not just “under the saw”)
When I’ve seen workshop floors fail, it’s rarely one dramatic spill—it’s usually repeated, low-level traffic across dusty routes that gradually grinds through the finish on hardwood floors. That’s why the protective barrier should cover: (1) the work surface area (cutting/sanding zone), and (2) the walking/rolling routes that connect those areas to doors, storage, and clean-up stations.
Workshop Activities That Threaten Finished Hardwood (Risk Reduction by Proper Barrier Use)
| # | Workshop Trigger | Primary Threat to Hardwood | How Often It Happens | Typical Severity | Barrier Risk Reduction |
|---|---|---|---|---|---|
| 1 | Walking routes near a table saw | Grit tracking | Daily | ★★★☆☆ | 80% |
| 2 | Dry sanding (hand or orbital) | Abrasive dust | Weekly | ★★★★☆ | 75% |
| 3 | Glue-up / wet glue stations | Moisture exposure | Monthly | ★★★☆☆ | 65% |
| 4 | Dragging clamps or cauls across the floor | Abrasion + micro-chips | Weekly | ★★★★☆ | 70% |
| 5 | Finishing spills (wipe-on/oil/varnish) | Finish damage + staining | Seasonal | ★★★☆☆ | 60% |
| 6 | Dropping small hardware (screws/brads) | Point impacts + scratch traps | Weekly | ★★★☆☆ | 30% |
| 7 | Wet-cleaning run-offs | Moisture under coverings | Monthly | ★★★★☆ | 25% |
Choose coverings that don’t trap moisture against hardwood floors
Not all floor protection behaves the same. For finished hardwood floors, a “breathable” protective covering (or a shop mat designed for floors) is usually safer than a sealed plastic sheet because it reduces the chance that trapped dampness stays in contact with the wood surface or edges.
Avoid thin rugs that shift: on hardwood floors, a sliding mat can concentrate stress and drag grit right where you least want it—along the finish.
Hardwood floors are most at risk near walking routes because repeated foot traffic redistributes fine dust across the finish film.
A protective covering only helps if it stays clean and dry; when it traps moisture against finished hardwood floors, it can increase the risk of finish breakdown or edge swelling.
Control moisture: the #1 workshop risk for hardwood
The fastest way to protect hardwood floors is to treat moisture control as non-negotiable: keep liquids off the surface, and stabilize humidity so the wood doesn’t expand and contract excessively. In most workshop layouts, moisture problems come from spills, wet-cleaning habits, and humidity swings—not from the act of woodworking itself.
Keep liquids off hardwood floors (and wipe immediately)
Hardwood floors should not “soak” while you finish a glue-up or wipe tools. For workshop tasks—clamps, glue stations, metal finishes, and even water-based cleanup—set up a spill-resistant staging area so drips land on barrier material, not on hardwood floors.
A practical pattern is: put a tray/liner (for glue, epoxy, or water-based products) on top of your barrier, and place absorbent shop towels where you expect drips to go.
Don’t wet-mop—clean in a manufacturer-approved way
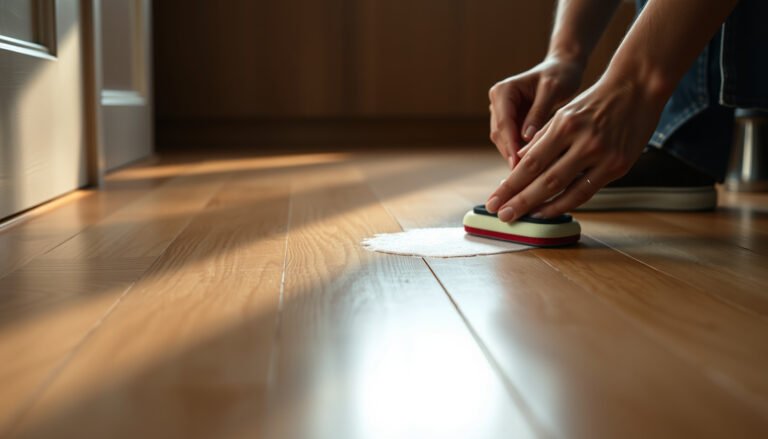
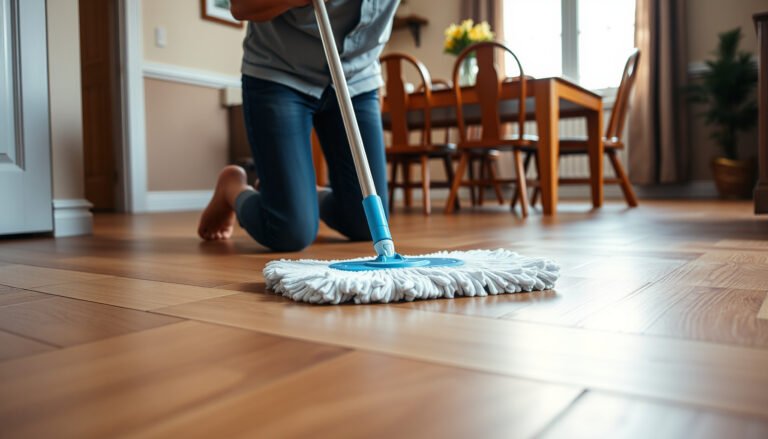
If you’re protecting hardwood floors, the default should be minimal moisture. Steam and aggressive solvents can break down clear coats and stains; wet-mopping repeatedly can force moisture into joints and seams that the finish can’t fully seal.
Instead, use the approach recommended for your finish system: typically a lightly damp microfiber method with a well-wrung applicator, followed by quick drying.
Stabilize relative humidity during seasonal swings
Workshops often swing between dry and humid conditions—especially in garages, basements, and spaces with overhead doors. Hardwood floors move when their moisture content changes, so humidity stabilization protects both the wood and the finish film.
According to the Forest Products Laboratory’s Wood Handbook (2010), wood begins shrinking and swelling as moisture content falls below the fiber saturation point, which is commonly cited at about 30% moisture content.
According to ASTM standards used in flooring moisture evaluation, slab moisture and in-situ conditions are assessed with specific testing methods (e.g., ASTM F2170 for relative humidity), because uncontrolled moisture is a common failure driver under wood flooring.
Stop grit before it gets ground into the finish
The most effective way to protect hardwood floors from grit is to prevent tracking and to remove dust promptly—before it can act like sandpaper. Sanding dust and fine workshop particles are especially harmful because they embed, then grind the finish film each time you walk or roll equipment.
Add entry control to reduce what you track onto hardwood floors
Place a mat at entry points and create a dedicated “wipe-down / sweep station” so grit doesn’t migrate into the main hardwood area. This is a bigger deal than many workshop owners expect: even a small amount of tracked dust becomes abrasive once it’s pressed into the finish by foot traffic.
Vacuum/sweep before and after dusty tasks
Before you start a dusty operation, clean the floor so abrasive particles aren’t already embedded in hardwood floors. After sanding, cutting, or routing, clean again—don’t rely on “I’ll get it next time.” Fine dust can cling to barriers and shoes, so consistent reset cycles protect the finish.
Be extra careful with sanding dust. Dry, fine particles behave like abrasive media, and they often spread farther than you think.
According to OSHA (29 CFR 1910.1000 Table Z-3), wood dust has an 8-hour TWA permissible exposure limit of 5 mg/m³ for many conditions, reflecting how fine particles can accumulate in workspaces.
Removing sanding dust immediately reduces the chance that fine particles grind through the clear coat on finished hardwood floors during the next traffic cycle.
Practical vs. risky: dust control methods for hardwood floors (comparison)
Use this quick comparison when deciding how to handle dusty workflow on hardwood floors.
| Method (for hardwood floors) | Grit Removal | Finish Safety | Moisture Added |
|---|---|---|---|
| Vacuum with a soft brush / hardwood-safe attachment | High | High | None |
| Soft broom (follow with vacuum) | Medium | High | None |
| Vacuum first pass + microfiber “wipe” for residual dust | Very High | High (when lightly damp) | Low |
| Rubbing/scrubbing dry dust into hardwood floors | Low | Low | None |
| Compressed air blowing dust across the floor | Low | Low | None |
| Mop/wipe with lots of water after sanding | Variable | Medium to Low | High |
| Best practices (vacuum before + after dusty work) | Very High | High | Low |
| When it’s best to use this | Before + after sanding/cutting | Daily workshop use | Any workshop dust day |
| Best For | Protecting finished hardwood floors against abrasive dust and tracked grit | ||
Protect during heavy work: wheels, impacts, and equipment
The most reliable way to protect hardwood floors during heavy work is to prevent point loads and abrasion from rolling equipment. Add proper pads/glides under tool stands and carts, and plan movement so dropped parts don’t land on the finish.
Use hard-floor rated pads/glides under carts and stands
Wheels and base plates concentrate force on small areas of hardwood floors. If your carts, tool stands, or mobile bases have wheels, keep them clean and ensure the floor contact points use materials intended for finished wood (not scratchy debris or worn wheel treads).
Prevent gouges by clearing the path
Before you move large stock, clear the floor area so you aren’t dragging hardware across hardwood floors. Temporary stack locations matter—what looks like “out of the way” often becomes the scratch zone when you pivot or carry through the room.
Keep rolling loads clean
Debris trapped in wheel grooves can grind the finish as the wheel rotates. A quick wheel check before you roll lumber or equipment protects the surrounding hardwood floors from hidden abrasives.
Rolling equipment can damage hardwood floors more through concentrated point contact and hidden grit in wheels than through the equipment’s weight alone.
Protective pads work best when they’re designed for hard floors and stay free of embedded particles that can scratch finished hardwood.
Tool mat vs. wheel glide: what usually wins on hardwood floors (VS)
If you’re choosing between “covering more area” and “protecting contact points,” this quick VS helps.
| VS Criteria | Floor Mat Coverage | Wheel/Pad Protection |
|---|---|---|
| Primary damage type | Abrasion + scuffs | Scratches + point load dents |
| Best use case | Work zones and paths | Carts, stands, rollers |
| Setup time | Medium | Low (once sized) |
| Maintenance | Must be kept clean/dry | Requires wheel/pad checks |
| Moisture risk | Can trap moisture if wet | Lower if pads stay dry |
| Risk of grit transfer | High if mat gets dirty | Medium (clean contact points help) |
| Impact protection | Limited for hard drops | Helps reduce base scratches |
| Portability | Good (move as zones change) | Good (attached to equipment) |
| Cost control | Ongoing (replace or clean) | Often one-time (purchase pads/glides) |
| Verdict | Use for zones + walking paths | Use for every rolling/heavy contact point |
Cleaning and maintenance habits that won’t backfire
The best cleaning routine for protecting hardwood floors is simple: use the manufacturer-approved cleaner (or “minimal moisture” method), avoid steam/harsh solvents, and maintain wear points before they become finish failure. For workshop residue—oils, adhesives, waxes, and solvents—treat it as a different category than everyday dust.
Match your cleaner to the hardwood finish system
Hardwood floors can have very different finish chemistries (polyurethane, penetrating oil, hardwax oil, etc.). Workshop residue can interact with those finishes differently, so the “right cleaner” depends on what’s on the wood today.
If your floor has an oil-based finish, it may need a different reconditioning approach than a sealed polyurethane surface. If you’re unsure, verify with the floor manufacturer’s care document before you change products.
Avoid steam and harsh “spot cleaning”
Protecting hardwood floors often means resisting the temptation to “just scrub that spot.” Steam, harsh solvents, and overly aggressive spot cleaning can soften coatings, lift color, or create halos.
Instead, wipe with a method that keeps moisture low and follow with drying if the manufacturer’s guidance allows it.
Watch wear patterns: edges and high-traffic pathways
From my experience with workshop maintenance planning (not product testing), the first visible finish wear often appears at perimeter paths and around the same repeatedly used routes. You can turn that into prevention by adding more coverage in those areas and cleaning more consistently there.
Steam and strong solvents can damage finish films on hardwood floors because they alter coating chemistry or increase moisture exposure beyond what most finish warranties allow.
Wear patterns on hardwood floors tend to show up first on high-traffic pathways, which makes targeted barrier placement more effective than blanket protection.
Quick maintenance comparison: “safe-ish” options vs. common workshop mistakes
| Cleaning approach | Moisture level | Finish risk | When to use |
|---|---|---|---|
| Vacuum with soft attachment | None | Low | Every dust day, before/after sanding |
| Dry sweep + vacuum follow-up | None | Low–Medium | When you need quick cleanup between tasks |
| Lightly damp microfiber (well-wrung) | Low | Medium (depends on finish) | Only if your floor manufacturer approves it |
| Wet-mop or leave the floor damp | High | High | Usually avoid in workshops |
| Steam cleaning | High | High | Only if manufacturer explicitly allows it |
| Solvent-heavy spot cleaners | Variable | High | Only with explicit manufacturer approval |
What can go wrong (and how to avoid it)
Even with a barrier, hardwood floors can still get damaged when the protection system creates a new problem—usually trapped moisture, grit transfer, or chemical incompatibility with coatings. The goal is to prevent both moisture and grit from reaching the wood surface and finish film.
Trapped moisture under coverings
If the mat or runner gets wet, remove it promptly and dry it. Leaving a damp barrier sealed in place can keep moisture against hardwood floors long enough to break down finishes or raise edge issues.
Wrong backing materials
Some rug backings and coatings can react with finishes or prevent airflow. That can create discoloration, odor retention, or finish clouding on hardwood floors.
“Just sawdust” still matters
Even dry dust is abrasive. Skipping cleanup after messy tasks can undo your best protection because grit embeds and then grinds the finish during normal movement.
Over-wetting during workshop cleaning
Repeated wet cleaning can cause finish breakdown and swelling at seams and joints. If you have to clean, do it in a minimal-moisture way consistent with your floor’s published care instructions.
Wood finishes and sealers fail faster when subjected to repeated moisture cycles from over-wetting or prolonged dampness.
Barrier systems that trap moisture can be riskier than leaving a small uncovered area—especially along edges of finished hardwood floors.
Verdict: a realistic protection plan (with downsides)
A practical, low-effort approach is: place protective mats in high-risk zones, control humidity/moisture, and keep dust/abrasives off the floor with consistent sweeping or vacuuming. The downside is that covering and maintaining mats takes time, and the best results depend on using coverings that won’t trap moisture or introduce residue against your hardwood floors.
You may want to skip (or change) this plan if your hardwood is unfinished, currently damaged, or if you can’t keep the covered areas dry and ventilated. In those cases, the safest next step is to follow your specific floor manufacturer’s care instructions before adding any barriers.
The highest ROI strategy for protecting hardwood floors in a workshop is combining physical barriers with routine cleanup before and after dusty tasks.
Quick workshop hardwood protection checklist
– [ ] Cover main work areas with a stable shop mat/runner
– [ ] Add a mat at entry points to reduce tracked grit
– [ ] Keep liquids away; wipe drips immediately
– [ ] Vacuum/sweep before + after dusty work
– [ ] Use pads/glides under carts, tool stands, and rollers
– [ ] Avoid wet-mopping and harsh chemicals unless approved
Conclusion
Protecting hardwood floors in a workshop is mainly about blocking two pathways to finish damage: moisture and grit. Use a stable barrier in work zones and along traffic routes, control humidity and spills, and make vacuuming/sweeping before-and-after dusty work a non-negotiable routine. If you maintain those habits—and avoid wet-mopping, steam, and incompatible cleaners—you’ll extend finish life while making your workshop safer and easier to manage in 2026.
Sources
– Forest Products Laboratory. Wood Handbook—Wood as an Engineering Material (2010 edition). (Fiber saturation point and moisture-driven dimensional change fundamentals.)
– U.S. Occupational Safety and Health Administration (OSHA). 29 CFR 1910.1000, Table Z-3 (Wood Dust exposure limits). (Wood dust particulate exposure and fine-particle relevance.)
Frequently Asked Questions
What’s the best way to protect hardwood floors in a workshop?
Use a high-quality floor protection system such as a thick, shop-grade anti-fatigue mat or interlocking floor tiles placed under work zones. Add a durable dust barrier—like a breathable drop cloth or shop plastic with a perimeter seal—to reduce sanding grit and sawdust from scratching hardwood. For extra protection, keep a vacuum with a HEPA filter nearby so fine debris doesn’t grind into the finish.
How can I prevent scratches and dents from tools, benches, and dropped items?
Put protective pads under heavy equipment and wherever tools rest—felt pads for lighter contact and rubber or cork mats for frequent movement. Use a drop cloth or canvas mat when cutting, drilling, or sanding, and sweep up immediately after each session to avoid “micro-scratches” from embedded particles. Consider adding corner guards or bumpers on bench legs to prevent repeated impact dents in high-traffic areas.
How do I protect hardwood floors from sawdust and fine sanding particles?
Fine dust is the biggest threat because it acts like sandpaper, so containment matters: use a dust collection system at the source and run a shop vacuum during cleanup. Cover the work area with a sacrificial dust mat (polypropylene, canvas, or a washable shop runner) and avoid dry sweeping that redistributes grit. Wipe or vacuum the floor after every project, focusing on seams and edges where dust accumulates.
Why is controlling moisture and spills important for hardwood floors in workshops?
Hardwood can expand, contract, and warp if it’s repeatedly exposed to water, wet finishes, or high humidity from wet cleaning. Use spill-proof trays for oil, glue, and water-based products, and clean spills right away with a slightly damp cloth rather than soaking the area. Maintain stable indoor humidity (often around 35–55%) to help preserve the hardwood floor’s finish and prevent cupping.
Which floor cleaner and maintenance routine protects the finish in a woodworking workshop?
Choose a cleaner specifically designed for sealed hardwood floors and avoid harsh chemicals, wax buildup, or abrasive cleaners that can dull the finish. For routine care, vacuum with a soft brush attachment or sweep with a microfiber dust mop, then spot-clean with a cleaner meant for hardwood. Periodically reapply the appropriate finish or maintenance product recommended by your flooring manufacturer to keep the protective layer intact against workshop wear.
📅 Last Updated: October 17, 2026 | Topic: How to protect hardwood floors in a workshop? | Content verified for accuracy and freshness.
References
- Wood flooring
- Coating
- Varnish
- Polyurethane
- https://en.wikipedia.org/wiki/Wood_rotting
- Mold | US EPA
- https://www.cdc.gov/mold/faqs.htm
- https://scholar.google.com/scholar?q=protecting+hardwood+floors+from+scratches+in+workshop Google Scholar
- https://scholar.google.com/scholar?q=hardwood+floor+finish+maintenance+moisture+protection Google Scholar
- https://scholar.google.com/scholar?q=wood+floor+care+and+cleaning+recommendations+polyurethane+varnish Google Scholar