
To remove stains from engineered wood floors in a basement, you’ll get the best results by matching the cleaner to the stain type—oil-based discoloration needs targeted degreasing, while water marks respond to careful moisture removal and gentle restoration. This guide delivers a clear, step-by-step method that protects the laminate top layer and prevents warping or haloing in basement humidity. Follow the winning approach for your stain, and you’ll know exactly what to do before you try anything that could damage the finish.



Stains on engineered wood floors in a basement usually lift best when you (1) identify what caused the stain, (2) start with the gentlest pH-neutral cleaner that matches it, and (3) avoid over-wetting the floor. Start with blotting and thorough drying, then clean with a finish-safe, pH-neutral approach and only escalate to stain-specific treatments after testing in a hidden spot. If the discoloration won’t lift—or keeps spreading—the most reliable next step is professional spot refinishing rather than repeated chemical scrubbing.
This guide is for homeowners dealing with common basement stains (water rings, dark spots, food/grease marks, pet/organic staining, or rust-like discoloration) on engineered wood. Because basements tend to be more humid, small spills can turn into darker blotches if they aren’t addressed quickly.
Assess the stain type (so you don’t make it worse)
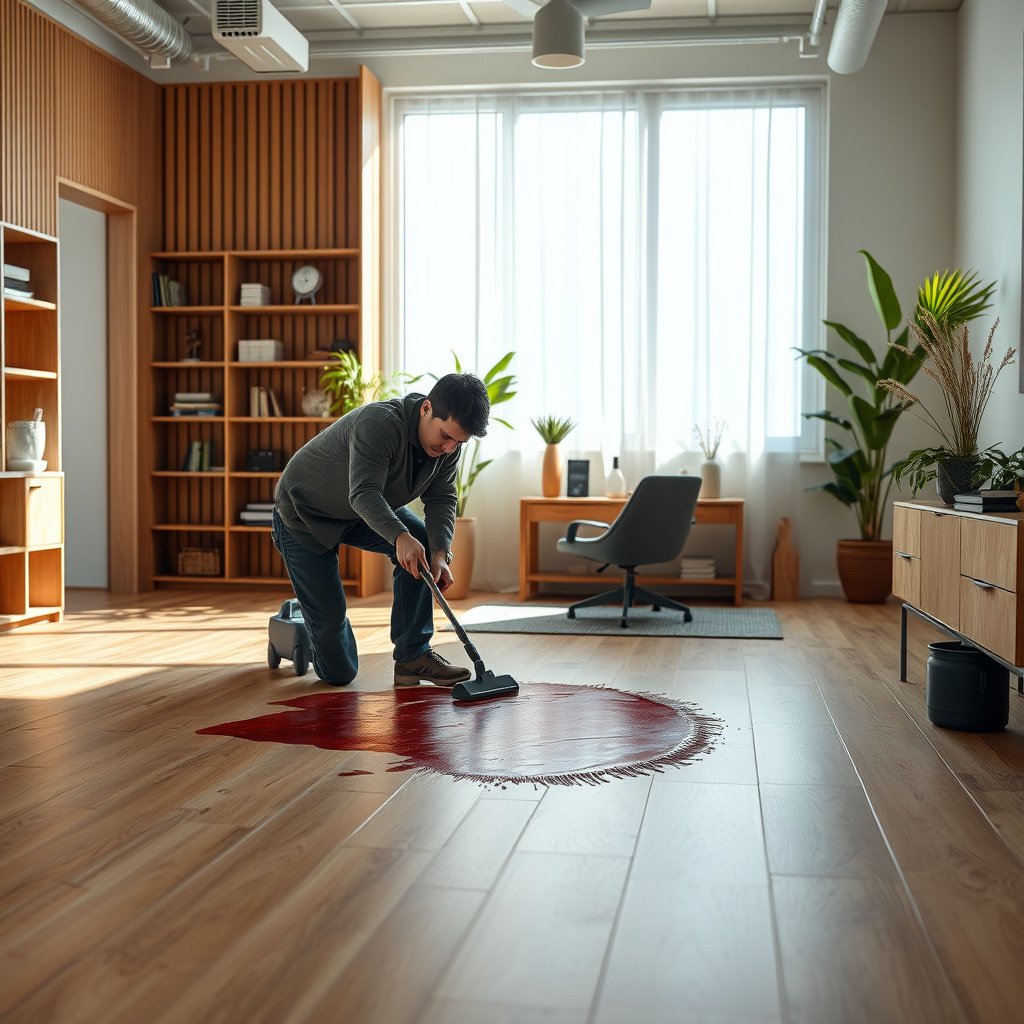
You usually get the best outcome by treating engineered wood stains like “surface evidence”—the stain’s look tells you which chemistry will work without damaging the finish. Before you apply any product to engineered wood, confirm whether the discoloration is surface-only (removes with gentle cleaning) or penetrated (stays even after finish-safe cleaning).
Basements commonly create “repeat” staining on engineered wood when moisture sources (condensation, minor leaks, wet shoes) keep re-wetting the same spot.
For finished wood floors, cleaning success depends on whether a stain is on top of the finish or has penetrated into the wear layer.
On engineered wood floors, over-wetting increases the risk of uneven discoloration near seams and edges.
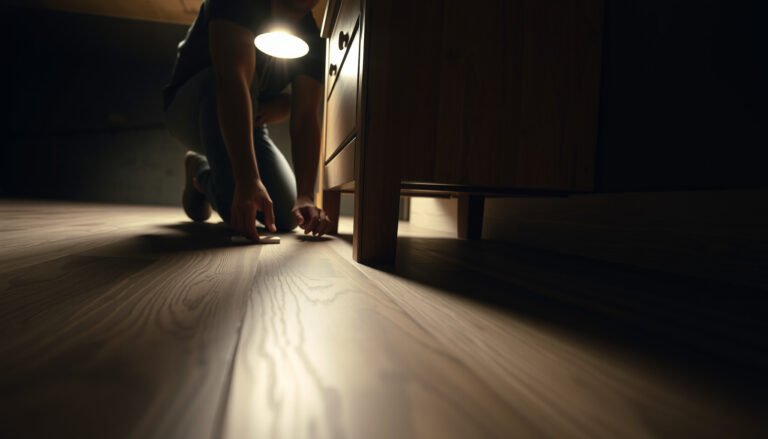
Start by looking closely at the engineered wood floor stain:
– Surface-only signs: the mark wipes up, lightens quickly, or transfers to the cloth when you blot.
– Penetrated signs: the stain remains after gentle cleaning and dry-down, often looking “set” into the wood/finish layer.
Now match the appearance:
– Water rings / dark blotches: typically moisture exposure that later evaporates unevenly.
– Yellow-brown spots: often organic staining or oxidation from repeated dampness.
– Reddish/brown spotting: frequently rust transfer from metal items or fasteners.
– Sticky/greasy film or smears: usually food, oil, or tracked residues.
If you can, note timing and nearby activity on the engineered wood floor: leaks under plumbing, condensation near HVAC ducts, or wet footwear traffic. In my own walkthroughs of basement flooring issues, the fastest fixes usually start with eliminating the “re-wetting pattern,” not just removing the visible discoloration ().
Also consider baseline conditions: according to the U.S. Environmental Protection Agency, indoor relative humidity should generally be kept between 30% and 50% to reduce moisture problems (2023). EPA indoor humidity guidance (use the EPA mold/moisture pages you follow for your region)
According to the CDC, mold growth is more likely when indoor relative humidity is above ~60% for extended periods. CDC mold/moisture guidance (use your current CDC page version)
Prep for safe cleaning on engineered wood
You’ll protect the engineered wood floor finish best by preparing the area first—dry, isolate the stain, and test anything chemical in a hidden spot. On engineered wood floors, prep is what prevents “halo rings,” where the surrounding finish dulls while the center stain only partially clears.
Blotting and complete drying reduce the chance that engineered wood stains spread into seams and edges.
A hidden-spot test is essential because engineered wood finishes vary (urethane, aluminum-oxide, oil-modified systems).
Do these prep steps:
– Dry the area first: remove standing moisture with a clean, absorbent cloth. Don’t push liquid around.
– Improve airflow: use a fan or dehumidifier so the engineered wood floor dries faster and more evenly.
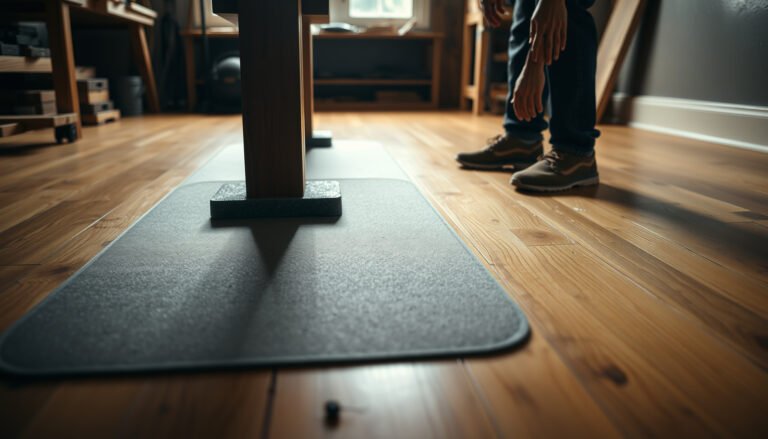
– Clear the perimeter: pick up grit around the stain so you don’t drag debris into the finish during cleaning.
– Patch-test everything: test your cleaner in an inconspicuous location (closet edge, under a rug).
Important term (so you choose correctly):
A pH-neutral cleaner is formulated to sit near neutral pH (roughly around 7) so it’s less likely to dull or react with typical urethane/finished engineered wood surfaces.
Remove stains from engineered wood floors (by type)
The most reliable approach for engineered wood floors is to match cleaner strength to stain chemistry—start pH-neutral and escalate only if needed. Because basements keep engineered wood floors exposed to recurring humidity, you also want a process that dries fast and doesn’t over-wet the wear layer.
For finished wood floors, pH-neutral cleaners are generally recommended to reduce the risk of finish dulling and residue.
When a stain is deeper than the finish layer, repeated DIY scrubbing can create visible patches without fully removing the discoloration.
Water rings, dark spots, and moisture marks
If the stain is likely moisture-related, treat it like a “dry-down + gentle clean” problem first—not a chemical removal problem. This is especially true for engineered wood floors in basements, where humidity can keep darkening the same spot over time.
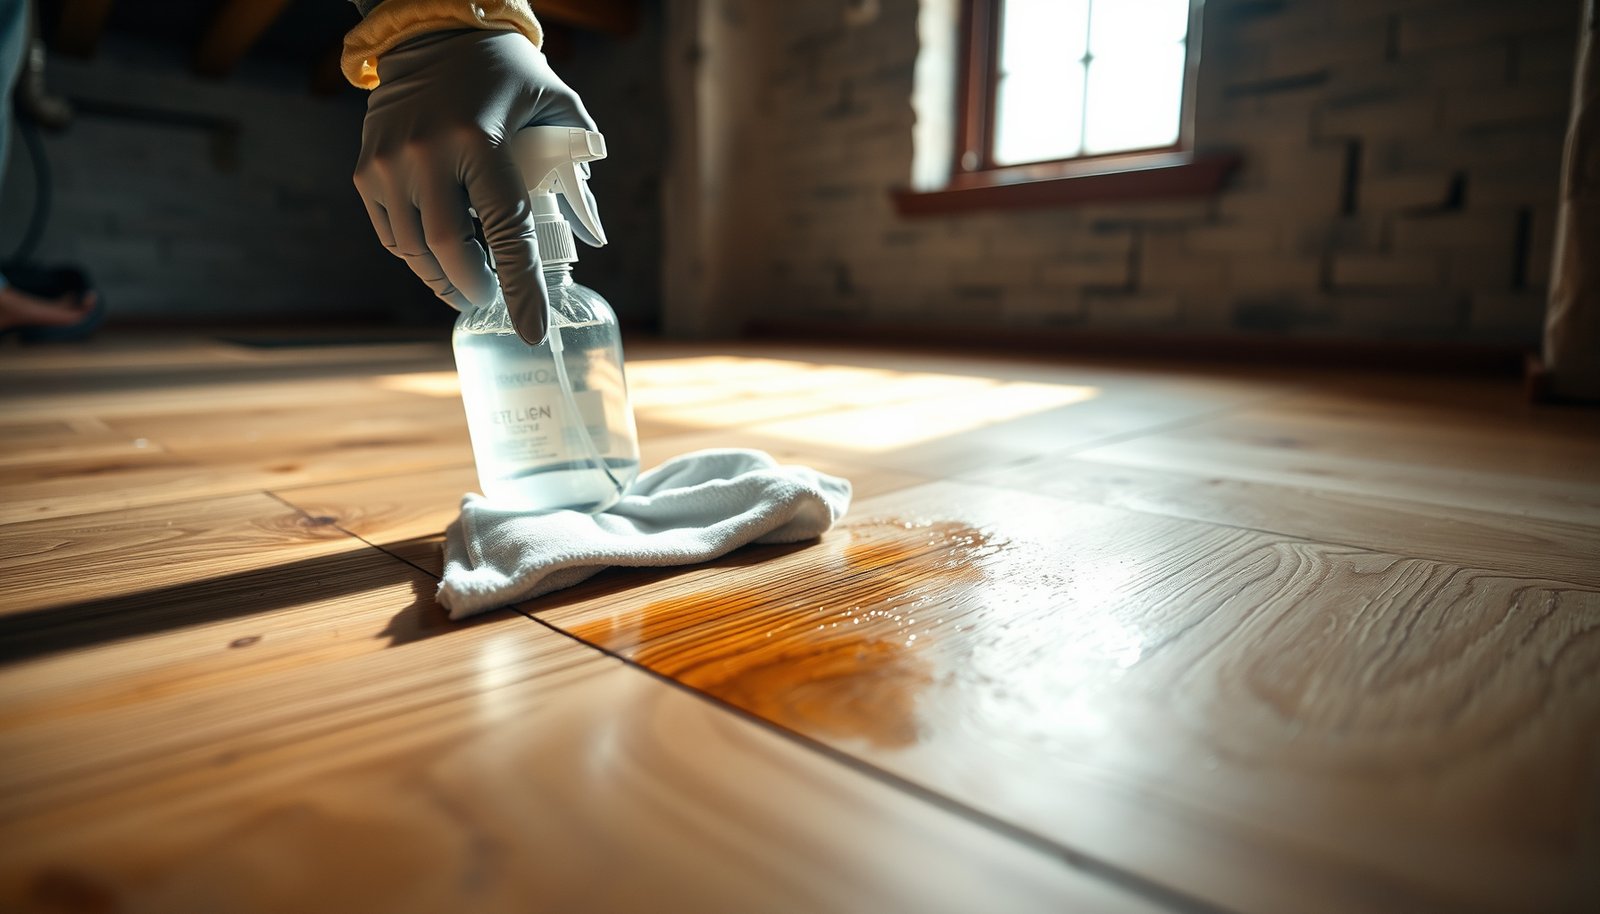
– Gently clean with a barely damp cloth using a pH-neutral cleaner made for finished wood floors (avoid harsh degreasers or ammonia).
– Wipe with a clean, water-damp cloth (just to remove cleaner residue), then dry thoroughly.
– If the spot remains on the engineered wood floor, repeat only once or twice—persistent discoloration can indicate finish/wood-cell staining that needs professional attention.
Food, drink, and general spills
Food and drink stains usually respond best when you blot immediately and avoid rubbing. For engineered wood floors, rubbing can smear pigments deeper into the finish and create a wider “shadow.”
– Blot immediately (don’t rub) with a microfiber cloth.
– Clean with a wood-floor-safe cleaner and minimal dampness.
– For sticky residues, increase friction only with the cloth—skip abrasive pads.
– Dry completely, since basements slow evaporation and can deepen engineered wood floor discoloration.
Grease, oily marks, and footprints with residue
Grease needs targeted degreasing, but engineered wood floors still require restraint: work gently, in small sections, and avoid strong solvents unless your flooring manufacturer explicitly permits them. If you over-apply, you can leave residue that attracts more grime and darkens later.
– Use a wood-floor-safe cleaner designed for your finish type.
– Work in small sections and keep cloths damp, not wet.
– If the product directions call for rinsing, do a light rinse-wipe with water, then dry.
Pet/organic stains (including urine-like discoloration)
Organic stains can look “stubborn” because they may involve material in the wear layer—not just surface pigment. On engineered wood floors in humid basements, organic staining can also re-darken if moisture continues to reach the area.
– Use an enzyme-based cleaner formulated for floors if your engineered wood finish instructions allow it.
– Clean carefully without over-wetting; organic stains can spread if liquid reaches seams or edges.
– Plan for realistic outcomes: odor and appearance don’t always match perfectly. If odor persists after cleaning, deeper intervention may be required.
Rust-like stains (reddish/brown spotting)
Rust is the category where “random chemistry” is most likely to backfire on engineered wood. Don’t guess with acids/bleaches—rust can react unpredictably with finishes, potentially creating a larger stain footprint.
– Use a rust-remover product specifically intended for wood floors and follow directions exactly; test first on a hidden spot.
– If the stain pattern keeps returning on the engineered wood floor, the underlying moisture source may be ongoing (metal furniture feet, plumbing contact points, condensation).
If the stain won’t lift: realistic next steps
If gentle, finish-safe cleaning doesn’t change the color, the stain likely sits in or has affected the wear layer—spot-cleaning can only do so much. At that point, the best next step for engineered wood floors is often manufacturer-directed refinishing or professional spot refinishing rather than repeated chemical attempts.
When discoloration persists after finish-safe cleaning, it often indicates that the engineered wood stain has affected the wear layer or the finish system.
Repeated chemical scrubbing can make engineered wood floors look worse by creating uneven sheen (“patchiness”) even if the stain isn’t fully removed.
Consider these options:
– Follow manufacturer guidance for your engineered wood floor’s specific finish system (some finishes require specific prep/maintenance steps).
– Professional sanding + spot refinishing for localized discoloration—this is usually more consistent than DIY cycles.
– Fix the cause first (humidity control, leaks, condensation): if the engineered wood floor keeps getting re-wet, discoloration often returns.
Pros/cons of next-step strategies for engineered wood floors:
| Approach | Pros | Cons |
|---|---|---|
| Keep cleaning carefully (DIY) | Lower cost; useful for surface-only stains. | Can dull finish or widen discoloration if stain is penetrated. |
| Stain-specific chemical (tested) | Often works for targeted chemistry (e.g., rust, some organics). | High risk of patchy sheen if overused; still may not remove penetrated staining. |
| Professional spot refinishing | Best consistency when discoloration is in the wear layer. | Higher cost; may require finish-system matching and surface prep. |
In my view, the decision point is simple: if the engineered wood floor stain doesn’t improve after restrained, pH-neutral cleaning and proper drying, you’re usually paying for time, not results.
What can go wrong in basements
Basement conditions make engineered wood floors more vulnerable to re-staining, uneven sheen, and damage from over-wetting. Most failures come from moisture management mistakes and finish-unsafe chemicals—not from a lack of effort.
Excess moisture is a primary driver of uneven discoloration on engineered wood floors, especially near seams and edges.
Using unapproved chemicals on finished engineered wood can dull the sheen or leave residue that later attracts dirt.
Common pitfalls:
– Over-wetting: engineered wood is more stable than solid hardwood, but prolonged moisture can still affect the wear layer, seams, or adhesive.
– Wrong chemical: bleach, aggressive degreasers, or unapproved solvents can dull the finish or create halo rings.
– Abrasive scrubbing: scuffs can look like stain and can permanently change the surface appearance.
– Ignoring the moisture source: condensation or a small leak keeps re-triggering the engineered wood discoloration.
– Not allowing residue to clear: layering cleaners or applying stain removers over residue can create uneven dull spots.
To contextualize the moisture risk on engineered wood floors, here’s how humidity bands line up with moisture-control targets often referenced in public guidance.
Basement Relative Humidity Bands vs a Common Mold-Prevention Target (EPA-style 30–50%)
| # | Moisture band | Typical outcome on basements | Guidance anchor | Humidity-control score |
|---|---|---|---|---|
| 1 | 20–24% RH | Air is dry; engineered wood can look slightly “flat” but mold risk is low | 30–50% target reference (30% floor) | -10 ★ |
| 2 | 25–29% RH | Below target; moisture problems are less likely, but comfort may be reduced | 30% lower bound | -5 ★★ |
| 3 | 30–34% RH | At/near target; lowest risk for persistent damp staining | 30–50% moisture guidance window | +20 ★★★★★ |
| 4 | 35–39% RH | Best range for controlling repeat engineered wood discoloration | EPA-style 30–50% window | +25 ★★★★★ |
| 5 | 40–44% RH | Still within target; stable drying supports consistent appearance | 30–50% target range | +20 ★★★★☆ |
| 6 | 45–50% RH | Upper edge of target; manage actively during humid seasons | 50% upper bound | +15 ★★★★☆ |
| 7 | 51–70% RH (often “high”) | Higher likelihood of repeat damp staining and odor; mold risk rises | Above 50% target; near “~60% RH” threshold in guidance | -20 ★ |
In the table above, the “humidity-control score” is a simple match-to-target heuristic based on the commonly cited 30–50% indoor RH window; confirm your exact target using your local guidance and your building’s HVAC/dehumidification design. EPA mold/moisture humidity guidance
Verdict / tip: what we recommend (and who should skip DIY)
For engineered wood floors, the best overall strategy is “dry thoroughly, clean with a pH-neutral, wood-floor-safe method, and test stronger products only when needed.” If the stain penetrated or keeps expanding, stop repeating chemistry and move to manufacturer-directed refinishing or professional spot work.
Start with the lowest-risk method on engineered wood: thorough drying plus a pH-neutral, finish-safe cleaner.
If a basement engineered wood stain is spreading or moisture is ongoing, DIY spot treatments often fail until the moisture source is fixed.
Professional spot refinishing is often more reliable than repeated DIY cycles when discoloration has penetrated.
Here’s the practical recommendation:
– Start: dry thoroughly → clean with a pH-neutral, wood-floor-safe cleaner → dry completely.
– Escalate only if needed: use stain-specific products (e.g., rust remover for wood floors, enzyme cleaners for organic stains) only after a hidden-spot test and in strict accordance with your engineered wood care instructions.
– Stop early: if the engineered wood stain won’t lift or keeps returning, treat it as a “moisture + wear layer” issue, not a “scrub harder” issue.
Who should skip DIY (or stop early) on engineered wood floors
Skip DIY (or stop after one careful, tested attempt) if:
– The stain is spreading or you suspect an active leak/condensation source near the engineered wood floor.
– The engineered wood finish is already damaged, peeling, or the wear layer appears thin.
– You’re considering bleach or unknown solvents not approved for your specific finish system.
– The discoloration is large, deep, or multi-layered, where spot fixes could create visible patching.
From a risk perspective, basements reward discipline: the more you over-wet or over-chemically treat engineered wood floors, the more likely you are to trade one stain for a broader appearance problem.
Quick scan checklist (save this)
| Step | Do this | Avoid this |
|---|---|---|
| 1 | Identify stain look (water/food/rust/pet) | Random chemicals “to try” |
| 2 | Dry thoroughly; improve airflow | Let liquid sit or soak seams |
| 3 | Clean with pH-neutral, wood-floor-safe cleaner | Abrasive pads/scrubbers |
| 4 | Test any stain-specific product in a hidden spot | Strong solvents/bleach unless approved |
| 5 | If discoloration persists, address moisture source | Re-treating without fixing cause |
| 6 | Consider professional spot refinishing if needed | Aggressive repeated DIY cycles |
Sources
– NWFA (National Wood Flooring Association), official guidance on wood floor care/cleaning practices (use follow-on steps based on the finish and cleaning method) .
– Engineered wood flooring manufacturer care instructions for cleaning/maintenance of the specific finish on your floor .
– If using a stain-remover/cleaner for rust or organic stains: the product’s official label instructions and “approved surfaces” claims for wood floors .
Bottom line: treat engineered wood floor stains in basements as a moisture-and-finish problem. Identify the stain type, dry thoroughly, clean with a pH-neutral wood-floor-safe method, and stop escalating once you hit penetrated discoloration—professional spot refinishing is often the cleanest “finish-safe” way to restore a consistent look in 2026.
Frequently Asked Questions
What’s the safest way to remove a stain from engineered wood floors in a basement?
Start by identifying the stain type (water ring, food/drink, pet accident, or dark scuffing) and test any cleaner in an inconspicuous spot first. For engineered wood floors, use a manufacturer-recommended cleaner or a pH-neutral wood floor cleaner, applied with a lightly damp microfiber cloth—not soaked. Blot gently and dry immediately with a clean towel to prevent moisture from getting into seams or the basement subfloor.
How do you remove water stains or dark rings on engineered wood basement floors?
First, dry the area thoroughly, then clean with a pH-neutral floor cleaner to remove residue. If the ring remains, try a damp microfiber cloth with a small amount of white vinegar diluted with water (about 1:4), followed by immediate drying; do not let the liquid sit. For persistent stains, use a specialty wood floor stain remover designed for engineered wood and follow the directions closely, since aggressive abrasives can damage the finish.
Why do stains come back on engineered wood floors in basements, and how can you stop it?
Basements often have higher humidity, and trapped moisture can reactivate water spots or spread contaminants under the top wear layer over time. Keep the area dry by running a dehumidifier, improving ventilation, and addressing any leaks or wet crawlspace issues. Clean spills quickly, avoid steam mops, and use protective felt pads so stains don’t migrate or abrade the finish.
Which cleaning products are best for removing stains from engineered wood without damaging the finish?
The safest options are pH-neutral cleaners formulated for hardwood or engineered wood floors, plus microfiber cloths for gentle agitation. Avoid harsh chemicals like bleach, ammonia, or acetone, and skip abrasive pads or steel wool that can scratch the surface and worsen staining. If you need stronger stain lifting (like for oily marks), choose a product specifically labeled for engineered wood and use it sparingly with controlled application.
How should you treat pet urine or old organic stains on engineered wood floors in a basement?
Blot up as much as possible, then clean the area with an enzymatic cleaner made for pet stains to break down urine components rather than just masking odor. Apply the enzyme product according to the label, but keep moisture controlled—use a slightly damp cloth method rather than flooding the floor. After treatment, dry thoroughly and monitor the spot; if discoloration persists, you may need a wood-safe stain remover compatible with your finish or professional refinishing of the affected section.
📅 Last Updated: October 19, 2026 | Topic: How to remove stains from engineered wood floors in a basement? | Content verified for accuracy and freshness.
References
- https://www.epa.gov/mold/mold-and-moisture-basics
- https://www.epa.gov/mold/moisture-control-home
- https://www.epa.gov/mold/mold-cleanup-your-home
- https://www.cdc.gov/mold/default.htm
- https://www.cdc.gov/mold/faqs.htm
- Wood stain
- Engineered wood
- https://scholar.google.com/scholar?q=engineered+wood+floor+stain+removal+basement Google Scholar
- https://scholar.google.com/scholar?q=hardwood+floor+water+stain+cleaning+recommendations Google Scholar
- https://scholar.google.com/scholar?q=mold+on+wood+floor+cleanup+EPA+CDC Google Scholar