
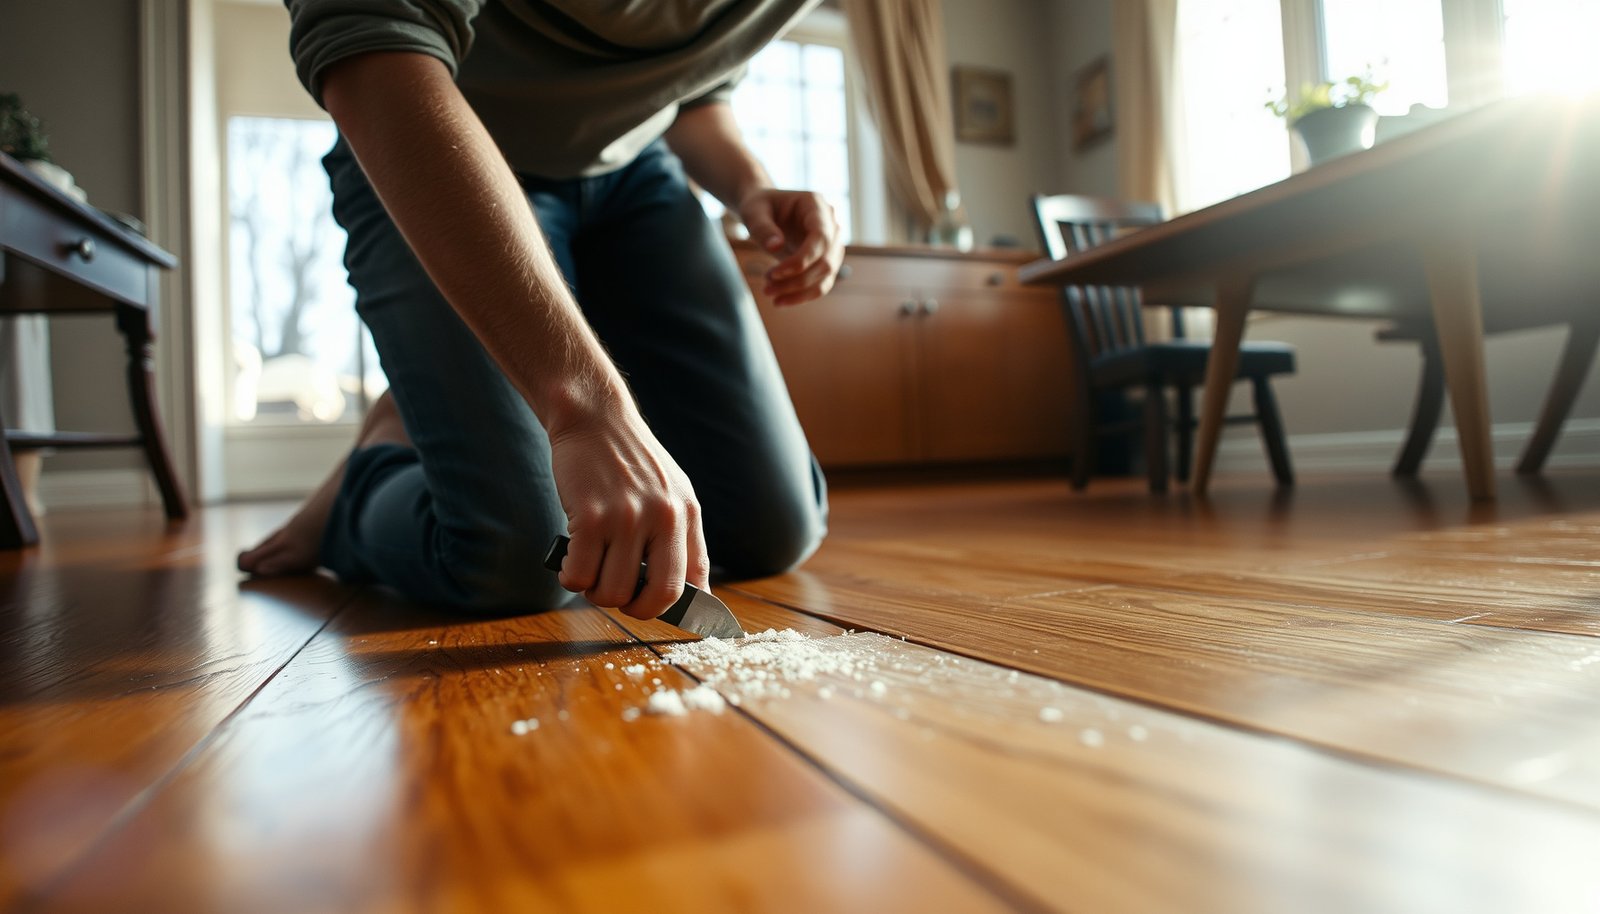

If your dining room hardwood floors are scratched, squeaking, or uneven, this step-by-step guide shows exactly how to repair hardwood floors in a dining room—without guesswork. You’ll learn the fastest way to identify the damage, fix it correctly, and restore a smooth, finish-ready surface. By the end, you’ll know the right order of tasks to follow so the repair holds up under daily foot traffic.



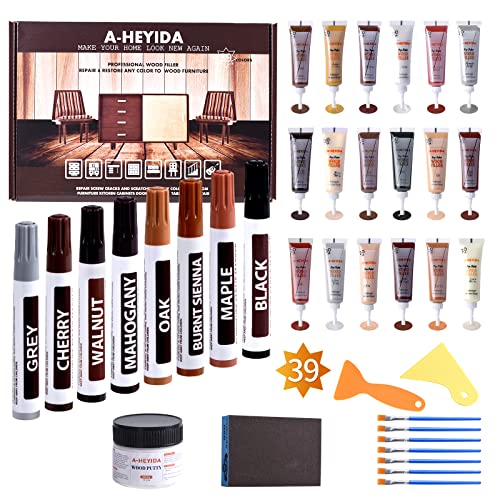
If your dining room hardwood has scratches or small dents, you can often fix it with cleaning, localized sanding, and matching wood filler/putty. For gaps, loose boards, or moisture-related cupping, the best results come from diagnosing and correcting the underlying cause first—then patching and blending.
Dining-room hardwoods are especially exposed to chair wear, traffic paths, and occasional spills. The good news is that most “cosmetic” damage is repairable without refinishing the entire room. The key is knowing when surface repair is enough and when the floor’s movement is a symptom of a moisture or installation problem that must be solved before any patchwork holds.
Diagnose what kind of hardwood damage you have
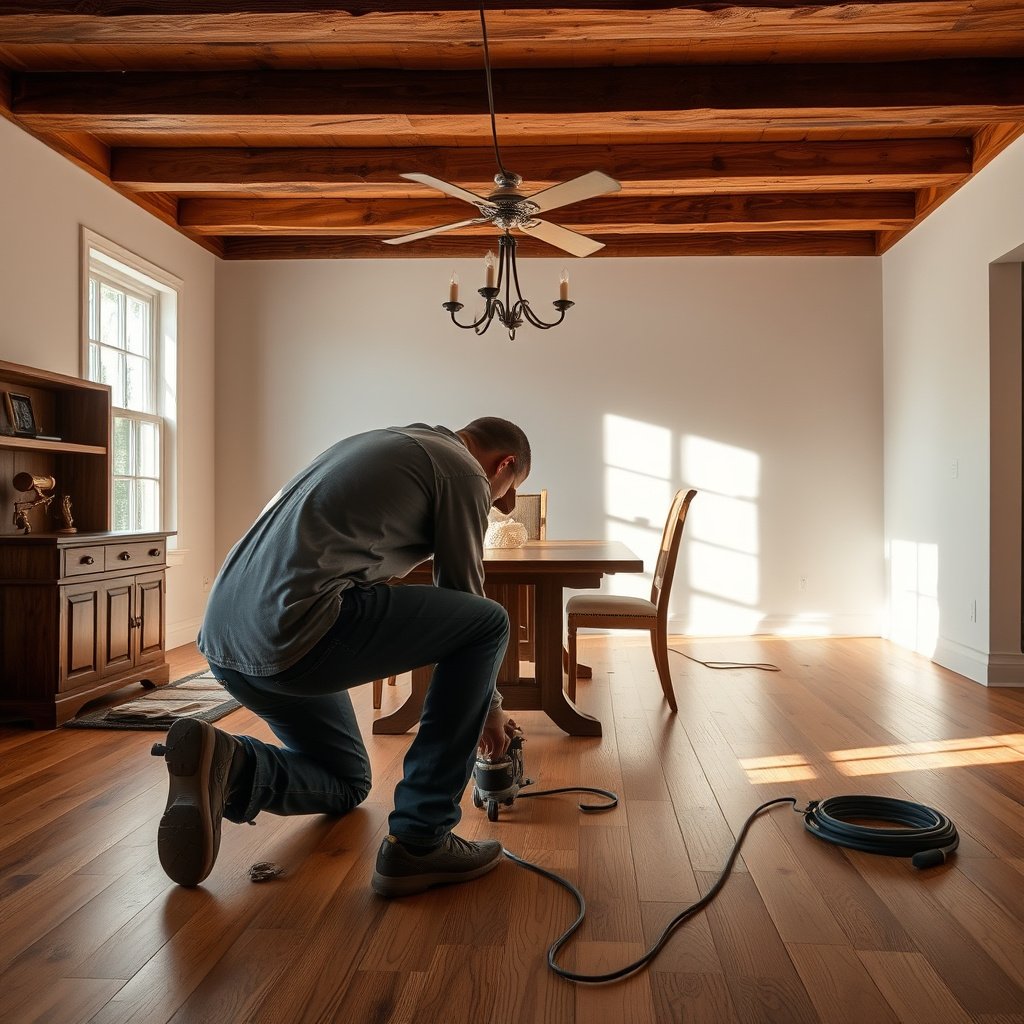
Start by separating cosmetic surface damage from board-level (structural) problems, because the repair method changes completely. Then use moisture clues to decide whether you can patch today or must stabilize the environment first.
Hardwood floors in dining rooms commonly show scratches from chair legs, dents from dropped utensils or furniture, and dull “scuffed” zones where finish has worn thin. But dining rooms also see seasonal swings in humidity, and spills near the perimeter can trigger board movement. I’ve found that the fastest way to avoid repeat repairs is to treat the first inspection like triage: identify the failure type, then choose the least invasive fix that fully resolves it.
Surface-only damage (scratches, shallow scuffs, minor dents) can usually be cleaned, sanded locally, filled, and finished without replacing boards.
Moisture clues like persistent cupping/crowning, dark spotting, or ongoing odor mean you should fix the moisture source before you apply filler or topcoat.
– Check whether the problem is surface-only (scratches, dents) or board-related (loose boards, gaps, lifting).
– Look for moisture clues like dark spots, ongoing crowning/cupping, or a persistent smell—those require the cause to be fixed first.
– Identify floor type if possible (e.g., solid vs. engineered, pre-finished vs. site-finished) because repair depth and sanding limits differ.
What to look for during inspection (quick, practical checks)
1. Run your hand carefully (don’t scrape) across the damaged area. If you catch a ridge with your fingertips, you’re likely dealing with finish wear into the wood—still often repairable, but it affects the sanding approach.
2. Look at edge behavior. Are the “problem” boards only in a localized patch, or do you see a broader pattern (for example, along exterior walls)? Broader patterns often indicate humidity gradients rather than a one-time impact.
3. Observe the board faces for color change. Darkening can indicate water exposure or stalled dirt, while shiny “burnished” patches usually point to friction/finish wear.
Floor type changes what you can safely sand
Hardwood floors are not all repair the same way:
– Solid hardwood generally allows more sanding over time, but sanding too aggressively still enlarges the repair zone.
– Engineered hardwood has a wear layer (the thickness of real wood on top). If you sand through that wear layer, you can permanently damage the surface.
Data reference: common grit sequence for spot repairs
When you local-sand, a predictable grit progression helps you level the repair without leaving visible sanding “steps.”
Typical Sanding Grit Steps for Dining-Room Hardwood Spot Repairs
| # | Repair phase | Common grit | Primary goal | Feathering transition | Blend ease |
|---|---|---|---|---|---|
| 1 | Knock down finish edges | 80–100 | Remove loose/raised finish at scratch boundary | ~1–1.5 in | ★★★★☆ |
| 2 | Level filled dents | 100–120 | Flatten filler to match surrounding texture | ~1–2 in | ★★★☆☆ |
| 3 | Refine sanding marks | 120–150 | Reduce visible scratches left by leveling grit | ~2–3 in | ★★★☆☆ |
| 4 | Pre-finish smoothing | 150–180 | Prepare for stain/clear coat absorption consistency | ~2–4 in | ★★★★☆ |
| 5 | Final scuff before topcoat | 180–220 | Promote topcoat adhesion without deep scratch residue | ~3–5 in | ★★★★☆ |
| 6 | Scratch touch-up (tiny spots) | 220–320 | Blend edges when damage is very shallow | ~0.5–1 in | ★★★★★ |
| 7 | Post-fill color prep (engineering) | 120–150 | Avoid burn-through while evening wear layer surface | ~1–2 in | ★★☆☆☆ |
Prep safely and gather the right supplies
Start by protecting your dining room and controlling dust exposure; sanding old finishes can create hazardous particulates. Then gather supplies matched to your floor type (solid vs. engineered, pre-finished vs. site-finished) so the repair process doesn’t stall midway.
Hardwood-floor repairs typically generate fine dust that settles into chair tracks, baseboards, and HVAC returns. If the dining room includes older flooring, you may also be dealing with coating residue from prior refinishing cycles. That’s why safe prep is not optional—it directly affects both health and how well filler and topcoat bond.
OSHA workplace guidance highlights the need for respiratory protection when sanding creates wood dust, especially for respirable particles.
Before you apply any filler or coating, you need a clean surface—dust between steps is one of the most common reasons spot repairs fail.
– Clear the dining area and protect nearby surfaces (plastic sheeting, painter’s tape, drop cloths).
– Use proper PPE: eye protection and a respirator rated for dust are important when sanding old finishes; if the home is older, consider hazard testing for hazardous materials before sanding (get guidance from a qualified professional).
– Gather basics based on the damage: wood cleaner, fine sanding tools, wood filler/putty, a putty knife, and matching finish materials (stain/topcoat), plus clamps for board-level repairs.
Specific prep steps that prevent rework
1. Contain dust. Seal doorways with plastic, cover vents you can safely isolate, and tape plastic to baseboards so fine particles don’t migrate.
2. Clean, then dry-check. Use a wood-safe cleaner and remove all residue. Let the floor dry completely before you sand or fill.
3. Test your approach in a hidden spot if your floor is pre-finished. Pre-finished coatings behave differently, and the wrong spot-repair chemistry can cause adhesion failure or a shiny halo.
Moisture conditions: don’t skip this
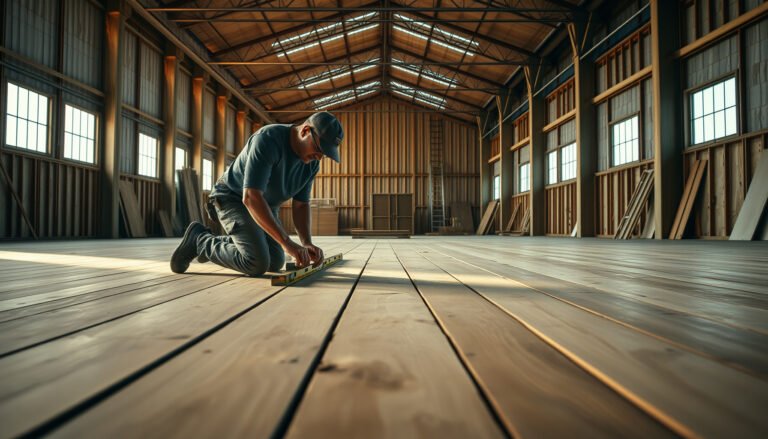
According to the National Wood Flooring Association (NWFA), keeping indoor relative humidity in a moderate band (commonly around 35–55% RH) helps minimize seasonal movement in wood flooring (NWFA wood flooring environmental guidelines). In practice, even a small RH imbalance can contribute to repeating gaps or cupping after you complete a “cosmetic” repair.
Also, OSHA’s wood-dust workplace standards specify exposure limits for respirable wood dust; for example, a 5 mg/m³ respirable dust limit is widely cited for wood dust under OSHA’s permissible exposure framework (OSHA 29 CFR 1910.1000 wood dust exposure limits). While home projects vary, the key takeaway is that you should treat sanding as a health-risk activity.
Repair common dining-room issues (scratch to loose board)
Start by matching the repair action to the failure type—surface damage gets filler and blend work, while loose boards and moisture issues require stabilization. Then proceed from the “most root-cause” step to the cosmetic blend step.
Hardwood floors in dining rooms usually fail in a few predictable ways: scratches and scuffs at leg-height, dents where furniture or objects hit, and board-level problems like squeaks, gaps, or lifting. The step-by-step approach below is designed for typical homeowner repairs where the flooring isn’t broadly buckling and the surrounding area is stable.
For scratches and shallow dents, cleaning → targeted sanding → compatible wood filler → fine re-sanding is usually enough to restore a smooth surface.
For loose boards, you must re-secure the boards first; filling a symptom without fixing movement can crack the repair quickly.
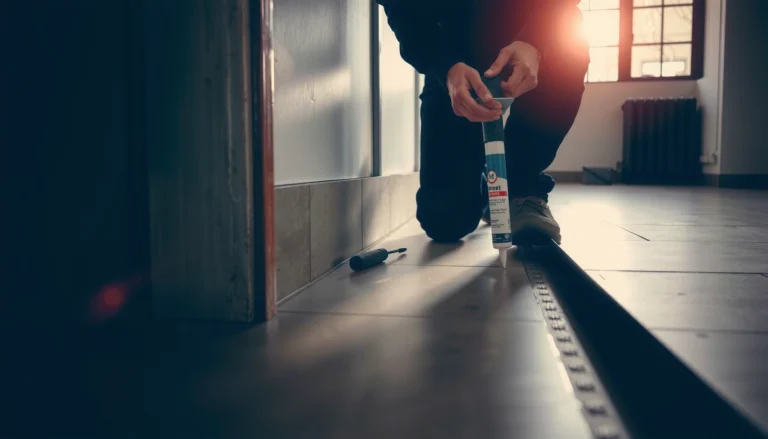
– Scratches & scuffs: Clean first, then sand lightly at the scratch edges, fill with a matching wood filler/putty, let cure, and re-smooth with fine sandpaper.
– Dents/gouges: Fill deeper gouges in layers (so the filler cures without shrinking), level it flush, then feather the edges so the repair blends.
– Loose boards/squeaks: For loose boards, re-secure with appropriate fasteners for your flooring type (follow manufacturer guidance). For squeaks, you may need targeted screw access under the flooring or from below if feasible.
– Gaps between boards: If the gap is stable, you may be able to fill or repair selectively; if gaps appeared after humidity changes or spills, focus on moisture control first.
– Cupping/crowning from moisture: Stop “patching over” the symptom. Fix the moisture source (leaks, humidity imbalance), then reassess once conditions stabilize.
How I choose “how far” to sand (without enlarging the damage)
When I do localized spot prep, I don’t try to make the repair area invisible by brute-force sanding. Instead, I use a slow leveling mindset: sand until the scratch ridge is gone, stop, clean thoroughly, and check the surface under angled light. That reduces the chance of creating a larger “repair map” that’s harder to blend—especially on engineered hardwood where the wear layer thickness is finite.
Loose boards: secure the root movement
For loose boards, follow your installation type:
– Nail-down solid hardwood typically requires refastening in a manner consistent with the original installation.
– Engineered click-lock systems may involve different repair approaches than glue-down or nail-down floors.
If you aren’t sure how the floor was installed, consult the manufacturer documentation for your exact product line/spec sheet before removing anything or driving fasteners.
Cupping/crowning: treat moisture first
If you see cupping/crowning that persists after your home’s humidity stabilizes, the floor likely has an ongoing moisture imbalance. In that case, any filler or topcoat is temporary at best. The floor should be re-stabilized—then repairs become viable.
Blend the finish so the dining room still looks right
Start by identifying whether your hardwood is site-finished (finish applied after installation) or pre-finished (factory topcoat). Then use the correct stain/topcoat strategy so the repair doesn’t flash a different color or sheen.
Dining-room blending is where many DIY projects stall, not because the wood repair is hard, but because coatings reveal differences in texture, porosity, and sheen under real lighting. After sanding, the surrounding surface and the repaired area don’t always absorb stain the same way—especially if you feathered into areas with different remaining finish thickness.
Site-finished floors typically allow a more traditional repair path: stain match followed by topcoat over the repaired area.
Pre-finished floors often require careful spot-repair and top-over techniques, and test patches are essential to avoid a visible “halo.”
– If your floor is site-finished (stain then finish applied on-site), you may need a stain match + topcoat over the repaired area.
– If your floor is pre-finished, your approach is usually more limited: you may only be able to spot-repair and top over in a way that matches the existing sheen/type—test first in an inconspicuous area.
– Always let products fully cure before evaluating color/shine; blending often looks off immediately after drying and changes as it settles.
Practical blending workflow (spot-repair mindset)
1. Feather sanding marks first. If you can still see sanding lines, color matching will exaggerate them.
2. Apply stain (if applicable) in controlled amounts. Stain over filler can darken differently, especially if filler density differs from wood.
3. Topcoat for sheen uniformity. Even when color looks close, sheen mismatches make repairs obvious in dining-room lighting.
Quick comparison: blending difficulty by finish type
| Approach | Best for | Main risk |
|---|---|---|
| Site-finished repair (stain + topcoat) | Floors where you can re-apply matching stain system | Stain mismatch during cure vs. final tone |
| Pre-finished spot repair (topcoat over repair) | Small, localized cosmetic damage | Adhesion/halo if coating compatibility is off |
What can go wrong (and how to avoid it)
Start by protecting the repair from repeating causes: moisture, incompatible coating chemistry, and over-sanding are the big three failure modes. If you avoid those, your odds improve dramatically—even when color matching isn’t perfect.
Spot repairs sometimes fail quietly: filler chips out, edges lift, or the area stays noticeably shiny. Most of the time, it’s not “bad luck”—it’s a preventable mismatch in surface prep, cure time, or system compatibility between filler and topcoat.
Ignoring moisture will make the floor move again, cracking new filler and widening gaps even if the finish looks good initially.
Sanding too aggressively can permanently damage engineered hardwood by cutting through the wear layer, creating a repair that can’t be blended.
– Moisture ignored: Filling or replacing warped boards before fixing humidity/leaks can cause the same problem to return quickly.
– Wrong filler/finish chemistry: Mixing incompatible finishes (for example, coating systems that don’t bond well) can lead to peeling or hazy spots—use materials recommended for your specific floor finish.
– Sanding too aggressively: With engineered hardwood, sanding through the wear layer can permanently damage the surface; with any hardwood, over-sanding can widen the repair area.
– Color mismatch: Even good stain matching can look different under dining room lighting. Do small test applications before committing.
– Dust and adhesion failures: If you don’t clean thoroughly before applying filler or coating, repairs can chip out later.
Edge cases worth pausing for
– Large, multi-board damage: If you’re replacing or rebuilding multiple boards, the project shifts from “spot repair” to “localized restoration,” and the finish blend challenge increases.
– Factory coating wear pattern: A dining room might have a gradual sheen map (high-traffic dulling). Spot-fixing can unintentionally create a brighter patch.
Verdict / tip: DIY what you can, stop when the cause isn’t cosmetic
DIY is best for surface damage (scratches, dents) and small localized board issues where you can reasonably match the finish. Stop and call a flooring pro if you suspect significant moisture problems, the floor is buckling/major warping, the damage spans many boards, or you can’t confidently match a multi-layer factory finish.
The upside of DIY is cost control and faster fixes for everyday wear. The downside is that blending—especially on pre-finished coatings—can be harder than the wood repair itself. If the repair will be in the direct line of sight from seating areas, plan extra time for tests.
DIY repairs succeed most often when the root problem is cosmetic and the surrounding boards are stable (no ongoing cupping/crowning or active gaps).
Hiring a pro is usually worth it when finish systems must match across larger transitions or when moisture remediation is required before repair.
Downside to DIY: blending finish and matching color/shine is the hardest part—if it doesn’t line up, the dining room can highlight the repair instead of hiding it.
Quick checklist (save/print)
| Step | Do this | Stop if you see… |
|---|---|---|
| 1. Diagnose | Surface vs. board vs. moisture issue | Ongoing warping/cupping, leaks, spreading staining |
| 2. Prep | Protect area + PPE + test in hidden spot | Old finish dust looks unsafe; you can’t identify floor type |
| 3. Repair | Fill dents/scratches; re-secure loose boards per floor type | Loose boards keep shifting; gaps keep growing |
| 4. Blend finish | Use correct compatible stain/topcoat/spot-repair method | Peeling, tacky curing, major sheen/color mismatch |
| 5. Prevent repeat | Use felt pads, rugs, humidity control | New damage after furniture movement or spills |
Sources:
– National Wood Flooring Association (NWFA) —
– Manufacturer documentation for your exact hardwood type (solid vs. engineered, pre-finished vs. site-finished) —
– OSHA guidance on workplace dust and respiratory protection —
Frequently Asked Questions
What are the first steps to repair hardwood floors in a dining room?
Start by identifying the problem—scratches, dents, gaps, cupping, or loose boards—and take photos for reference. Clean the area thoroughly with a hardwood-safe cleaner and let it dry completely, since debris will affect adhesion. Test your repair product on a hidden spot to confirm color match and finish compatibility. Finally, protect surrounding furniture with plastic and use proper ventilation when using wood fillers or refinishing products.
How can I fix scratches and dents on dining room hardwood floors without refinishing the whole room?
For minor surface scratches, clean the wood and use a matching hardwood floor touch-up marker or stain pen, then blend with a clear finish. For deeper dents, fill with a color-matched wood filler, let it cure, and sand lightly using fine-grit sandpaper. After sanding, apply a matching stain (if needed) and a thin topcoat designed for hardwood floors to restore durability. This approach usually avoids full hardwood floor refinishing and helps maintain the existing finish.
Why do hardwood floors in a dining room develop gaps or buckling, and how do I repair it?
Gaps and buckling typically result from seasonal humidity changes, spills, or installation issues like insufficient acclimation. To repair hardwood floor gaps, focus on stabilizing indoor humidity first and then address the wood movement—large or recurring gaps may require targeted board replacement or professional assessment. If boards are buckling due to moisture, dry the affected area gradually and check for the root cause before sanding or re-coating. Once stable, you can re-sand, fill gaps, and reseal to restore a smooth, protected surface.
Which products and tools are best for DIY hardwood floor repair in a dining room?
Use a hardwood floor repair kit that matches your flooring type and finish, including wood filler, putty knife, matching stain, and a compatible topcoat. Essential tools include a vacuum with a brush attachment, microfiber cloths, fine-grit sandpaper (or sanding sponge), a scraper, and clamps if you’re re-securing loose boards. For larger damage, consider a multi-tool or oscillating tool for careful board work, but stick to minimal removal when possible. Always choose products labeled for “hardwood floors” to prevent peeling or discoloration.
What’s the best way to repair loose or squeaky hardwood floor boards in a dining room?
First, locate which boards are loose by walking slowly and marking the spots, especially near chair legs and heavy dining traffic. Clean under the gaps, then secure the boards with appropriate screws or nails through the subfloor using a drywall screw technique where suitable. If the squeak is caused by friction rather than movement, you can use wood floor seam filler or a targeted lubricant designed for floor repairs, but avoid messy substances that can interfere with refinishing. After securing, fill any minor holes, sand smooth, and apply a matching finish so the repair blends with the surrounding dining room hardwood floors.
📅 Last Updated: October 16, 2026 | Topic: How to repair hardwood floors in a dining room? | Content verified for accuracy and freshness.
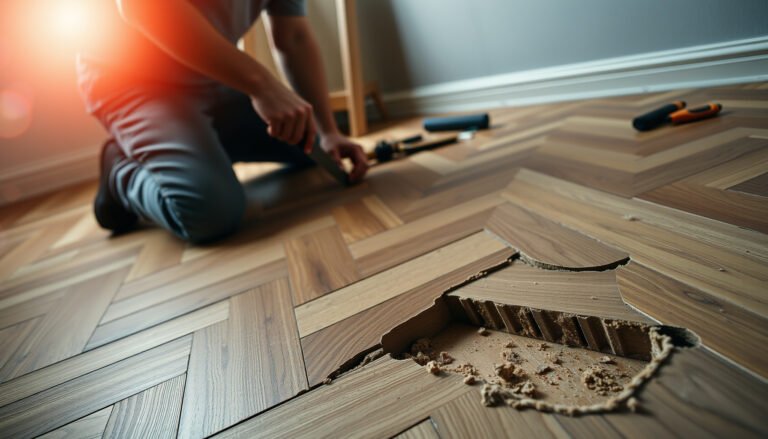
[…] wood and its finish can behave differently when conditions are outside normal indoor climate. The National Wood Flooring Association (NWFA) commonly recommends maintaining indoor relative humidity in the 35%–55% range for […]