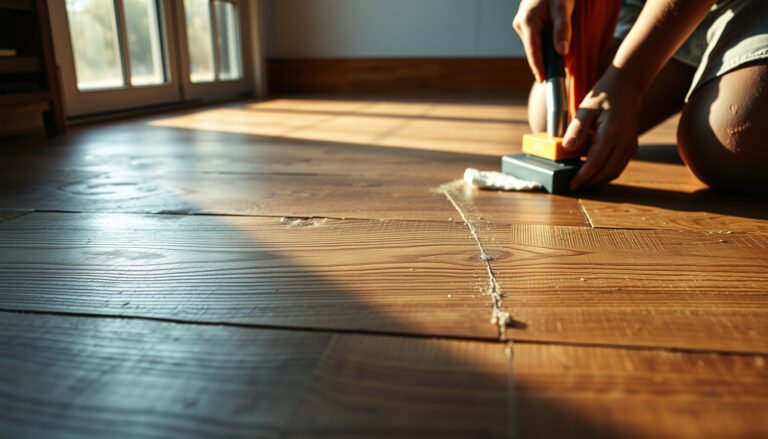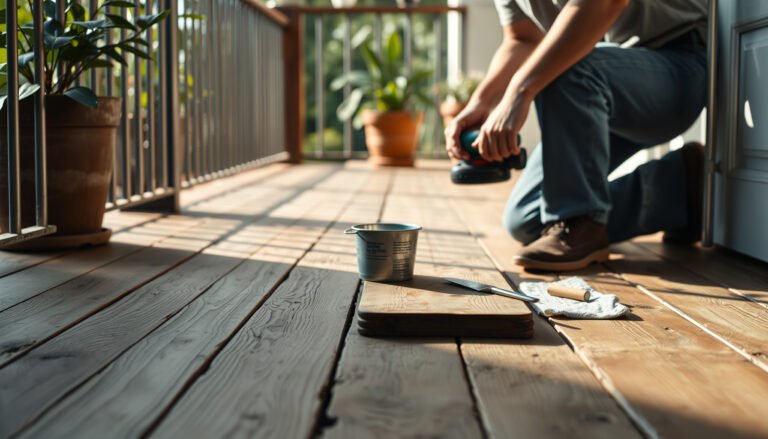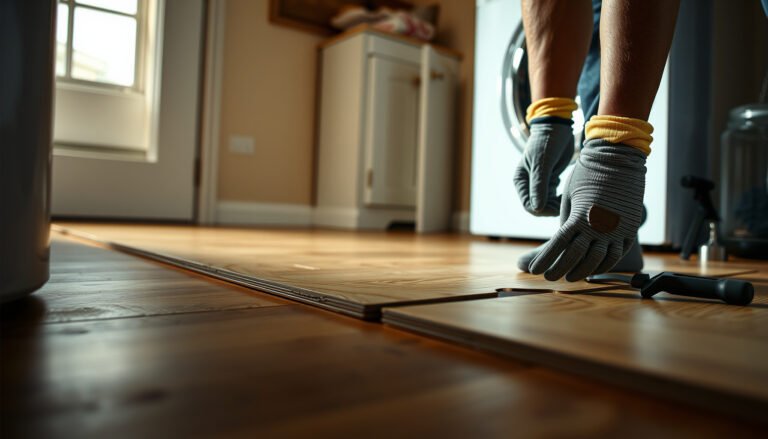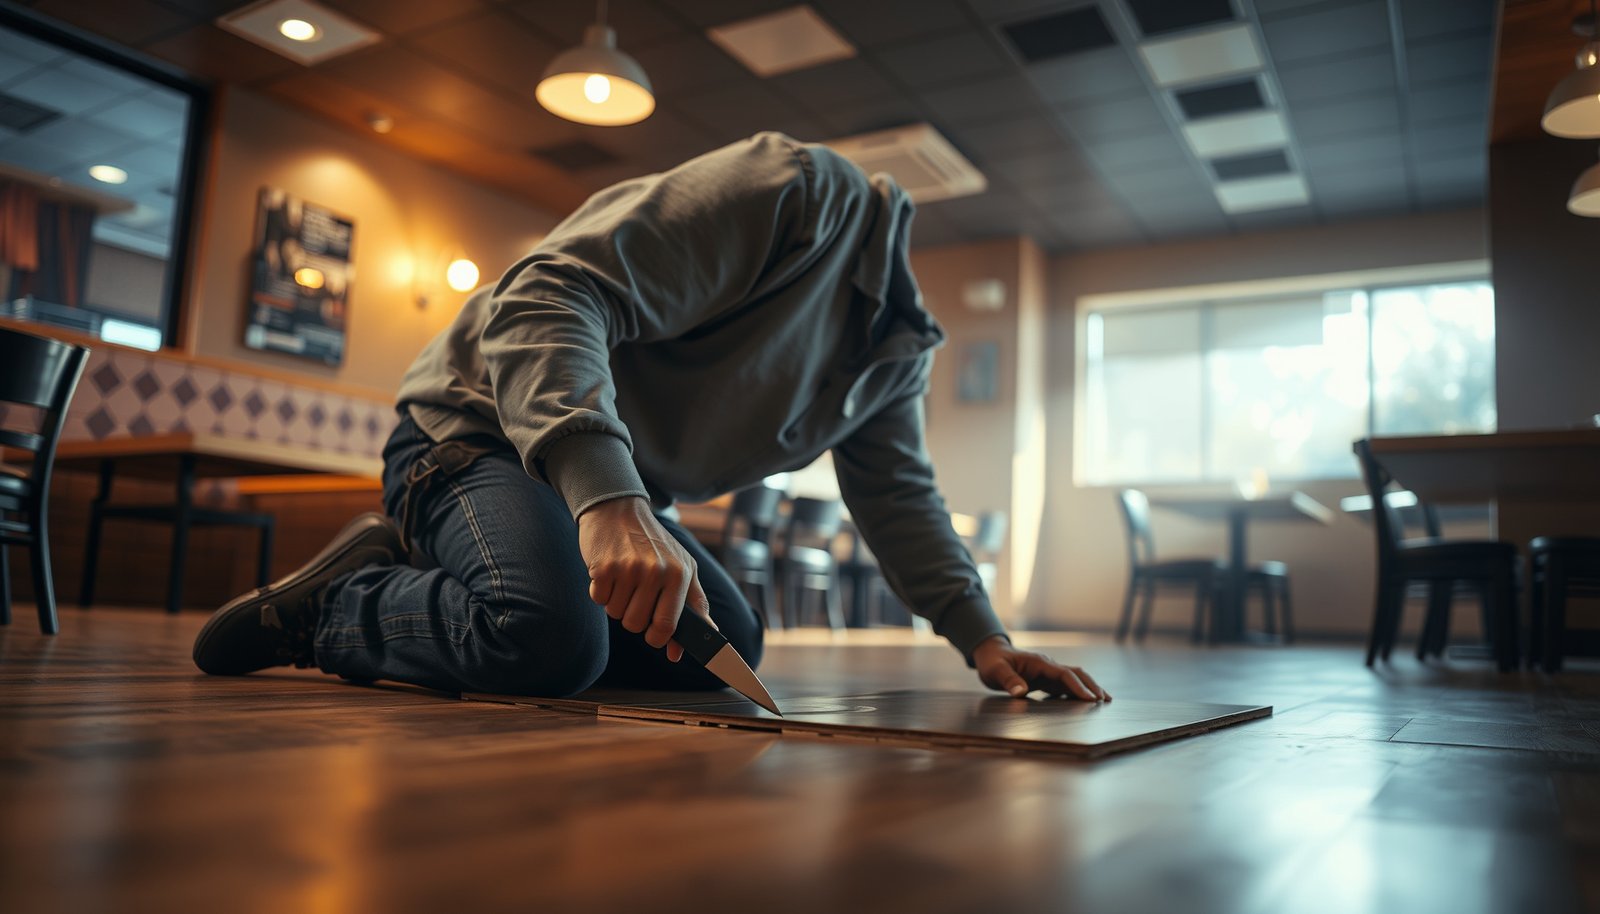

Need to repair vinyl floors in a restaurant fast and correctly? This guide delivers step-by-step fixes for the most common damage—scratches, tears, lifting seams, and deep gouges—so the floor looks right and holds up under daily foot traffic. You’ll see exactly what to clean, patch, heat, and seal, plus how to blend repairs so they pass inspection and keep guests walking safely.




You can repair vinyl floors in a restaurant by matching the repair method to the exact failure—peeling, cracking/gouges, and seam/edge lifting all require different prep and adhesives. In practice, the most reliable approach is careful cleaning and controlled removal (only where needed), then a vinyl-compatible patch and/or re-bonding method designed for your specific vinyl system so the floor holds up under daily traffic in 2026.
If your dining area, kitchen entry, or service corridor has vinyl that’s lifting at edges, has a noticeable gouge, or is separating at seams, this is for you. It’s especially relevant when you need a repair that survives frequent foot traffic and routine cleaning—without turning a small issue into a larger one.
Assess the Damage and Find the Vinyl Type
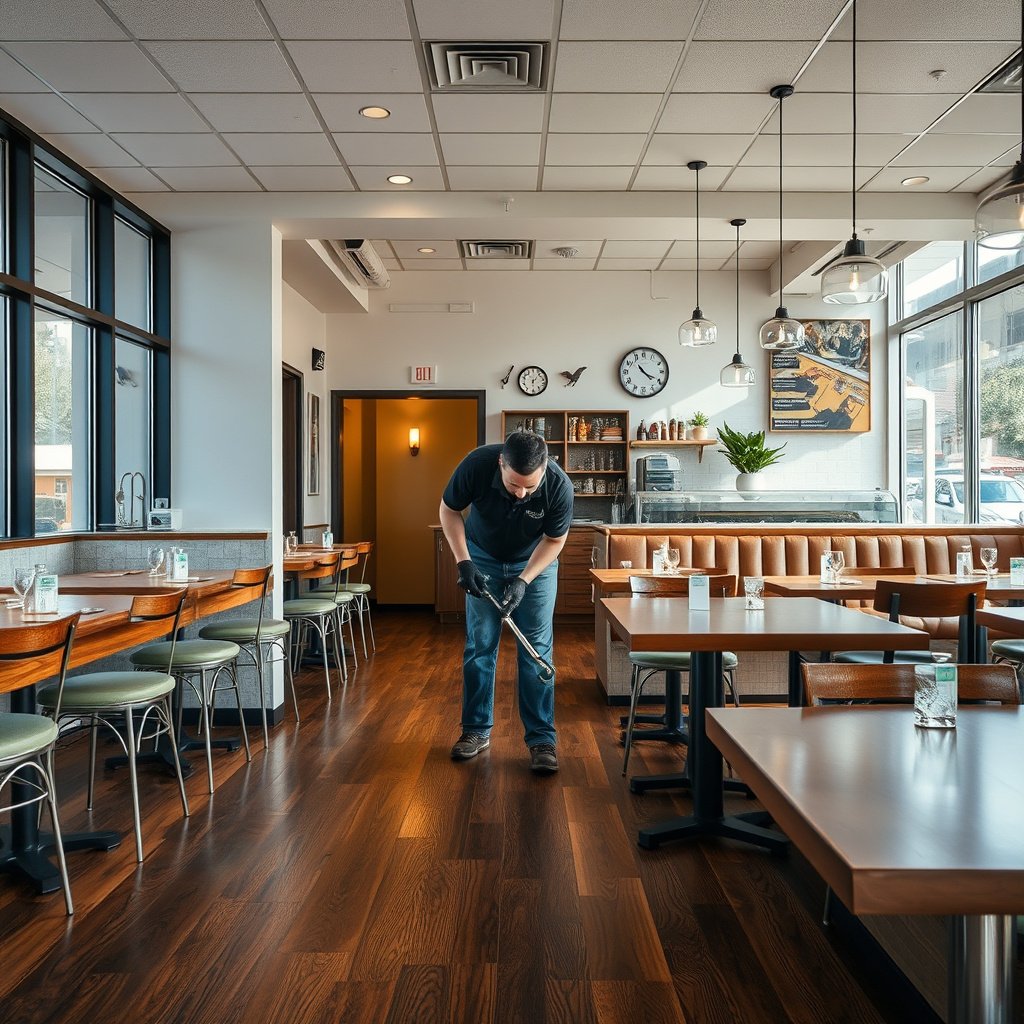
The fastest path to a durable fix is to confirm what failed (adhesive, wear surface, or seam bond) before you cut or glue anything. Once you identify the failure type and whether you have LVP/LVT planks or sheet vinyl, you can choose the correct patch and adhesive system for a “like-for-like” bond.
“Vinyl repairs succeed when the adhesive and patch are compatible with the original flooring system, not just ‘vinyl-safe’ in general.”
“Edge lifting and seam separation often trace back to adhesive failure and surface contamination, which is why deep cleaning and proper pressing matter as much as the product choice.”
“Localized gouges and wear-through typically require a patch that restores the wear layer and surface profile, not just a cosmetic fill.”
What to look for (before you buy anything)
– Determine whether the problem is peeling/adhesive failure, a cracked or gouged wear layer, or a seam/edge lifting issue.
– Identify what you have (LVP/LVT planks vs. sheet vinyl) and check the manufacturer label/spec if available—repair materials must match the system.
Quick on-site triage for restaurant vinyl floor repair
Start with a dry inspection and then a gentle tactile check:
– Peeling / edge lifting: you’ll see an edge that “stands up,” a visible gap, or the vinyl surface separating along a seam or perimeter.
– Seam separation: the seam line opens, sometimes “telegraphing” through as a ridge or shadow.
– Crack / gouge: the top wear layer is damaged—often caused by dropped pans, rolling carts, or grit under cleaning tools.
– LVP plank damage vs. sheet vinyl damage: planks are individual units with joints; sheet vinyl is one continuous piece with seams only at transitions.
As of 2026, the biggest mistake in restaurant vinyl floor repair is jumping to “patching” without confirming whether you actually need re-bonding (for lifting) or wear-layer restoration (for gouges/cracks).
Gather the Right Tools and Compatible Materials
The right tools prevent most repair failures in restaurant vinyl floor repair because they control cleanliness, cutting accuracy, and bonding pressure. Your materials must be compatible with your specific vinyl type and installation method (glue-down vs. click-lock), not just broadly “resilient flooring” products.
“Surface prep requirements—especially removing grease, detergent film, and loose residue—are a primary determinant of long-term adhesive bond strength for resilient floor repair.”
“Using the manufacturer-recommended adhesive or a documented compatible alternative is critical because vinyl flooring adhesive systems are not universally interchangeable.”
“A controlled utility-knife cut with straight edges improves patch fit and reduces ‘edge ghosting’ that can re-open under traffic.”
– Use cleaning supplies that won’t leave residue, plus a utility knife and scraper/spatula for controlled removal.
– Choose repair products that are compatible with vinyl flooring (e.g., vinyl patch for wear-layer damage or the manufacturer-recommended adhesive for lifting/plank repair).
Tools that matter more than people expect
For reliable restaurant vinyl floor repair, plan on:
– Cleaning & degreasing: non-residue cleaners and fresh cloths (avoid soaking seams where subfloor conditions are unknown).
– Removal tools: razor scraper/spatula for lifting vinyl without damaging the surrounding joints.
– Cutting tools: sharp utility knife with spare blades to keep cuts straight and shallow enough for clean patch edges.
– Pressing/holding gear: a flat weight or roller that matches the adhesive’s required pressure and cure behavior.
Adhesive cure time (plan around it)
In commercial spaces, “tack time” (when it stops moving) is not the same as “full cure” (when it can safely handle load and cleaning impact). For restaurant vinyl floor repair, you want the full cure window.
Repair Peeling or Lifting Edges/Seams
Lifted edges and opening seams are usually re-bonding problems, meaning the fix is mostly cleanliness, underside prep, and correct pressing during cure—not just gluing the top surface. When you do this correctly, you can often stop the failure from spreading without replacing entire sections of restaurant vinyl flooring.
“For resilient floor seam and edge repairs, adhesive bond success depends on contaminant-free mating surfaces and adequate pressure during curing.”
“Pressing and holding are not optional: many resilient adhesives require a specific pressure and time to achieve a durable bond.”
“A properly matched seam repair method minimizes ‘re-lifting’ at the corners, where movement and moisture exposure are often highest.”
– Clean the underside and subfloor surface (remove dust, grease, and old residue) so the adhesive can bond properly.
– Repress and hold the seam/edge using a flat weight or proper pressing method for the adhesive’s required cure time (follow the adhesive label).
Step-by-step: edge lifting in a restaurant corridor (practical flow)
1. Isolate and protect the area. Restaurant traffic turns a small lifting edge into a tear quickly—set cones, tape lines, and plan for minimal footfall.
2. Lift only what’s already compromised. Don’t pry aggressively; you can crack adjacent joints or pull up more material than you intended.
3. Clean the underside + subfloor. Remove dust, old adhesive residue, and grease film—especially in kitchens and entryways.
4. Apply adhesive correctly. Follow your product’s method (bead vs. spread, full coverage vs. spot) and avoid over-applying.
5. Press with intention. Use a flat weight or roller and keep it in place through cure—restaurant vinyl floor repair failures frequently happen when pressure is released too early.
6. Reopen only after full cure. Then re-check edges for “spring-back” or new gaps.
Patch a Gouge, Crack, or Worn Spot (Localized Damage)
For localized gouges and wear-through, the most durable solution is a patch that restores the missing wear-layer surface and sits flush with the surrounding vinyl. The closer your patch edges match the original profile, the less likely you are to feel (or break) the repair under chair legs, carts, and cleaning machines.
“Wear-layer damage typically requires a patch approach that restores surface level, because raised edges can re-damage quickly under rolling traffic.”
“Cutting out only the damaged area with straight edges helps the patch stay tight and reduces adhesive starvation at the repair perimeter.”
“For restaurants, the patch must be fully cured before the area is cleaned aggressively, since moisture and detergents can disrupt early bond formation.”
– Cut out only the damaged area with straight, controlled edges (for planks, avoid cutting beyond the target plank if possible).
– Install the patch so it sits flush, then level it with the surrounding surface; allow full cure before heavy traffic.
Two common patch scenarios
A) Sheet vinyl patching
– Cut a neat rectangle matching the seam logic of the sheet (avoid cutting across unrelated seams if possible).
– Dry-fit to confirm the patch outline sits flush, then bond and level.
B) LVP/LVT wear-layer repair
– If the wear layer is damaged but the plank itself isn’t fully compromised, you may be able to patch at the wear layer level.
– If the plank is delaminating or the core is failing, go to plank replacement instead.
Flush is the real success metric
In restaurant vinyl floor repair, “it looks fine at closing” is not enough. You want:
– No trip edge
– No hollow around the patch perimeter
– No visible adhesive squeeze-out that becomes a dirt magnet
Replace a Damaged Vinyl Plank (When It Can’t Be Patched)
When the plank is structurally compromised (deep delamination, repeated cracking, or severe joint failure), patching won’t hold under restaurant traffic. In that situation, plank replacement is the only approach that restores the floor’s mechanical stability.
“If the vinyl plank is separating from its base or has core failure, replacement generally outlasts patch repairs in high-traffic commercial use.”
“Replacement requires matching the installation method—click-lock and glue-down planks use different securing systems.”
“Pattern matching and correct joint alignment matter because misalignment increases stress at edges, accelerating re-lift.”
– Remove the damaged plank carefully to avoid loosening adjacent planks, then install the replacement using the correct method for your flooring type (click-lock vs. glue-down).
– Match direction/pattern as closely as possible and press/secure per instructions; re-check edges for lifting.
Glue-down vs. click-lock: what changes
– Glue-down LVP/LVT: you’re dealing with adhesive transfer and bond chemistry. Cleanup quality on the subfloor matters more than most DIYers expect.
– Click-lock LVP/LVT: you’re dealing with locking profiles and flatness. Any raised subfloor spot can cause the new plank to fail again.
If you don’t know which you have, look at:
– The perimeter details (do you see glue residue near edges?)
– The behavior of lifted seams (click-lock lifts as a joint; glue-down often shows adhesive residue on the underside)
What Can Go Wrong (Common Restaurant Repair Mistakes)
Most vinyl repair failures happen because the fix targets the symptom instead of the root cause. In restaurant vinyl floor repair, the most common problems are adhesive incompatibility, contamination, and returning to full traffic before cure is complete.
“Using a different adhesive chemistry than the original system can result in weak bonds, edge re-lifting, or visible discoloration around the repair.”
“Detergent film and grease residue are major causes of adhesive failure on foodservice floors, especially near entrances and prep/kitchen transitions.”
“Opening the area before full cure reduces bond strength and can cause the patch or seam to fail during normal cleaning cycles.”
– Using the wrong adhesive or patch material can cause poor bonding, discoloration, or re-lifting—especially if the vinyl is designed for a specific glue system.
– Skipping deep cleaning (grease, detergent film, dust) is a frequent reason repairs fail under traffic.
– Rushing cure time leads to early re-damage—plan for downtime and foot-traffic rerouting.
DIY vs. contractor: a practical comparison (restaurant reality)
Below is a decision-oriented view of what tends to go smoothly and where risk concentrates.
| Factor | DIY repair | Pro repair |
|---|---|---|
| Material compatibility | At risk if you guess at adhesive/patch matching. | Higher chance of using the documented system for your vinyl. |
| Subfloor diagnosis | May miss moisture/soft spots behind the vinyl. | More likely to detect subfloor conditions driving repeated lift. |
| Cut accuracy & fit | Can create visible edges if cuts aren’t straight/flush. | Improves patch seam tightness and reduces re-damage. |
| Downtime planning | Often underestimated; rush can reopen the repair. | More realistic scheduling aligned to cure requirements. |
Verdict: What We Recommend (and When to Call a Pro)
For most small to medium spots—peeling edges, lifted seams, and individual plank damage—DIY repair is reasonable if you can identify the vinyl type, use manufacturer-compatible adhesives/patches, and enforce cure time. If the damage is widespread or the subfloor is compromised, hiring a pro is the safer and often cheaper option over the next 12 months of restaurant vinyl floor repair maintenance.
“If lifted areas keep returning after repair, the issue is often subfloor movement, moisture, or repeated contamination—not just the patch or adhesive.”
“Professional resilient flooring repairs typically focus on system compatibility (floor + adhesive + patch) and verified cure/downtime planning.”
“When you can’t source matching material or the installation method is unknown, replacement and warranty risk grow quickly.”
Do this DIY approach only if you can: (1) identify the vinyl type, (2) use manufacturer-compatible adhesives/patches, and (3) control traffic until cure is complete. Skip DIY and get help if you suspect structural issues or repeated failures after prior repairs.
DIY vs Pro “at a glance” (restaurant vinyl floor repair)
| Criteria | DIY | Pro |
|---|---|---|
| Compatibility matching | Depends on correct identification. | More likely to use the documented system. |
| Subfloor risk detection | May be missed in hidden areas. | Typically better diagnostic workflow. |
| Cut/fit quality | Can be inconsistent at tight seams. | More consistent edge matching. |
| Cure-time enforcement | Often the first rushed step. | Better aligned to manufacturer cure guidance. |
| Traffic management | Needs strict temporary isolation. | More likely to schedule around operations. |
| Material sourcing | Can be difficult to match later. | Higher chance of locating matching inventory or acceptable alternatives. |
| Repeat failure prevention | Depends on identifying the true root cause. | More likely to address systemic causes. |
| Overall cost over time | Can escalate if the repair re-lifts. | Often better lifecycle economics for bigger failures. |
| Speed of restoring service | May be slower if issues appear during repair. | More predictable scheduling and workflow. |
| Risk tolerance for visible seams | Higher risk if pattern/height aren’t matched. | More likely to minimize visible patch lines. |
| Verdict | Choose DIY when damage is localized and you can match the system. | Choose pro work when damage is widespread, recurring, or subfloor issues are suspected. |
Quick Checklist: Restaurant Vinyl Floor Repair
Use this checklist to keep your restaurant vinyl floor repair focused on the exact failure and the correct materials. If you can’t check an item—especially compatibility or cure-time planning—pause and get guidance before you cut or glue.
“A written repair checklist prevents the two most common restaurant problems: incomplete cleaning and reopening before full cure.”
“Confirming flooring type (LVP/LVT vs sheet) early avoids buying the wrong patch or adhesive system.”
“In high-traffic areas, ‘flush and cured’ matters more than ‘looks fine’ at first glance.”
– Identify damage: peel/lift vs. seam vs. gouge/crack vs. plank replacement needed
– Confirm flooring type: LVP/LVT vs. sheet vinyl (and installation method if known)
– Clean thoroughly: remove dust/grease/old residue
– Use compatible materials: vinyl-rated patch and/or manufacturer-recommended adhesive
– Cut/remove carefully (localized) and keep edges straight
– Cure fully before reopening to heavy traffic (follow label/datasheet)
– Inspect after reopening for edge lifting or telegraphing seams
Typical Commercial Vinyl Wear-Layer Targets for High-Traffic Areas
| # | Wear-layer “level” (common spec) | Approx. wear thickness | Typical design intent | Repair difficulty* |
|---|---|---|---|---|
| 1 | Light Residential | ≤ 6 mil | Low-traffic rooms | ★☆☆☆☆ |
| 2 | Entry / Light Commercial | 6–8 mil | Light storefront traffic | ★★☆☆☆ |
| 3 | General Commercial | 8–12 mil | Dining areas / offices | ★★★☆☆ |
| 4 | Heavy Commercial | 12–20 mil | Restaurants & corridors | ★★★★☆ |
| 5 | Industrial / Ultra-Durable | 20–28 mil | Loading + frequent carts | ★★★★☆ |
| 6 | Premium Coated / Sealed | Often ≥ 12 mil* | High cleanability expectations | ★★★☆☆ |
| 7 | Wear-layer Compromised | Effectively “thinned” | Localized damage zones | ★★☆☆☆ |
Repair difficulty here is an operational estimate for matching wear profile and surface look in restaurant vinyl floor repair, not a manufacturer warranty guarantee.
> Note: If you can, use your actual product’s spec sheet to confirm wear-layer thickness and compatible repair system.
Sources
– Adhesive manufacturer technical datasheets for cure time and surface prep requirements:
A durable restaurant vinyl floor repair comes down to one principle: match the repair method to the failure mode and the flooring system, then control cleanliness and cure time like a process—not a hope. If you stick to vinyl-compatible materials, cut only what’s necessary, press/hold as specified, and don’t reopen until the repair is fully cured, you can stop lifting seams and restore damaged areas without escalating downtime. If you see recurring failures or suspect subfloor issues, shift to professional assessment early to protect both safety and your floor’s remaining service life.
Frequently Asked Questions
What are the most common ways vinyl floors get damaged in restaurants?
In restaurants, vinyl sheet and tile floors are often damaged by heavy foot traffic, dropped cookware, and rolling chairs or carts. The most frequent issues include lifting seams, cracks and tears around high-impact areas, scratches from grit, and dents from equipment legs. Moisture can also cause bubbling or edge lifting, especially near sinks, dishwashing areas, or mop-water spills.
How do you repair loose or lifting vinyl flooring without replacing it?
First, clean the affected area thoroughly and remove any wax, grease, or old residue so the adhesive can bond to the subfloor. If the vinyl is only slightly lifted, use a vinyl floor adhesive designed for your product type and press the seams down firmly with weighted pressure until cured. For larger lifted sections, you may need to gently lift the area, re-bond to the subfloor, and use seam tape or patching material to restore a smooth surface before the adhesive sets.
How do you fix scratches, gouges, or small tears in commercial vinyl floors?
For minor scratches, clean the area and use a vinyl floor repair kit or color-matched filler to level the surface. For small tears and gouges, clean and square off the damaged area, then apply a compatible vinyl patch or filler and blend it to the surrounding texture. After the repair cures, consider using a commercial floor polish or top-coat that matches the existing finish to help the repaired spot resist daily wear.
Which adhesive and tools are best for repairing vinyl floors in a restaurant?
Use an adhesive specifically labeled for vinyl flooring and compatible with your installation method (glue-down or loose-lay) and subfloor type. Essential tools typically include a utility knife, scraper, proper roller or seam roller, and a heat tool only if your flooring requires it for re-bonding. Because restaurants are high-traffic, choose fast-curing, low-odor commercial products, and follow cure times so the area is safe to reopen.
Why does vinyl flooring bubble or lift in restaurant kitchens, and how do you prevent it after repair?
Bubbling and lifting usually come from moisture intrusion, inadequate subfloor prep, or cleaning practices that leave excess water behind. After repairing, address the root cause by improving spill cleanup procedures, ensuring proper ventilation, and using a damp-mop method rather than soaking. Regular maintenance—like using non-abrasive cleaners, placing mats at entrances, and keeping heavy equipment pads in good condition—helps prevent repeat damage and extends the life of your commercial vinyl floors.
📅 Last Updated: October 26, 2026 | Topic: How to repair vinyl floors in a restaurant? | Content verified for accuracy and freshness.
References
- Vinyl flooring
- Learn About Asbestos | US EPA
- https://www.epa.gov/asbestos/asbestos-building-materials
- 1910.1001 – Asbestos. | Occupational Safety and Health Administration
- https://www.cdc.gov/niosh/topics/slips/
- Food Code 2017 | FDA
- Food Code 2022 | FDA
- https://scholar.google.com/scholar?q=repair+vinyl+floor+patch+replace+tile Google Scholar
- https://scholar.google.com/scholar?q=vinyl+composition+tile+VCT+repair+methods Google Scholar
- https://scholar.google.com/scholar?q=commercial+kitchen+floor+maintenance+resilient+flooring Google Scholar