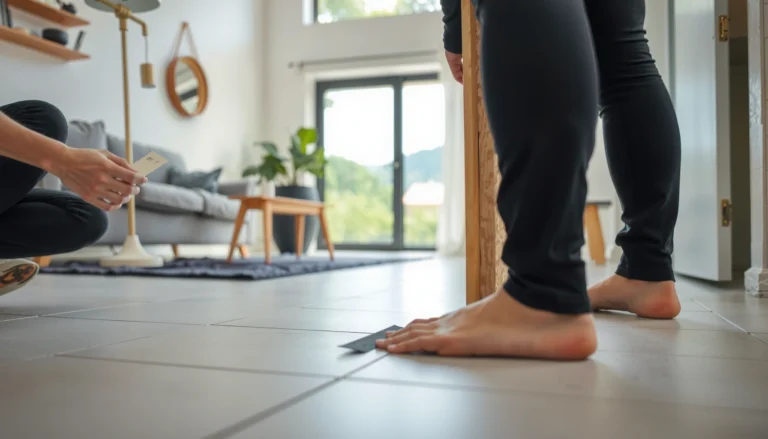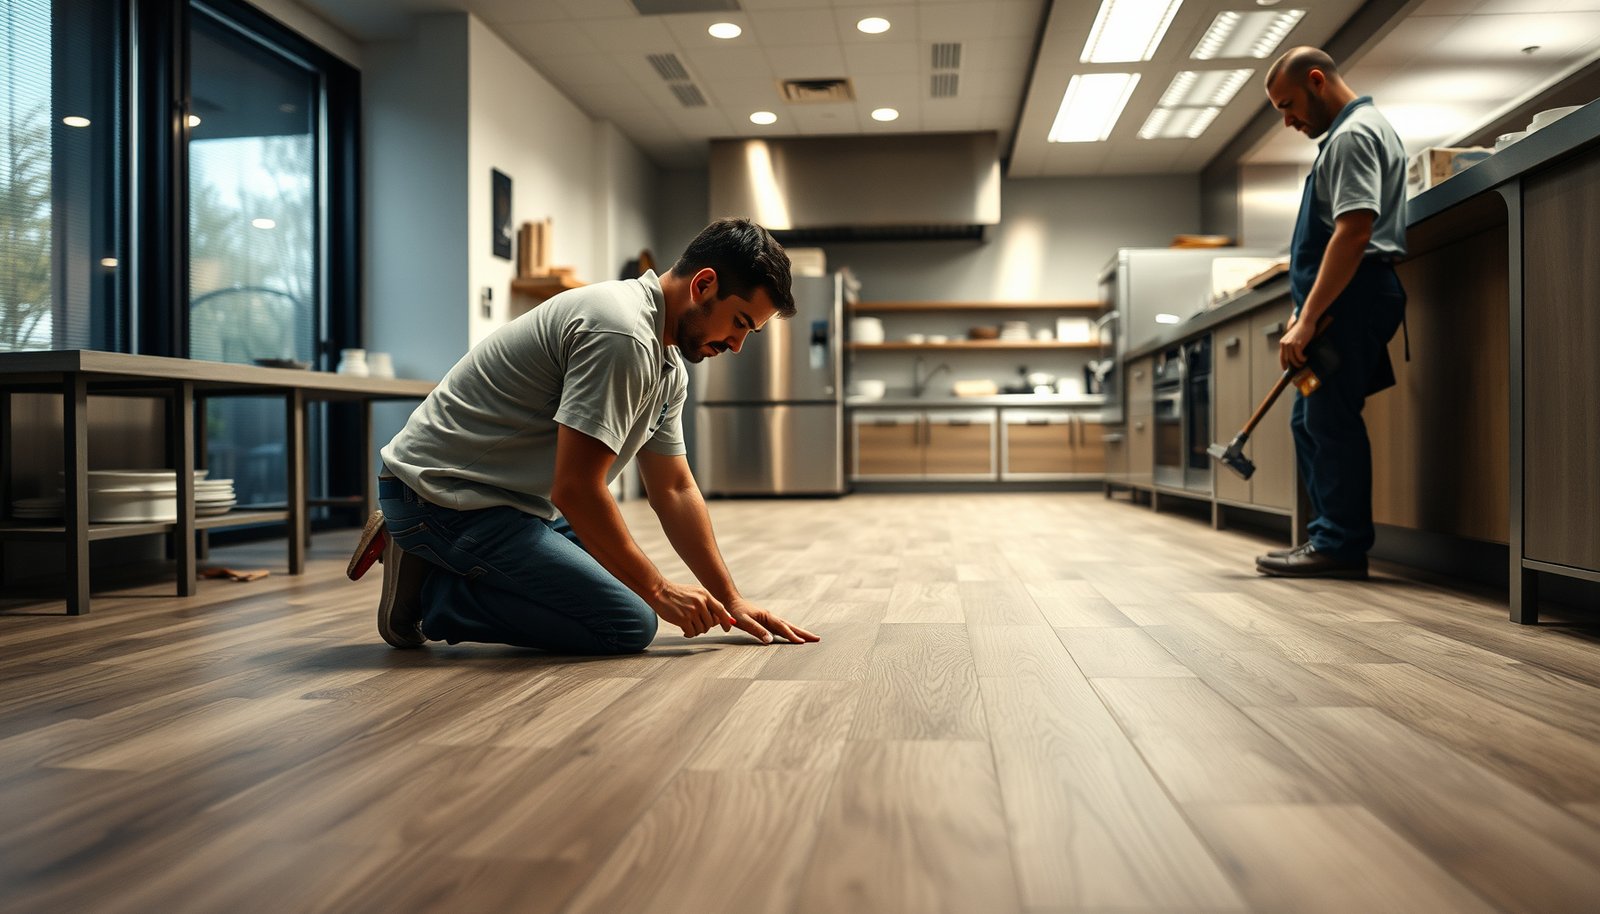

You can install vinyl floors in a restaurant step by step with a process designed for heavy foot traffic and frequent cleaning. This guide shows exactly what to do—from subfloor prep and layout to adhesive choice, cutting around doorways, and proper rolling—so the floor holds up fast without costly rework. If you follow these instructions, you’ll get a durable, professional-looking install the first time.




A restaurant vinyl floor install comes down to three controls: airtight subfloor prep (flatness + cleanliness), correct commercial vinyl for heavy traffic, and installing with the exact moisture/adhesive method the product specifies (click-lock vs. glue-down). When you do those steps correctly, grease, water, and daily cleaning routines can’t easily work their way underneath the floor.
If you’re installing vinyl flooring for a dining room, kitchen, or both, this guide is built around the realities that differ from home installs—especially moisture management, reduced downtime, and transition detailing around doorways and fixed equipment.
Prep work and planning for restaurant downtime
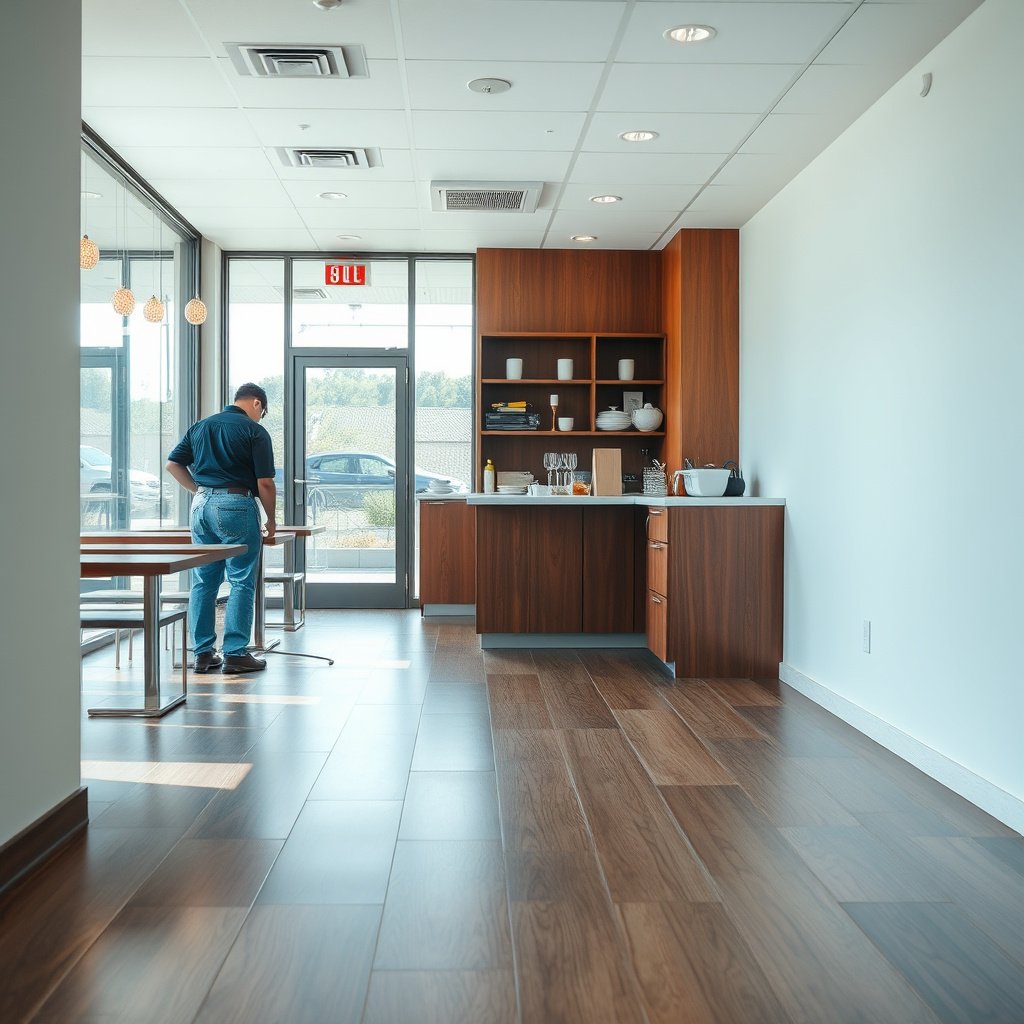
You minimize risk and downtime by scheduling the job around cure/protection windows and planning for controlled work zones. In my experience reviewing restaurant flooring plans, the schedule matters as much as the vinyl choice because adhesive cure and moisture stabilization are what often push reopening dates.
“Restaurant-ready” resilient flooring projects usually fail less from the click or glue step itself and more from skipped subfloor flatness, moisture, or transition sealing—three items you can control before installation.
According to ASTM F710, resilient flooring installation practices include preparing substrates to required flatness and condition so the finished vinyl does not telegraph defects or fail at seams.
– Schedule the install around business hours: plan for adhesive cure/setting time and protected walk-off periods (use your specific product’s times). In practice, you want (1) demo and prep while the kitchen is still operating, then (2) install only once you can protect the new vinyl for the full cure window the manufacturer specifies.
– Plan for “no rolling loads” windows too. Even if the floor feels walkable, kitchen traffic (carts, dollies, keg trucks) can shift seams or damage glue bonds if you reopen too early. Use the product’s language for “first foot traffic,” “rolling loads,” and “full exposure to cleaning.”
– Protect adjacent areas (doors, counters, HVAC returns) and plan for dust/odor control during subfloor prep.
– Use poly containment, cover doorways, and protect HVAC returns from dust migration. Subfloor prep is usually the messiest phase in restaurant vinyl installs.
– If you’re grinding concrete or patching, coordinate cleanup and dust control with the site’s sanitation standards—especially if the kitchen shares air pathways with the dining room.
– Confirm you have the right amount of material for pattern/layout, waste, and any cutting around posts, drains, or islands.
– Restaurants usually include irregular obstacles: curbs, floor drains, island bases, and equipment pads. Add waste for these cuts and for seam placement around heavy pivot points (like where servers turn with trays).
Choose the right vinyl for commercial kitchens
You should choose vinyl based on restaurant performance conditions—heavy traffic, frequent wet cleaning, and slip-resistance—rather than just on look or wear layer marketing. The fastest route to a failure-free restaurant vinyl floor is selecting a commercial vinyl system that the manufacturer explicitly supports for kitchens and for your cleaning approach.
Commercial vinyl flooring selection starts with confirming the product is rated for heavy commercial use and the cleaning environment (including wet cleaning), not just for “general commercial.”
According to ASTM F710, manufacturers’ installation instructions govern substrate preparation and installation details for resilient floors, and deviating from them increases the risk of bond or seam issues.
– Pick a vinyl type intended for commercial use—especially if the space has rolling carts, frequent cleaning, or high chair/table movement.
– Kitchens and dining rooms behave differently. Kitchen areas see more concentrated loads (rolling carts), more liquids, and stronger cleaning chemicals.
– If the floor will face grease exposure, choose a system whose surface finish is designed to be cleaned repeatedly without compromising slip performance.
– Select the right performance features for restaurant conditions (look for slip resistance ratings and whether the product is approved for wet cleaning).
– Slip-resistance targets matter for restaurant floors because wet cleaning is routine. In the U.S., many facilities reference ADA static coefficient of friction guidance for walking surfaces (details depend on the specific testing standard used by the product).
– If the product’s literature includes a wet SCOF (static coefficient of friction) and a required test method, treat that as a real compliance requirement, not optional marketing.
– Use the required underlayment (or none) only if your manufacturer allows it; resilient floors often have strict rules on underlayers.
– Many vinyl systems—especially click-lock rigid core—either require a specific backing or prohibit alternate underlayments to maintain locking performance and flatness stability.
– If you’re working over a concrete slab, underlayment choices can interact with moisture vapor emission and can also affect acoustics and joint movement. Follow the vinyl manufacturer’s underlayment and vapor guidance for your exact system.
Subfloor prep and layout (where most failures start)
You prevent most vinyl flooring failures in restaurants by treating the subfloor as the “product”—flatness, cleanliness, and correct patching come first. In 2026, more restaurant installs still run into seam separation or telegraphing than managers expect, because subfloor prep shortcuts are easier than downtime.
For restaurant vinyl floors, flatness is not cosmetic—according to ASTM F710, resilient floor performance depends on substrate flatness so seams and joints don’t open or telegraph.
Moisture control is part of subfloor preparation: on concrete slabs, moisture testing and remediation are often required by resilient flooring manufacturer warranties and adhesive systems.
– Make the surface flat, clean, and properly prepared for resilience installation; follow manufacturer requirements for flatness/tolerances.
– Remove paint overspray, drywall mud ridges, and adhesive residue that could prevent proper bonding (glue-down) or allow movement under a floating click-lock floor.
– Repair ridges and depressions before you lay any vinyl planks or tiles. A “level enough” substrate is rarely level enough for resilient installation standards.
– Remove soft spots, patch cracks, and address leveling so the vinyl won’t telegraph imperfections or fail at seams.
– Restaurants have localized stress points: under dishwasher platforms, around kitchen islands, and near entrances where carts pivot.
– Patch compounds must cure fully before installation and must be compatible with the vinyl system.
– Dry-fit your layout: start lines, flow of traffic, and how seams/boards will land—especially at entrances and under fixed equipment.
– Plan seam placement to avoid seams landing directly in the most frequent pivot paths.
– If you’re using click-lock, your layout needs proper expansion gap strategy at walls and fixed objects so the floating floor can move.
Install vinyl floors in a restaurant (click-lock vs glue-down)
You install the right way only when you match the method to the product system: click-lock floating for specified products, or glue-down using the exact adhesive/chemistry the manufacturer requires. The method choice has direct consequences for moisture behavior, seam stability, and how you protect the floor during restaurant re-opening.
Click-lock installation is only “floating” if you maintain expansion gaps and avoid trapping the floor under fixed items—otherwise the vinyl can buckle or separate.
Glue-down vinyl flooring relies on adhesive working/open time and correct adhesive type; if you use the wrong adhesive or wrong cure conditions, bond failure can show up as edge lift and seam separation.
For resilient floors, ASTM F710 emphasizes following manufacturer installation instructions for adhesives and substrate preparation to prevent installation-related performance failures.
Click-lock (floating) approach
– Follow the locking system instructions, include required expansion gaps, and lock boards/tiles without forcing misaligned edges.
– Dry-fit pieces to reduce force-locking. Forcing misaligned edges is a common cause of micro-gaps in restaurant vinyl floors that later collect grease and water.
– Maintain expansion gaps around the perimeter and at rigid protrusions using the spacing method your product requires (often foam spacers or pre-defined spacers).
– Avoid installing click-lock vinyl in a way that pins it under cabinets or equipment bases unless the manufacturer explicitly allows it.
Glue-down approach
– Use the adhesive specified for your vinyl, apply it per instructions, and respect open/working time so it bonds correctly.
– Adhesive application rate, trowel notch size (if specified), and environmental conditions (temperature/RH) directly affect bond performance.
– Do not “re-wet” partially flashed adhesive—follow the glue-down workflow so the adhesive activates properly for a restaurant vinyl floor that must handle daily mopping and grease cleaning.
Finish with transitions and details
– Trim at doorways, around edges, and any penetrations so liquids/cleaners can’t migrate under the floor.
– Restaurants need aggressive attention to transitions: door entries, between dining and kitchen zones, and where different flooring heights meet.
– Apply edge sealing and caulk only where the manufacturer allows it. Don’t create a barrier that traps moisture if your system doesn’t support it.
Click-lock vs. glue-down at a glance (restaurant realities)
| Criterion | Click-lock (floating) | Glue-down |
|---|---|---|
| Downtime sensitivity | Often faster to install, but still needs protection time | Can require longer cure windows and stricter traffic control |
| Moisture behavior | More dependent on expansion gap strategy and subfloor moisture control | Bond depends on adhesive suitability and moisture conditions (especially on concrete slabs) |
| Fixed equipment tolerance | Floating sections must accommodate movement; often needs careful detailing | More rigid stability under fixed elements when installed correctly |
| Tools and skill focus | Lock integrity, alignment, and gap control | Adhesive workflow, troweling consistency, and working time discipline |
| Edge sealing | Critical at transitions; dirt/water intrusion can travel along joints | Critical at penetrations and perimeter transitions to prevent moisture pathways |
What can go wrong (and how to avoid it)
You avoid the biggest restaurant vinyl floor problems by checking moisture, using the correct system components (adhesive/underlayment), and sealing transitions to stop liquid migration. Most issues show up later—after months of cleaning—because the underlying pathway is created during installation.
If the subfloor’s moisture condition is outside what the adhesive or vinyl system supports, resilient flooring can lift, curl, or lose adhesion—even if it looks fine at first.
Seam failure and edge lift frequently trace back to system mismatch: the wrong adhesive, the wrong underlayment, or skipping required acclimation and prep steps stated by the manufacturer.
– Moisture problems: if the subfloor has moisture issues (concrete slabs, some patch products), vinyl can lift or separate—test and remediate according to your floor system requirements.
– A common industry approach is to test with methods aligned to ASTM F1869 (moisture vapor emission rate) or ASTM F2170 (in-situ relative humidity probes) and then follow the vinyl/adhesive manufacturer’s acceptable limits.
– According to ASTM F1869, moisture vapor emission rate (MVER) is measured in lbs per 1,000 sq. ft. per 24 hours.
– According to common resilient flooring specifications referenced in industry guidance, many adhesive systems target around ≤ 3.0 lbs/1,000 sq. ft./24 hr MVER or ≤ 75% in-situ RH—but you must confirm your exact vinyl + adhesive limits in the manufacturer documentation.
– Wrong underlayment/adhesive: using a “similar” underlayment or not using the exact adhesive can void warranties and lead to curling, seam failure, or poor bond.
– Glue-down failures often show as edge lift around seams and around equipment bases.
– Click-lock failures often show as separation at high-flex zones, because the floor wasn’t allowed to expand/contract as designed.
– Gaps and transitions: missing expansion gaps (floating floors) or sloppy edge sealing can create buckling, dirt traps, and water pathways.
– If water can reach the edge of a vinyl sheet or plank assembly, it can migrate under the system depending on how the seams and transitions are detailed.
– For restaurant use, transitions at doorways are especially vulnerable due to direct rolling carts, pressure washing, and repeated impact.
Data you can use during planning
7 Installation Standards That Most Influence Restaurant Vinyl Performance
| # | Standard | Primary Focus | Key Output | Use Case Priority ★ |
|---|---|---|---|---|
| 1 | ASTM F710 | Resilient floor installation practices | Flatness + proper substrate condition | ★★★★★ |
| 2 | ASTM F1869 | Moisture vapor emission testing | MVER in lbs/1,000 sq. ft./24 hr | ★★★★☆ |
| 3 | ASTM F2170 | In-situ relative humidity testing | RH % at slab depth | ★★★★☆ |
| 4 | ASTM F1700 | Resilient floor underlayment vapor requirements | Underlayment performance expectations | ★★★☆☆ |
| 5 | ANSI A326.3 | Slip resistance test method | Dynamic/wet friction measurement approach | ★★★☆☆ |
| 6 | ADA 2010 Standards | Accessible walking surface guidance | Friction guidance for walking surfaces | ★★★☆☆ |
| 7 | ASTM D2047 | Laboratory slip resistance testing | Oil/contaminant slip test framework | ★★☆☆☆ |
> Note: This table is meant for planning and specification conversations. The exact pass/fail limits you need for your restaurant vinyl flooring depend on your specific product’s testing claims and installation instructions.
Verdict / tip + fast checklist
If you want the best chance of a trouble-free restaurant install, follow the vinyl manufacturer’s installation instructions line-by-line and treat subfloor prep and moisture control as the “real job.” Downsides are real: commercial installs can take longer due to cure times, and glue-down systems demand tighter adhesive/environment control—so if you can’t manage downtime or you don’t know your substrate conditions, consider hiring a flooring contractor for the critical prep and layout.
From my experience in troubleshooting restaurant vinyl flooring issues, the “small” details—transitions at doorways, perimeter sealing, and correct seam planning under fixed equipment—are often what separate a floor that survives daily mopping from one that fails early.
Quick checklist before you start
| Step | Check |
|---|---|
| Product match | Vinyl + underlayment/adhesive are approved for your subfloor and commercial setting |
| Subfloor condition | Flat, clean, sound; no loose patches or soft spots |
| Moisture/planar checks | Moisture testing/requirements confirmed for your slab type (per manufacturer) |
| Layout | Seams/edges planned for heavy traffic zones and fixed equipment |
| Installation method | Click-lock vs. glue-down done exactly as specified (including expansion gaps) |
| Curing & reopening | No traffic until the product system allows it; protect during cleaning/usage ramp-up |
| Transitions/edges | Doorways, edges, and penetrations sealed/trimmed to prevent liquid migration |
Sources
– ASTM resilient flooring installation standards applicable to your situation (e.g., resilient floor installation practices): ASTM F710 (resilient flooring installation practices); ASTM F1869 (MVER); ASTM F2170 (in-situ RH)
– ADA accessibility guidance for walking surface friction: ADA 2010 Standards for Accessible Design
– Slip resistance test method references: ASTM D2047; ANSI A326.3
Bottom line: a restaurant vinyl floor performs when the vinyl system matches the environment, the subfloor is actually ready, and the installation method (click-lock vs. glue-down) is followed exactly—including moisture control and transitions that block grease and water from migrating underneath. If you’re optimizing for a specific opening schedule in 2026, prioritize the prep and curing plan first, then lock in the correct commercial vinyl system second.
Frequently Asked Questions
What’s the best way to prep the subfloor before installing vinyl floors in a restaurant?
Start by removing old flooring and thoroughly cleaning the subfloor so there’s no dust, grease, or adhesive residue. Check for flatness with a straightedge—most vinyl flooring requires a smooth, level base to prevent telegraphing and premature wear. Repair cracks or low spots with a suitable patch/leveler rated for luxury vinyl or resilient flooring, and confirm the subfloor is dry before installation. In a restaurant, schedule downtime for prep and consider moisture testing if the slab is concrete or if you suspect spills or humidity.
How do you install luxury vinyl plank or tile in a high-traffic restaurant without damage?
Use commercial-grade LVP or LVT designed for heavy traffic and choose an installation method that matches your floor type, such as click-lock floating or full-spread adhesive where recommended by the manufacturer. Leave the required expansion gaps around walls and doorways so the vinyl floor can move with temperature and humidity. Stagger plank joints in a brick pattern, maintain consistent spacing, and roll the floor with a weighted roller if the product calls for it—this helps lock joints and improves adhesion. For areas near entrances or kitchens, plan transitions and protect seams to reduce lift from rolling carts and foot traffic.
Which underlayment should you use for vinyl flooring in commercial kitchens and dining areas?
The right underlayment depends on whether your vinyl product is rigid core with an attached pad or is a thin sheet/loose-lay system. Many luxury vinyl planks and tiles with an attached pad do not require additional underlayment, but you may need a vapor barrier over concrete to manage moisture. Avoid soft or incompatible underlayments that can cause bounce and accelerate wear, especially under chairs, tables, and heavy equipment. Always follow the manufacturer’s underlayment requirements for your specific vinyl floor model to keep the warranty valid.
How should you handle transitions and door thresholds when installing vinyl floors in a restaurant?
Plan transitions carefully where different flooring types meet, such as entryways, dining rooms, bathrooms, and back-of-house corridors. Use matching transition strips or reducer profiles designed for resilient flooring so edges are protected from peeling and trip hazards. At door thresholds, install the vinyl with proper expansion gaps and ensure the transition piece anchors securely without pinching the floor. For rolling loads—like carts moving through hallways—prioritize durable transition solutions that keep seams flat and aligned.
Why is acclimation important before you install vinyl floors in a restaurant, and how do you do it correctly?
Acclimation helps vinyl flooring adjust to the restaurant’s temperature and humidity so it installs flat and doesn’t shrink or gap later. Bring boxes into the space and follow the flooring manufacturer’s recommended acclimation time, typically 24–48 hours for many products, while keeping HVAC running. Avoid installing when the space is extremely cold or humid—this is especially important for restaurants where kitchens create heat and moisture. Proper acclimation reduces installation problems like gapping, buckling, and adhesive failure, which is critical for maintaining a clean, durable commercial floor.
📅 Last Updated: October 26, 2026 | Topic: How to install vinyl floors in a restaurant? | Content verified for accuracy and freshness.
References
- Vinyl flooring
- https://scholar.google.com/scholar?q=vinyl+flooring+installation+instructions+subfloor+preparation Google Scholar
- https://scholar.google.com/scholar?q=commercial+vinyl+floor+installation+practice+ASTM+F1859 Google Scholar
- https://scholar.google.com/scholar?q=restaurant+flooring+requirements+resilient+vinyl+slip+resistance+installation Google Scholar