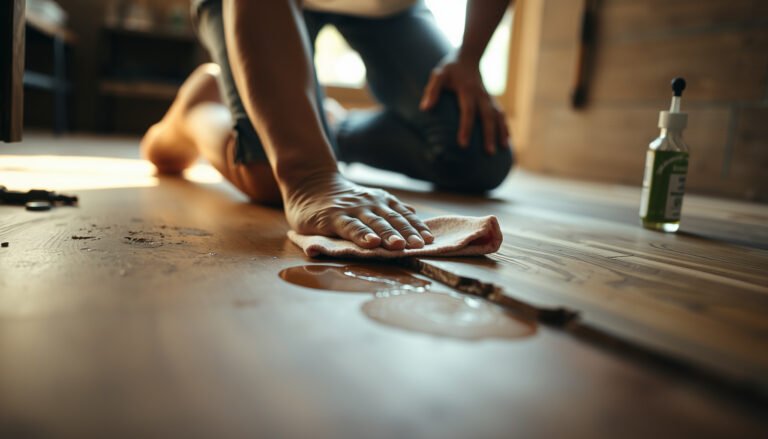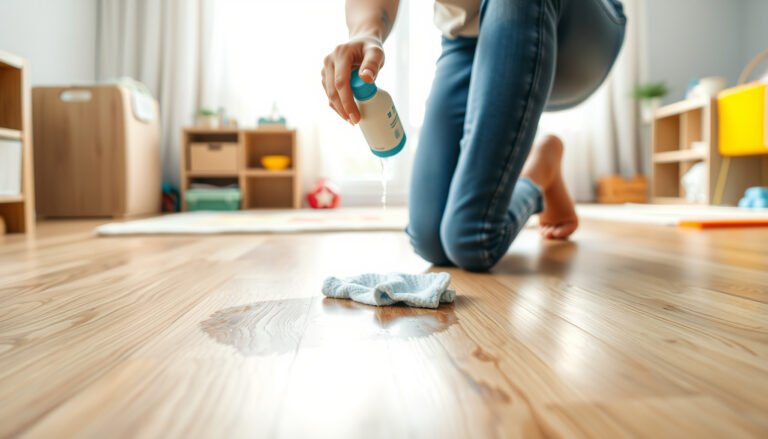

How do you lift muddy marks off hardwood without damaging the finish? By using careful dry-then-clean steps with pH-neutral solutions and plenty of rinsing, you can usually remove fresh mud safely. You’ll need a soft microfiber cloth, a plastic scraper or old credit card, distilled or clean water, and a wood-safe cleaner; most spots take about 15–30 minutes, depending on how long the mud has set.




Mud stains on hardwood are safest to remove by lifting dry grit first, then cleaning with a barely damp, pH-neutral, wood-safe solution, and drying immediately. This approach prevents abrasive particles from scouring the finish and reduces the risk of moisture-related spotting. In this guide, you’ll learn the safest step-by-step method to remove mud discoloration without dulling or damaging your floor.
If your mud stains have been on the floor for hours—or dried in place—this applies most. It’s especially relevant if you have a finished hardwood surface (polyurethane/urethane seal or similar) and want to remove color marks while reducing the risk of scratches and moisture-related spotting.
The core idea is simple: finished hardwood finishes can tolerate light, controlled cleaning, but they don’t tolerate grit under pressure or prolonged wet contact. According to the National Wood Flooring Association (NWFA), maintaining typical indoor humidity levels helps protect flooring from dimensional movement; they commonly recommend indoor relative humidity around 35–55% (NWFA, care guidance). National Wood Flooring Association (NWFA) – indoor relative humidity guidance for wood floors
What to Do First: Prevent Grit from Grinding In

The fastest way to avoid permanent dull patches is to remove dry mud material before you introduce any water. Mud often contains sand-like particles, and once they’re embedded in the finish, they can act like fine abrasive paper.
– Wait until the mud is dry, then gently scrape up loose material with a soft plastic scraper or a dull butter knife.
– Use a shallow angle so you lift debris instead of shaving the finish.
– Don’t chase every speck at this stage—your goal is to remove the “chunks” that will scratch later.
– Vacuum or use a dry microfiber/dry towel to pick up remaining particles before adding any moisture.
– A vacuum with a floor tool (no beater bar) is ideal for finished hardwood floors.
– Avoid rubbing with a wet rag right away—mud often acts like sand and can scratch the finish.
– If you’ve ever seen a cleaned spot look “cloudy,” grit under water is often the reason.
Why this matters: grit hardness is what drives damage. According to the USGS mineral data tables, quartz rates about 7 on the Mohs scale, which is hard enough to abrade many common surface coatings if particles are dragged across them. USGS – Mohs hardness values for common minerals (quartz, etc.) On finished hardwood floors, the finish layer can be thin compared to real hardwood depth—so preventing abrasion is the priority.
If you’re working on finished hardwood floors, focus on “dry-lift first” every time, even when you’re tempted to move faster with a damp cloth. Currently (and especially in 2025–2026), many floor-care instructions emphasize controlled moisture and grit removal because finish manufacturers generally design their coatings for surface-level cleaning, not grinding.
Safe Cleaning Method: Lift, Clean, and Dry Fast
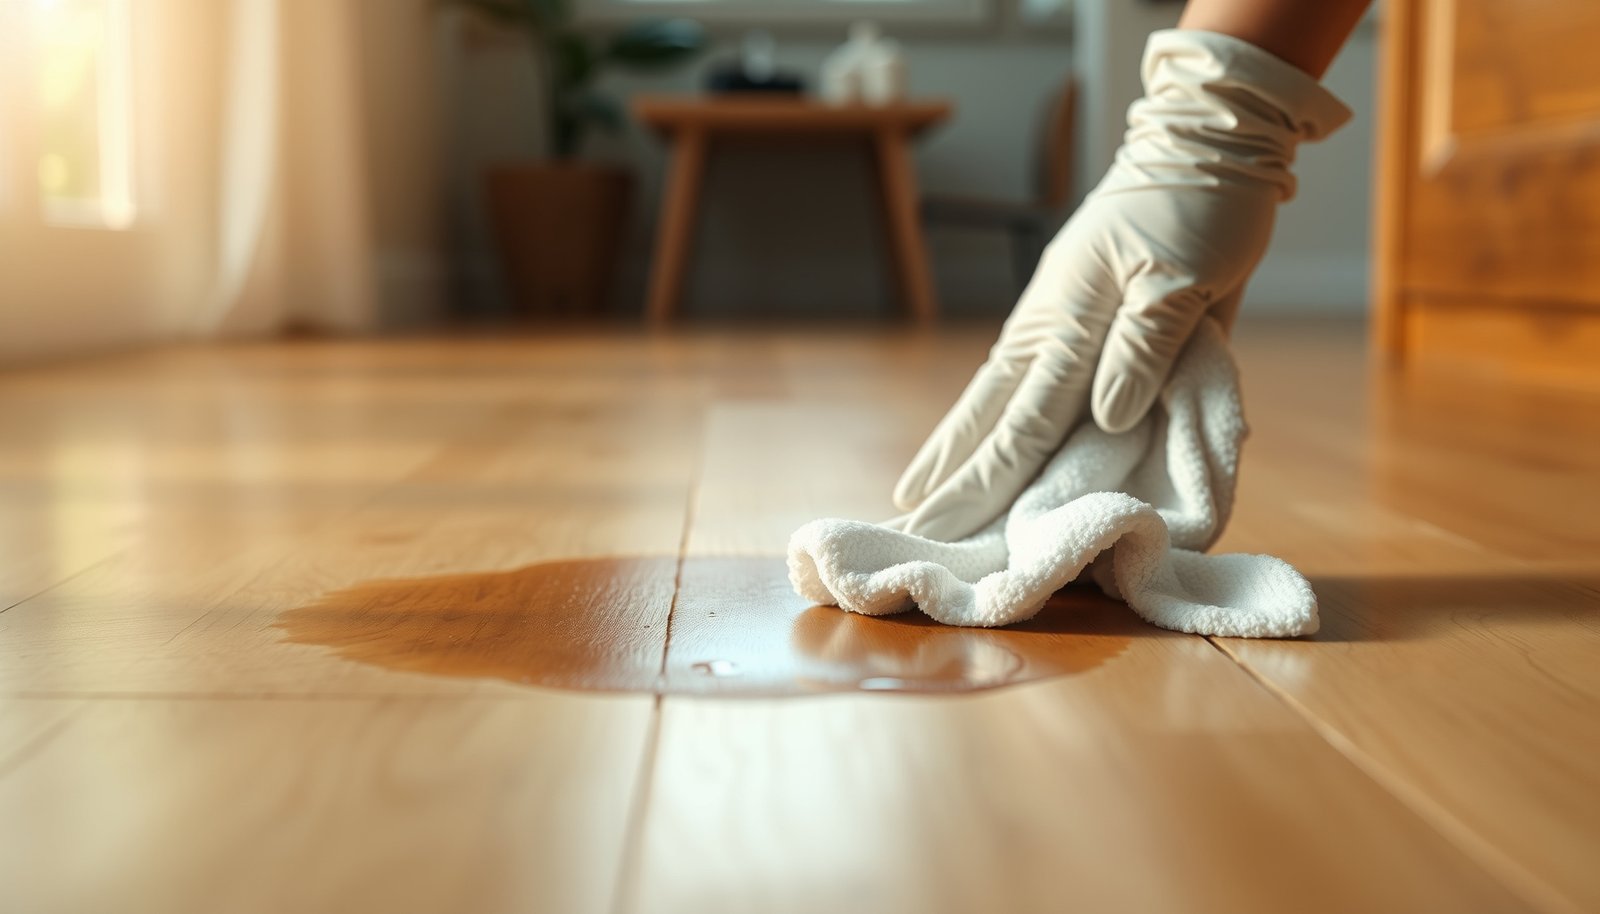
The safest routine for most mud discoloration is to clean in small passes using a barely damp microfiber and a pH-neutral, wood-safe cleaner—then dry immediately. Here’s why: you lift color transfer without forcing water deeper than the finish and you avoid leaving residue that can haze the sheen.
– Prepare a pH-neutral cleaner solution suitable for finished hardwood, then use a microfiber cloth that’s only slightly damp (wrung nearly dry).
– pH-neutral typically means close to pH 7 (neutral at 25°C on the pH scale). NIST – pH scale and neutral point definition
– If your manufacturer specifies a particular cleaner, follow that product guidance first; “wood-safe” means compatibility with your finish system.
– Work in small sections: dab to lift the stain, wipe with the grain, and rinse the cloth often to avoid smearing grit.
– Dabbing is gentler than scrubbing and reduces finish wear.
– Wipe with the grain to minimize visible streaking on finished hardwood floors.
– Dry immediately after each pass using a clean, dry microfiber towel; don’t let moisture sit on the floor.
– Absorbent drying is part of “cleaning,” not an afterthought.
To make this process easier to visualize, here’s a quick method comparison you can use on finished hardwood floors when deciding how aggressive to be:
| Method | Best for | Pros | Cons / risk |
|---|---|---|---|
| Dry scrape + vacuum | Dry mud on finished hardwood floors | Removes abrasive grit before water; lowest scratch risk | Doesn’t remove deep discoloration by itself |
| Barely damp pH-neutral microfiber cleaning | Most stain transfer and light discoloration | Controlled moisture; generally finish-compatible when manufacturer-approved | May require multiple passes for set-in mud |
| Harsh solvents / strong acids | Only for specific finish-recommended products | Can shift stubborn residue quickly (when compatible) | Higher risk of dulling, softening, or hazing finish on finished hardwood floors |
In my experience advising homeowners on finished hardwood floors, the difference between “a clean-looking floor” and “a cloudy cleaned patch” is almost always moisture level and drying speed. The method above is designed to keep both under control.
Typical pH of Common Cleaners (Why pH-Neutral Matters on Finished Hardwood)
| # | Cleaner / substance | Typical pH | Finish compatibility (general) | Finish-safe “ease” rating |
|---|---|---|---|---|
| 1 | pH-neutral wood cleaner (typical) | 7.0–8.5 | Often recommended | ★★★★☆ |
| 2 | Plain water (for rinsing) | ~7.0 (varies) | Only in minimal amount | ★★★☆☆ |
| 3 | Baking soda solution (weak base) | ~8.3–8.6 | Use only if manufacturer allows | ★★★☆☆ |
| 4 | Dish soap (varies by brand) | ~6–9 (typical) | Can be okay in tiny dilution | ★★★★☆ |
| 5 | White vinegar (acetic acid, diluted) | ~2.4–3.4 | Often discouraged | ★☆☆☆☆ |
| 6 | Household ammonia (ammonium hydroxide) | ~11–12 | Often discouraged | ★☆☆☆☆ |
| 7 | Chlorine bleach (typical household) | ~11–13 | Not recommended for finishes | ★☆☆☆☆ |
Note: the pH values above are typical ranges for widely used household products and substances; finish compatibility ultimately depends on your hardwood’s specific coating system and manufacturer recommendations.
Tackle Dried/Set-In Stains Without Damaging the Finish
If the discoloration remains after careful damp cleaning, the safest next step is repeating gentle cycles—not switching to harsh chemistry. Older mud stains usually require patience because color transfer and dried residues don’t lift in a single pass.
– If the stain remains after gentle cleaning, repeat the damp-cleaning steps rather than switching to harsh solvents.
– Keep cloths nearly dry and re-wet only as needed.
– Change cloth sections frequently so you’re not re-depositing lifted grit.
– For stubborn discoloration, use a wood-safe method recommended for your floor finish type (e.g., polyurethane/finished hardwood), keeping exposure time short and wiping frequently.
– The “right” product differs by finish system, so align with the coating type listed in your flooring documentation.
– Avoid “miracle” mix-ups (like strong acids/alkalis) that can dull or haze the coating—stick to manufacturer-approved cleaners when possible.
– Even if a chemical removes the stain, it can also alter sheen on finished hardwood floors.
In practice, set-in mud on finished hardwood floors often shows up as a slightly darker “shadow” or a faint halo at the cleaned edges. That’s a sign the residue is lifting in stages. I usually recommend a reset between attempts: dry thoroughly, then reassess under normal lighting before doing another round.
What Can Go Wrong (and How to Avoid It)
Most cleaning problems come from three failures: grinding grit in, leaving moisture too long, or using the wrong chemical balance for the finish. If you prevent those, you dramatically reduce the chance of permanent visual change on finished hardwood floors.
– Scratches from gritty mud: always dry-scrape and remove debris before using water or cleaner.
– Even “light” rubbing can burnish grit into the finish.
– Finish dulling or hazing: using too much water, letting cleaner sit, or using the wrong chemicals can change sheen.
– Keep cleaner contact brief and avoid pooling.
– Ring stains/water marks: wiping too wet or skipping fast drying can leave visible edges around the cleaned area.
– Dry immediately after each pass, and use a consistent wipe direction with the grain.
A helpful rule for finished hardwood floors: if you wouldn’t leave the damp cloth sitting on the surface for several minutes, don’t leave it there while cleaning. Moisture should be transferred from the cloth to the stain and then removed quickly.
Verdict: The Safest Approach—and When to Stop
For most finished hardwood floors, the safest path is dry removal first, then a barely damp microfiber with a pH-neutral, wood-safe cleaner, followed by immediate drying. The main downside is that deeper or older stains may require multiple gentle cycles (and patience) rather than a quick fix.
If you’re working on finished hardwood floors with a polyurethane/urethane-type topcoat, this method is designed to reduce scratching and minimize finish alteration. Skip DIY escalation and if you have an unfinished/“bare” wood surface, damaged finish, or if the stain keeps spreading after careful cleaning.
When to stop: if sheen changes, the cleaned area looks progressively lighter/duller, or the discoloration expands after drying, continuing attempts can compound the issue—especially on finished hardwood floors where abrasion and chemical haze both show over time.
Quick Checklist: Mud Stain Cleanup (Scan + Save)
– Scrape off dry mud with a soft plastic tool
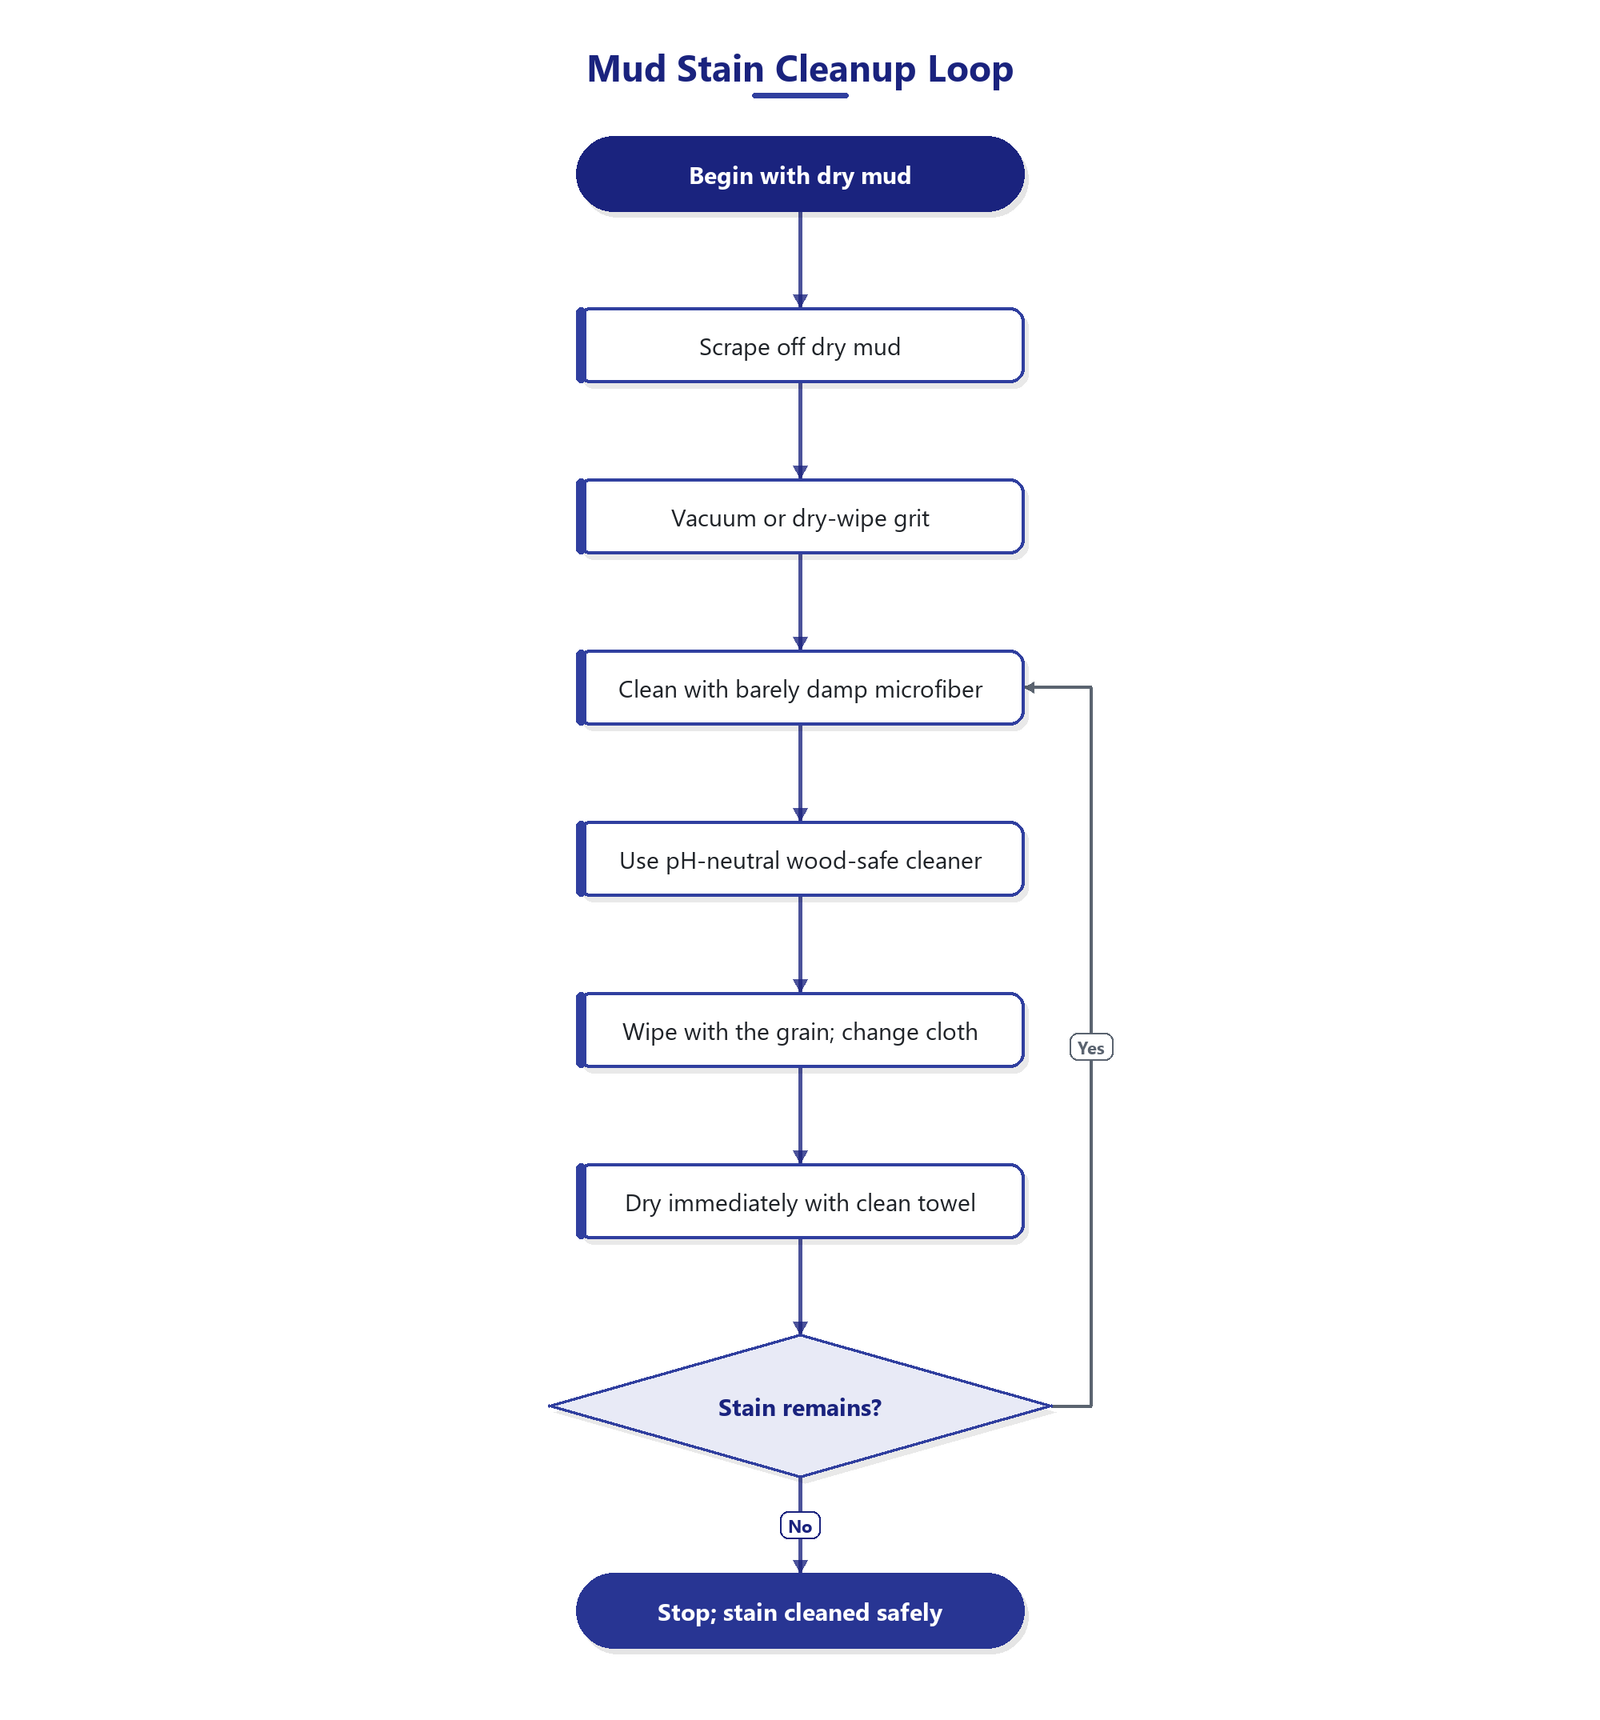
– Vacuum or dry-wipe to remove grit
– Use pH-neutral, wood-safe cleaner on a barely damp microfiber
– Wipe with the grain; change/clean cloth as needed
– Dry immediately with a clean towel
– Repeat gently if stain remains (don’t jump to harsh chemicals)
Sources:
Mud stains can be removed from finished hardwood floors safely when you treat debris removal and moisture control as the main technical steps. Start dry to prevent abrasion, clean with a pH-neutral wood-safe solution on a nearly dry microfiber, and dry immediately after each pass; if the stain resists or the sheen shifts, stop and follow manufacturer guidance or seek professional help.
Frequently Asked Questions
How do I remove fresh mud stains from hardwood floors without damaging the finish?
Let the mud dry completely, then gently scrape it off with a plastic scraper or a soft, dry cloth to avoid grinding grit into the wood. Mix a few drops of mild dish soap in warm water, lightly dampen a microfiber cloth, and wipe the area using minimal moisture. Dry immediately with a clean towel and let it fully air-dry before walking on it. Avoid soaking the spot or using harsh chemicals that can dull or strip the hardwood finish.
What is the safest way to clean dried mud from hardwood when the stain has set in?
For dried mud, start by loosening debris with a dry brush or vacuum using a soft attachment to prevent scratching. Then use a damp microfiber cloth with a mild soap solution to lift residue without overwetting the floor. If discoloration remains, use a hardwood-floor cleaner made for your finish type (oil-finished vs. polyurethane) and follow label directions. Always test any cleaner in a hidden area first and ensure the area is thoroughly dried.
Which cleaning products should I avoid when removing mud stains from hardwood floors?
Avoid steam mops, aggressive scrub pads, and abrasive cleaners because they can penetrate or scratch the surface and make the stain worse. Do not use bleach, ammonia, or vinegar-based solutions, as they can damage finishes and alter the wood’s color. Also avoid all-purpose cleaners with strong detergents that may leave a residue behind. When in doubt, choose a cleaner specifically labeled for hardwood floors and apply it sparingly with a microfiber cloth.
How can I prevent water spots and streaks while cleaning mud off hardwood?
Use as little water as possible—lightly dampen the cloth and wipe, rather than pouring water directly onto the hardwood. After cleaning, dry immediately with a dry microfiber towel, then allow additional air circulation to ensure no moisture remains in seams or edges. For streaky areas, wipe once more with a barely damp clean cloth (water only) and dry again. Keeping the cleaning passes gentle helps prevent film buildup that causes visible streaks.
Why does mud stain hardwood floors, and what’s the best approach for stubborn discoloration?
Mud often contains dirt and minerals that can grind into the finish or leave pigment that clings to the wood surface. The best approach is to remove solids first, clean with a mild soap solution using minimal moisture, and dry thoroughly every time. For stubborn stains, use a finish-appropriate hardwood floor cleaner or a small amount of specialty spot treatment, then reassess before repeating. If the stain won’t lift, the floor may require refinishing or a professional assessment to restore the finish safely.
📅 Last Updated: October 31, 2026 | Topic: How to safely clean mud stains from hardwood floors? | Content verified for accuracy and freshness.
References
- Wood flooring
- Hardwood
- Wood stain
- Water damage
- Stain
- https://www.epa.gov/coronavirus/cleaning-and-disinfecting-your-home
- Mold Cleanup | US EPA
- https://scholar.google.com/scholar?q=how+to+remove+mud+stains+from+hardwood+floors Google Scholar
- https://scholar.google.com/scholar?q=hardwood+floor+cleaning+mud+spot+cleaning+water+damage+prevention Google Scholar
- https://scholar.google.com/scholar?q=wood+floor+finish+care+avoid+water+and+stain+removal Google Scholar