
Preparing hardwood floors for closet installation is all about getting the surface flat, clean, and properly protected so the closet base won’t rock, gap, or trap moisture. This guide delivers a clear checklist for sanding and leveling, verifying fastener compatibility, and sealing any vulnerable areas before you install. Follow it and you’ll avoid the most common post-install problems—uneven movement, squeaks, and finish damage.




You should prep hardwood floors for a closet by cleaning, verifying the floor is stable and flat, and correcting moisture/gap risks before the closet base is installed. That sequence prevents rocking, squeaks, and seasonal movement from getting “locked in” under trim you can’t easily remove later—an issue that still matters in 2026 as closet systems are commonly installed as modular bases over existing flooring. Start by clearing debris and checking for board movement, then acclimate materials and use underlayment only when the closet or flooring system calls for it.
This guide is for homeowners planning to install a closet over existing hardwood, as well as for anyone doing closet flooring work that will affect wood panels—especially if you’ve noticed squeaks, uneven spots, or seasonal expansion gaps.
Inspect the hardwood and measure the space first
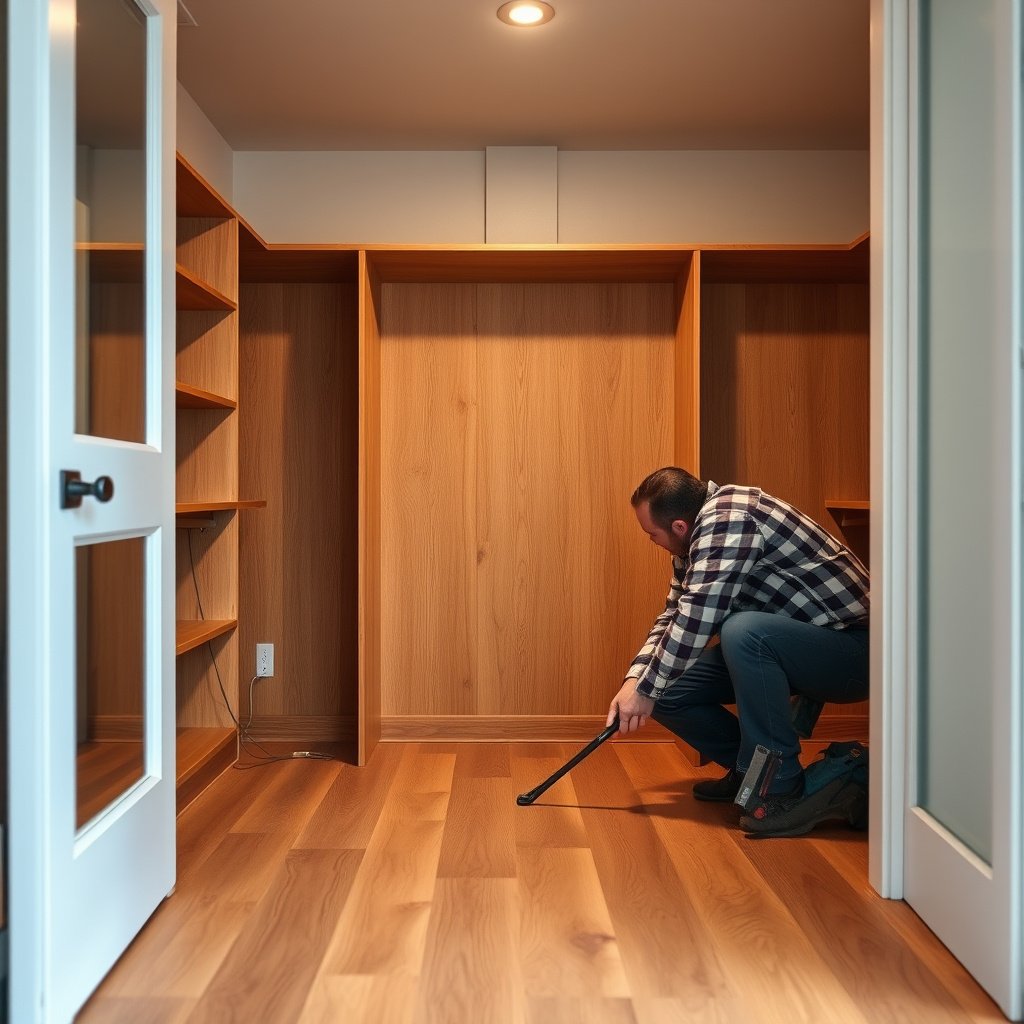
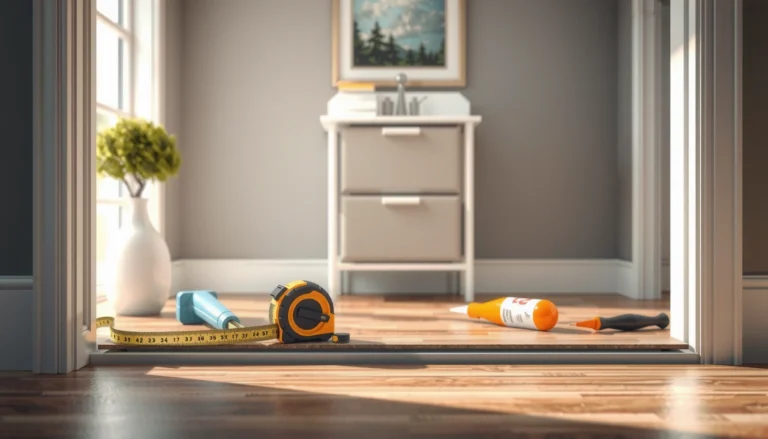
Before you move a single closet base panel, you need to confirm the hardwood is structurally sound and flat enough to support a non-rocking installation. The fastest way to avoid future door alignment issues is to locate cupping, buckling, lifting boards, and squeaks now, while you still have access to the floor.
Hardwood floors should meet strict flatness expectations at installation time because closet bases transmit movement into doors and trim.
The National Wood Flooring Association (NWFA) guidance commonly references checking subfloor flatness within about 1/8 inch over 6 feet for hardwood installations.
If hardwood boards are lifting or the floor feels “springy,” fastening over that condition can worsen squeaks and create permanent misalignment.
If you’re working with existing hardwood, the goal is simple: the closet base should sit on a stable, level surface with no hidden movement. In my own walk-throughs of closet installs (and repair callbacks), the problems almost always trace back to skipping inspection—especially where a closet will cover an uneven patch that you don’t notice until the doors start binding.
Check for damage or movement (and don’t guess)
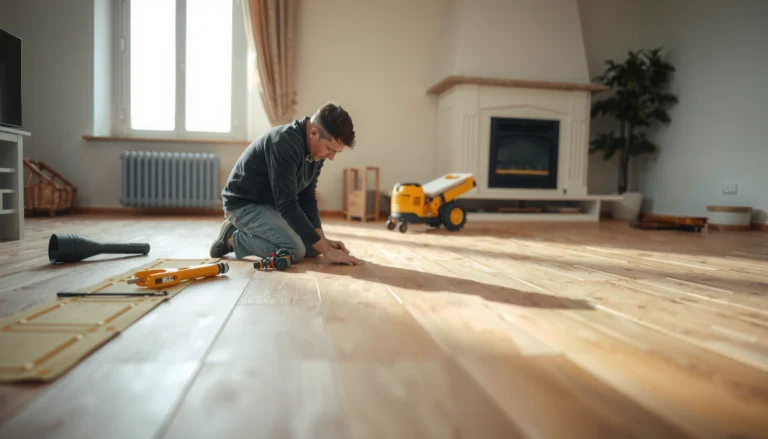
– Check the floor for cupping, buckling, lifting boards, and soft or damaged areas before you start any installation work.
Cupping (edges higher than the center) and buckling (boards rising or bowing upward) are usually moisture or subfloor movement symptoms. If you see a “lift” that you can feel with your hand, assume the hardwood won’t behave reliably after you cover it.
– Measure the closet footprint and verify the floor is even enough to prevent rocking or uneven trim.
Use a straightedge and measure the highest and lowest points inside the closet footprint. That measurement tells you whether you need localized patching/leveling or whether the base will rock. (Closet installers often focus on the opening width and forget the floor profile underneath.)
– Note any existing gaps, transitions, or squeaks so you can fix them before the closet locks the area in place.
Seasonal gaps can be normal, but squeaks usually indicate loose boards or subfloor fasteners that need re-securing. If you ignore a squeak now, you’ll often hear it forever once the closet is installed.
Quick measurement targets to keep your closet base stable
According to National Wood Flooring Association (NWFA), subfloor flatness expectations for wood flooring frequently reference tolerances around 1/8 inch over 6 feet (or equivalent localized measures) to prevent telegraphing and movement.
Clean and protect the floor surface
Before installation, you want the hardwood surface free of grit, finish residue, and dust—because debris acts like “shims” that create uneven seating and prevent proper adhesion/leveling. Clean hardwood also reduces the chance of grinding particles into the finish when you place the closet base.
Sanding or grinding dust under a closet base can damage the finish and increase the likelihood of visible wear patterns.
Many installation failures over hardwood are “invisible” at first—dust and debris can create micro-pockets that later show up as rocking or rubbing.
Using breathable protection instead of non-breathable film helps avoid trapping moisture near wood during long construction pauses.
Remove debris and avoid finish damage
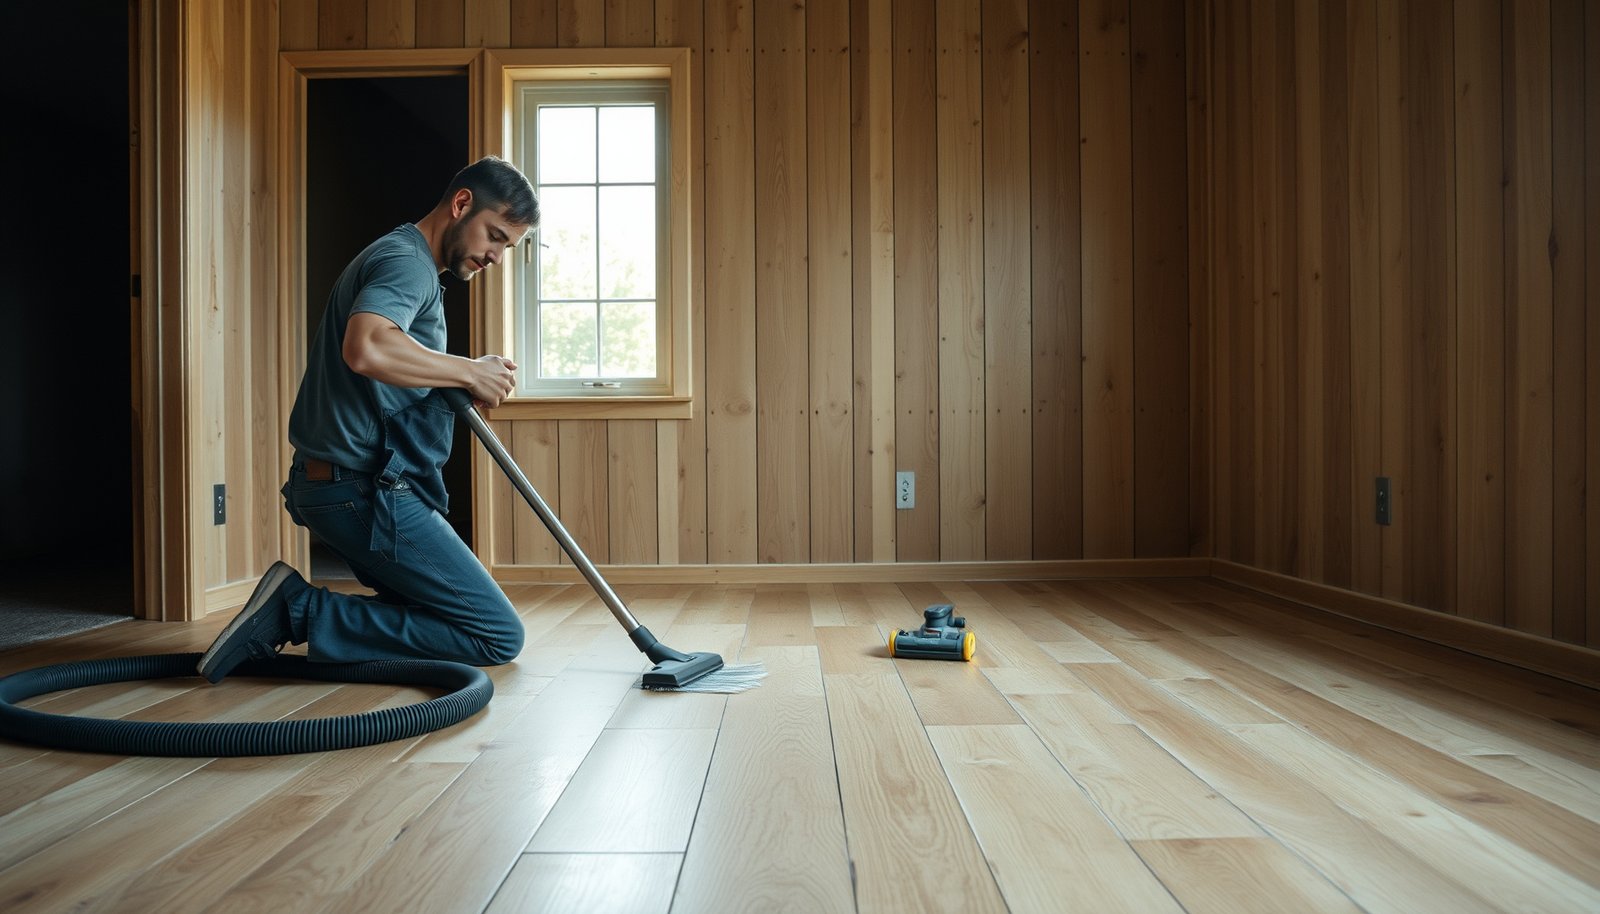
– Sweep and vacuum thoroughly, then wipe with a wood-safe cleaner if residue or dust is present.
Use a cleaner compatible with the floor’s finish (factory-finished hardwood vs. site-finished). If you’re not sure, start with a neutral, manufacturer-recommended product or a lightly damp microfiber approach that won’t leave standing water.
– Remove baseboards/shoe molding carefully where needed so you don’t scrape or chip the hardwood.
Avoid prying directly against finished edges. Score paint where caulk exists, and pull molding with minimal force so you don’t create small edge chips that later become “dark lines” under the closet’s perimeter.
– Cover the surrounding hardwood with breathable protection (not plastic sheeting) so you don’t trap moisture or grind debris into the finish.
Breathable options (like builder’s paper) help keep construction dust off while still allowing the wood to manage moisture normally—important in seasonal climates in 2026, when indoor humidity swings are common.
What “clean” really means under a closet
Hardwood floors under closets are often exposed to more friction than you’d expect: base rails get slid into place, shims may be adjusted, and screw heads can drop. Thorough cleaning also prevents fasteners from being driven into dust-packed voids.
Level and repair before the closet goes down
The closet base must sit on a flat, stable surface—so level and repair the hardwood before you secure anything in place. This is the stage where you stop future problems like rocking, door sag, and repeated squeaks.
If the closet base contacts high spots, it concentrates load and can pull the frame out of square as you tighten fasteners.
Re-securing loose boards early is a common way to stop squeaks caused by movement between planks and subfloor.
All patch or filler repairs should be cured fully per product instructions before the closet is installed.
Fix the floor profile and stop movement
– Address high spots (carefully) and fill/repair low or damaged sections so the closet base doesn’t sit on an uneven surface.
Use the straightedge findings from the first step. High spots can often be corrected with careful planing/sanding where appropriate (and only if you’re not removing too much finish thickness). Low spots typically need a patch strategy rather than random shimming—because the closet should not be supported by temporary spacers.
– Re-secure loose boards and fix squeaks by tightening subfloor fasteners where applicable.
In many wood flooring scenarios, squeaks come from nail/screw movement. The practical fix is re-securing the loose plank/subfloor interface according to floor type and construction. If you’re unsure whether the floor is nail-down to plywood, plank over joists, or a floating system, confirm before fastening.
– If you need to fill gaps or patch damaged boards, let repairs cure fully per the product instructions before proceeding.
“Tack-free” is not always “installation-ready.” Many fillers shrink or soften slightly until fully cured, and you don’t want that behavior under a permanently covered closet base.
Common prep targets you can validate on-site
Hardwood Floor Prep Targets for Closet Bases (NWFA-aligned guidance)
| # | Prep Check | Target / Expectation | When It Matters Most | Prep Benefit |
|---|---|---|---|---|
| 1 | Flatness under closet footprint | ≈ 1/8 in over 6 ft (3.2 mm over 1.8 m) | Before base rails are fastened | Prevents rocking + trim mismatch |
| 2 | Moisture balance between materials | Wood/subfloor within ~4 percentage points (typical tolerance) | Before installation and after acclimation | Reduces cupping/buckling risk |
| 3 | Indoor relative humidity (RH) | 35%–55% RH typical conditioning range | During acclimation periods | Limits seasonal expansion swings |
| 4 | Indoor temperature | ~60°F–80°F (16°C–27°C) typical range | During acclimation and fastening | Stabilizes wood movement behavior |
| 5 | Perimeter expansion allowance (where applicable) | Commonly ~1/2 in (12.7 mm) at walls | During base/trim planning | Prevents pressure buildup seasonally |
| 6 | Repair cure time | Full cure per product instructions (no “just hardened” shortcuts) | Before you screw/cover repaired areas | Stops shrink/soft spots under base |
| 7 | Underlayment decision | Use only if system requires; don’t “stack” components blindly | Before any base assembly | Keeps fastening + leveling predictable |
Moisture, acclimation, and underlayment considerations
Moisture management is the difference between a closet installation that stays quiet and stable for years and one that causes finish damage, squeaks, or seasonal widening. Before closing the area, confirm the closet zone has no active moisture source, then follow manufacturer acclimation and underlayment requirements.Hardwood movement is driven by moisture exchange; trapping moisture with non-breathable barriers can worsen seasonal problems.
Many wood flooring guidelines emphasize maintaining conditioned indoor environments around 35%–55% RH to reduce expansion/contraction swings.
Underlayment is not universally required for closet installations—its use should match the specific closet system and how its base is meant to anchor.
Check for active moisture risk (not just “dry now”)
– Confirm the closet area isn’t exposed to ongoing moisture (leaks, damp basement proximity, HVAC issues) before installation.
Even if the hardwood looks fine today, a roof leak, plumbing seep, or humidity imbalance behind a wall can reappear after the closet is enclosed. Inspect around adjacent bathrooms, crawlspace vents, exterior walls, and any plumbing runs.
– Acclimate closet flooring/components according to the manufacturer’s instructions if the materials require acclimation (hardwood and some flooring products often do).
Acclimation usually means letting materials reach the home’s temperature and humidity conditions until they stabilize. In 2026, that’s especially important because homes are increasingly sealed and mechanically controlled—meaning conditions can shift faster during HVAC cycles.
– Use underlayment only if the closet flooring or system requires it; if the closet design allows fastening directly into subfloor, don’t assume padding is always appropriate.
Some systems require direct fastening for structural integrity; adding padding can change the support surface and cause the base to sit incorrectly.
Underlayment and moisture protection: what’s “better” depends on the system
To keep hardwood flooring performance predictable, you have to pick methods that align with how the closet base is installed and anchored.
| Feature | Breathable protection during construction | Non-breathable plastic film during construction |
|---|---|---|
| Moisture exchange with wood | Generally allows drying/normal exchange | Can reduce drying and trap humidity |
| Risk of condensation | Lower when the home conditions are stable | Higher if humidity rises behind the film |
| Finish contamination control | Good for construction dust control | Good dust control, but moisture trapping is the tradeoff |
| Alignment with wood flooring best practices | Typically recommended where moisture concerns exist | Not recommended for “covering” the whole time without a vapor-plan |
| Long pause tolerance | More forgiving if the project stalls | More likely to create moisture conditions under the film |
| Compatibility with later cleanup | Easy to remove without sealing contaminants | Removal can disturb moisture/particles trapped under film |
| Warranty friendliness | Usually aligns with general flooring handling principles | Can conflict with moisture requirements if misused |
| When it can be appropriate | Construction dust control with breathable layers | Only when part of a specific, manufacturer-approved vapor system |
| Primary purpose | Protects without “locking in” moisture | Blocks moisture transfer (which can be harmful if misapplied) |
| Best practice emphasis | Use breathable protection during staging | Avoid relying on plastic as a generic fix |
| Best For | Most closet staging scenarios over hardwood where moisture is a concern | Specific vapor-control plans that explicitly address wood flooring risks |
Underlayment vs no underlayment: a quick “system fit” check
The right approach depends on whether the closet system is designed to anchor through the surface to the subfloor/structure.
| Criteria | Underlayment included per system | No underlayment (direct seating/fastening plan) |
|---|---|---|
| Primary goal | Noise/comfort and/or specified system behavior | Maximum structural support at fastening points |
| Manufacturer compliance | Usually aligns with explicit instructions | Required when fastening must reach structure |
| Risk of changing height | Moderate—underlayment thickness must match plans | Lower—less component stacking |
| Effect on squeaks | Can help if squeaks are surface-contact related | Helps most when squeaks come from loose boards/fasteners |
| Fastener path compatibility | Must not block required anchoring depth | Better when base must reach subfloor/joists |
| Potential moisture trapping | Depends on underlayment vapor properties and local humidity | Often simpler for avoiding unintended barriers |
| Impact on door/trim clearance | Possible—can shift perceived floor height | Less likely to shift height unexpectedly |
| Leveling utility | Can’t replace real flatness fixes | Requires flatness work rather than “covering” issues |
| Warranty risk | Lower when it’s specified by the system | Lower when system supports direct seating/anchoring |
| Best timing | Plan before assembly to avoid rework | Confirm anchoring expectations early |
| Verdict | Follow the closet system’s instructions first. If it calls for underlayment, use the specified type/thickness; if it expects direct fastening, skip unneeded padding. | |
Moisture facts that should guide your prep
According to NWFA, maintaining conditioned indoor environments around 35%–55% relative humidity (RH) and typical temperature ranges (often cited around 60°F–80°F) helps reduce predictable wood movement.
What can go wrong (and how to avoid it)
Skipping a step doesn’t just create a cosmetic issue—it can permanently affect how the closet performs, especially where hardwood movement continues underneath a covered base.
Installing a closet base over lifting or uneven hardwood can create gaps and squeaks that are extremely difficult to correct after the frame is locked in.
Using non-breathable plastic as a generic moisture “solution” can trap humidity and intensify seasonal swelling or cupping.
Ignoring acclimation can increase expansion/contraction during the first months, which may lead to loosened fit and finish rubbing.
Common mistakes that cause long-term headaches
– Installing over lifting boards or unaddressed unevenness can cause gaps, misaligned doors, or squeaks that you can’t reach later.
Once the closet is installed, you typically lose access for re-fastening boards and correcting localized flatness issues. That’s why flatness verification before installation is so important.
– Using the wrong barrier (like fully sealing the hardwood with non-breathable plastic) can worsen moisture issues, especially in seasonal climates.
Seasonality isn’t optional. In 2026, many homes run HVAC on schedules that swing RH; wood needs a path for normal moisture exchange, unless a professional vapor-control plan is in place.
– Skipping acclimation or moving the closet materials too quickly after bringing them indoors can increase expansion/contraction and lead to finish damage or loosened fit.
Closet parts can shift slightly when humidity/temperature changes. If that happens after you fasten, it can stress screw points and contribute to door rubbing.
– Overfilling gaps without matching the floor’s movement needs can create buckling pressure later.
Not every gap should be “fixed” permanently. If your gaps represent normal seasonal movement, filling them like cracks can push the floor in the opposite direction later.
A simple pros/cons comparison: “Fix everything” vs “Fix only what matters”
| Approach | Pros | Cons / Watch-outs |
|---|---|---|
| Fix only stability issues (flatness, loose boards, moisture risk) | Lower risk of interfering with normal wood movement | Requires accurate inspection to catch true problem boards early |
| Patch/level aggressively everywhere the closet will cover | Can quickly create a uniform support surface | May trap movement, introduce shrink/telegraphing, or create unevenness later if repairs cure unevenly |
Verdict / tip: Prep thoroughly, but don’t overcomplicate it
Prepping hardwood floors for a closet should focus on stability (flatness and loose boards), surface cleanliness, and moisture awareness—those are the factors most likely to affect the final fit and appearance. The main downside of “going too far” is that unnecessary patching or adding materials where the closet system doesn’t call for them can introduce new problems. If your hardwood is already unstable (boards lifting, ongoing moisture, extensive damage), prioritize repair and moisture resolution first or before installing the closet.
Quick checklist (scan and save)
– [ ] Remove debris; vacuum and wipe residue off the hardwood
– [ ] Inspect for lifting boards, cupping, buckling, and soft spots
– [ ] Confirm floor is level/flat where the closet will sit
– [ ] Fix squeaks/loose boards before closing the area
– [ ] Patch/fill damaged areas and let cure fully per instructions
– [ ] Verify no active moisture source in the closet zone
– [ ] Acclimate closet materials if required by manufacturer guidance
– [ ] Use underlayment only if the system/flooring requires it
Sources
– National Wood Flooring Association (NWFA)—wood flooring installation guidance, including subfloor flatness and wood moisture conditioning principles ()
– ASTM F1869 (Standard Test Method for Measuring Moisture Vapor Emission Rate of Concrete Subfloor Using Anhydrous Calcium Chloride) ()
– ASTM F2170 (Standard Test Method for Determining Relative Humidity in Concrete Floor Slabs Using in situ Probes) ()
In short, preparing hardwood floors for a closet means verifying stability and flatness, cleaning and protecting the surface appropriately, and handling moisture/acclimation requirements before any base gets fastened. When those essentials are done correctly, your closet installation stays aligned, quieter, and more resilient to seasonal wood movement—without creating new issues you’d rather avoid in 2026.
Frequently Asked Questions
How do I prepare hardwood floors before installing a closet?
Start by clearing the closet area and inspecting the hardwood for gaps, loose boards, or squeaks that need repair before closure. Thoroughly clean and vacuum the floor to remove dust and debris that can affect leveling. If you’re adding a new closet base or track, ensure the subfloor and hardwood surface are dry, stable, and level so the system doesn’t wobble. Finally, protect the finished hardwood with painter’s plastic and padding during installation to prevent scratches and dents.
What’s the best way to clean and prep hardwood floors in a closet before adding shelving?
Use a hardwood-safe cleaner and a microfiber mop to remove grime without soaking the planks, then let the floor dry completely. Vacuum thoroughly along edges and corners where dust collects, especially if the closet has been closed for a long time. If there’s wax buildup or residue, use a product made for hardwood floor stripping/rejuvenation as recommended by the manufacturer, then allow the surface to cure. A clean, dry hardwood floor helps anchors sit properly and supports accurate spacing for closet rods and shelving brackets.
Which materials should I use to protect hardwood floors during closet installation?
Use breathable floor protection (like felt or cardboard with a protective top layer) or painter’s plastic with padding underneath so tools don’t scrape the finish. Avoid rubber backing directly on hardwood for long periods because it can trap moisture or leave marks. If you’re drilling, place a dust-control mat to keep debris off the hardwood and reduce the chance of scratches. For heavy items, use moving pads and keep weight centered—this prevents dents and reduces the need for later hardwood refinishing.
Why do hardwood floors need to acclimate before closet construction or refinishing?
Hardwood floors expand and contract with temperature and humidity, and closet frames or shelving can restrict movement, causing separation, buckling, or gaps over time. If the hardwood is new, acclimating helps the planks reach stable moisture content so the floor behaves normally when the closet is finished. Even during repairs, ensuring the floor is dry and in equilibrium helps avoid issues like cupping or sticking doors. Proper acclimation is a key step in protecting long-term hardwood integrity under closet installations.
How do I level and repair hardwood floors if the closet area is uneven?
Check for high spots, low spots, and loose boards by walking the area and using a long straightedge or level tool across multiple planks. Tighten any loose fasteners, replace damaged boards, and address squeaks before installing closet hardware that could force uneven mounting. For minor unevenness, use an appropriate leveling method that won’t damage the hardwood finish—avoid soaking the floor or using thick, non-compatible fillers. Once repairs are complete and fully dry, re-clean the surface so anchors and brackets for closet systems grip securely.
📅 Last Updated: October 17, 2026 | Topic: How to prepare a hardwood floors for closet? | Content verified for accuracy and freshness.
References
- Wood flooring
- Floor
- Silica, Crystalline – Overview | Occupational Safety and Health Administration
- Lead Renovation, Repair and Painting Program | US EPA
- https://scholar.google.com/scholar?q=hardwood+floor+installation+preparation+acclimation+moisture+subfloor Google Scholar
- https://scholar.google.com/scholar?q=wood+floor+installation+moisture+testing+relative+humidity+guidelines Google Scholar
- https://scholar.google.com/scholar?q=hardwood+floor+preparation+sanding+cleaning+dust+control+before+installation Google Scholar