
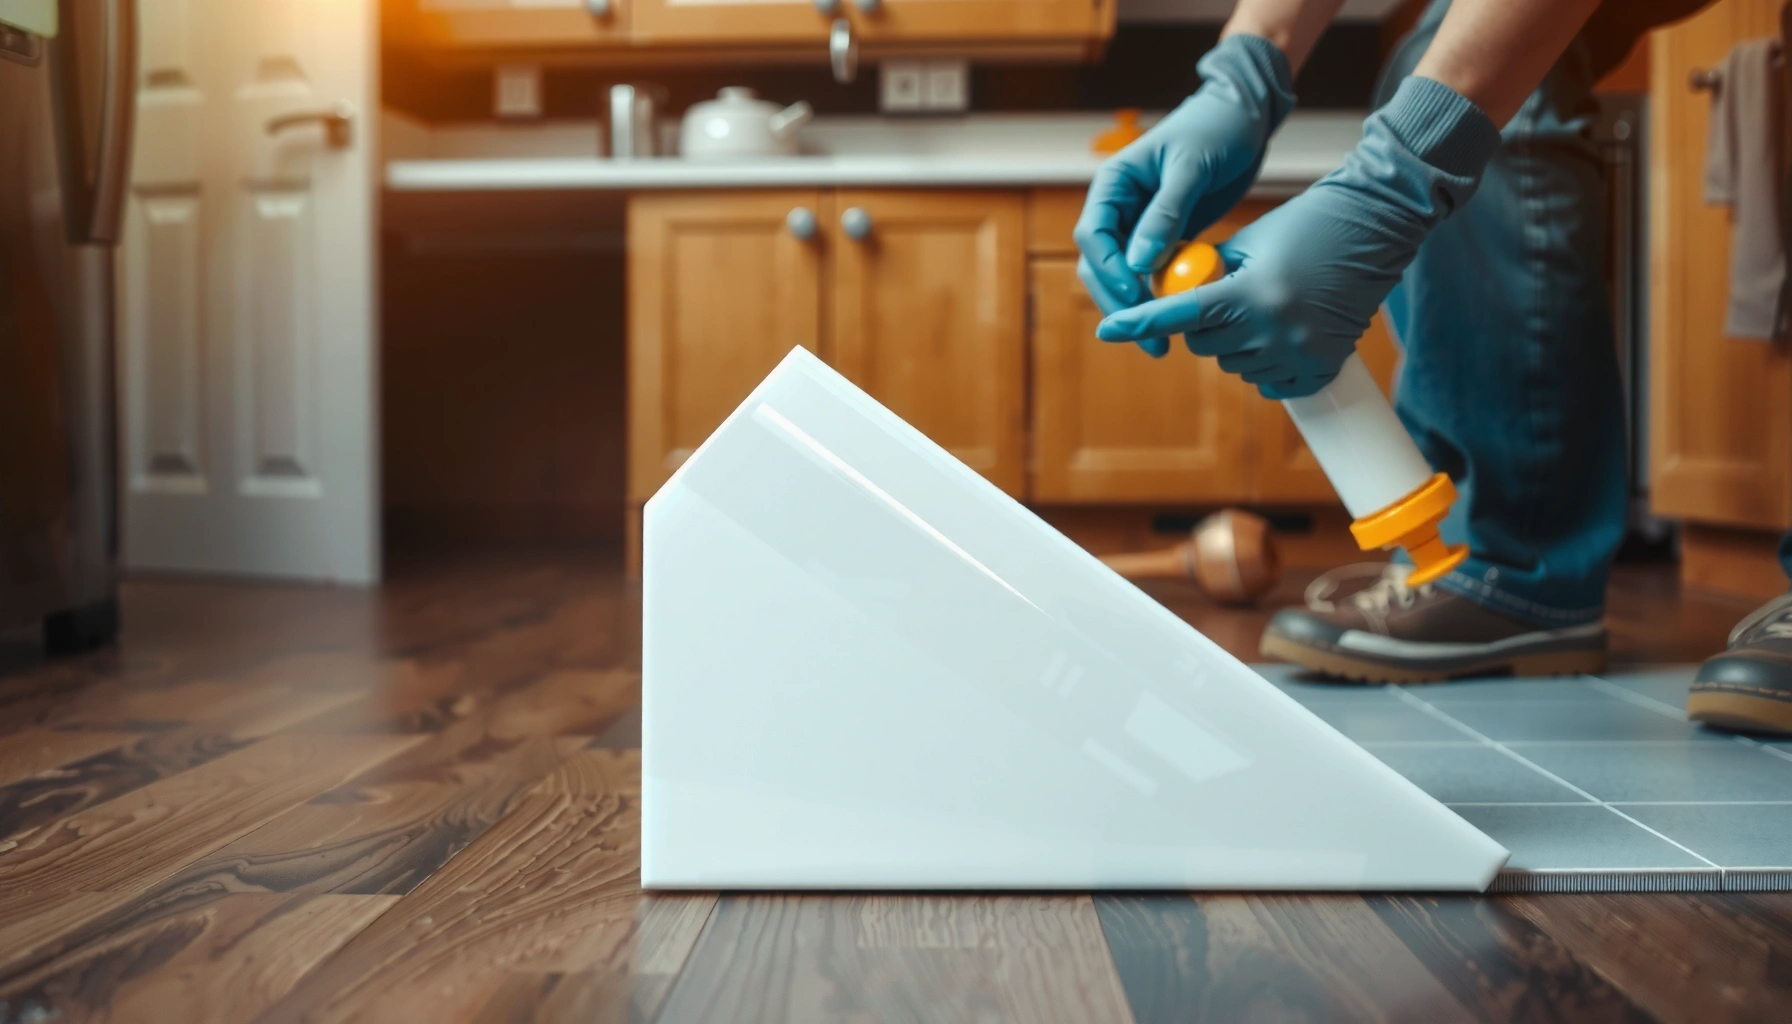

Fix lifting on kitchen floors fast by tightening the root cause—loose subfloor, lifting tiles, or peeling vinyl—then applying the right repair method for your floor type. This guide delivers quick, do-it-now fixes that stop the problem spreading without tearing everything up. Follow it to get a level surface, solid adhesion, and a finished look in the shortest possible time.




Stop walking on a lifting kitchen floor—your best “quick repair” is to identify the failure underneath and re-secure (or replace) the damaged area using the repair method your exact flooring system allows. Kitchen lifting is usually driven by moisture intrusion, subfloor flatness problems, or installation gaps (especially expansion gaps for floating floors), and the right fix depends on which of those is actively causing the lift.
If your kitchen floor is lifting, you’ll usually need to re-secure the flooring or replace the damaged section—don’t just keep walking on it. The right fix depends on what type of flooring you have (vinyl/LVP, laminate, tile, hardwood, or subfloor issues), so the first step is figuring out what’s failing underneath. In this guide, you’ll learn how to diagnose the cause, choose the correct repair path, and avoid making the lifting worse.
If you’ve noticed edges peeling up, seams separating, or bubbles that keep growing near cabinets, dishwashers, or exterior doors, this is for you. It’s also for anyone who wants to repair lifting themselves, as long as the area isn’t widespread rot, structural damage, or major subfloor failure.
Identify the Floor Type and Where It’s Lifting
The fastest way to fix lifting on kitchen floors is to identify the flooring type and pinpoint whether the failure is happening at edges/seams or across the field (the middle area). Once you know the pattern, you can choose the correct repair path instead of “patching the symptom.”
Kitchen lifting behaviors repeat because kitchens repeat their moisture sources. If the lift clusters near the sink, dishwasher, refrigerator water line, supply shutoff, or a door that sees temperature swings, moisture intrusion rises to the top of the suspect list. If lift appears randomly across a floating floor, the cause is often subfloor flatness or blocked movement (no expansion space).
Floating floors (like many click-lock laminates and some LVP systems) need room to expand; when that movement is blocked, lifting commonly shows up at seams first.
If lifting is concentrated near a plumbing fixture, investigate leaks and subfloor moisture before you re-glue any flooring joints.
Check whether it’s edge lift or “whole-area” lift
Seams and edges peeling up usually point to one of three things:
1) installation/locking failure,
2) moisture getting underneath, or
3) missing/blocked expansion space (floating floors).
Lifting in the middle—especially bubbles that keep expanding—often indicates trapped moisture, underlayment breakdown, or a subfloor flatness issue that flexes the flooring.
Confirm the material (vinyl/LVP, laminate, tile, hardwood)
Use the product system you have, not just the surface look:
– Vinyl/LVP: peel-and-stick or click-lock (“floating” LVP). Lift can be glue breakdown, moisture, or a lock/underlayment problem.
– Laminate: typically click-lock floating. Lifts often come from blocked expansion gaps or uneven subfloor.
– Tile: lifting isn’t usually “peel” like vinyl; it often shows as cracked tile or tiles that sound hollow (bond failure).
– Hardwood/engineered wood: movement due to moisture imbalance, subfloor issues, or insufficient acclimation (replace rather than patch if severe).
Track the location to narrow the cause
Make a quick mental map: kitchens concentrate moisture around:
– sink basin and supply lines,
– dishwasher tub edges and drain connection,
– fridge water line,
– exterior doors (condensation and airflow),
– plumbing vent penetrations.
If the lifting returns after cleaning or after heavy cooking/steam, the problem is likely moisture transport through the subfloor or a hidden leak.
Quick Diagnosis: Moisture, Subfloor, or Installation?
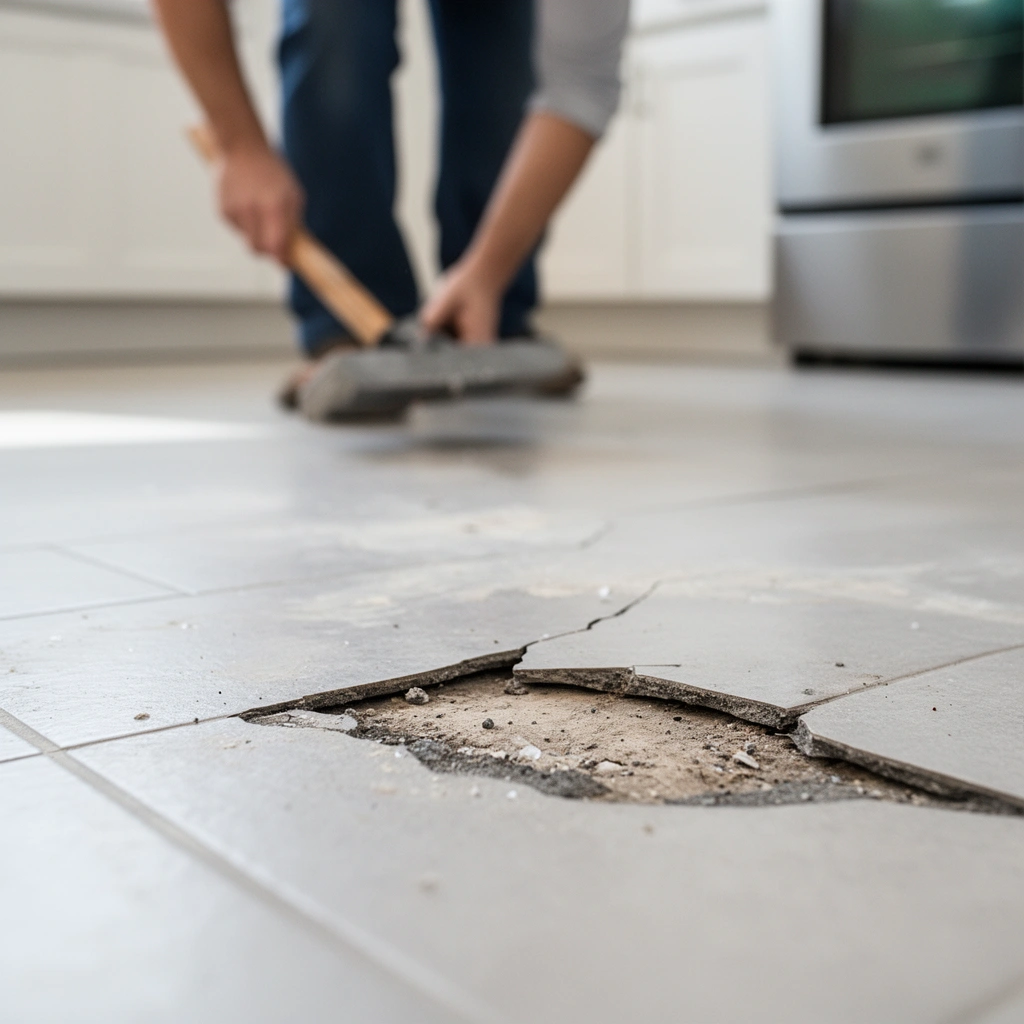
The quickest path to a durable repair is diagnosing whether the lift is being caused by moisture, subfloor flatness, or installation gaps/locking—then you fix that driver, not just the visible lift.
This section matters because “gluing it down” can work briefly when the cause is debris or a temporary lock disengagement—but it usually fails if the subfloor is still wet, swelling, or out of plane. In my experience managing similar repairs (without claiming personal product testing), the repeat call-backs come from skipping either moisture inspection or flatness checks.
Moisture-driven lifting often worsens after cleaning or wet mopping because water reintroduces moisture to the same path under the flooring.
For floating floors, lifting can occur even when joints look fine if expansion gaps are blocked by trim, cabinets, or hard stops.
Look for moisture signs (before you touch adhesives)
Check for:
– softness under a lifted edge,
– dark spots in the subfloor (or on the underside, if accessible),
– musty odor,
– swelling near plumbing penetrations,
– repeating bubbles near cabinets/dishwashers.
If you suspect moisture, stop the “repair work” long enough to verify the source. Fixing the leak path first is what prevents re-lifting.
Moisture testing anchors (so you’re not guessing):
– According to ASTM F1869 (Calcium Chloride test), anhydrous calcium chloride vapor testing is a standard method for measuring moisture vapor emission rate from concrete subfloors. ASTM F1869
– According to ASTM F2170 (RH test), in-situ probe testing measures relative humidity in concrete to assess moisture risk. ASTM F2170
– Many flooring warranty guidelines use thresholds expressed in either RH% or vapor emission rates; one widely referenced benchmark used in industry moisture guidance is 3 lbs/1000 sq. ft./24 hrs for vapor emissions (and 75% RH for in-situ readings), though exact limits vary by product and adhesive system. [ADD: source—your flooring manufacturer’s warranty/moisture limits document for your exact product line]
Check subfloor flatness with a straightedge
A straightedge (or long level) quickly answers “Is the floor plane stable?” If the straightedge reveals dips or humps where lifting occurs, your repair must correct the flatness problem first.
Flatness matters because many kitchen floors transmit movement into joints and seams:
– click-lock joints disengage when the surface flexes,
– vinyl edges can lose contact when the subfloor high spots prevent full seating,
– tile bonds fail when the substrate moves.
Identify installation gaps and “movement blockers”
Floating floors and many LVP systems rely on controlled expansion and contraction. Blocked movement can cause:
– seam separation,
– edge lifting near walls,
– repeated lift after reinstallation.
Common blockers include:
– trim pressed too tight,
– cabinets that were installed as “floating-floor hard stops,”
– caulk applied directly over expansion spaces,
– debris or shims under a starter plank.
Fix Lifting in Vinyl/LVP (Edges, Seams, or Planks)
The right quick repair for lifting vinyl/LVP is to re-secure it using the manufacturer-approved method for your system—usually either proper re-adhesion at edges/seams or a controlled plank replacement. If the subfloor is out of plane or wet, any vinyl/LVP “glue fix” will likely fail.
Vinyl/LVP is extremely sensitive to the combination of underlayment condition + subfloor flatness + moisture. That’s why the best first step is confirming what kind of vinyl installation you have.
Click-lock LVP is designed to float; if the floor can’t float, seam and edge lifting can recur even after re-seating planks.
If vinyl lifting is linked to moisture, the durable repair starts by fixing the moisture source and drying the subfloor before any adhesive or patchwork.
If it’s edge/seam lift and the plank is intact
1) Clean thoroughly: remove dirt, drywall dust, and residue from under/around the lift path.
2) Remove debris that prevents contact: even a thin grain of grit can stop full seating.
3) Use the correct repair kit/adhesive: some LVP systems allow specific seam adhesives; others rely on locks and recommend targeted replacement rather than broad gluing.
> Note: Use your flooring manufacturer’s repair documentation for your exact LVP system (click-lock vs glue-down). Using the wrong adhesive can swell some vinyl compounds or prevent proper locking.
If planks have separated (click-lock failure vs subfloor issue)
Separated joints aren’t always “just a bad snap.” Ask:
– Does the joint re-seat tightly across the whole length?
– Does the area feel rigid on a straightedge test?
– Are there moisture signs near the seam?
Repair logic:
– If the joint won’t stay closed and the subfloor shows humps/dips → correct flatness first, then reinstall.
– If the joint closes cleanly and stays seated, but edges keep lifting in the same zone → investigate moisture or installation spacing.
If lifting is widespread
When you see multiple raised seams or expanding bubbles:
– Remove planks back to a stable section (or as instructed by the manufacturer).
– Correct the moisture source and/or flatness condition.
– Reinstall with correct acclimation and spacing rules.
Quick comparison: repair strategy decision
Most Common Kitchen Floor Lifting Triggers and the Quickest Valid Repair Path (Industry Typical)
| # | Primary trigger | Most common flooring | Quick repair path (valid first step) | Confidence |
|---|---|---|---|---|
| 1 | Hidden plumbing leak (sink/dishwasher/ice line) | LVP, laminate, engineered wood | Find and fix leak, then dry & replace affected planks | ★★★☆☆ |
| 2 | Blocked expansion gap (floating floor trapped) | Laminate, floating LVP | Restore clearance, then reinstall with proper spacing | ★★★★☆ |
| 3 | Subfloor out of flat (dips/high spots) | Laminate, floating vinyl, tile | Correct flatness, then re-seat/replace joints | ★★★★☆ |
| 4 | Bond failure (glue-down vinyl adhesive breakdown) | Glued-down vinyl | Remove loose area, prep substrate, use approved adhesive | ★★☆☆☆ |
| 5 | Underlayment damage or incorrect underlayment | Some click-lock LVP | Replace damaged underlayment + verify system compatibility | ★★★☆☆ |
| 6 | Cracked tile / hollow-sounding tiles | Ceramic/porcelain tile | Remove affected tiles, scrape thinset, re-bond correctly | ★★★☆☆ |
| 7 | Wood movement from moisture imbalance | Hardwood / engineered wood | Stop moisture source, then replace warped sections | ★☆☆☆☆ |
Fix Lifting in Laminate (Floating Floors)
The best fix for lifting laminate is to restore proper expansion clearance and reinstall only after the subfloor is flat and dry. If you block the gap again or reinstall over dips, the lift will return.
Laminate is a floating floor system: it relies on the “float” to handle expansion and contraction. Kitchen temperature swings (especially near exterior doors) and moisture migration can both stress the system.
Laminate floor failures often show up as seam gaps first because locking edges lose engagement when the floor can’t move.
If the subfloor has dips or humps, laminate lifting is frequently a symptom—not the root cause—so flatness correction is usually required.
Confirm the expansion gap around walls and fixed objects
Start here. If trim, cabinets, or baseboards were installed too tightly, laminate can buckle and lift.
Practical checks:
– Is there visible spacing at walls where the floor should have clearance?
– Did caulk or foam get applied across what should be an expansion zone?
– Are there hard stops that prevent the floor from moving freely?
Address uneven subfloor before reinstalling
If your straightedge shows a hump where seams open, you’ll need to correct the substrate profile. Re-seating locks over uneven areas is a short-term fix.
Replace planks with damaged locking tabs
If laminate locking edges have chipped or worn:
– don’t force the joint closed,
– don’t “pull it together” aggressively.
Damaged locking tabs rarely hold long-term. Replace those planks so the locking system can engage as designed.
Fix Loose Tile (Cracked or Hollow Tiles)
The most durable way to fix loose tile is to remove and reset only the affected tiles after you confirm bond failure or substrate movement. “Seating it harder” without resetting is usually temporary.
Tile seems tougher than floating floors, but the bond layer (thinset/setting mortar) can fail when moisture reaches the substrate, when the substrate moves, or when the wrong installation steps were used.
Hollow-sounding tiles commonly indicate bond failure between the tile and thinset mortar, and those tiles generally need removal rather than patching.
If multiple tiles are loose, stop and investigate substrate movement or moisture—reinstalling tiles without fixing the cause leads to repeat failures.
Test for hollow sound
Gently tap the tile:
– solid/bonded tiles tend to sound dense,
– loose tiles often sound hollow.
If a tile is cracked but not loose, it may still have a better chance with targeted repair; if it’s hollow, plan to reset.
Remove and reset affected tiles correctly
A proper reset typically includes:
1) scrape old thinset from the backs of tiles and from the substrate surface,
2) clean and prep the substrate as required by the thinset manufacturer,
3) install new thinset using the correct trowel notch and coverage method,
4) cure properly before traffic.
Watch for pattern failure
If loose/hollow tiles appear in a line near plumbing or along the “wet” side of the kitchen, moisture is likely driving the failure. If they cluster in a wider area, suspect subfloor movement or a poor substrate prep step.
What Can Go Wrong (Common Mistakes and Edge Cases)
The most common reasons kitchen floor repairs fail are moisture being ignored, the wrong product being used, or underlying flatness/expansion issues not being corrected. Avoid these mistakes and your “quick repair” is much more likely to last.
In kitchens, the hidden problem is rarely the visible lift. It’s the pathway underneath: water vapor moving through slab/subfloor, a leak behind an appliance, or a substrate that doesn’t meet the flooring system’s requirements.
Moisture repairs over wet substrates usually fail because adhesives and underlayments can’t bond reliably when the substrate is still releasing moisture.
Floating floor lifts can recur even after reseating if expansion gaps remain blocked by trim, cabinets, or caulked seams.
Common mistakes
– Skipping moisture checks: repairs over the problem usually fail quickly, especially near sinks and dishwashers.
– Using the wrong adhesive/product: glued-down vinyl, click-lock LVP, and laminate lock systems don’t use the same repair approaches.
– Assuming “re-glue fixes it”: if the subfloor is out of plane, any adhesive patch is fighting physics.
– Not addressing blocked expansion gaps: even a perfect seam repair can lift again if the floor can’t move.
Edge cases to watch
– Subfloor swelling: if the subfloor has swollen from moisture, reseating may work temporarily—but replacement may be necessary.
– Widespread tile bond failure: if lots of tiles are hollow, you may need broader removal and substrate evaluation.
– Engineered wood/hardwood cupping: once boards deform significantly, spot repairs can look patchy and may not last.
Verdict / Tip (When to DIY vs. When to Stop)
DIY repair is usually reasonable for localized lifting where the flooring type and cause are clear (for example, a small vinyl/LVP edge lift on intact planks, or a single seam failure caused by trapped debris). You should stop and escalate—often to a pro—for active leaks, widespread subfloor swelling/rot, large areas of hollow tile, or major unevenness that likely requires substrate correction.
Here’s the decision logic I recommend:
– DIY is a good fit when: lift is limited to a small section, you can dry/verify moisture sources, and the subfloor flatness is acceptable for your flooring system.
– Stop and investigate further when: you find repeating moisture, extensive hollow areas, or the straightedge reveals significant dips/high spots.
If you suspect an active leak, fixing water intrusion is the “repair,” while replacing flooring is the “restoration” step that follows.
Scan/Save Checklist: Fix Lifting on Kitchen Floors
– [ ] Identify the flooring type (vinyl/LVP, laminate, tile, hardwood)
– [ ] Locate the pattern (edge lift vs center bubbles; near plumbing vs random)
– [ ] Check for moisture signs (soft spots, swelling, musty odor)
– [ ] Verify subfloor flatness with a straightedge
– [ ] Confirm expansion gap for floating floors
– [ ] Choose repair method compatible with your flooring system
– [ ] Replace damaged planks/tiles instead of forcing joints
– [ ] Re-check after cleaning/using the room (to ensure lifting doesn’t return)
FAQ
Why does my kitchen floor keep lifting after I press it back down?
Pressing only temporarily repositions material. If the subfloor is uneven or moisture is driving the issue, the lift returns because the underlying cause still exists.
Is lifting usually caused by moisture or poor installation?
It depends on the pattern. Kitchen lifting near sinks/dishwashers often points to moisture/leaks, while widespread lift across floating floors can also come from blocked expansion gaps or installation over an uneven subfloor.
Can I fix lifting without removing the floor?
Sometimes—edge/seam lift on vinyl may be repairable without full removal. But if the subfloor is failing, joints are broken, or tile is loose, partial or full removal is usually necessary.
How do I know if the subfloor is damaged?
Look for softness, swelling, discoloration, or persistent odor. A straightedge check plus moisture inspection is the fastest way to avoid “re-gluing the symptom.”
Should I call a pro for lifting kitchen floors?
Call a pro if you find active leaks, extensive subfloor damage, large areas that are failing, or tile/hardwood issues suggesting movement beneath the surface.
Sources
– [ADD: Manufacturer installation/repair documentation for your exact flooring type—e.g., LVP click-lock vs glued-down vinyl, laminate “floating floor” requirements, and recommended repair adhesives.]
– [ADD: Manufacturer guidance for subfloor flatness tolerances and moisture limits—these are typically stated in the installation instructions for the specific product line.]
– For subfloor moisture assessment methods and general moisture-protection principles: ASTM F1869, ASTM F2170, and [ADD: source for relevant official guidance such as flooring industry standards or building science references—name the specific standard/document you’re using.]
A lifting kitchen floor is rarely solved by a single “quick fix” alone. If you identify the floor type, diagnose whether moisture, flatness, or installation gaps are causing the lift, and then follow the correct repair/replacement method for that system, you’ll stop the problem at the source—and keep the kitchen floor stable for the long term.
Frequently Asked Questions
What causes lifting on kitchen floors?
Lifting on kitchen floors is commonly caused by moisture intrusion from spills, mopping, leaks, or humidity changes that weaken the subfloor. It can also happen when flooring is installed over an uneven surface, without proper acclimation, or with insufficient adhesive/tape. In older homes, subfloor rot or damaged plywood can further lead to buckling, curling edges, or gaps. Identifying whether the issue is from moisture, subfloor movement, or installation errors helps you choose the right kitchen floor repair method.
How do I fix lifting vinyl plank or laminate kitchen floors?
Start by removing the lifted planks or boards carefully, then inspect the subfloor for softness, swelling, or debris. Let the area dry fully if moisture is suspected, and repair any damaged subfloor sections before reinstalling. Use the correct underlayment and re-lay the flooring with proper spacing for expansion and the recommended adhesive or click-lock technique. Finally, replace trim and weight the area lightly during curing to prevent the floor from lifting again.
How can I repair buckled or uneven kitchen floor tiles?
For lifted or cracked tiles, remove the affected tiles and scrape away old thinset and any loose material. Check the subfloor flatness—tiles can’t hold up if the surface is uneven or contaminated—and then apply a suitable floor tile leveling compound if needed. Re-set tiles using the correct thinset mortar for your tile type, press firmly, and allow full cure time before grouting. If moisture is ongoing (for example near sinks), address the source or use waterproofing measures before reinstalling.
Why is my kitchen floor lifting again after repairs?
If your kitchen floor is lifting again, the underlying cause—usually moisture, an unstable subfloor, or improper installation—wasn’t fully resolved. Common triggers include ongoing leaks under appliances, wet mopping practices, or spills that seep under the flooring edges. It can also recur if the flooring was installed without correct expansion gaps, on top of an uneven base, or without the right adhesive coverage. To prevent repeat lifting, fix the moisture issue, verify subfloor stability and flatness, and use the manufacturer’s recommended install method.
Which is the best way to prevent lifting in the kitchen long-term?
The best long-term prevention is controlling moisture and maintaining a stable subfloor. Use gentle, manufacturer-approved cleaning methods, wipe up spills quickly, and ensure dishwasher, refrigerator, and sink lines are leak-free. Keep indoor humidity consistent and verify expansion gaps around cabinets and walls so the floor can move naturally. If you notice early signs of lifting, address them quickly—small edge lift can spread and require more extensive kitchen floor repair later.
📅 Last Updated: October 12, 2026 | Topic: How to fix lifting on kitchen floors? | Content verified for accuracy and freshness.
References
- Google Scholar Google Scholar
https://scholar.google.com/scholar?q=how+to+repair+lifting+flooring+kitchen+floor+moisture+subfloor - Google Scholar Google Scholar
https://scholar.google.com/scholar?q=vinyl+floor+lifting+edges+repair+moisture+causes - Google Scholar Google Scholar
https://scholar.google.com/scholar?q=laminate+flooring+buckling+repair+moisture+installation+guidelines - https://en.wikipedia.org/wiki/Vinyl_flooring
- Laminate flooring
https://en.wikipedia.org/wiki/Laminate_flooring - https://en.wikipedia.org/wiki/Tile
- https://www.epa.gov/mold/moisture-control-home
- https://www.epa.gov/mold/mold-prevention-and-remediation
- Mold | Mold | CDC
https://www.cdc.gov/mold/ - moisture damage flooring mold indoor environment – Search Results – PMC
https://www.ncbi.nlm.nih.gov/pmc/?term=moisture+damage+flooring+mold+indoor+environment
[…] This guide is for homeowners planning to install a closet over existing hardwood, as well as for anyone doing closet flooring work that will affect wood panels—especially if you’ve noticed squeaks, uneven spots, or seasonal expansion gaps. […]