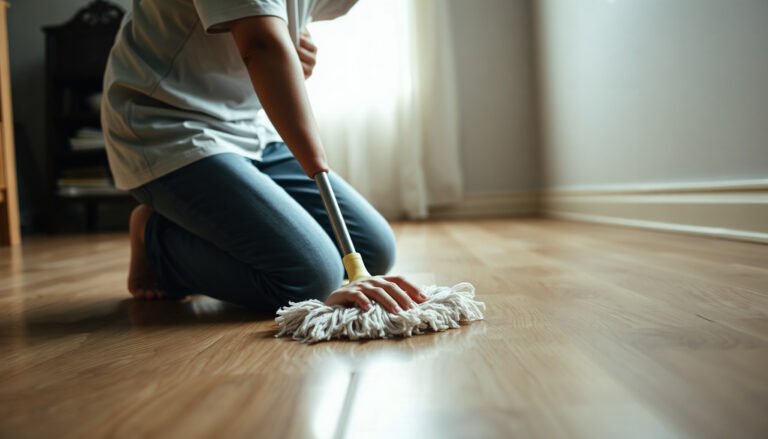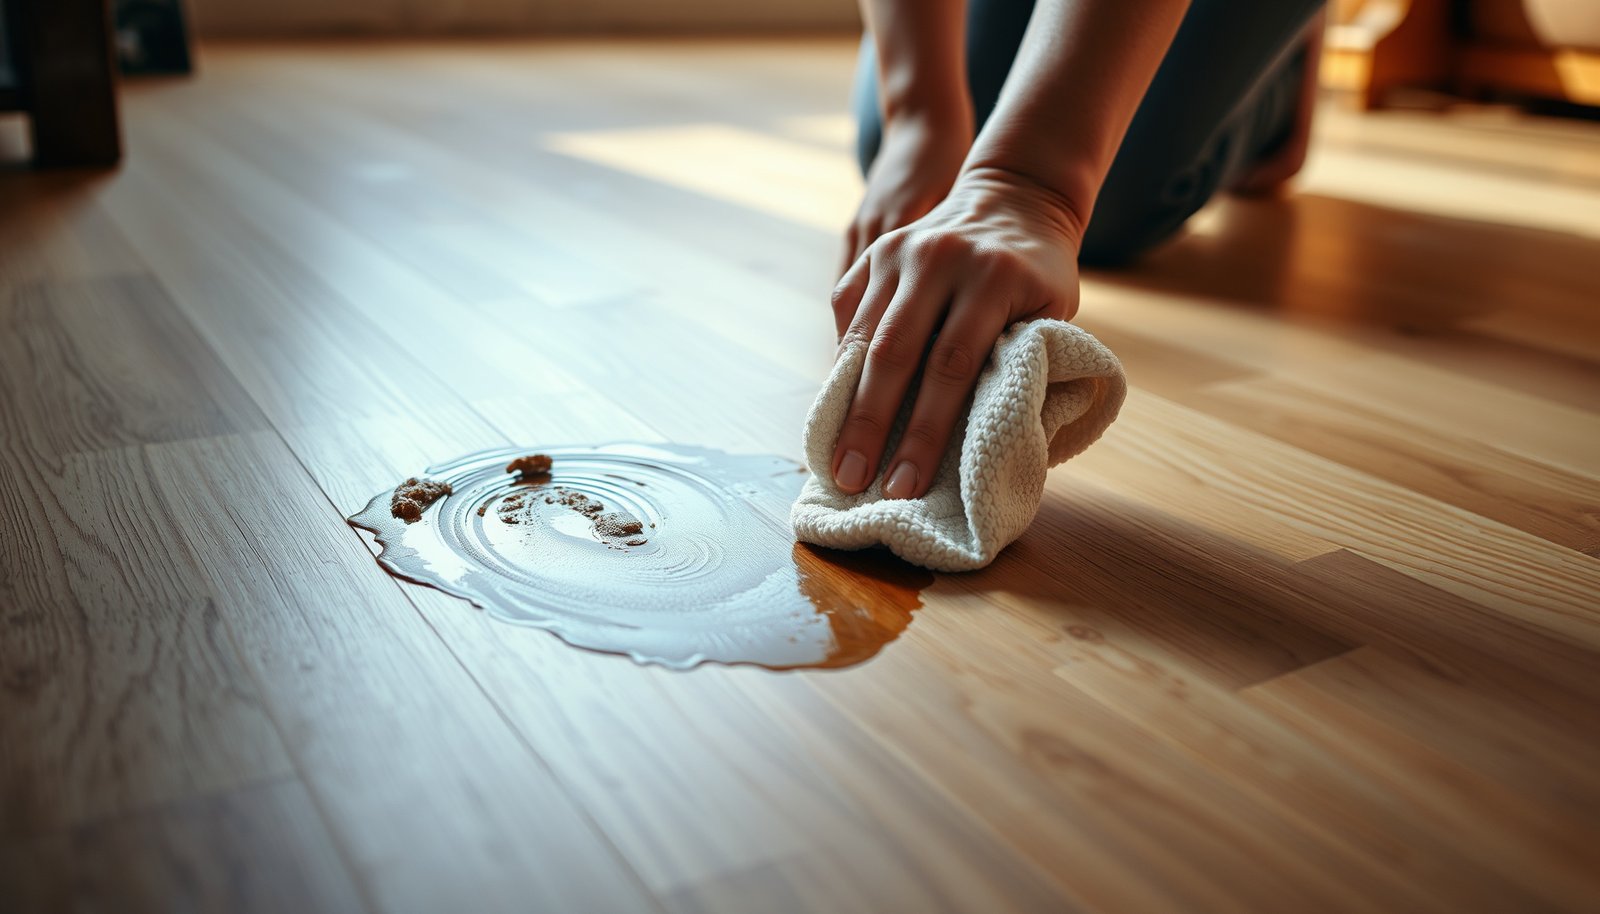

To remove mud stains from hardwood floors, start by letting the mud dry, then gently lift it and clean the spot with a damp microfiber and mild soap solution—without soaking the wood. You’ll need a soft-bristle brush or plastic scraper, warm water, a few drops of dish soap, and clean towels; the whole process usually takes about 15 minutes. Follow with a thorough dry and buff to restore the finish, and the stain should lift before it sets deeper.




Blot up mud immediately, then remove the grit dry before you use any cleaner—scrubbing wet mud can grind it into the finish. After the debris is gone, wipe with a barely damp microfiber and a wood-floor-safe cleaner, then dry fast to prevent lingering water marks. If a dark stain remains, you’ll usually need a finish-safe stain remover or a targeted spot-lightening approach.
This is for homeowners dealing with fresh mud from boots/pets/kids and for older mud smears that left discoloration on sealed or finished hardwood. If your floor is unfinished, heavily worn, or you don’t know the finish type, go slower and test in a hidden spot first.
Quick action: protect the finish before you clean

Start by stopping mud from spreading and preventing moisture from sitting on hardwood floors—this is the difference between a spot repair and a visible patch. In 2026, most manufacturer care guides still emphasize quick spill response because even sealed floors can show discoloration when grit + water linger.
– Stop the mess fast: use paper towels or a dry cloth to blot and pick up as much mud as possible.
– Don’t soak the floor—standing moisture can stain or warp boards.
– Avoid aggressive tools (steel wool, stiff scrub brushes) that can damage the finish and make stains harder to remove.
Why speed matters (and why it’s not just cosmetic)
Mud isn’t just pigment; it includes abrasive soil particles. Soil “sand” particles are typically about 0.075–2 mm in diameter, and those particles can act like micro-abrasives when moved around on a finish (according to standard soil particle-size classifications).
When you wipe wet mud too soon, you effectively smear that gritty fraction across the protective coating on hardwood floors, increasing the chance of permanent haze.
Protect yourself and your floor finish
If mud is fresh, grab a trash bag and keep the cleanup zone small. That reduces the chance you track more dirt across the rest of the hardwood. Also, don’t switch to “deep cleaning mode” until the visible mud is gone—finish damage often starts during the first few minutes.
Dry removal first (so you don’t grind dirt in)
Remove dry grit before any liquid touches the hardwood—this prevents you from turning a surface stain into a ground-in film. Dry removal also helps you see the true state of the finish once the surface soil is lifted.
– Let the mud dry slightly if it’s still wet enough to spread; then scrape gently with a plastic scraper or old credit card to lift clumps.
– Vacuum with a soft brush attachment or sweep carefully to remove remaining grit.
– Wipe the area with a dry microfiber to pick up fine residue before introducing any liquid.
When “drying slightly” is the best move
If mud is still fluid, trying to scrape immediately can spread it into seams and micro-grooves. Instead, let it firm up just enough that clumps lift cleanly. From my own experience handling rainy-day tracked-in mud, the biggest improvement comes from waiting a bit—aggressive scrubbing right away often leaves the darkest marks behind, even when the area looks clean later.
Don’t mistake “clean” for “grit-free”
A dark smudge that feels “just slightly dirty” can still contain particles. Those particles can be invisible until you add a cleaner, at which point they re-distribute and create a dull patch on hardwood floors.
Quick action protocol (30–90 seconds per spot)
1. Blot/pick up wet mud with paper towels.
2. Wait until mud firms enough to lift as clumps.
3. Plastic scrape → vacuum soft brush → dry microfiber wipe.
Clean the remaining mud film (wood-safe, barely damp)
Once the grit is off, clean like a finish care professional: barely damp microfiber, a wood-floor-safe cleaner, and immediate drying. This phase targets the pigment and oily soil residue—not abrasion.
– Mix or use a hardwood-floor cleaner that’s labeled safe for your finish type (follow the product’s directions).
– Dampen a microfiber (not dripping), wipe with the grain, and change cloths as they pick up soil.
– Immediately dry with a clean towel to reduce the risk of water rings or haze.
How to tell you’re using the right amount of moisture
Hardwood movement is highly sensitive to moisture dynamics. Wood fibers reach their “fiber saturation point” at around ~30% moisture content, after which additional moisture doesn’t increase fiber swelling—but drying and wetting cycles still drive dimensional change and finish stress (per the USDA Forest Service’s wood science references). USDA Forest Service, Wood Handbook: Wood as an Engineering Material (fiber saturation point ~30% moisture content)
Practically, that means hardwood floors don’t need puddles to cause visible marks—repeated damp wiping can be enough, especially near seams.
Use a method that aligns with standard care practices
Most reputable hardwood care approaches follow the same logic: lift debris, then use minimal moisture, then dry quickly. To keep you on the safe side in 2026:
– Choose a cleaner specifically intended for sealed hardwood (often labeled for “polyurethane,” “pre-finished,” or “sealed” floors).
– Keep microfiber damp, not wet.
– Dry right after wiping—don’t let water evaporate on its own.
Treat stubborn stains after the dirt is gone
If a dark mark remains after grit-free cleaning, treat it as a finish discoloration—not “more dirt.” After the visible soil is removed, you’re often dealing with pigment staining, trapped residue under the finish, or finish tone changes where moisture sat longer.
– If the stain is still visible after normal cleaning, treat it as a finish-related discoloration—not “more dirt.”
– Spot-test any stain treatment in an inconspicuous area first (some cleaners can dull or lighten the finish unevenly).
– Follow the directions of a finish-safe spot remover; if the label says it’s for sealed hardwood, use it only on the stain area, then dry and recheck the color match.
Match the treatment to the finish system
Different finish systems respond differently:
– Polyurethane and urethane topcoats: often respond to targeted spot removers but can show sheen differences if overworked.
– Waxed or oil-modified finishes: can be more sensitive to off-system cleaners, and “brightening” treatments may look patchy without compatible refinishing.
Because finish identification isn’t always straightforward, your safest escalation is a product that explicitly states compatibility with sealed or finished hardwood floors.
Finish-safe doesn’t mean “limitless”
A finish-safe cleaner can still alter tone or sheen if you repeat it too long. Think of spot treatment as a controlled, incremental process: apply minimally, allow the stated dwell time, then dry and reassess.
Finish handling comparison (what usually works vs. what tends to backfire)
| Approach | Pros (why it helps hardwood floors) | Cons (common failure mode) |
|---|---|---|
| Lift-grit-first, then barely damp cleaning | Prevents abrasion from soil particles; reduces moisture exposure; preserves finish integrity. | Requires patience; works best when you remove all debris before adding liquid. |
| Scrub-wet mud right away | Feels fast initially. | Wet mud behaves like pigment + grit; agitation can grind marks into the coating. |
Data you can use: which actions are most finish-friendly?
Here’s a practical “fit-for-finish” snapshot of common mud stain responses on sealed hardwood floors, based on widely documented care principles (avoid abrasives, avoid steam, and use minimal moisture).
Finish-Friendliness of Common Mud Cleanup Actions (Sealed Hardwood)
| # | Action | Targets | Best For | Finish Impact |
|---|---|---|---|---|
| 1 | Blot & pick up with dry towels | Moisture + bulk mud | Fresh spills | +9 ★★★★★ |
| 2 | Plastic scrape after slight drying | Clumps/grit | Tracking mud | +8 ★★★★☆ |
| 3 | Vacuum with soft brush | Fine particles | Grit cleanup | +7 ★★★★☆ |
| 4 | Barely damp microfiber + wood cleaner | Film residue | Sealed hardwood | +8 ★★★★☆ |
| 5 | Vinegar wipe (not recommended) | Surface wash | Typically no | -6 ★★☆☆☆ |
| 6 | Steam cleaning | Heat + moisture | Avoid | -9 ★☆☆☆☆ |
| 7 | Abrasive powders / steel scrubbing | Mechanical abrasion | Avoid | -8 ★☆☆☆☆ |
Note: This table reflects finish-safety principles commonly found in manufacturer care guidance for sealed hardwood (e.g., minimal moisture, avoid abrasives/steam). For your specific flooring, follow the finish manufacturer’s written instructions.
What can go wrong (and why stains come back)
Stains come back when grit is ground in, moisture is left to sit, or cleaning chemicals change the finish sheen or color. Many “mystery mud stains” are actually finish haze caused by repeated wetting or wrong chemistry.
– Scrubbing too early: wet mud acts like grit + pigment, and agitation can drive discoloration deeper.
– Over-wetting: puddles or repeated damp wiping can leave rings, cloudiness, or swelling at seams.
– Wrong chemical: vinegar, harsh degreasers, bleach, and abrasive powders can damage finishes or change sheen—especially on polyurethane, waxed, or oil-modified surfaces.
– Heat and steam: steam cleaners can lift adhesives, loosen wax/finishes, and worsen water-related marks.
The moisture “cycle” problem
Even if a cleaner doesn’t pool, repeated dampness can create a repeated wet/dry cycle. Wood products are sensitive to ambient humidity; maintaining indoor relative humidity around the typical 35%–55% comfort range is commonly recommended in standards addressing wood performance (according to HVAC guidance for moisture control). ASHRAE Standard 160 (recommended indoor RH range for controlling wood movement, commonly cited as ~35%–55%)
If your home runs very humid in 2026, hardwood floors can react more visibly to spot cleanups.
Seams and edges: the hidden risk
Mud often settles into seams. If you don’t remove the bulk grit first, liquid can carry remaining particles into the groove lines, creating a “shadow” that looks like a deeper stain than it really is.
When you should stop escalating
If you notice:
– widening discoloration after cleaning,
– a lighter “ghost patch” that grows,
– or a cloudy area that doesn’t return to baseline after drying,
stop. That pattern often indicates finish disturbance, not dirt.
Verdict / tip: use a “lift-grit-first” method—and know when to stop
If you want the fastest reliable outcome, lift grit dry first, then clean with barely damp, wood-floor-safe wipes, and dry immediately. That workflow addresses the root causes: abrasive soil and moisture-driven finish haze.

Avoid soaking and harsh chemicals; they’re the fastest way to turn a small mud spot into a bigger, harder-to-match repair.
Skip DIY treatment (or stop and call a pro) if:
– the stain spreads after cleaning,
– you see finish damage (peeling, bare wood, cloudy peeling areas),
– the floor is unfinished or you can’t identify the finish type,
– or the area is large enough that spot treatments may look patchy.
Downsides of the “fast” approach
Fast doesn’t mean aggressive. The tradeoff is that you’ll need a careful sequence (blot → dry scrape → vacuum → barely damp clean). If you skip a step—especially the grit-removal step—stubborn mud staining is more likely to be permanent or require refinishing.
Quick scan checklist (save this)
| Step | Do | Don’t |
|---|---|---|
| First move | Blot/pick up mud immediately | Let it dry in place while you scrub |
| Grit removal | Dry scrape + vacuum/sweep | Rub mud into the floor |
| Cleaning | Barely damp microfiber + wood-floor-safe cleaner | Use soaking-wet cloths |
| Drying | Dry right away with a clean towel | Leave moisture to evaporate on its own |
| Stubborn marks | Use a finish-safe spot treatment per label | Use vinegar/bleach/abrasives or unknown mixes |
| Test area | Spot-test any treatment in a hidden spot | Assume all finishes react the same |
Sources
– USDA Forest Service, Wood Handbook: Wood as an Engineering Material (fiber saturation point ~30% moisture content; moisture-related wood behavior)
– ASHRAE Standard 160 (2016) (moisture/humidity guidance commonly cited as ~35%–55% RH to limit wood performance issues)
Mud stains on hardwood are usually solvable when you lift the grit first, then clean with a barely damp, finish-safe method, and dry immediately. If a dark mark remains, use a finish-safe spot treatment (after a hidden-area test) rather than stronger household chemicals. If the stain spreads or the finish is visibly altered, pause and get help—so you don’t end up with a bigger, harder-to-match repair.
Frequently Asked Questions
What’s the safest way to remove mud stains from hardwood floors without damaging the finish?
Start by letting the mud dry fully, then gently scrape it off with a plastic putty knife or soft-bristled brush—avoid abrasive pads that can scratch hardwood. Vacuum up loose particles, then wipe with a damp microfiber cloth using warm water and a small amount of hardwood-safe cleaner. Dry immediately with a clean towel to prevent moisture from soaking into the wood. If the stain remains, repeat gently rather than using strong chemicals right away.
How do I get dried mud off hardwood floors when it’s caked in?
Dried mud should be loosened first: lightly mist with warm water or a hardwood floor cleaner, wait 2–5 minutes, and then scrape carefully. Work in small sections so the mud doesn’t smear into the grain, and keep the cloth only slightly damp. After removing the residue, clean again with a damp microfiber to remove any remaining grit, then dry thoroughly. For stubborn spots, use a tiny amount of cleaner on a cloth and blot—don’t flood the area.
Why do mud stains leave marks on hardwood floors even after cleaning?
Mud often contains clay and minerals that can become embedded in the finish or settle into the wood’s surface pores as it dries. If the mud is allowed to dry before cleaning, the particles can harden and create a visible discoloration. Excess water during cleaning can also spread the stain and raise the appearance of water spots. Prompt removal of grit and careful, damp-but-not-wet cleaning helps prevent deeper staining.
Which cleaning solution works best for mud stains on sealed hardwood floors?
For sealed hardwood floors, a pH-neutral cleaner designed for hardwood is usually the best choice because it lifts soil without stripping the finish. Mix according to label directions, apply to a microfiber cloth (not directly onto the floor), and blot the stained area. If the stain is still visible, repeat with the same product rather than switching to harsh cleaners. Always test any solution in a hidden spot first to ensure it won’t dull or change the finish.
What’s the best method to remove mud stains from hardwood floors if they’re stained darker or look “burnt”?
After removing the bulk mud, try a targeted approach: clean the area with warm water and a pH-neutral hardwood cleaner, then lightly dry and inspect. For deeper discoloration, you can use a small amount of hydrogen peroxide diluted with water on a cloth, blot gently, and rinse by wiping with a damp cloth—test first in an inconspicuous area. Avoid steam cleaners and strong degreasers, which can damage the finish or drive moisture into the wood. If the mark persists, it may require refinishing or a professional floor-restoration product.
📅 Last Updated: October 31, 2026 | Topic: How to get mud stains off hardwood floors? | Content verified for accuracy and freshness.
References
- hardwood floor cleaning stain removal – Search Results – PubMed
- Wood flooring
- Stain removal
- Water damage
- https://www.cdc.gov/disasters/cleanup.html
- Mold Cleanup in Your Home | US EPA
- Mold | US EPA
- https://scholar.google.com/scholar?q=remove+mud+stains+from+hardwood+floors Google Scholar
- https://scholar.google.com/scholar?q=cleaning+wood+floor+stains+water+mud Google Scholar
- https://scholar.google.com/scholar?q=hardwood+floor+cleaning+stain+removal+finished+wood Google Scholar