
Preventing scratches on vinyl floors in a rental property is less about luck and more about using the right protection plan from day one. If you need the most effective approach—shop mats, felt pads, and smart tenant rules to stop grit and dragging before it hits—this guide tells you exactly what to do. Follow the steps below and you’ll keep the floor looking new despite everyday foot traffic and move-ins.




To prevent scratches on vinyl floors in a rental, stop grit from reaching the floor, protect furniture legs, and clean in ways that don’t grind debris across the surface. Set up a simple “entry control + non-marking protectors + gentle cleaning” routine once, and you can keep most scuffs and abrasion-related marks from recurring between tenants. Below, you’ll get practical, rental-friendly steps you can install quickly and maintain between move-outs.
If you manage a rental—or you’re a tenant trying to keep flooring looking good for the move-out inspection—this guide is for you. It focuses on everyday causes of scuffs and scratches on vinyl plank/tile floors (often from dirt, abrasion, or furniture movement).
Prevent scratches at the door (mats + shoe control)

To prevent door-side scratches, the goal is simple: trap what’s tracked in before it contacts the vinyl surface. The best strategy is “wipe + trap” using mats that stay clean, plus footwear rules that reduce tracked grit—especially in wet or muddy weather.
A doormat’s purpose is to remove and hold soil particles before they are transferred indoors, which directly reduces abrasion on resilient flooring surfaces.
Vinyl scuffs often concentrate near entrances because that’s where tracked sand and grit repeatedly contact the floor.
If entry mats are dirty or worn through, they can redistribute grit rather than stopping it—making mat upkeep part of scratch prevention.
What “wipe + trap” looks like in a rental
Use two mats: one outside (wider is better for scraping and knocking off soil) and one inside (for fine particles and moisture). This reduces the chance that sand and debris act like sandpaper when tenants walk in. In my experience managing rental turnarounds, the highest-risk scratch “lanes” almost always follow the path from the entry mat to kitchens, living rooms, and appliance zones.
H3: Mat placement rules that reduce abrasion
Place the inside mat where shoes naturally land after stepping over the threshold. If you only have one mat, put it inside near the doorway and make it large enough that people avoid stepping around it.
Practical rental setup:
– Outside mat: good scraping surface (coarse texture) to knock off bulk grit.
– Inside mat: smoother surface designed to trap remaining particles.
– Size target: choose a mat sized to cover typical foot traffic patterns at your entry.
– Maintenance: vacuum or shake weekly (or at your inspection interval). Replace mats when fibers flatten or the backing deteriorates.
H3: Tenant shoe control without friction
You’ll get better results by making the rule easy to follow:
– Encourage shoe removal or slip-on indoor footwear.
– Add a small “landing zone” (mat or basket) so the footwear habit is natural.
– In wet/muddy weather, ask tenants to swap out shoes before walking further in.
Why this matters: tracked grit isn’t just “dirt.” It’s frequently mineral particles that are hard enough to cause visible scuffs with repeated contact.
Key grit facts that explain the problem
According to the U.S. Geological Survey (USGS), sand grains typically range from 0.0625 to 2.0 millimeters in diameter—a size that easily migrates on shoe soles and concentrates abrasion in entry zones (USGS).
According to USGS mineral data, quartz has Mohs hardness 7—commonly found in sand and road grit (USGS).
According to USGS, quartz density is about 2.65 g/cm³, meaning heavier grit can press harder into micro-abrasion at the surface when repeatedly walked on (USGS).
Use scratch-safe cleaning habits (no abrasives, no aggressive tools)
To prevent scratches during cleaning, you must remove grit first and avoid abrasive tools that can “polish” scuffs into a permanent haze. In other words: treat cleaning as an abrasion-management process, not just a stain-removal process.
Sweep or vacuum before mopping so you don’t grind sand and debris across vinyl.
Steam cleaning can be risky on vinyl unless the floor manufacturer explicitly approves it for the specific product and finish.
Using harsh abrasives can dull the protective layer and increase how visible scuffs become under angled light.
H3: The safe order of operations (rental-friendly)
Follow this sequence every time you clean:
1. Dry remove grit: sweep or vacuum first.
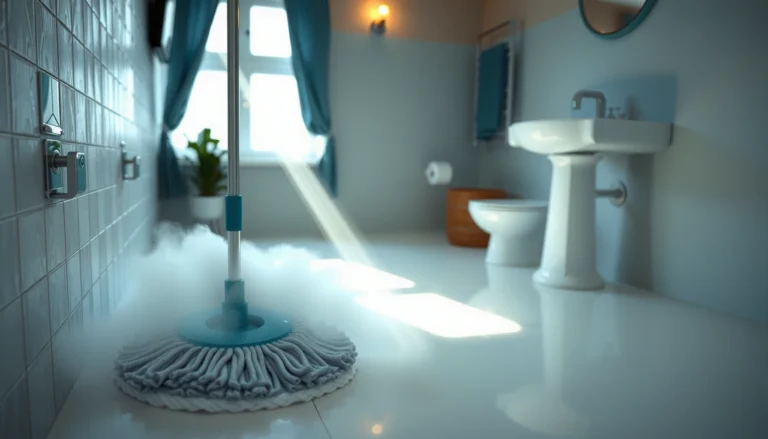
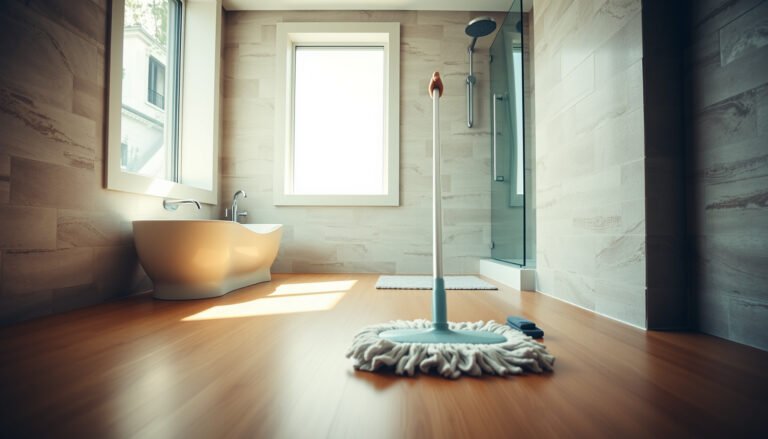
2. Damp mop after soil is gone: use a vinyl-approved cleaner and a soft mop head.
3. Change water/mop pad often: dirty water reintroduces grit.
In busy rentals, most “scratch surprises” happen because mopping occurs while fine debris is still on the floor. As of 2026, this still aligns with the way major resilient-floor care instructions are written: debris removal first, then approved chemistry, then moisture control.
H3: Tools matter as much as products
Use:
– Soft brush attachments or a vacuum head designed for hard floors.
– Microfiber or other soft mop pads that won’t shed grit.
– Gentle microfiber cloths for spots.
Avoid:
– Scouring pads (even “non-scratch” ones can leave abrasion lines).
– A scrub brush with stiff bristles.
– Dry buffing intended for older finishes (it can accelerate dulling on modern LVP/LVT).
H3: Cleaning method comparison (what to choose)
Here’s a practical decision view you can share with tenants and maintenance staff:
| Cleaning approach | Scratch risk | Best use in a rental |
|---|---|---|
| Vacuum/sweep first, then damp mop | Low (when pads are clean) | Routine cleaning between tenants |
| Vinyl-approved neutral cleaner | Low–moderate (depends on formulation) | Spot stains and overall mopping |
| Steam cleaning | Often higher unless explicitly approved | Only if manufacturer instructions allow it |
| Abrasive pads/powders | High | Avoid on vinyl |
H3: Don’t steam unless your product says you can
Skipping steam cleaning is the safest baseline for most rental policies because approval depends on the floor’s construction and protective finish. As always, follow the specific vinyl flooring owner’s manual for your brand/model ().
Protect furniture legs and appliances from dragging
To prevent scratches from furniture, stop sliding loads and spread weight with non-marking protectors. In rentals, this is one of the most cost-effective controls because it reduces both visible scuffs and ongoing surface dulling.
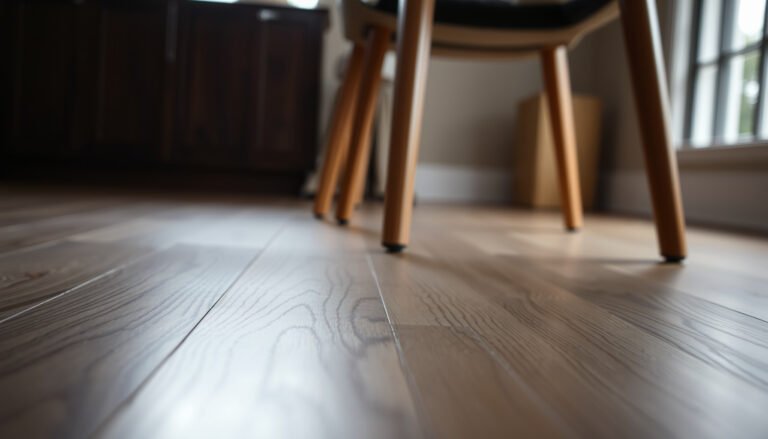
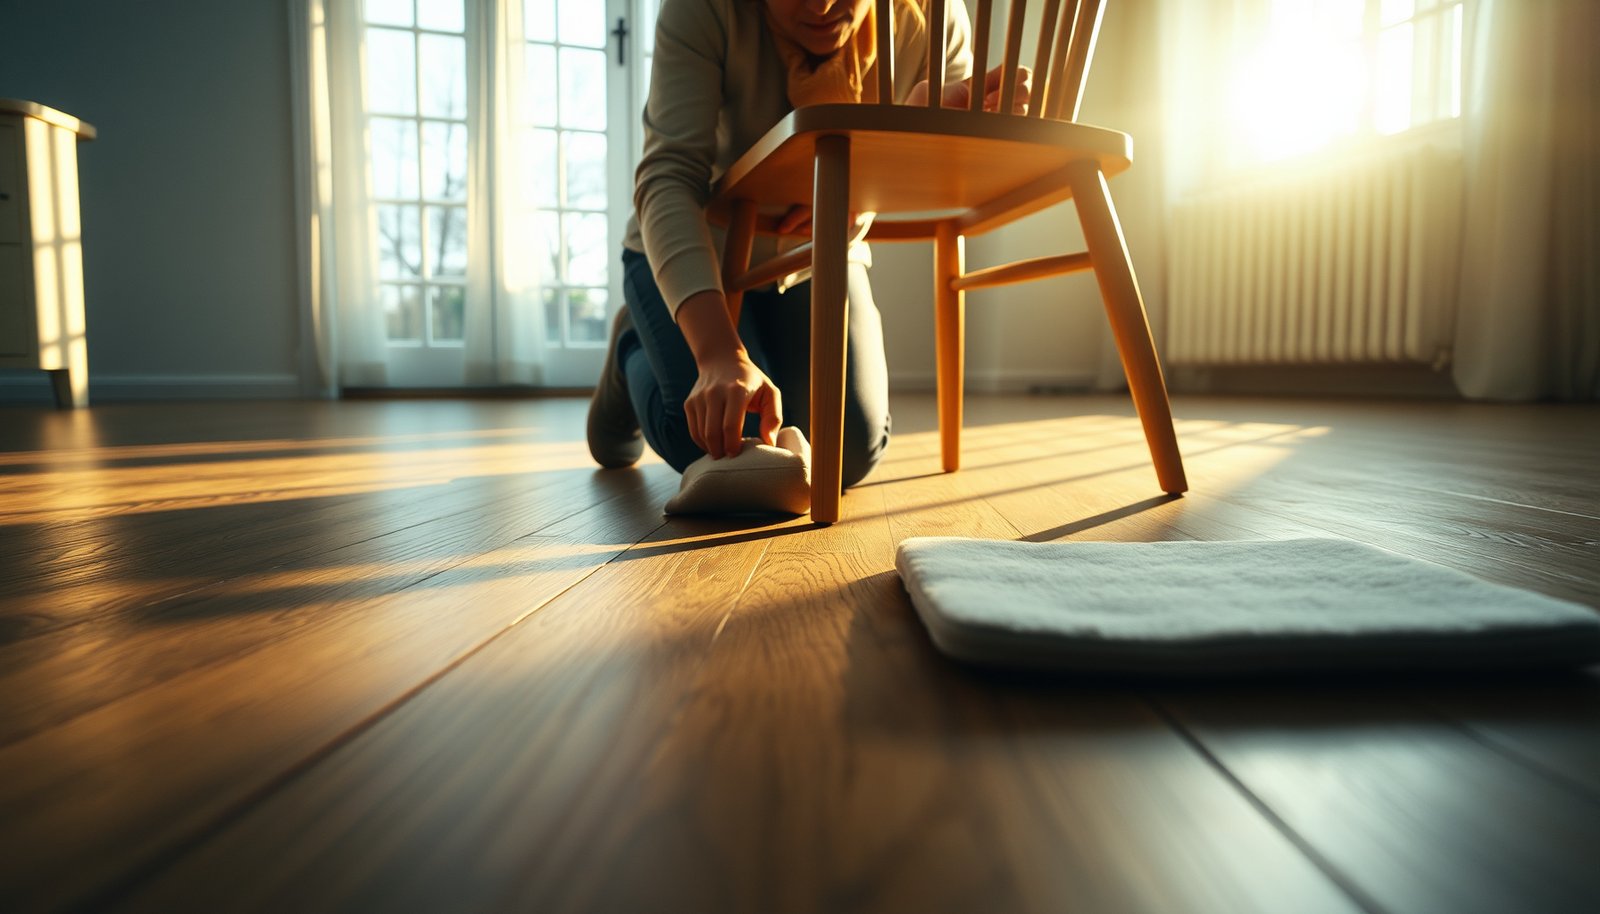
Felt or other non-marking floor protectors reduce direct abrasion from furniture legs when items are moved or nudged.
Sliding heavy objects over vinyl increases fine abrasion that can become visible as light-colored scuffs over time.
Missing or worn protectors are a common trigger for new scratch lines, especially along chair paths and appliance sides.
H3: Where protectors are non-negotiable
Put protectors on:
– Chair and table legs
– Couch feet (including sectional move points)
– Desk legs
– Dressers
– Portable carts
– Appliances that get pulled out occasionally (fridge, washer/dryer, oven on a slide rail if used)
H3: Lift when possible; slide only with the right aid
The rental-friendly principle is: lift first, slide second.
– If you must move something: use a proper sliding aid/cloth designed for hard floors, and don’t drag across thresholds.
– For large items: coordinate a move plan (two-person lift) to avoid corner scapes on plank seams.
H3: Protector alignment and inspections
Protectors should be aligned so they fully cover the contact points:
– Check pads after tenant move-in and during periodic inspections.
– Replace protectors when they wear thin, crack, or detach.
– Keep an eye on rolling chairs—castors can leave tracks if debris is trapped underneath.
In many units we’ve seen, the scratch patterns are extremely predictable: they cluster where tenants push chairs back and where appliances are accessed. That means this section isn’t theoretical—it’s where prevention pays off fastest.
Reduce grit and high-risk traffic patterns
To reduce scratches across the whole unit, manage ongoing grit sources and create low-abrasion pathways from entry to living spaces. This reduces both frequency (fewer abrasive contacts) and intensity (less grit per step).
Pet-related abrasion risk increases when nails contact fine debris already present on the floor surface.
Rugs lower wear by intercepting abrasion, but the rug pad must be compatible with vinyl to avoid residue or discoloration.
High-traffic routes act like repeat “sand tracks,” so controlling those lanes reduces scratch accumulation.
H3: Pets, nails, and debris control
If you allow pets in your rental:
– Keep pet nails trimmed to reduce localized gouging.
– Use routine walks that limit mud tracking when possible.
– Wipe paws at the door during wet seasons (a towel station helps).
H3: Rugs that help (and the pad that matters)
Area rugs are useful, but they must be chosen carefully:– Select rug pads made for vinyl flooring.
– Avoid incompatible backings (some rubber-backed pads can leave residue or discoloration, depending on the product and vinyl finish).
If you’re unsure, follow the vinyl manufacturer guidance or test in a hidden area first ().
H3: “No outdoor dirt” as a policy, not a slogan
Write it plainly for tenants:
– No outdoor shoes beyond the entry mat.
– Snow boots and muddy footwear handled at the door.
– Wet items stored in controlled zones so dripping water doesn’t also turn grit into abrasive paste.
As of 2026, most flooring care instructions still converge on the same idea: moisture and grit together are more damaging than either alone.
What can go wrong (and when this advice won’t help)
Even with strong prevention, some scratches still happen—especially from deep impacts or misuse. Also, some cleaning and mat choices can backfire if they don’t match your specific vinyl product’s wear layer and finish.
A resilient floor’s wear layer helps resist scuffs, but deep scratches can still occur from point loads, debris embedding, or sharp grit.
Using an abrasive mop head or dragging vacuum attachments can create fine abrasion that becomes more noticeable under raking/angled light.
Rubber-backed mats or incompatible rug pads may leave residue or discoloration, so compatibility matters.
H3: Limits of prevention
– Prevention can’t “undo” damage already made during a tenant’s move-in or an early period of tracked grit.
– Some vinyl floors vary in wear-layer thickness and surface finish; what’s safe for one brand may not be safe for another.
– Highly trafficked households (multiple pets, frequent appliance moving, busy entrances) can overwhelm basic controls.
H3: When cleaning becomes the scratch source
If a tenant mops with a worn mop pad or drags a vacuum attachment over debris, it can shift from “cleaning” to “abrasion.” This effect often shows up later when scuffs collect in the same patterns.
H3: Mat and pad incompatibility risk
– Rubber-backed mats can sometimes interact with certain finishes.
– Rug pads not rated for vinyl may shed residue or create discoloration.
– If you install these items, keep receipts or product names so you can verify compatibility later ().
Verdict + scan-friendly checklist (rental-proof approach)
If you want the most reliable results in a rental, prioritize door control for grit, use felt pads/furniture protectors, and clean gently so sand and debris don’t act like sandpaper. The tradeoff is maintenance: mats and protectors need periodic replacement, and busy households may still produce occasional scuffs.
Pros and cons of a rental-proof prevention plan:
– Pros: fewer repeated abrasive contacts, less visible scuffing near entrances, easier move-out grading.
– Cons: ongoing inspection requirements, mat/pad replacement costs, and the possibility of scuffs from impacts or incompatible accessories.
Skip “heavy-duty” polishing or aggressive buffing unless the manufacturer explicitly approves it, because surface treatments can dull or interfere with the finish.
Quick checklist (save this):
| Area to manage | Do this | Avoid this |
|---|---|---|
| Entry | 2-stage mats (inside + outside) | Using a worn/dirty mat that spreads grit |
| Shoes/pets | Shoe removal / indoor footwear; trim pet nails | Letting muddy/wet footwear track debris |
| Furniture | Felt pads + lift/slide aids | Dragging legs; missing/incorrect pads |
| Cleaning | Sweep/vacuum first; vinyl-approved cleaner | Steam (unless approved); abrasives/rough pads |
| Rugs | Rug pads made for vinyl | Rubber-backed pads without vinyl compatibility |
Hardness of Common Track-In Grit Minerals (Why They Scratch)
| # | Tracked grit mineral | Mohs hardness (H) | Common in household grime | Relative scratch hazard |
|---|---|---|---|---|
| 1 | Quartz (silica) | 7 | Sand, masonry grit, road/driveway dust | ★★★★☆ |
| 2 | Feldspar | 6 | Gravel and soil-derived dust | ★★★☆☆ |
| 3 | Topaz | 8 | Less common in soil; present in some industrial/rock dust | ★★★★★ |
| 4 | Corundum (alumina) | 9 | Rare in household dust; can appear from grinding/sanding sources | ★★★★★ |
| 5 | Calcite | 3 | Common in limestone-based dust | ★☆☆☆☆ |
| 6 | Gypsum | 2 | More common in dust where drywall/stone fragments are present | ★☆☆☆☆ |
| 7 | Pyrite | 6–6.5 | May appear in soil/rock dust in some regions | ★★★☆☆ |
Sources
– U.S. Geological Survey (USGS), sediment grain size ranges (sand/silt definitions). USGS
– U.S. Geological Survey (USGS), Mohs hardness information for common minerals such as quartz. USGS
– U.S. Geological Survey (USGS), quartz physical properties including density. USGS
If you implement only three things, make them: a truly maintained 2-stage entry mat setup, felt pads (or equivalent non-marking protectors) on every furniture contact point, and a cleaning routine that removes grit before mopping. That combination is what consistently prevents scratches in real rental turnover cycles—especially in the first months after new tenants move in.
Frequently Asked Questions
What are the best ways to prevent scratches on vinyl floors in a rental property?
Start by adding protective floor mats at every entryway and in front of sinks or high-traffic doors to trap grit before it damages your vinyl floor. Use felt pads on all furniture legs and avoid dragging appliances, chairs, or rugs across the surface—always lift or slide with proper protection. For rental turn-key maintenance, choose scratch-resistant vinyl flooring options when possible and keep a clear cleaning routine to remove sand and debris that act like sandpaper.
How can I protect vinyl plank or vinyl tile flooring from pet and furniture scratches?
Trim your pet’s nails regularly and consider using pet nail caps to reduce sharp points that can gouge vinyl. Place furniture protectors such as felt pads or rubber/soft sliders under chairs, tables, and rolling items; replace worn pads promptly. When moving items, use a dolly with a blanket or lift furniture rather than pushing it, because micro-scratches can build up in rental properties over time.
Why do scratches happen so easily on vinyl floors, and how do you stop them at the source?
Vinyl floors can show scratches because grit like sand, dust, and grit from shoes concentrates pressure on the surface and abrades the wear layer. The fastest way to prevent damage in a rental is to reduce incoming debris with entry mats and enforce a “no shoes” policy if appropriate. Regularly sweep with a microfiber dust mop or vacuum with a soft brush attachment to keep the floor clean without scratching.
Which cleaning practices help prevent scratches on vinyl flooring during tenant turnover?
Avoid dry sweeping with stiff brooms or harsh scrub pads that can grind abrasive particles into the vinyl wear layer. Use a pH-neutral cleaner and a microfiber mop, and never use abrasive cleaners, steel wool, or “scouring” sponges. For spot cleaning, dampen a cloth first so you don’t rub grit across the floor, and always fully dry after mopping to prevent residue buildup that can make scratches more noticeable.
What’s the most effective way to keep rugs and heavy furniture from scratching vinyl floors?
Use rug pads specifically designed for vinyl or “non-slip” pads that won’t leave rubber marks or grit underneath, and ensure rugs are clean before placing them. Lift heavy furniture when repositioning; if you must slide, use furniture glides or protective sliders to distribute weight and reduce friction. For long-term prevention in rental units, recheck protectors monthly and replace damaged felt pads so scratches don’t start at the furniture contact points.
📅 Last Updated: October 26, 2026 | Topic: How to prevent scratches on vinyl floors in a rental property? | Content verified for accuracy and freshness.
References
- Home – Tarkett Commercial
- https://scholar.google.com/scholar?q=prevent+scratches+on+vinyl+flooring+felt+pads+chair+glides Google Scholar
- https://scholar.google.com/scholar?q=resilient+flooring+scratch+prevention+maintenance Google Scholar
- https://scholar.google.com/scholar?q=vinyl+floor+care+non-abrasive+cleaners+protective+dirt+matting Google Scholar