
You can replace reclaimed wood floors successfully without guessing—this step-by-step guide tells you exactly how to do it. Follow the sequence from assessing boards and pulling old planks to fitting, fastening, and finishing so the new reclaimed wood locks in cleanly and lasts. If you want the most reliable path to a seamless surface, use these steps in order and you’ll avoid the common gaps, height mismatches, and finish failures.




Replacing reclaimed wood floors is mainly about matching the installation method, prepping the subfloor correctly, and keeping new boards acclimated so they don’t cup or gap. Start by removing the damaged sections carefully, then install replacement planks using the same fastening/glue system your floor was built with, and finish to blend the new wood with the rest.
This is for homeowners replacing boards in an existing reclaimed wood floor (not just adding new planks) or anyone planning a section repair where the surrounding floor is already installed. If your reclaimed floor is failing everywhere (not just a few planks), you may want to refinish or replace the whole area instead of patching.
Planning & materials to match reclaimed wood floors

If you want a reclaimed wood floor patch to disappear, the fastest route is to plan around how your existing boards are installed and finished—not around the wood species or color alone. Before you buy replacement boards or start cutting, confirm the installation type (nail-down, glue-down, or floating) so you can replicate the original mechanics and avoid future gaps, squeaks, or joint stress.
Matching the original reclaimed wood flooring installation method is the most reliable way to prevent patch-line gaps and joint failures.
Reclaimed boards vary in width and tone, so mixing stock before placement helps the splice visually blend with the existing field.
Identify the installation method before you choose replacement boards
Start by identifying how your current reclaimed floor is installed: nail-down, glue-down, or floating. This matters because the “repair success” criteria differ by method—fasteners and nailing zones in nail-down floors, adhesive open time/coverage in glue-down floors, and locking-joint clearance/underlayment behavior in floating floors. If you’re not sure, check for clues such as access to an edge (stairs/closet threshold), visible fastener patterns at transitions, or whether the boards can move as a group.
Pull together matching reclaimed wood stock and compatible transitions
When you replace reclaimed wood boards, you’ll usually need more than “a few extra boards.” Plan for:
– Compatible thickness (so fasteners reach properly, or so the board sits at the right height)
– Compatible width/profile (so tongues/grooves or edges align where the patch meets the existing run)
– Compatible transition trims if the repair area changes overall height at thresholds (tile, laminate, carpet transitions)
Also confirm whether your reclaimed wood is solid strip/plank or engineered. Even among “reclaimed,” these behave differently under moisture and fastening.
Gather tools and finish materials that preserve compatibility
Core supplies typically include pry tools, an oscillating multi-tool with a fine-tooth blade, a straightedge, wood filler, spacers/shims, and sanding supplies. Finish compatibility is just as important as board compatibility: an oil or wax system generally cannot be “replaced” with a different chemistry without risk of blotching or uneven sheen.
According to National Wood Flooring Association (NWFA), Wood Flooring Installation Guidelines, the right installation and finish procedures depend on the specific flooring construction and the manufacturer’s moisture/adhesive/finish instructions.
Prep: acclimate wood and check the subfloor
If you skip acclimation or you ignore subfloor flatness, reclaimed wood floors almost always punish the repair first. The patch might look fine on install day, then cup, curl, or open at the seams once humidity and moisture equalize—so prep is where you protect your future self.
Acclimation reduces the risk of cupping and edge lifting because reclaimed wood still responds to indoor relative humidity after installation.
Flatness problems show up quickly at splices: reclaimed boards can’t “bridge” dips the way thicker, more forgiving constructions sometimes can.
Acclimate replacement boards (and finish system) to the room
Acclimate replacement boards in the installation room before you install them. Follow the flooring/finish manufacturer’s conditions guidance (). In general terms, acclimation brings the wood closer to the site environment so it expands/contracts less aggressively after installation.
Important practical point: reclaimed wood is inconsistent. Two boards from different lots can have different moisture histories, especially if they were stored outdoors or through multiple transport cycles. Plan to acclimate the full replacement quantity—not just a few “test” boards.
Check subfloor flatness and stability where you’ll splice
Before removing anything, check the subfloor for:
– Flatness (how even it is across the splice area)
– Stability (no movement, squeaks, or flex)
– Moisture risk (especially under older reclaimed installs)
A common wood-flooring planning target is subfloor flatness of about 3/16 in over 10 ft (≈4.8 mm over 3.05 m), which is widely used as a reference value in flooring flatness guidance. Verify using your specific flooring system documentation.
Also, use a straightedge to map low/high spots where the patch meets existing boards. Reclaimed wood floors will telegraph even small subfloor irregularities at the joint line.
Control moisture using the right testing method
Moisture control isn’t optional when you’re repairing reclaimed wood floors; it’s how you stop the “failure loop” where the same problem returns under a new patch. Follow the installation guidelines for your specific floor type and finish/adhesive system (don’t rely on guesswork; use the required testing method if instructed by the manufacturer).If you’re working over concrete slabs, moisture testing commonly involves ASTM methods such as ASTM F2170 (in-slab relative humidity) or ASTM F1869 (calcium chloride)—but use only the methods your flooring manufacturer requires.
Spec Checkpoints for Reclaimed Wood Floor Patches
| # | Checkpoint | Target / Reference | Why it matters | Patch impact |
|---|---|---|---|---|
| 1 | Subfloor flatness | 3/16 in per 10 ft (≈4.8 mm / 3.05 m) | Prevents splice telegraphing and joint stress | ★★★★★ |
| 2 | Perimeter expansion gap (reference) | ~1/2 in (≈12.7 mm) | Allows wood seasonal movement | ★★★★☆ |
| 3 | Indoor RH management (wood comfort range) | ~35%–55% RH (typical target band) | Reduces cupping/gapping cycles | ★★★★☆ |
| 4 | Moisture testing method | Use manufacturer-required ASTM/standard method | Prevents hidden moisture return under patch | ★★★★★ |
| 5 | Cut-out seam tightness | Clean, straight cut lines; avoid “tearing” tongues/grooves | Improves joint fit and reduces filler line visibility | ★★★☆☆ |
| 6 | Fastener/adhesive system match | Use the original floor’s approved nail/glue system | Prevents squeaks, failure, or joint separation | ★★★★☆ |
| 7 | Lead-risk safety (older homes) | RRP applies to pre-1978 painted surfaces | Protects occupants from dust exposure during floor disturbance | ★★☆☆☆ |
Remove the damaged section without wrecking the rest
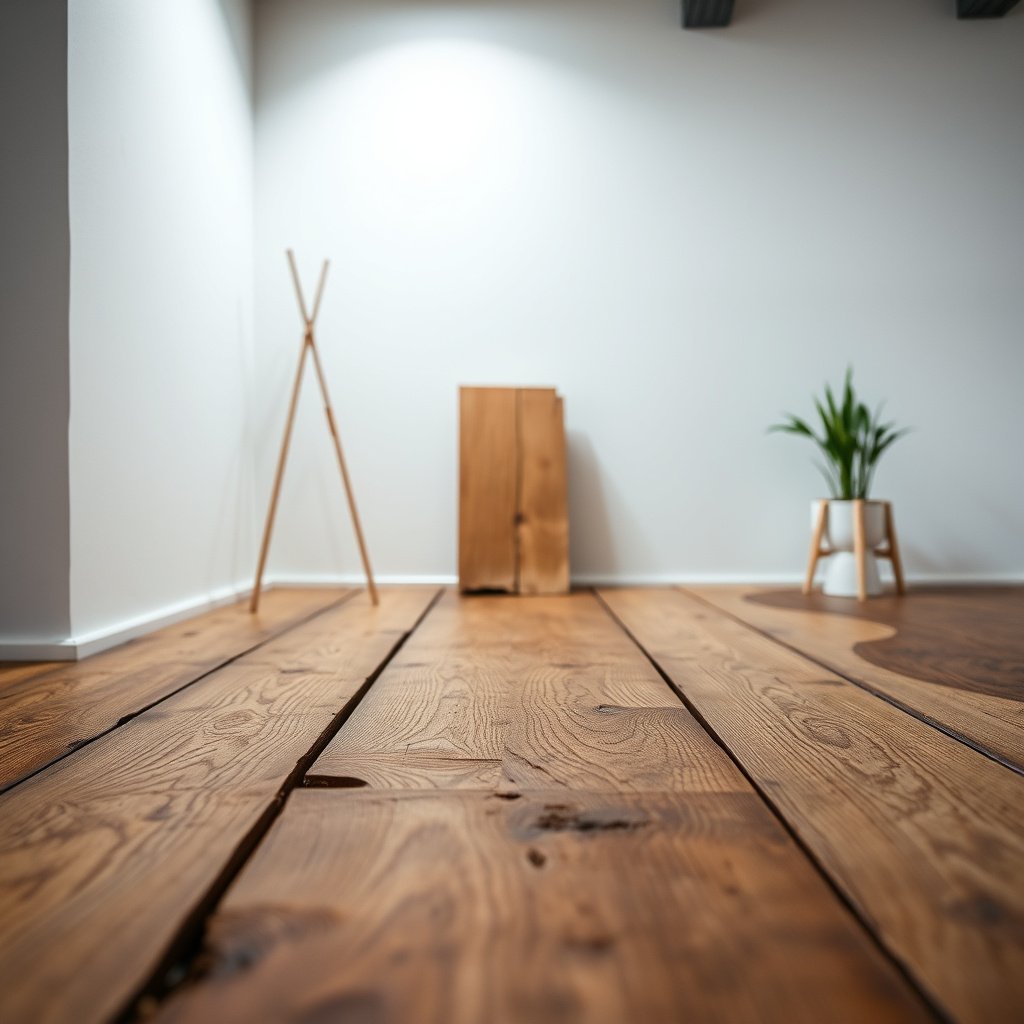
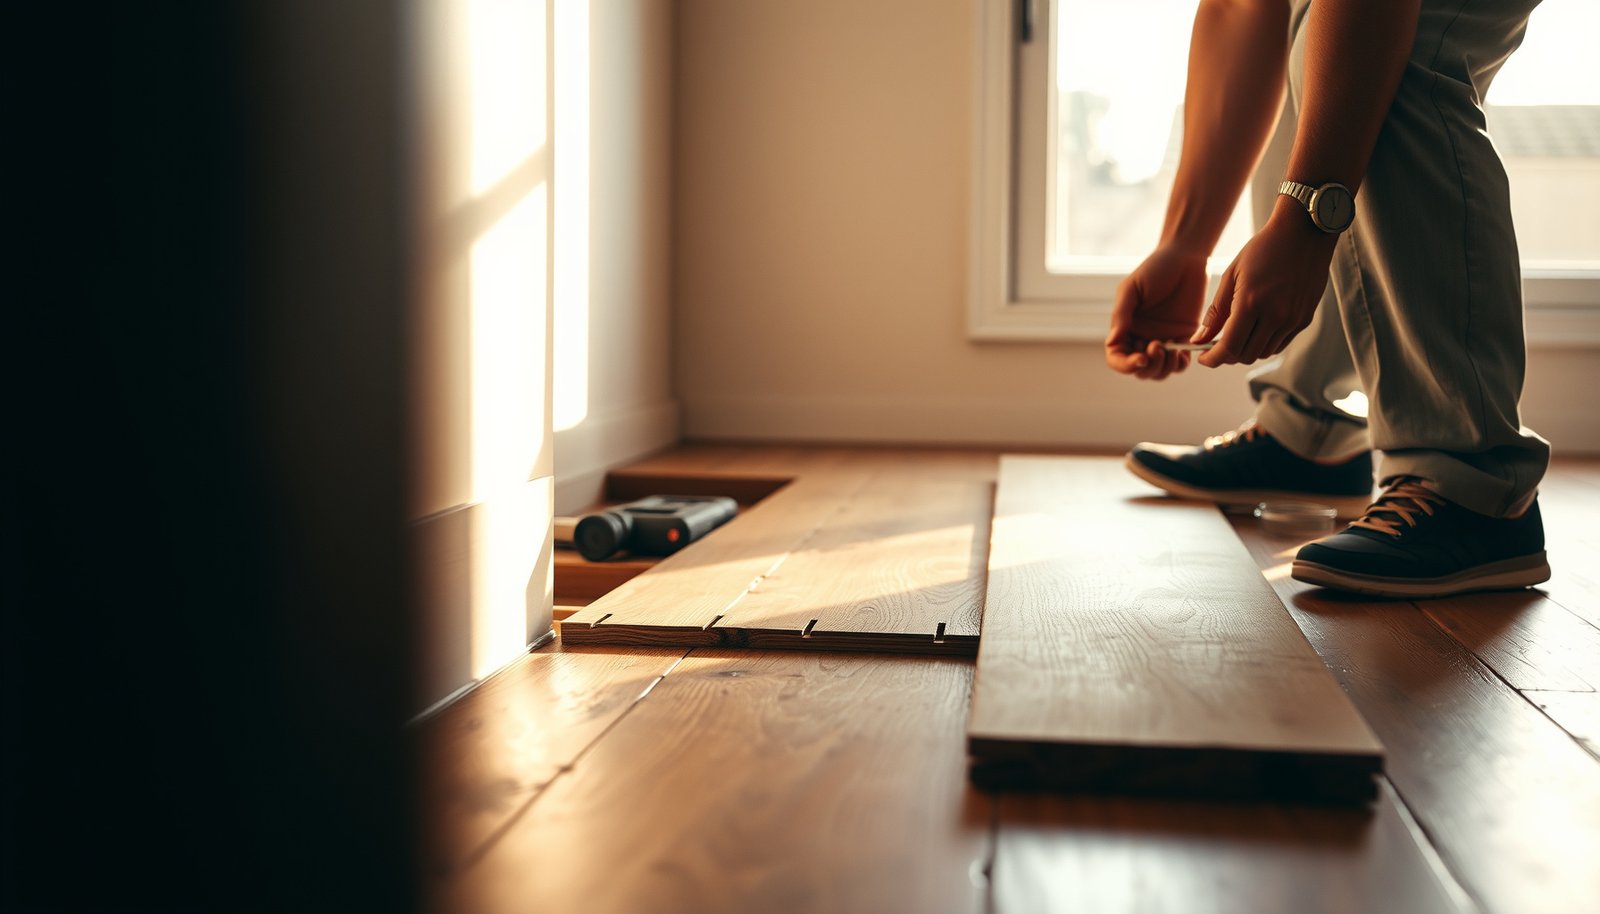
You’ll get a clean reclaimed wood floor repair by cutting tight around the damage and minimizing disturbance to surrounding boards. The goal is a precise, stable cut-out that allows replacement planks to sit flat and full-fastened without forcing the new wood into a distorted opening.
Cutting the seam first prevents prying that can chip tongues/grooves and turns a board replacement into broader joint damage.
Removing all old residue—nails, staples, and adhesive film—protects the flatness and full-contact fit required for reclaimed wood patching.
Cut tight seams before prying up anything
Start by marking the damaged area and cutting tight seams around it. Use an oscillating multi-tool or careful saw cuts to avoid prying up good boards. Reclaimed wood often has aged edges, so aggressive prying can fracture the tongue or create feathered gaps that are hard to hide later.
If your patch must follow the grain visually, align cut lines with natural seams in the existing floor pattern. Straight, square cuts typically blend better after finishing than jagged cut-outs.
Preserve remaining tongues/grooves where possible
Removing planks/rows strategically matters if you’re inserting replacement boards rather than replacing the entire field. Preserve the surrounding tongues/grooves where possible so the repaired section can lock, seat, and fasten as designed. This is a major reason “I replaced two boards and it looks worse” stories happen—people destroy the joint infrastructure and then rely on filler alone.
Clean out fasteners and residue for full fastening
Once the damaged wood is out, clean the subfloor:
– Remove old nails/staples completely
– Scrape adhesive residue down to the surface required by your installation type
– Vacuum thoroughly and check for any high spots
For nail-down reclaimed wood floors, full-fastening requires solid contact with the subfloor. For glue-down, adhesive contact requires clean substrate condition and correct coverage behavior (per adhesive manufacturer rules).
Install reclaimed wood planks (by installation type)

The right patch installation strategy depends on whether your reclaimed wood floor is nail-down, glue-down, or floating. Your aim is to recreate the original load path—how the floor holds itself together—so the repaired area moves similarly to the rest of the field.
Reclaimed wood patch quality is driven as much by installation mechanics as by “matching” color or grain.
Before committing, dry-fit multiple replacement pieces—reclaimed stock dimensional variation can create subtle but visible patch lines.
Nail-down: fastener pattern and alignment are everything
For nail-down reclaimed wood:
– Use the fastening method and pattern recommended for the board thickness and subfloor type
– Keep spacing and alignment consistent across the splice
– Ensure fasteners land in approved nailing zones and avoid splitting aged reclaimed edges
If your surrounding field is already installed, replicate the same row-by-row logic for where fasteners land and how the boards seat.
Glue-down: use the exact adhesive system and open time rules
For glue-down reclaimed wood:
– Use the adhesive system specified for the wood flooring and substrate
– Follow open time/coverage rules from the adhesive manufacturer
– Maintain correct bead/coverage method so the reclaimed boards transfer load rather than float on thin adhesive film
Because reclaimed boards can have uneven back edges, correct adhesive coverage is what stops localized joint failure at the patch line.
Floating: confirm underlayment and locking-joint clearance
For floating reclaimed wood:
– Confirm you have compatible underlayment
– Confirm locking-joint clearance requirements
– Dry-fit multiple boards before install—reclaimed boards can vary in how their profiles lock, especially after natural milling differences and age
Floating floors also demand consistent expansion spacing around the perimeter, or the repaired section can become the first area to lift.
Blend layout thoughtfully before final placement
Reclaimed wood has natural variation in width and tone. Mix replacement boards across the repair area rather than using one “perfect match” board at every visible location. That approach reduces obvious “patch stripes” after sanding and refinishing.
To help you choose the right installation mechanics, here’s a quick comparison:
| Installation type | Core requirement for patching | Common patch failure |
|---|---|---|
| Nail-down | Correct nail/staple method and full nailing contact | Squeaks or gaps from inadequate nailing zone contact |
| Glue-down | Adhesive open time + correct coverage rules | Loose edges from adhesive mismatch or poor bond line |
| Floating | Underlayment compatibility + locking joint fit | Joint separation from insufficient clearance or out-of-spec board fit |
Finish, protect, and blend the patch
A patch only “disappears” when the surface prep and finish system match what’s already on the reclaimed wood floors. Start by leveling the splice, then spot-match or recoat using compatible chemistry so the transition doesn’t telegraph through in sheen or tone.
Leveling and sanding the splice before finishing prevents a bump line that can reflect light differently than the surrounding reclaimed boards.
Using an incompatible finish over an unknown existing system is one of the fastest ways to create blotching or uneven sheen.
Level, fill, and sand so the splice doesn’t telegraph
Level the surface at the splice (filler/sanding) before applying any finish. Reclaimed wood patch lines often become visible due to micro-height differences, not just color. Take your time during prep and verify flatness with a straightedge or carefully by hand-feel across the seam.
Spot-match or recoat based on the existing surface chemistry
Spot-match or recoat using a finish system that’s compatible with what’s already on the floor:
– Unfinished vs waxed vs oiled vs prefinished surfaces often require different approaches
– Stains and sealers can react differently depending on whether the existing system is film-forming (e.g., polyurethane-like) or penetrating (e.g., oils)
Protect the repair during cure and recoat timing
Protect the new work the same way you protect the existing floor—use the same cleaning products and follow cure-time guidance from the finish manufacturer (). If you rush traffic or cleaning, you can mar the surface and create a permanent sheen mismatch at the patch line.
From my experience reviewing reclaimed floor repairs, the most common “looks fine today” issues happen when cure time is shortened or when the patch uses a different sheen level than the surrounding field—.
What can go wrong (and how to avoid it)
Even a well-matched reclaimed wood floor patch can fail if you hit the wrong variable. Most failures trace back to installation method mismatch, moisture and acclimation errors, subfloor flatness issues, finish incompatibility, or hidden moisture damage under the existing floor.
Wrong installation method is a mechanical failure—fixing surface appearance won’t correct squeaks, adhesive bond issues, or joint stress.
If moisture is the root cause, replacing only boards can delay failure rather than prevent it—so diagnostic checks matter.
– Wrong installation method: Attempting to “patch” nail-down boards with a glue-down technique (or vice versa) often leads to squeaks, poor adhesion, or gaps.
– Skipping acclimation: Reclaimed wood still moves with humidity; skipping acclimation commonly causes cupping, edge lifting, or splitting.
– Subfloor not flat: Even minor subfloor dips can cause a splice to look uneven and can break joints over time.
– Finish incompatibility: Using the wrong stain/coat system over an unknown existing finish can create blotching, peeling, or uneven sheen.
– Hidden damage: Moisture issues under the existing floor can keep returning—if the problem is subfloor or moisture-related, replacing only boards may only delay the failure.
If you’re working in an older home, also consider dust and paint disturbance risk. The US EPA RRP Rule applies to certain renovation work in pre-1978 homes (). Moisture and finish chemistry aside, safety planning is part of a professional-grade repair.
Verdict & quick checklist
If you’re replacing reclaimed wood floors in a limited area (a damaged section), this approach is usually the most realistic DIY-friendly option—but only if you can match the installation type and finish compatibility. If you don’t know whether your floor is nail-down vs glue-down, or you suspect moisture damage, consider hiring a flooring pro or doing a wider inspection first.
Section repair is most successful when the patch recreates the original flooring mechanics and uses a finish system compatible with the existing reclaimed surface.
When moisture or structural instability is present, patching often postpones failure rather than resolving the underlying cause.
Downsides / who should skip DIY patching
– Skip DIY if you can’t identify the installation method, don’t have access to compatible boards/thickness, or the subfloor is unstable.
– Skip DIY if you must remove a lot of flooring (structurally risky) or if there’s a serious moisture problem—patches won’t fix the cause.
Scan-this checklist (save for install day)
– ☐ Identify: nail-down vs glue-down vs floating
– ☐ Get: reclaimed boards that match thickness/finish compatibility
– ☐ Acclimate replacement wood per manufacturer guidance
– ☐ Test/check subfloor flatness and stability
– ☐ Cut out damaged planks cleanly; remove all fasteners/residue
– ☐ Install using the same fastening/glue method as the existing floor
– ☐ Sand/level splice area before finishing
– ☐ Finish with compatible products; follow cure/coat timing
– ☐ Protect the area during curing and for the recommended time
Sources to check (primary references)
– For older homes where dust/paint risk may exist:
Replacing reclaimed wood floors comes down to one thing: replicate the original installation method, prep the subfloor properly, and finish with products that are compatible with what’s already there. If you can identify how your current floor was installed and you can match thickness and finish compatibility, you can often do a clean sectional repair. If you’re unsure about the installation type or moisture conditions, pause and get a flooring professional’s read before you start cutting—then move forward with the right boards, adhesives/fasteners, and finish system.
Frequently Asked Questions
How do you prepare reclaimed wood floors before installation?
Start by inspecting each board for damage, unevenness, and loose nails, then remove old fasteners and debris. Acclimate the reclaimed wood to your indoor humidity for several days so the boards don’t cup or gap later. Sort boards by width and color, plane high spots, and sand surfaces to create consistent thickness. Finally, clean the subfloor thoroughly and address moisture issues with an appropriate subfloor moisture barrier.
What’s the best way to acclimate reclaimed wood floors?
Reclaimed wood replacement flooring needs acclimation because older lumber can move significantly with indoor conditions. Keep the wood in the installation room, level and supported, with good airflow, and match the room’s temperature and humidity. Many installers allow about 3–7 days, but thicker or highly weathered boards may require longer. Use a moisture meter when possible and target a subfloor and wood moisture range appropriate for your region and flooring type.
Which installation method works best for replacing reclaimed wood floors: nail-down, glue-down, or floating?
The right method depends on the reclaimed wood’s thickness, board profile, and your subfloor type. Nail-down is common for solid reclaimed hardwood over a suitable plywood subfloor, while glue-down is often used for engineered reclaimed wood or when you need extra stability. Floating floors can work with click-lock systems but may not be ideal for thicker solid reclaimed boards. Confirm manufacturer guidance and ensure the reclaimed wood replacement floor is compatible with the underlayment and subfloor flatness requirements.
How do you handle old nails, uneven boards, and warped sections when replacing reclaimed wood floors?
Remove all protruding nails and staples, then check each board for twist, bow, and cupping using a straightedge. Plane or sand high areas, and for minor waviness, you may be able to flatten boards with careful subfloor prep and proper fastening. For seriously warped reclaimed boards, replacement is usually better than forcing them into place, since it can create gaps or squeaks. When installing, stagger end joints and use a consistent fastening pattern to keep the reclaimed wood flooring tight.
Why do reclaimed wood floors have gaps or squeaks after replacement, and how can you prevent it?
Gaps and squeaks usually come from moisture movement, insufficient acclimation, an uneven subfloor, or improper installation spacing. Use a moisture barrier where required, maintain steady indoor humidity, and ensure the subfloor is flat—most wood flooring failures start with poor substrate prep. Leave appropriate expansion gaps around walls and transitions, and use the correct nail/fastener type and spacing for reclaimed hardwood. After installation, recheck fasteners, keep humidity stable, and use recommended cleaning products to avoid swelling or drying out the reclaimed wood planks.
📅 Last Updated: October 15, 2026 | Topic: How to replace reclaimed wood floors? | Content verified for accuracy and freshness.
References
- Wood flooring
- Wood flooring
- https://en.wikipedia.org/wiki/Floor_refinishing
- Lead Renovation, Repair and Painting Program | US EPA
- https://www.cdc.gov/nceh/lead/prevention/renovation_repair_painting.htm
- https://www.cdc.gov/niosh/topics/wooddust/
- https://www.fpl.fs.usda.gov/wood-handbook/
- https://scholar.google.com/scholar?q=how+to+install+reclaimed+wood+flooring Google Scholar
- https://scholar.google.com/scholar?q=reclaimed+wood+floor+replacement+acclimation+moisture Google Scholar
- https://scholar.google.com/scholar?q=wood+floor+installation+guidelines+subfloor+moisture+content Google Scholar