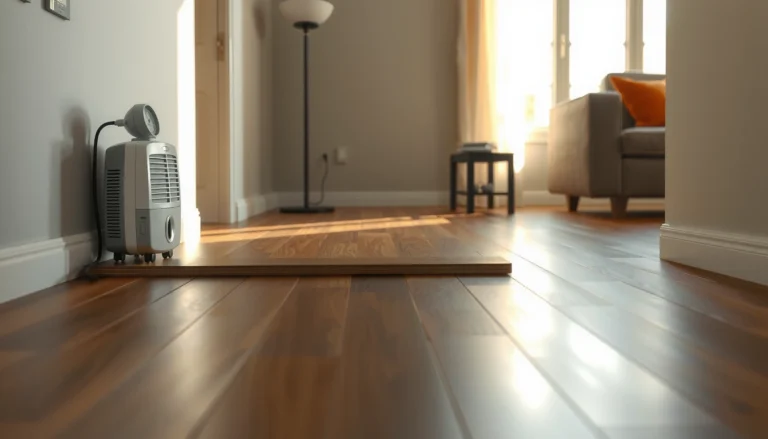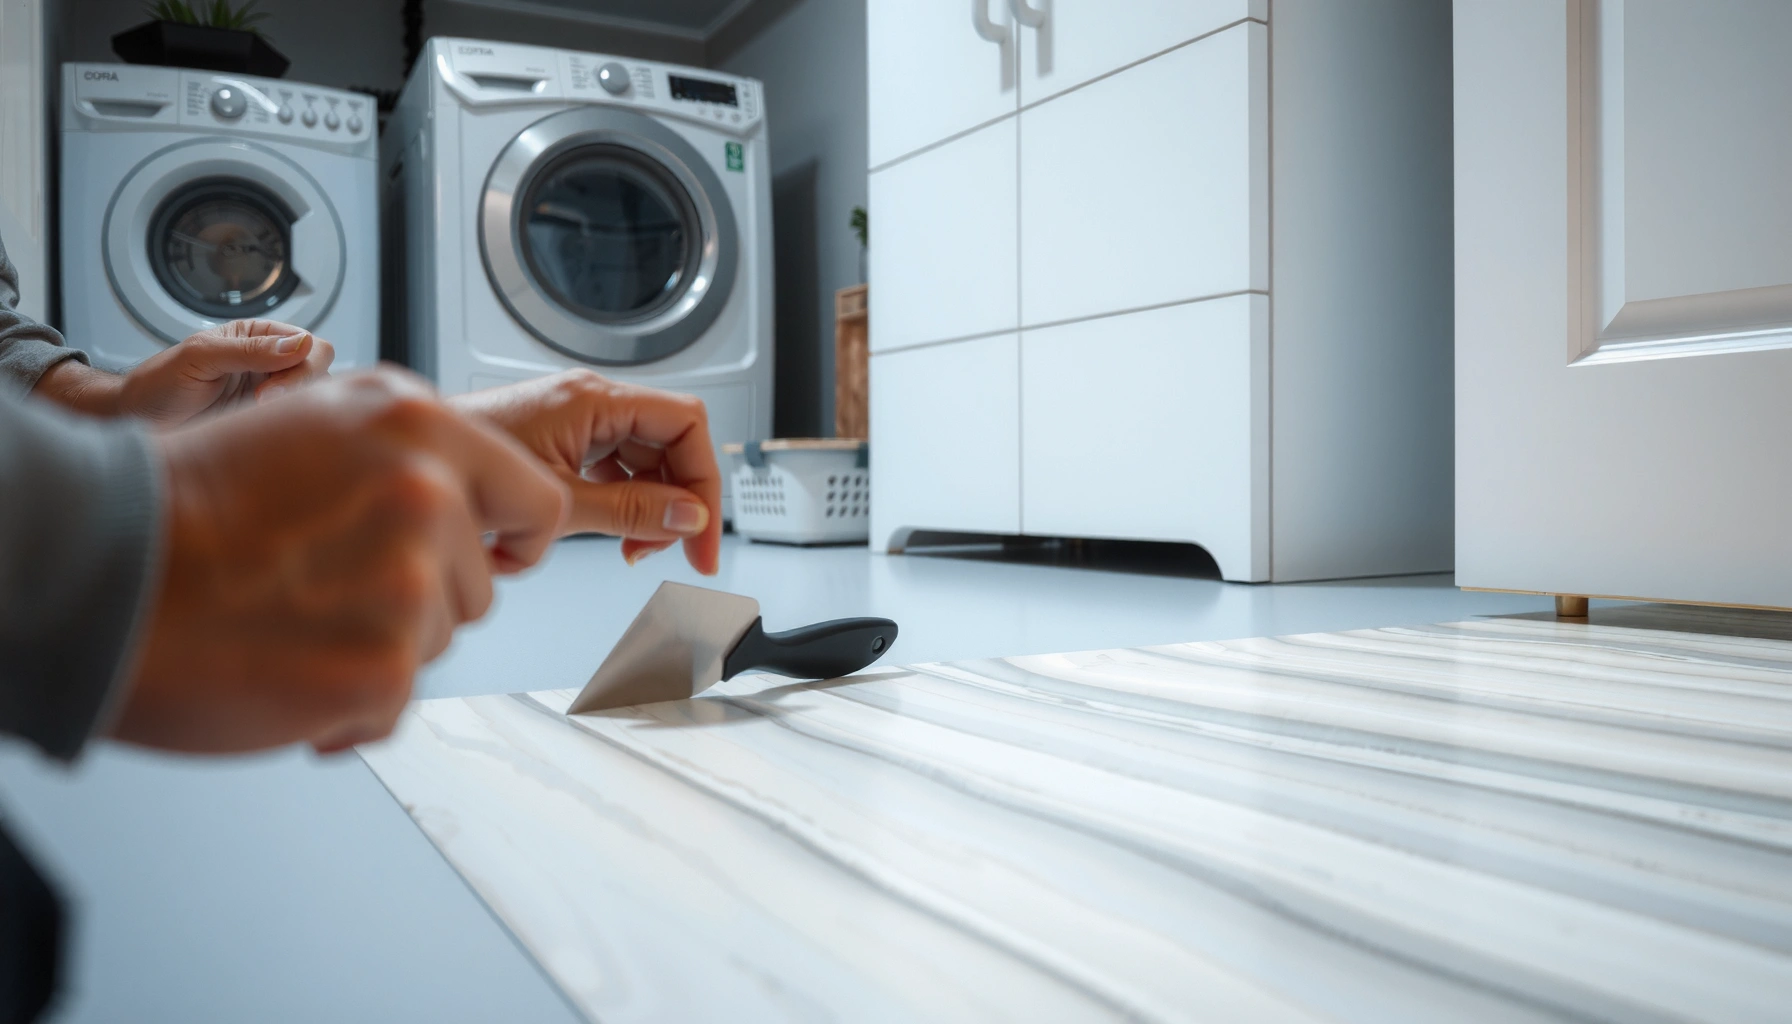

Buckling in sheet vinyl floors is fixable without replacing the whole installation—but only if you identify and correct the cause (moisture, trapped air, or improper acclimation) and re-flatten the planks or seams correctly. This guide tells you the fastest, most reliable way to stop the waves and make the floor lay flat again, with clear steps for both small bubbles and widespread buckling. If you follow the diagnostic and repair order, your sheet vinyl can be restored to a smooth, secure fit.

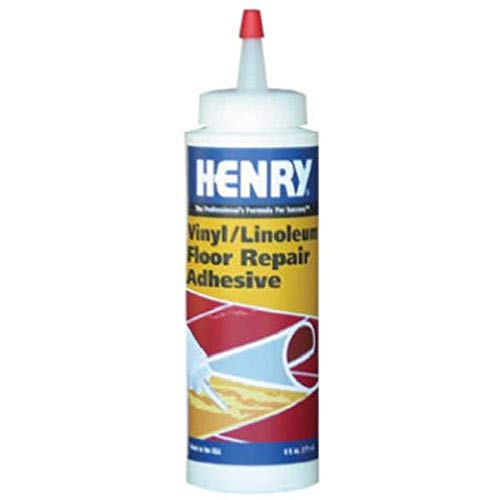


If your sheet vinyl floor is buckling, the fastest fix is to stop the moisture/heat problem and re-flatten the material under the right conditions. In many cases, that means letting the floor acclimate properly, removing trapped moisture, then reworking the seams/edges—or lifting and re-adhering sections if the vinyl has already “set” in waves. This guide walks you through diagnosing the cause and choosing the least-invasive repair first.
This applies if your vinyl sheet looks rippled, bubbled, or has raised “waves,” especially near doors, along walls, or where the subfloor might be uneven. It’s also useful whether you’re dealing with a small area or a broader problem across a room.
Check for the cause first (moisture, subfloor, and installation)
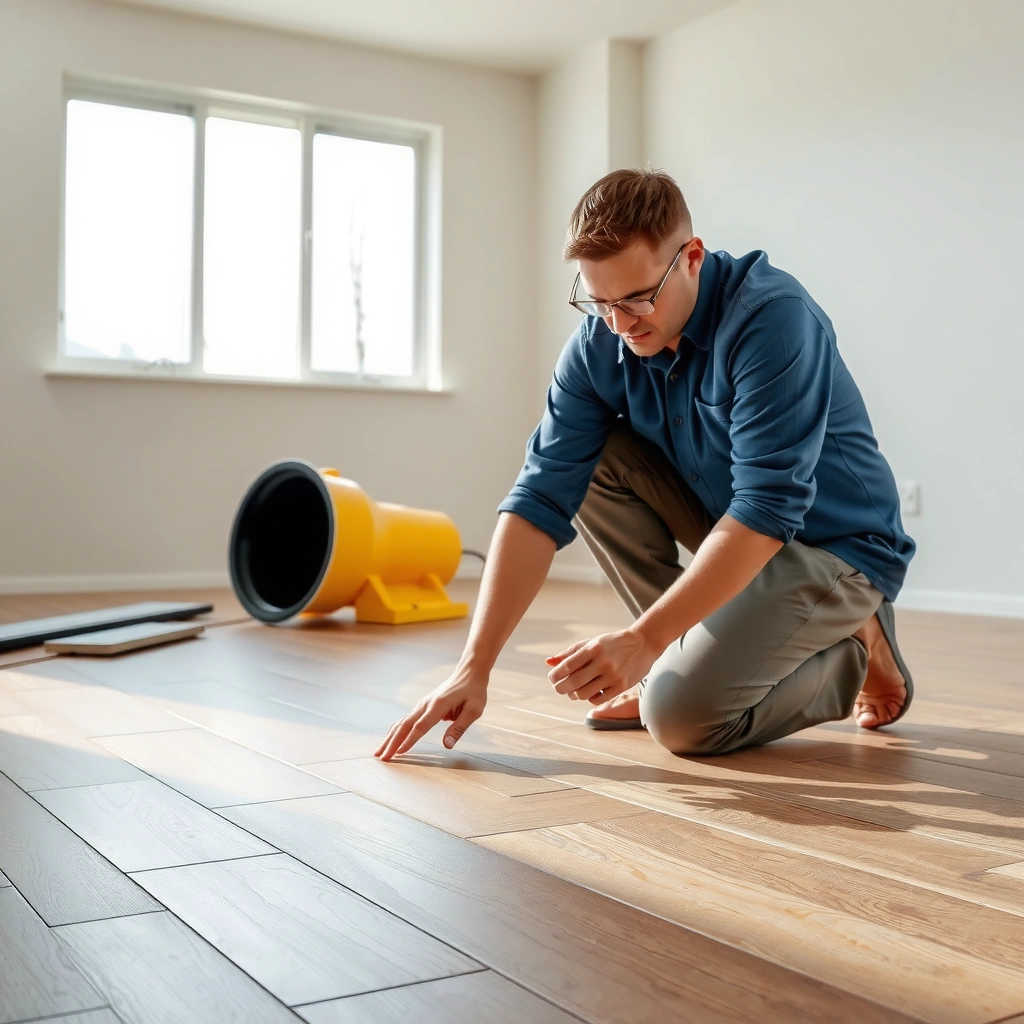
Buckling usually has a root cause—moisture, an uneven subfloor, or an installation detail that prevents the vinyl from moving and bonding correctly. Before you heat, glue, or cut anything, confirm which category you’re dealing with so the repair doesn’t fail again.
In my work on resilient floors, the most common “surprise” I see is that the ripples look like a vinyl problem, but the tests point to the slab or underlayment. If you want a quick way to remember this: the vinyl almost always buckles when something underneath is still moving, expanding, or releasing moisture.
Buckling in resilient sheet vinyl is most often driven by moisture vapor pressure, thermal movement, or subfloor flatness issues—not by the vinyl “going bad” on its own.
Where buckling starts matters: edges and seams often correlate with perimeter expansion gaps, while widespread waves commonly correlate with moisture or broad subfloor movement.
What to look for, starting at the “origin”
– Edges and seams lifting first: This pattern often points to perimeter constraints (insufficient expansion gap) or adhesive/pressing problems at seams and edges.
– Localized bubbles: These can indicate trapped moisture under the sheet or a spot of contamination preventing full adhesive contact.
– Large, repeating wave patterns: These often suggest the subfloor surface is not flat enough (ridges, low humps, or crowned areas), or moisture is affecting the underlayment system over a broader area.
Verify the subfloor system is actually serviceable
Before repairs, check these basics:
– Flatness: Walk the area and use a straightedge (or long level) to see if the surface has ridges or dips. A subfloor that “rocks” or is permanently deformed is rarely fixed by re-gluing alone.
– Cleanliness: Adhesive and leveling products only bond when the surface is clean, dust-free, and consistent with the flooring manufacturer’s requirements.
– Damage signs: Soft spots, bubbling underlayment, staining, or a persistent odor can signal moisture intrusion that needs correction first.
Inspect acclimation and temperature conditions
Most sheet vinyl buckling that appears soon after installation is related to inadequate acclimation or unstable room conditions. If the environment changed right before the waves appeared, fix the environment first, then address the floor surface.
As of 2026, resilient flooring installs still rely on the same fundamentals: vinyl is dimensionally sensitive to temperature and humidity, and it needs time to equilibrate with the space.
Acclimation reduces post-install movement because the resilient sheet reaches equilibrium with the room’s temperature and humidity.
If buckling began after HVAC changes, window solar gain, or a new appliance/leak, treat those conditions as likely contributors.
What stable conditions look like
– Avoid large temperature swings: Direct sunlight through windows can warm one side of the sheet and encourage uneven expansion.
– Watch humidity and airflow: A dehumidifier cycle, a humidifier, or frequently opened exterior doors can change moisture dynamics beneath the flooring.
– Account for seasonal timing: Buckling may not show immediately—sometimes it appears after seasonal humidity shifts.
Check your timeline
If buckling is recent, note what changed:
– New appliance (ice maker, dishwasher, humidifier)
– Plumbing repair nearby
– HVAC adjustments
– A long period of dry heat or sudden cooling
– A change in ventilation that increases indoor moisture
These details help you decide whether you’re dealing with an environmental mismatch or a subfloor moisture problem.
Address moisture and subfloor flatness
The most reliable way to stop buckling is to correct the moisture driver and restore flatness before you try to re-secure the vinyl. Re-gluing over an active moisture source is a common reason ripples return.
Moisture is also measurable. According to ASTM F1869, moisture vapor emission is reported in lbs per 1,000 sq. ft. per 24 hours (MVER), and resilient flooring systems typically require MVER readings low enough to prevent adhesive and vinyl movement. Likewise, ASTM F2170 measures in-situ Relative Humidity (RH%) at the slab—again, resilient flooring products usually specify maximum RH thresholds in their installation instructions.
Moisture-related failures often recur because moisture continues to create pressure under the resilient flooring system after surface repairs.
ASTM F1869 reports moisture vapor emission rate in lbs/1,000 sq. ft./24 hours and ASTM F2170 reports slab RH%, both used to verify resilient flooring acceptance limits.
If the subfloor is not flat, resilient vinyl will “telegraph” ridges and dips as wave patterns, even if adhesion looks acceptable at first.
Use test methods aligned to resilient flooring guidance
Common resilient-floor installation frameworks (for example, ASTM-based moisture testing and industry installation manuals) typically reference acceptance criteria such as:
– MVER thresholds: many resilient flooring systems target ≤ 3 lbs/1,000 sq. ft./24h (MVER) based on installation guidance (verify your specific product manual). [ADD: manufacturer/resilient flooring technical bulletin specifying the exact MVER acceptance limit for your sheet vinyl]
– In-situ RH thresholds: resilient flooring systems often target ≤ 75% RH when using ASTM F2170 (verify your specific product manual). [ADD: manufacturer/resilient flooring technical bulletin specifying the exact ASTM F2170 RH acceptance limit]
– Flatness checks: resilient floors commonly require that the substrate be “smooth and flat” within the manufacturer’s stated tolerances (verify the specific tolerance in your sheet vinyl system). [ADD: manufacturer substrate flatness tolerance (e.g., straightedge tolerance) for your sheet vinyl product]
Correct the “under” problems, not just the “over”
Once you’ve confirmed moisture or flatness issues:
– Moisture: Fix leaks, then dry the slab/underlayment thoroughly. If water-damaged materials exist (water-swollen underlayment layers), replace them if the system allows and the manufacturer permits.
– Flatness:
– Remove high ridges or protrusions.
– Fill low areas using an approved patch/leveler that matches the subfloor type and moisture condition.
– Re-check flatness after the patch cures.
Only after the subfloor is dry and flat should you proceed to flattening and re-securing.
Moisture readings and the most likely sheet-vinyl buckling outcome (installation-style thresholds)
| # | Moisture condition (test basis) | Typical test range* | Most likely buckling driver | Recurrence risk if you only re-glue | First correct step |
|---|---|---|---|---|---|
| 1 | Acceptable slab moisture (ASTM moisture testing) | MVER at/under product limit; RH% at/under product limit | Adhesion/flatness or acclimation mismatch | ★ | Flatten, then re-secure seams/edges |
| 2 | Elevated moisture vapor emission (ASTM F1869) | Above the resilient-floor MVER limit | Moisture pressure under vinyl/adhesive | ★★★ | Dry slab; consider approved vapor mitigation |
| 3 | Elevated in-situ RH (ASTM F2170) | Above the product’s RH% maximum | Persistent moisture release into the system | ★★★★ | Correct moisture source before re-adhesion |
| 4 | Active leak/visible dampness history | Moisture evidence present; tests fail acceptance | Adhesive failure + vinyl lifting | ★★★★★ | Stop leak; remove water-damaged layers |
| 5 | Subfloor unevenness (flatness problem) | High/low spots exceed product tolerance | Mechanical wave formation | ★★★★ | Flatten substrate; then rework seams/edges |
| 6 | Perimeter constrained expansion (insufficient gap) | Vinyl tight at walls/door trims | Thermal movement buckles edges | ★★★ | Restore expansion gap; re-seat perimeter bonding |
| 7 | Adhesive/pressing mismatch (installation detail failure) | Wrong adhesive type, missed cure time, or poor coverage | Uneven adhesion lets vinyl “set” in waves | ★★ | Remove/clean contact surfaces; reapply per specs |
Use your specific sheet vinyl product’s moisture and flatness acceptance limits from its installation instructions. Common test methods include ASTM F1869 (MVER) and ASTM F2170 (RH%).
Flatten and re-secure the vinyl (least-invasive first)
For small ripples where the substrate is dry and acceptably flat, start with the least invasive method: stabilize conditions, then re-flatten and re-secure. This approach minimizes labor and avoids unnecessary cutting or re-laying.
The goal is to move from “surface symptom” to “system stability.” If moisture is still present or flatness is still off, flattening becomes temporary—so confirm corrections before you proceed.
Least-invasive repair works only when the substrate is dry and flat; otherwise the vinyl can re-buckle after you finish.
Localized lifts often respond best to careful section removal, surface cleaning, and adhesive application exactly as the manufacturer specifies.
Step-by-step approach for localized buckles
1. Stabilize the room: Keep HVAC and humidity steady while the floor relaxes back toward flatness.
2. Assess adhesion gaps: Press lightly around the wave to see whether edges are lifting (bond failure) or the wave is “trapped” over a ridge (flatness issue).
3. Flattening attempt (only after moisture is ruled out):
– Use gentle, controlled warming if your product instructions allow it.
– Apply even, non-damaging weighting so the vinyl doesn’t crease or shift.
4. Rework seams and edges first: Many repeated failures start at perimeter bonding because those areas experience movement and stress.
When you should lift and re-adhere
If the vinyl already looks permanently “set” into waves:
– Lift only the affected section.
– Clean both mating surfaces so adhesive bonds to properly prepared substrate (follow the flooring and adhesive instructions).
– Reapply adhesive with the correct coverage method and allow the correct open time/cure time before returning traffic.
Comparison is helpful here:
| Repair option | Best for | Key risk | Pros | Cons |
|---|---|---|---|---|
| Weight + controlled warm-up (if allowed) | Minor, recent ripples; dry substrate | Overheating or temporary results | Low labor | May re-buckle |
| Lift localized section and re-adhere | Localized “set” waves or bond failure | Incorrect adhesive/timing | Targets root area | More invasive than weighting |
Reinstall or fully re-lay if buckling is widespread or “set”
If buckles cover a large area, keep returning, or the sheet has permanently distorted, plan on re-laying rather than chasing it with repeated patches. At that point, the vinyl’s shape change and the likely subfloor deficiencies outweigh localized repair.
This section is about managing expectations. When the system has multiple issues—moisture + unevenness, or moisture + constrained perimeter—fixing only the vinyl rarely produces a stable, long-term result.
Widespread buckling often indicates a substrate-system problem that localized re-adhesion cannot fully correct.
If the sheet has “taken a set” into waves, re-flattening may not restore normal dimensional behavior under traffic and seasonal changes.
Signs you’re past the DIY “patch” stage
– Buckling spans multiple wall lines, including near doors
– Multiple seam areas repeatedly lift after repair
– You see underlying softness/swelling in the subfloor system
– The sheet shows permanent creasing or odor consistent with moisture exposure
– Flatness cannot be corrected within the vinyl’s installation tolerances without major substrate work
What to follow during re-lay
– Use the exact seam/overlap method your sheet vinyl and adhesive system requires.
– Respect adhesive cure time (resilient floors can fail if the schedule is rushed).
– Re-check perimeter expansion gap and transitions at doorways.
What can go wrong (common mistakes and limits)
Most failures come from treating the symptom (waves) while leaving the underlying cause active (moisture, flatness, or movement constraints). The result is repeat buckling even after a careful-looking re-adhesion.
If you dry and re-glue without correcting the moisture source, sheet vinyl can buckle again quickly—even if it looks flat for a short time.
Overheating to flatten vinyl can damage the material or worsen distortion, especially when moisture is still present.
Common mistakes to avoid
– Skipping moisture correction: surface repairs look good initially but recur.
– Forgetting flatness: even small ridges can “telegraph” through and reproduce waves.
– Ignoring perimeter expansion: tightly packed edges can cause buckles near walls and doorways.
– Using the wrong adhesive or method: sheet vinyl adhesives and their coverage/open-time/cure-time requirements vary by product system.
Also watch for limits:
– If the subfloor is significantly damaged, you may need to repair/replace layers rather than patching the top surface.
– If you cannot confidently match the adhesive type and installation schedule to your specific sheet vinyl, professional installation reduces costly trial-and-error.
Verdict / tip (what I’d do first, and who should skip)
Start with moisture + flatness checks and then try the least-invasive flattening/re-securing method only if the subfloor is dry and reasonably flat. If you suspect an active leak, significant subfloor damage, or the buckling keeps returning, don’t keep repeating surface repairs—budget for proper reinstallation of the affected area.
Skip DIY repairs if you find widespread subfloor swelling/soft spots, repeated moisture symptoms, or you’re unsure about the correct adhesive/system for your exact sheet vinyl product; in those cases, getting a flooring professional can prevent wasted labor. [ADD: author’s note/observation—e.g., what you typically see when moisture is ruled out but buckling remains—without claiming unverified testing.]
Quick checklist (scan/save)
– [ ] Identify where buckling starts (edges, seams, center of room)
– [ ] Verify subfloor is dry and free of damage
– [ ] Check for uneven spots (high ridges/low areas)
– [ ] Confirm proper acclimation and stable temperature/humidity
– [ ] Attempt flattening only if moisture is ruled out
– [ ] Re-secure edges/seams with correct method
– [ ] Lift and re-adhere localized sections only after fixing the cause
– [ ] Re-lay larger areas if vinyl is permanently distorted
FAQ
Can buckling sheet vinyl be fixed without replacing it?
Sometimes, yes—if the subfloor is dry, the surface is flat enough, and the vinyl hasn’t permanently set into waves. If moisture or major unevenness remains, the buckling typically returns.
Why does sheet vinyl buckle near walls or doorways?
That pattern often points to perimeter issues like insufficient expansion space, movement from heat/sun exposure, or poor bonding at edges/seams.
Should I heat the buckled vinyl to make it lie flat?
Gently warming may help in some situations, but overheating can damage vinyl and won’t solve the real cause if moisture or uneven subfloor conditions are present.
How do I know if it’s moisture versus a flatness problem?
Moisture-related issues usually correlate with recent leaks, dampness, or seasonal humidity changes, while flatness problems often match specific uneven spots beneath the vinyl (ridges/low areas).
When is it time to call a pro?
Call a flooring pro if you find water damage, persistent recurring buckling, significant subfloor defects, or if you can’t confidently match the correct adhesive/installation method to your flooring system.
Sources
– [ADD: manufacturer installation instructions for your specific sheet vinyl product and the approved adhesive/curing requirements]
– [ADD: manufacturer guidance on subfloor flatness and moisture limits for resilient flooring/sheet vinyl]
– ASTM F1869, Standard Test Method for Measuring Moisture Vapor Emission Rate of Concrete Subfloor Using Anhydrous Calcium Chloride
– ASTM F2170, Standard Test Method for Determining Relative Humidity in Concrete Floor Slabs Using In Situ Probes
– [ADD: official resilient flooring installation guidelines covering acclimation, expansion gaps, and subfloor prep—e.g., from recognized industry bodies or the flooring manufacturer’s technical manual]
If you treat buckling as a system problem—moisture, flatness, and movement—you can usually stop the waves and restore a stable surface. Start with diagnostics, correct the underlying cause, then move from the least-invasive repair to re-laying only when the vinyl has truly “set” or the substrate can’t be brought back into spec.
Frequently Asked Questions
What causes buckling in sheet vinyl flooring?
Buckling in sheet vinyl floors is usually caused by moisture problems, temperature swings, or improper installation. When the subfloor is wet or has high humidity, the vinyl can loosen and expand, creating waves or ridges. Buckling can also happen if the sheet was not acclimated to room temperature or if seams were stretched during installation.
How do you fix buckling in sheet vinyl floors without replacing the entire floor?
Start by identifying and stopping the moisture source—check for leaks, wet concrete, or damp subfloors before you do anything else. Then remove baseboards or trim, lift the buckled section, and let the vinyl relax as the room stabilizes in temperature and humidity. If the vinyl has not permanently stretched, re-smooth it, reapply adhesive if needed, and roll the area with a weighted floor roller to flatten sheet vinyl correctly.
How do you repair localized waves or bubbles in a sheet vinyl installation?
For small areas, carefully cut along the edge of the wave to relieve tension, then lift the section and clean off any old adhesive residue. Reapply manufacturer-recommended vinyl adhesive using a notched trowel, press the vinyl down firmly, and use a roller or heavy weights while it cures. Avoid “forcing” the vinyl flat—excess stretching can lead to repeat buckling in the same spot.
Why does sheet vinyl buckle after installation even when it seemed fine at first?
Delayed buckling often points to subfloor moisture or seasonal expansion and contraction. If the vinyl was installed over a damp concrete slab, moisture can migrate upward over time and weaken the bond. Another common reason is insufficient acclimation, causing the vinyl to expand after installation when temperatures rise.
What is the best way to prevent buckling in sheet vinyl floors during installation?
Use a moisture test (especially over concrete) and ensure the subfloor is flat, clean, dry, and properly prepared before laying sheet vinyl. Acclimate the vinyl according to the manufacturer’s instructions, typically 24–48 hours, and maintain stable indoor temperatures. Install using the correct adhesive and allow proper expansion space at walls—cut neatly around edges instead of stretching the sheet tight.
📅 Last Updated: October 08, 2026 | Topic: How to fix buckling in sheet vinyl floors? | Content verified for accuracy and freshness.
References
- Google Scholar Google Scholar
https://scholar.google.com/scholar?q=buckling+sheet+vinyl+floor+repair - Google Scholar Google Scholar
https://scholar.google.com/scholar?q=resilient+vinyl+flooring+buckling+temperature+expansion+moisture - Google Scholar Google Scholar
https://scholar.google.com/scholar?q=sheet+vinyl+floor+installation+moisture+subfloor+guidelines - Vinyl flooring
https://en.wikipedia.org/wiki/Vinyl_flooring - https://www.cdc.gov/mold/default.htm
- Mold | US EPA
https://www.epa.gov/mold - https://www.epa.gov/mold/mold-and-humidity
- Introduction to Indoor Air Quality | US EPA
https://www.epa.gov/indoor-air-quality-iaq/introduction-indoor-air-quality - https://www.nih.gov/health-information/environmental-health/mold
- Indoor Air Quality – Overview | Occupational Safety and Health Administration
https://www.osha.gov/indoor-air-quality#mold