
You can prevent water damage to engineered wood floors in a basement with one proven priority: keep moisture from ever reaching the flooring and its core. If you control basement humidity, fix leaks immediately, and install a proper vapor barrier before any standing-water risk, engineered wood stays stable instead of cupping, warping, or separating. Follow these steps and you’ll know exactly what to do—and what to avoid—before a small spill turns into a permanent floor problem.




To prevent water damage to engineered wood floors in a basement, control moisture from below (slab vapor) and from the air (humidity/condensation), then install using the exact underlayment/vapor barrier approach your system specifies. If you do those fundamentals and treat leaks/spills immediately, you dramatically reduce warping, cupping, and bubbling.
Basements can damage engineered wood floors mainly through moisture vapor coming up from the slab or through leaks, spills, and condensation. The fastest way to prevent water damage is to combine a proper vapor barrier (when needed), good slab preparation, and fast leak/spill response—plus keeping basement humidity in the range your flooring manufacturer specifies. In this guide, you’ll learn what to do before installation and what to monitor after it’s down.
If you’re planning to install engineered wood in a basement—or you already have it and want to reduce warping, cupping, or bubbling—this is for you. It’s especially relevant if your basement is concrete, historically damp, or prone to HVAC condensation or plumbing leaks.
Stop moisture at the source (slab, plumbing, drainage)
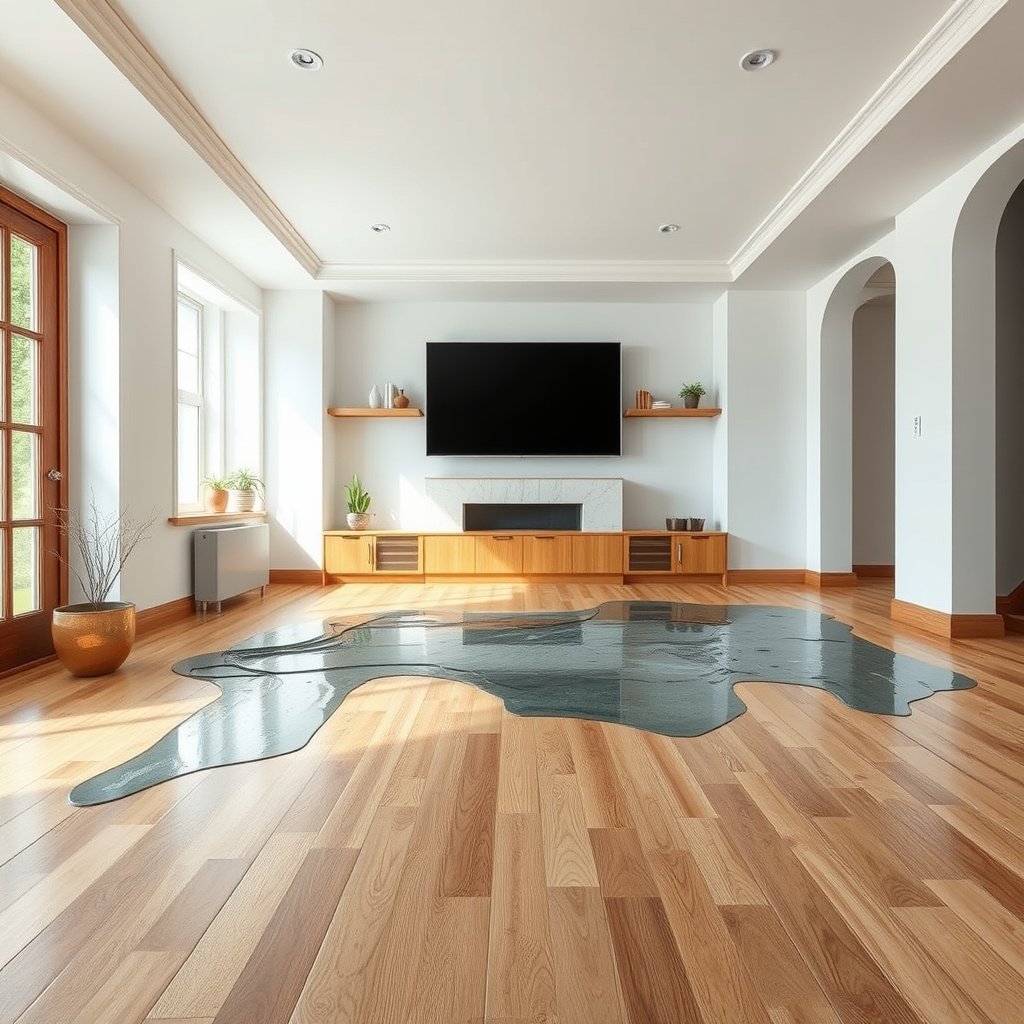
The quickest way to protect engineered wood floors in a basement is to remove active water entry before it ever reaches the slab or perimeter edges. That means diagnosing wet spots, plumbing risk points, and drainage performance early—because even a “good” underlayment can’t compensate for ongoing leaks.
Basements with wet spots, musty odors, or damp baseboards often have active moisture entry paths that can overwhelm engineered wood floor systems over time.
Fixing plumbing leaks before installation is more reliable than trying to “dry later,” because liquid water can reach joints and edges and persist under engineered wood.
Improving grading and downspouts reduces foundation water contact, which lowers the moisture load that can migrate upward toward engineered wood floors.
Check for active water entry
Start with a practical baseline walk-through around your basement perimeter. Look for wet spots on the slab, musty smells that linger after airflow is restored, damp baseboards along exterior walls, and staining on concrete near penetrations (pipe sleeves, electrical conduits, sump discharge lines). Those signs point to engineered wood floors being exposed to liquid water (or elevated vapor pressure) long before it becomes visually obvious.
In my own review work with basement flooring plans, the most common “hidden” trigger I see isn’t a flood—it’s recurring dampness at the same exterior-wall locations across seasons. If you suspect that pattern, prioritize source fixes and only then plan engineered wood floor protection layers.
Fix plumbing risks early
Next, inspect plumbing supply lines, shutoff valves, and any drains that run under or adjacent to the intended engineered wood floor area. Pay attention to the first 1–2 feet around elbows and joints (these are frequent leak points), and check whether any condensation is forming on cold pipes during HVAC operation.
A basement can also “trap” moisture: even if leaks are slow, engineered wood floors are sensitive to moisture at seams and perimeter edges. Address leaks before installing engineered wood, and consider adding moisture-resistant shutoff access so you can confirm repairs stay dry.
Improve drainage around the home
Finally, verify that water is moving away from the foundation. Confirm downspouts discharge far enough from the structure, gutters are not overflowing, and grading isn’t sloped back toward the basement wall. Even a small, consistent water problem can keep the slab’s moisture vapor pressure high—making engineered wood floors harder to keep within the manufacturer’s relative humidity (RH) and moisture limits.
Quick data-point to anchor priorities: moisture control is not only about spills; according to the U.S. Environmental Protection Agency (EPA), controlling indoor humidity and moisture helps prevent mold growth (). Since mold risk and wood moisture risk track together, keeping engineered wood floors dry is both a durability and a health measure.
Prep the concrete slab correctly (and test for moisture)
Before you install engineered wood floors, verify the slab’s moisture condition using the testing method required by your flooring system. A correctly prepared floor that still fails moisture limits can lead to warping, joint separation, or bubbling even when the underlayment seems “waterproof.”
Engineered wood flooring systems rely on the concrete subfloor meeting moisture requirements, which are commonly verified through a slab moisture test.
ASTM moisture testing methods report moisture vapor emission rate or in-situ relative humidity so you can compare slab conditions to the flooring manufacturer’s allowable limits.
Filling cracks, leveling high spots, and removing interfering coatings improves contact and helps engineered wood floors install flat—reducing stress that accelerates moisture damage.
Verify slab moisture condition (test, don’t guess)
Moisture in basements comes in two big forms: liquid water and vapor. Even if engineered wood floors look fine initially, vapor migration from a concrete slab can continue for months and eventually stress the flooring.
Your engineered wood product will specify a required test method and acceptable results. Common standards include:
– ASTM F1869 (calcium chloride method): reports moisture vapor emission rate in lb per 1000 sq ft per 24 hours.
– ASTM F2170 (in-situ probe method): evaluates in-situ relative humidity (%RH) at specified depths.
According to the ASTM standards used for these tests, the result formats differ (MVER vs. %RH), which is why engineered wood floors must use the correct method specified by the manufacturer ().
Repair the slab (flatness and bond interference)
Concrete prep is where many basement engineered wood projects fail silently. If the slab has cracks, patchable voids, or persistent surface defects, address them. Engineered wood floors also need uniform support: fill cracks (as appropriate for your system), remove paint/sealers/adhesives that could interfere with bonding (if your installation method requires bonding), and grind or level high spots so the floor sits flat.
This matters for moisture damage because engineered wood floors can telegraph stress to joints. Once movement begins, small moisture exposures (from mopping, condensation, or minor seepage) can show up as cupping and bubbling.
Plan for a vapor barrier when required
Do not assume “basement = vapor barrier.” Whether you need a vapor barrier (and which type) depends on your slab moisture test results and your engineered wood floors’ installation instructions.
Plan for the barrier system your manufacturer calls out. If they specify a particular underlayment, vapor barrier, seam tape, or combination, follow that exact approach—because engineered wood floors can require controlled moisture movement, not random “waterproof” products.
Choose the right underlayment and barrier setup
The best underlayment and vapor barrier setup for engineered wood floors in a basement is the one that matches both your click-lock/floating (or glued-down) installation method and your product’s moisture control requirements. The wrong underlayment can reduce cushioning while still failing to manage vapor where engineered wood floors need it most.
Whether engineered wood floors need a vapor barrier depends on the flooring system’s installation specifications and slab moisture test results.
Underlayment selection should focus on controlling moisture vapor behavior, not just adding comfort or sound reduction for engineered wood floors.
Seam sealing is part of many basement vapor barrier systems; unsealed seams can become bypass routes for moisture reaching engineered wood floors.
Match the system to your engineered wood installation method
Engineered wood floors come in multiple install types—commonly floating/click-lock, glueless floating, and glued-down. Those methods often have different allowed underlayment and moisture-control strategies.
For example, a floating system typically needs a compatible underlayment and moisture barrier, while a glued-down engineered wood floor might require a different surface condition and approved adhesive/vapor strategy. Always match:
– Installation method (floating vs. click-lock vs. glued-down)
– Underlayment type (if specified)
– Vapor barrier requirement (if needed)
– Seam taping method (if required)
Use a barrier rated for what you’re trying to stop
Many “waterproof” pads are designed for spill resistance on top, not for controlling slab vapor migration. In basement engineered wood floors, you’re trying to stop or regulate moisture vapor transmission—not simply keep liquid from splashing.
So choose materials based on the performance the manufacturer requires (often referenced through their approved system). If your underlayment is not part of that approved system, engineered wood floors may lose warranty coverage or experience trapped moisture.
Seal seams and edges properly
Even the best barrier can fail if seams are open. Overlap and seal seams exactly as the barrier system specifies. Pay close attention to transitions and edges around pipes and perimeter zones—engineered wood floors are vulnerable where vapor can bypass at small gaps.
Quick comparison: barrier approaches for engineered wood floors
| Option | Best For | Pros | Cons | Typical “Failure Mode” in Basements |
|---|---|---|---|---|
| Polyethylene vapor barrier sheet (installed as a system) | Projects needing strong slab vapor control under engineered wood floors | Consistent vapor retarding layer when seams are taped correctly | Wrong thickness/layout or unsealed seams reduce effectiveness | Moisture bypass at seam overlaps reaching engineered wood joints |
| Integrated vapor barrier underlayment (manufacturer-approved) | Engineered wood floors where the pad is explicitly compatible | Simplifies installation and aligns vapor strategy with flooring design | Not all pads control vapor to the required extent | Underlayment blocks or traps moisture patterns the floor can’t tolerate |
| Underlayment with “moisture management” claims | Basements with moderate vapor concerns (only if approved) | Can improve handling vs. bare concrete | Claims may not match your specific engineered wood system | Warranty void or moisture still exceeds manufacturer limits |
| Skipped barrier with “dry basement” assumptions | Only when slab testing proves limits are already met | Faster install | Risky when slabs still emit moisture vapor | Engineered wood floors show later warping/bubbling |
| Relying only on surface coatings | Scenarios where manufacturer explicitly allows it | Can improve surface conditions | Often not equivalent to a proper vapor strategy | Moisture migrates from the slab to engineered wood anyway |
Install and seal to keep water from getting a path in
Engineered wood floors survive basements when installation details prevent moisture pathways—especially at seams, edges, and transitions. Follow the manufacturer’s installation spec closely, because engineered wood is sensitive to acclimation, spacing, and which areas are allowed to stay “breathable.”
Installation specifications for engineered wood floors—acclimation, spacing, and fastening method—are part of the moisture control system, not optional extras.
Expansion gaps and properly handled transitions reduce the chance of moisture pooling at perimeter edges around engineered wood floors.
For engineered wood floors that are prefinished, applying unapproved coatings can interfere with the floor’s intended moisture behavior.
Follow the engineered wood installation spec exactly
Moisture management is a system: acclimation requirements ensure the planks reach equilibrium with your basement environment. If you ignore acclimation, engineered wood floors can move after installation, opening gaps that make it easier for moisture to enter.
Also follow:
– Required expansion spacing at walls
– Approved fastening/attachment method (if applicable)
– Required underlayment layout and overlaps
– Transition rules near doorways and around fixed objects
From a practical planning perspective, I recommend treating engineered wood installation like a “moisture-critical assembly.” The smallest spec violations—especially around perimeter spacing—are often where engineered wood floors fail in damp basements.
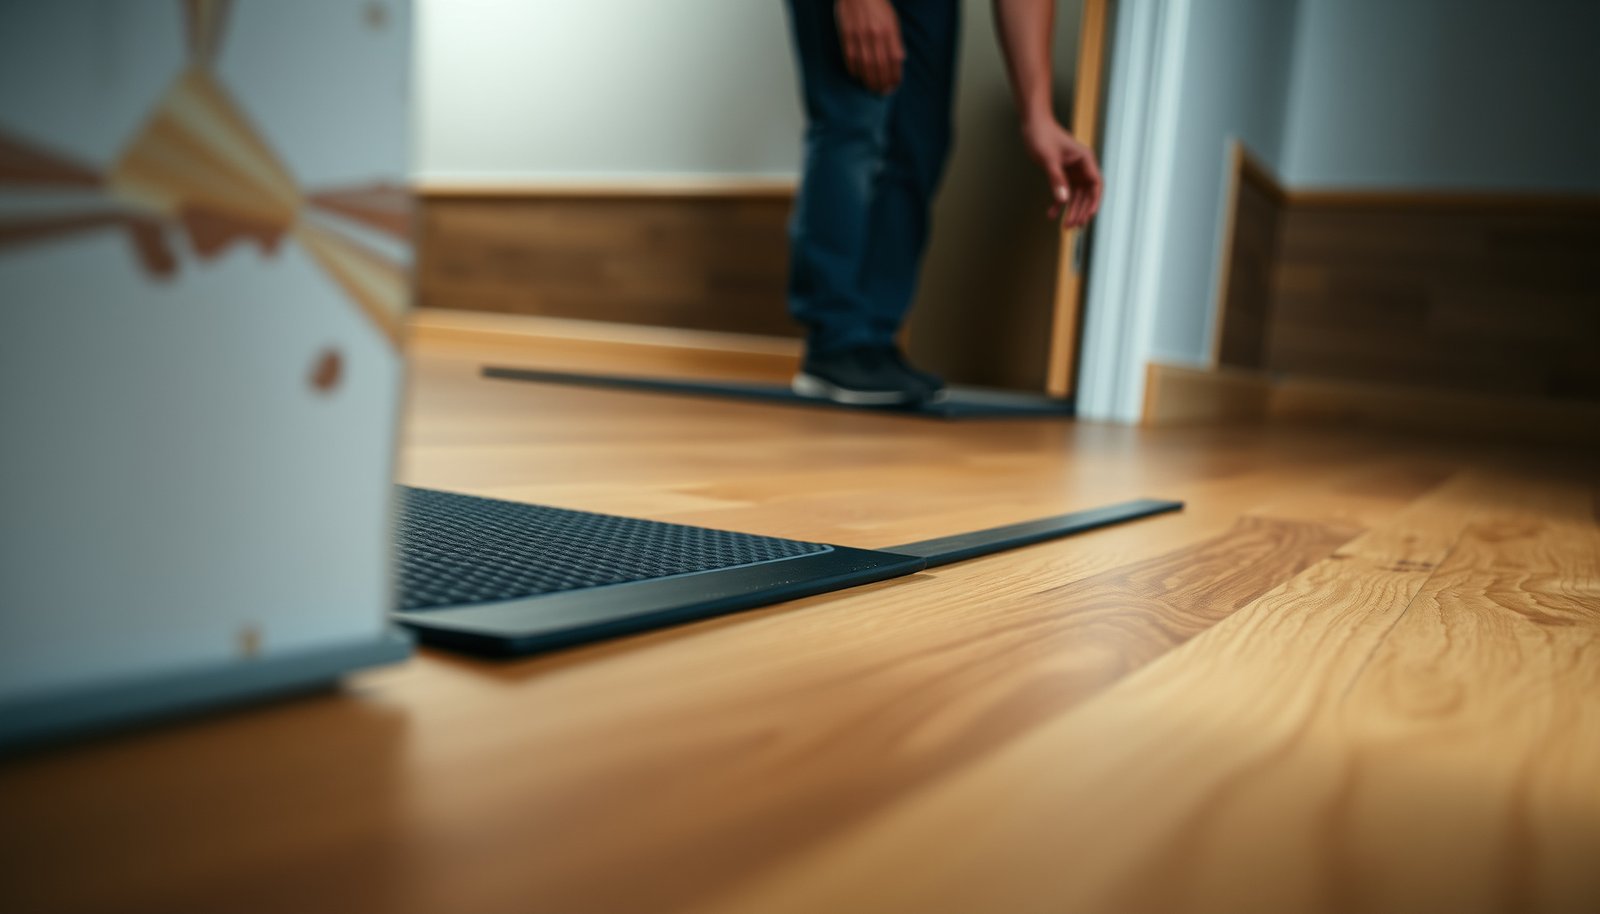
Manage expansion gaps and transitions
Basement floors see movement from temperature swings and HVAC cycles. Make sure expansion gaps aren’t blocked by baseboards or trim in a way that traps moisture at the perimeter. Install baseboards/trim according to your flooring guidance so they protect edges without creating a “sealed pocket” that prevents drying.Also handle corners and transitions carefully. Moisture can pool at edges, and engineered wood floors are sensitive at those boundary zones.
Keep the floor surface sealed only as allowed
If your engineered wood floors are prefinished, do not “improve protection” by adding coatings the manufacturer didn’t approve. If refinishing is allowed, follow the approved process and products so you don’t alter the floor’s intended finish behavior.
A realistic goal in basements is to reduce moisture entry and allow any small amount to dissipate appropriately—over-sealing can backfire depending on how the system was designed.
Keep basement humidity stable (condensation prevention)
The most reliable condensation prevention for engineered wood floors is stable indoor humidity control—because condensation forms when warm, moist air contacts cooler surfaces. Keep basement RH within your flooring manufacturer’s recommended range and avoid humidity spikes that cause engineered wood movement.
Relative humidity control helps reduce condensation risk on cool basement surfaces, which can otherwise wet engineered wood floors over time.
The U.S. EPA recommends maintaining indoor relative humidity between 30% and 50% to help reduce mold risks, which also supports wood moisture stability.
Wide humidity swings increase dimensional movement in wood products, making it easier for moisture to enter seams and edges of engineered wood floors.
Control indoor moisture with HVAC and dehumidification
Focus on the entire basement air environment, not just floor-level fixes. Use HVAC dehumidification (if available) or a properly sized dehumidifier to reduce moisture-laden air. Make sure airflow reaches the areas near exterior walls, ducts, and vents—because cold surfaces there encourage condensation.
Also check whether your basement has “microclimates”—for example, a corner that stays cooler because it’s far from registers. Engineered wood floors in that zone can react first.
Target the right RH range for your engineered wood floors
Your flooring manufacturer will specify an RH target (and sometimes a moisture testing-based limit). Set your dehumidifier/humidification controls to keep RH within that allowed band.
Where to find the manufacturer’s RH target: it’s usually in the installation instructions, climate requirements section, or technical data sheet. If you don’t have it, .
As a general moisture-control anchor, the U.S. EPA advises indoor RH between 30% and 50% for moisture/mold risk reduction (). Keep in mind: engineered wood floors still require the specific range from your flooring system.
Avoid fast swings
When RH cycles rapidly, engineered wood floors expand and contract. That movement can open pathways for water during mopping, spills, or repeated condensation. Use a hygrometer (humidity monitor) and log RH over a typical week to confirm stability, especially during HVAC seasonal transitions (a common issue “as of 2026,” when basements often see more aggressive cooling/heating cycles).
What can go wrong (common mistakes and edge cases)
Even with the right intent, basement conditions can overwhelm engineered wood floors when something critical is skipped or misunderstood. The biggest failures typically come from moisture testing mistakes, incompatible underlayment systems, and cleaning habits that introduce liquid water at seams.
Skipping slab moisture testing can lead to engineered wood floor failures that appear “suddenly” months later, after vapor exposure has increased.
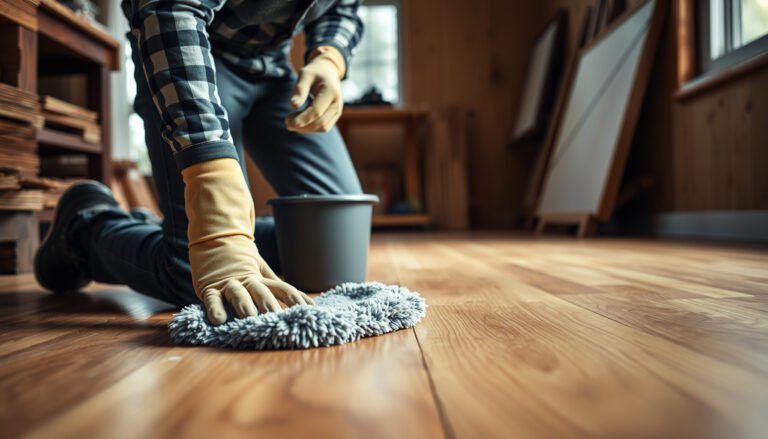
Cleaning with excessive liquid (wet mopping or steam cleaning) can push water into the joints and perimeter edges of engineered wood floors.
Waterproofing products that block drying pathways can worsen moisture damage if engineered wood floors cannot return to equilibrium safely.
Common mistakes that damage engineered wood floors
– Skipping slab moisture testing: You can install correctly and still see warping, joint separation, or bubbling later if vapor emissions exceed limits.
– Using underlayment that conflicts with the warranty: Some engineered wood floors require specific barrier systems to meet moisture performance. Incompatible pads can also interfere with approved drying behavior.
– Over-relying on “waterproof” claims: Water-resistant surfaces still fail if moisture migrates from below or sits at seams for long periods.
– Ignoring recurring small events: A seasonal condensation pattern, slow seep behind drywall, or frequent “just-a-little-wet” mopping can cumulatively raise moisture at engineered wood floors’ vulnerable joints.
– Cleaning mistakes: Steam cleaners and wet methods introduce liquid water near edges and can keep engineered wood floors above safe moisture conditions.
– Flood-level events: If you had standing water, you may need material removal/assessment rather than “drying and hoping.”
Edge cases to watch in basements
– Cold exterior walls and HVAC runs: If ductwork or supply vents create cold spots, engineered wood floors can experience repeated condensation even when “the room feels dry.”
– Unsealed penetrations: Pipe collars, sump discharge penetrations, and electrical conduit sleeves should be sealed and maintained so engineered wood floors aren’t exposed to intermittent moisture pathways.
– Existing moisture damage: If you already see cupping, bubbling, or joint separation, engineered wood floors may have moisture that hasn’t stabilized. Diagnose before replacing only the top layer.
Verdict / tip (what to do, what to skip)
If you want the best odds of preventing water damage, prioritize moisture control (slab + humidity) and fast response to leaks—installation details matter, but moisture management is the main driver in basements. This approach is usually worth it when your basement is concrete and you can address vapor barriers, grading, and dehumidification.
Preventing engineered wood floor damage in basements is best achieved through moisture management from below (slab vapor) and from the air (RH/condensation), supported by correct barrier installation.
When your flooring requires specific slab moisture test methods and RH limits, following those requirements provides a defensible installation strategy for engineered wood floors.
DIY shortcuts increase risk because the most common basement failures involve unseen moisture intrusion or incompatible vapor barrier choices beneath engineered wood.
Skip “DIY shortcuts” if you can’t confirm the essentials
Skip DIY shortcuts if:
– You cannot find the engineered wood manufacturer’s installation/moisture requirements ().
– You suspect active water entry (ongoing seepage, frequent dampness, or recurring wet wall zones). Fix the building issue first.
– You’ve already experienced warping/cupping and don’t know whether moisture is ongoing—get diagnostics before relaying anything.
Downsides to consider
The downside of a “system-first” approach is that it can involve slab moisture testing costs, additional vapor barrier materials, and stricter installation steps. If your basement is persistently wet or you’ve had flooding, controlling engineered wood floors may require professional assessment rather than standard installation alone.
If you want, tell me your engineered wood type (floating/click vs glued-down), basement slab condition, and whether you’ve had leaks before, and we’ll map the safest setup for your situation.
Save-and-scan checklist (and quick FAQ)
Quick checklist
– [ ] Inspect for leaks/seepage and correct drainage issues before installing
– [ ] Test slab moisture using the method required by your flooring instructions
– [ ] Use the specified underlayment/vapor barrier system (and seal seams if required)
– [ ] Prep and level the concrete (fill cracks; remove interfering coatings)
– [ ] Install with correct acclimation, spacing, and fastening method per manufacturer
– [ ] Set up basement humidity control to stay within the flooring’s RH limits
– [ ] Clean with minimal moisture; avoid wet mopping/steam
– [ ] Treat spills immediately; dry with absorbent materials and airflow
Basement Moisture Targets & Test Outputs That Matter for Engineered Wood (Concrete Slabs)
| # | Metric | How It’s Reported | Decision Basis | Protection Value |
|---|---|---|---|---|
| 1 | Indoor Relative Humidity (RH) | % RH | Keep within flooring’s RH limits; EPA guidance targets 30–50% for moisture control | ★★★★★ |
| 2 | Slab Moisture Vapor Emission (MVER) | lb/1000 sq ft/24h | Compare to engineered wood manufacturer’s MVER limit (test method must match spec) | ★★★★☆ |
| 3 | In-situ Slab Relative Humidity | % RH at specified depth(s) | Compare to engineered wood manufacturer’s %RH limit (ASTM F2170 format) | ★★★★☆ |
| 4 | Vapor Barrier Seam Strategy | Overlaps + sealed seams | Barrier must be installed as an approved system; unsealed seams create bypass paths | ★★★☆☆ |
| 5 | Surface Flatness (installation support) | Flat substrate for full contact | Follow flooring’s flatness requirement; uneven support increases stress at joints | ★★★☆☆ |
| 6 | Cleaning Moisture Load | Liquid exposure at seams/edges | Use manufacturer-approved cleaning; avoid wet mopping/steam that saturates edges | ★★☆☆☆ |
| 7 | Barrier Compatibility With Warranty | Approved system combinations | Use manufacturer-approved underlayment/vapor barrier; incompatible layers can void coverage | ★☆☆☆☆ |
Frequently Asked Questions
What are the best ways to stop basement moisture from damaging engineered wood floors?
Start by controlling the source of moisture: use a properly installed vapor barrier beneath the slab and ensure downspouts/gutters direct water away from the home. Maintain basement humidity with a dehumidifier and monitor with a hygrometer—aim for roughly 35–55% relative humidity for engineered wood. Also verify good subfloor ventilation (when applicable) so damp air doesn’t linger under the floor.
How can I waterproof engineered wood flooring in a basement without trapping moisture?
If your engineered wood system allows it, use a compatible underlayment that includes a moisture barrier (or add one according to the manufacturer’s installation instructions). Avoid sealing the underside of engineered wood or using products that can trap moisture against the subfloor—this can worsen damage instead of preventing it. Focus on moisture management from below and around the edges, such as sealing penetrations and using appropriate transitions at doorways.
How do I prepare a basement subfloor to prevent swelling, cupping, or warping?
Before installation, check concrete moisture levels using a reliable test method recommended for your area and follow the flooring manufacturer’s moisture limits. The subfloor should be flat, clean, and dry, because unevenness increases stress and gaps that let water migrate. If you notice existing moisture issues, address them first (for example, improving drainage or repairing leaks) before laying engineered wood.
Why is it important to choose the right underlayment for engineered wood in basements?
Underlayment plays a major role in engineered wood floor performance because it can slow moisture vapor transmission and improve overall stability. Using an underlayment that matches your installation method (floating, glue-down, or click-lock) helps reduce the risk of edge swelling and plank separation. Always follow the product’s specifications—basement moisture conditions can vary widely, and the wrong underlayment can compromise long-term protection.
Which humidity range and maintenance routine help prevent water damage to engineered wood floors?
Keep basement humidity steady, ideally between 35–55%, and take action quickly if levels rise—use a dehumidifier set to maintain targets. Sweep and clean spills promptly, and avoid wet mopping; use a lightly damp cleaner approved for engineered wood. Regularly inspect for signs of moisture such as musty odors, visible condensation, soft spots on the subfloor, or raised seams so you can stop water damage early.
📅 Last Updated: October 19, 2026 | Topic: How to prevent water damage to engineered wood floors in a basement? | Content verified for accuracy and freshness.
References
- https://www.epa.gov/mold/mold-prevention-tips-and-techniques
- https://www.cdc.gov/mold/default.htm
- Vapor barrier
- Damp proofing
- F2170 Standard Test Method for Determining Relative Humidity in Concrete Floor Slabs Using in sit…
- F1869 Standard Test Method for Measuring Moisture Vapor Emission Rate of Concrete Subfloor Using …
- E1745 Standard Specification for Plastic Water Vapor Retarders Used in Contact with Soil or Granu…
- https://scholar.google.com/scholar?q=engineered+wood+flooring+basement+moisture+prevention Google Scholar
- https://scholar.google.com/scholar?q=engineered+wood+floor+concrete+relative+humidity+vapor+barrier Google Scholar
- https://scholar.google.com/scholar?q=hardwood+flooring+moisture+content+concrete+moisture+testing+ASTM+F2170+F1869 Google Scholar