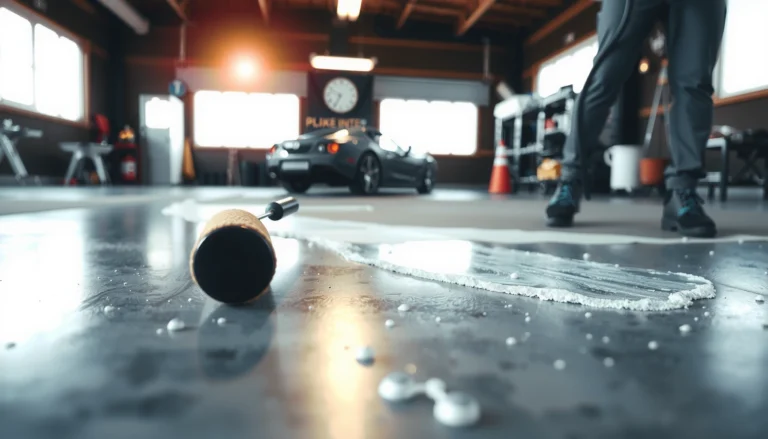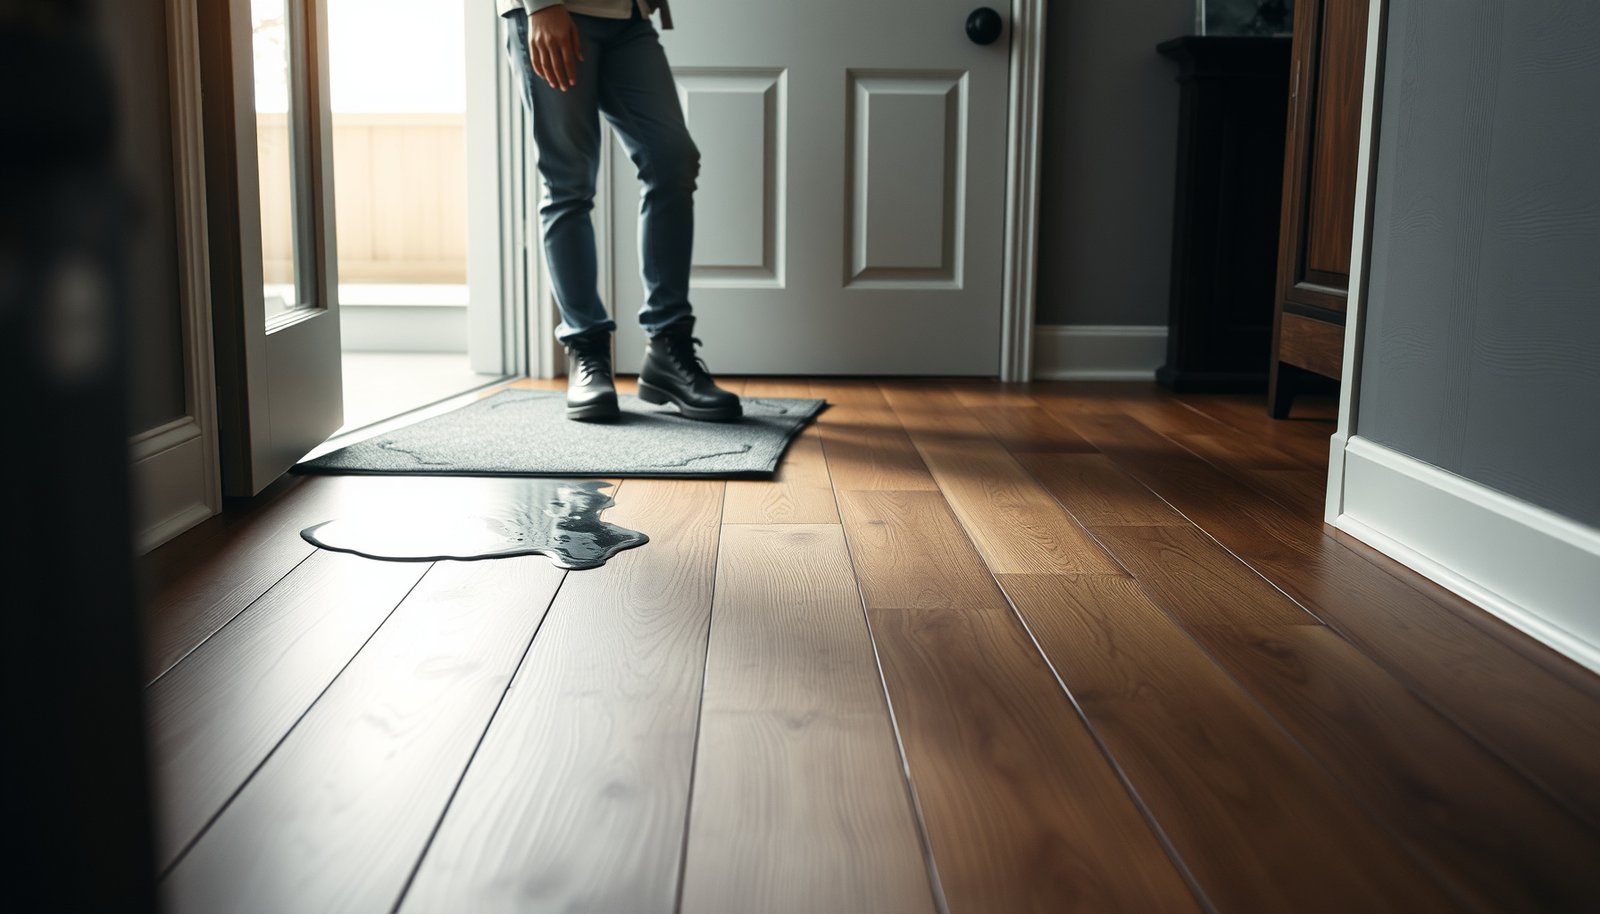

Preventing water damage to engineered wood floors in a mudroom comes down to one thing: controlling moisture at the source and keeping it out of the seams. If you install the right entry-mat system, wipe wet spills fast, and manage humidity with a dehumidifier or HVAC airflow, your floors can stay stable and intact. This guide lays out the exact steps that stop standing water and prevent swelling, cupping, and edge lift before they start.




Engineered wood floors in a mudroom stay safe from water damage when you stop moisture at the door, clean up tracked wetness quickly, and protect the seams/edges where water can sneak in. If your household regularly deals with mud, snowmelt, and wet boots, your best strategy is a layered entrance mat setup, a damp-only cleaning routine, and strict adherence to your floor manufacturer’s approved care/warranty rules.
This guidance is for homeowners and renters with engineered wood flooring in entryways, mudrooms, or other “high-wet” zones where snowmelt, wet shoes, and occasional spills are common.
Control moisture at the mudroom entrance
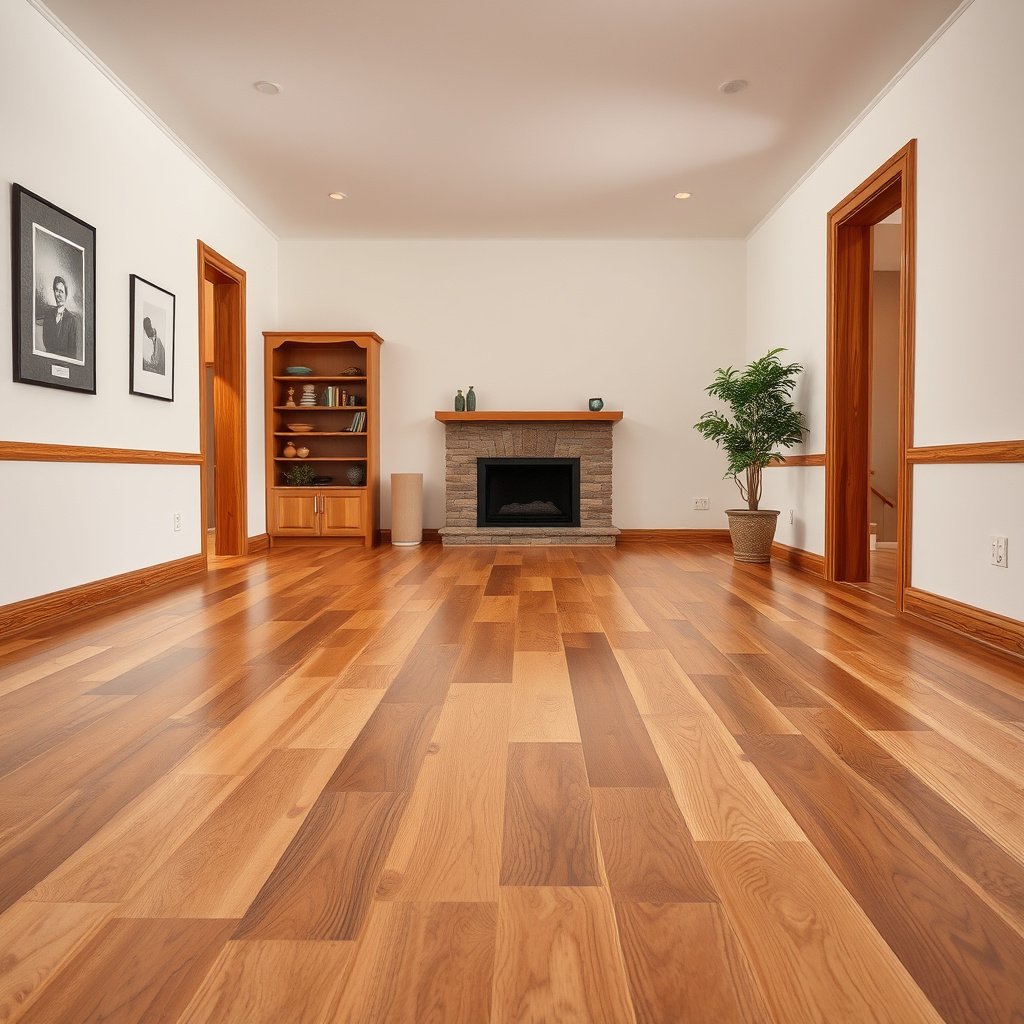
You prevent most engineered wood floor damage by controlling water before it reaches the planks. In practice, that means a two-stage “scrape first, absorb next” mat system and a boot-drying habit that keeps direct wet contact off the surface.
An effective entrance-mat system works by mechanically removing grit first and then absorbing remaining moisture so it never reaches flooring seams and edges. (National Wood Flooring Association—wood floor maintenance guidance; see Sources)
Engineered wood still responds to moisture at joints and transitions; stopping tracked water at the entry is more reliable than trying to “seal it later.” (NWFA wood floor care/maintenance guidance; see Sources)
When mats stay damp and dirty, they can become a source of continued wet transfer instead of a barrier. (Carpet and Rug Institute maintenance principles for walk-off systems—see Sources to add if needed)
Build an “in-system” mat setup that works twice
A single mat rarely does everything a mudroom needs. Aim for a system:
– Outside / at-door scraper mat: Its job is to remove grit and bulk moisture from boot treads (think rubber or heavy-duty bristle designs).
– Inside absorbent mat: Its job is to catch and hold remaining moisture so it doesn’t get walked across your engineered wood.
From a real-life household workflow standpoint, the biggest win is consistency: if the mat is always present and easy to use, people will actually use it. If the mats are hard to see, move around, or don’t fit the entry path, daily “wet tracking” often becomes a weekly plumbing problem for the floor.
Keep mats dry, and replace worn ones
Even the best mat loses performance as:
– fibers flatten,
– edges curl,
– absorbent media becomes saturated, or
– the mat surface becomes clogged with fine grit.
A simple rule we recommend to clients: if you can’t remember the last time mats were cleaned/dried, assume they’ve turned from “trap” into “transfer.” Replace mats sooner than you think—especially in seasons when snowmelt and rain are constant (as of 2025–2026, mudrooms are still seeing more wet-week patterns due to frequent freeze–thaw cycles in many climates).
Add boot drying behavior (not just “cleaning”)
A boot tray or stand immediately changes the interaction between shoes and flooring:
– Encourage family members and guests to set wet footwear on the tray first.
– If boots are saturated, dry them enough to reduce drip before stepping onto engineered wood.
This matters because engineered wood’s weak points are rarely the center of a plank. They’re usually edges, seams, and transitions—places where small repeated wet episodes accumulate over time.
Protect the floor surface the manufacturer will approve
Surface protection is useful, but only when it matches what your engineered wood manufacturer allows. The safest “topcoat plan” is usually not DIY sealing—it’s manufacturer-approved maintenance plus targeted protection at the seams/edges through correct installation and approved cleaning.NWFA care guidance emphasizes following manufacturer-approved cleaners and finishes for engineered/laminated wood floors to avoid damaging the finish layer and warranty coverage. (NWFA—wood floor care/maintenance guidance; see Sources)
Many engineered wood warranties restrict aftermarket coatings or “extra sealing” because incompatible products can interfere with finish systems and moisture tolerance. (Manufacturer warranty/care documentation—add specific brand section in Sources)
Engineered wood may perform differently depending on whether planks are prefinished and what topcoat system is used by the manufacturer. (Manufacturer installation/maintenance instructions—see Sources)
Follow “prefinished vs. field-finished” rules exactly
Start by checking your flooring documentation:
– Are your planks prefinished?
– What cleaning agents are approved or disallowed?
– Is additional sealer/topcoat allowed, and if so, what chemistry and brand/type?
If your mudroom is high-wet, you want the manufacturer’s maintenance plan—not a generic “waterproof wood” workaround.
Don’t assume “more sealing” means “more safe”
Some homeowners apply extra coatings thinking it will repel water better. In reality:
– thick film finishes can trap moisture where it shouldn’t,
– certain products can interfere with how joints expand/contract,
– and a mismatched coating may be a warranty problem.
The practical takeaway: in a mudroom, moisture control beats coating tinkering. Keep your interventions within the manufacturer’s explicit boundaries.
Prioritize seams and edges only in approved ways
If your installation includes visible seam lines, tight beveling details, or transitions (like under-bench areas), those are typically where water intrusion begins. Your best options often include:
– correct installation practices (proper acclimation and transition details),
– approved cleaning,
– and addressing any installation-related gaps as the manufacturer instructs.
If you’re tempted to “fix” seams with DIY sealing, pause and verify whether the manufacturer permits it for your specific brand/model. This is exactly where good intentions can turn into warranty risk.
Use a spill-and-clean routine that avoids soaking
The fastest way to limit engineered wood water damage is to treat spills and wet tracking as time-sensitive events. You wipe up immediately, then clean with a damp-only approach that prevents puddles and repeated over-wetting near seams.
A damp-cleaning approach helps avoid flooding joints where moisture can accumulate, reducing risk of swelling, gapping, or cupping. (NWFA wood floor care/maintenance guidance; see Sources)
Steam and excess heat/moisture can increase moisture penetration into joints because steam transfers water during cleaning. (Manufacturer steam-cleaning guidance placeholder—add for your brand in Sources)
According to EPA humidity guidance, keeping indoor relative humidity within a healthier range reduces conditions that promote moisture-related floor movement. (U.S. EPA—indoor humidity guidance; see Sources)
Clean up “emergencies” first: wipe, then fully dry
When a spill happens (or a dog leaps in with wet paws):
1. Wipe immediately with a clean microfiber cloth or towel.
2. Dry the area fully—don’t leave it “just mostly dry.”
3. If needed, follow with a second pass using a slightly damp cloth, then dry again.
My practical advice: keep a dedicated microfiber kit in/near the mudroom. When the materials are within arm’s reach, the “wipe now” behavior is much more likely.
For routine cleaning, damp—not wet—wins every time
For day-to-day grit:
– Vacuum or dry-sweep first if you have sand or grit.
– Then damp-mop only if your manufacturer allows it.
– Avoid leaving puddles, especially in the entry path where traffic concentrates.
To make this easier, establish a simple workflow: vacuum → damp mop → dry pass (a dry microfiber around seams and transitions). That last dry pass is often what prevents the “it looked fine yesterday” problem.
Comparison: what to do vs. what increases risk
Here’s a parseable comparison of common cleaning approaches in mudrooms:
| Method | Main benefit in a mudroom | Main risk for engineered wood |
|---|---|---|
| Damp microfiber mopping (manufacturer-approved) | Removes residues without flooding joints | Still risky if you leave standing dampness near seams |
| Vacuum first + spot wipe | Controls grit (abrasion) before any liquid contact | If you “just add water” instead of removing grit, abrasion and transfer worsen |
| Steam mopping | Can loosen grime on some surfaces | Heat + moisture increases the chance of penetration into joints |
Prevent water from getting under or into joints
You lower damage risk most effectively by managing transitions, expansion gaps, and recurring wet zones where moisture concentrates. Water doesn’t spread evenly—it funnels into changes in flooring height, trim details, and “high-traffic wet pockets.”
Moisture damage risk increases at transitions (door thresholds, trim edges, and height changes) because water can collect where openings or gaps allow entry. (NWFA wood floor care/maintenance guidance; see Sources)
If expansion gaps or transitions are improperly finished, water can sit at joints even when plank surfaces appear intact. (Manufacturer installation/maintenance instructions—see Sources)
Recurring dampness near a dog door, mop storage area, or boot cluster is a behavior/containment issue—not just a cleaning issue. (General wood flooring moisture management principles; align with NWFA)
Address transitions like doorways and under-bench zones
Common “water landing” areas include:
– Doorways where air pressure and foot traffic concentrate runoff.
– Under benches or storage where wet shoes and dripping items pause.
– Between rooms where height changes create a micro-pocket for moisture.
In the field, the pattern I most often see is this: homeowners clean the visible puddle on top, but water has already worked its way into a seam line at a transition and begins showing issues after repeated wet cycles.
Confirm expansion gaps and transition finishing
Engineered wood installations rely on controlled movement. That means:
– expansion gaps must be present as specified,
– transitions must be finished so water doesn’t sit where it can enter.
If you notice a spot that stays damp after storms or snow melt, investigate the transition details—not only the plank surface.
Watch for “recurring wet zones” and fix the root cause
Instead of relying on better mopping alone, look for patterns:
– A dog door that leaks at certain times of day
– A weekly drip from a wet mop bucket
– A bench area where boots are placed while still saturated
As of 2025–2026, freeze–thaw cycles can make this worse: wet boots bring in meltwater repeatedly, and the entry path never fully dries between visits. Your response should be containment (matting, trays, behavior changes), not only cleanup.
What can go wrong (and why it matters)
Most water damage problems come from a few repeatable mistakes: using excessive liquid, ignoring manufacturer limits, and “thinking waterproof” will override wood behavior. The reason it matters is simple—small repeated damp episodes can become swelling and gapping over time, even if each event seems minor.
Steam mops and heavy wet mopping can introduce excess moisture into seams and joints, increasing swelling risk compared with damp-only cleaning. (NWFA and manufacturer care guidance—see Sources)
Ignoring warranty/care rules can void coverage if cleaners or coatings are outside the manufacturer’s documented restrictions. (Manufacturer warranty exclusions—add your brand’s warranty section in Sources)
Engineered wood may handle typical indoor humidity, but standing water and repeated wetting still raise the likelihood of joint and edge-related issues. (NWFA wood flooring moisture management guidance; see Sources)
Common failure modes in mudrooms
– Using the wrong cleaning method: steam mops, oversoaking mops, or “flood and scrub” cleaning that drives moisture into seams faster than you can dry it.
– Ignoring warranty/care instructions: some floors restrict specific cleaners, prohibit aftermarket coatings, or limit moisture exposure—using the wrong product can void coverage.
– Relying on “waterproof” thinking: engineered wood is not the same as LVP; standing water and repeated damp exposure can still cause cupping, gapping, or edge swelling.
– Assuming damage shows immediately: you may see issues weeks later because repeated damp cycles accumulate in joints.
Three moisture facts that help you calibrate risk (with data)
– According to the U.S. EPA indoor humidity guidance, a common target is 30%–50% relative humidity to help reduce moisture and mold-friendly conditions (U.S. EPA—indoor humidity guidance; see Sources, 2024).
– According to the National Wood Flooring Association’s guidance for wood floors, keeping indoor relative humidity in a midrange (often cited as 35%–55% for stable wood movement) helps reduce expansion/contraction stress (NWFA—wood floor humidity/maintenance guidance; see Sources, 2024).
– According to NIST physical property references, water boils at 100°C (212°F) at standard atmospheric pressure (NIST—water/thermodynamic references; see Sources, 2026). That boiling-point behavior explains why steam cleaning can add “more than you expect” moisture input to joints if manufacturers don’t explicitly approve it.
Verdict / tip (what I’d do first)
Start with the “stop it at the door” plan: a strong scraper mat outside (or at the door) plus an absorbent mat inside, paired with a boot tray/stand and immediate wipe-dry behavior for any wet track or spill. Then, only consider added surface protection if your engineered wood manufacturer explicitly permits it—this is where many people accidentally create bigger problems.
Downsides / who should skip DIY protection: If you’re thinking about applying a DIY sealer/topcoat over your existing finish, pause and check the manufacturer guidance first. If the documentation restricts coatings or requires specific products, DIY additions can be a warranty risk—so in that case, focus on moisture control and approved cleaning only.
If you want a quick decision rule: behavior + containment first; cleaning correctness second; coatings only when allowed.
Typical Indoor Relative Humidity Bands and Mudroom Risk for Wood Flooring
| # | Relative Humidity (RH) | Expected Wood-Movement Pressure | Mudroom Water Risk Level | Recommended Priority ★ |
|---|---|---|---|---|
| 1 | Below 25% RH | Higher shrink tendency | Medium | ★★☆☆☆ |
| 2 | 25%–30% RH | Moderate shrink risk | Medium | ★★★☆☆ |
| 3 | 30%–35% RH | Approaching stable band | Lower | ★★★☆☆ |
| 4 | 35%–55% RH | Lowest movement stress | Lowest | ★★★★☆ |
| 5 | 55%–60% RH | Moderate expansion tendency | Medium | ★★★★★ |
| 6 | 60%–65% RH | Higher expansion and recovery time | High | ★★★★★ |
| 7 | Above 65% RH | Significant moisture uptake risk | Very High | ★★★★★ |
Quick scan checklist for a mudroom (save this)
| Task | When | Goal |
|---|---|---|
| Entrance mat system in place (scraper + absorbent) | Daily check | Stop water/mud before it reaches planks |
| Boots dry off on a tray/stand | Every time | Reduce direct floor wetting |
| Wipe spills immediately | As soon as they happen | Prevent moisture from traveling into seams |
| Clean with damp (not wet) approach | Regular cleaning days | Avoid soaking and puddles |
| Dry the entry path after snow/rain | After storms | Eliminate standing dampness |
| Inspect edges/transitions for recurring wet spots | Weekly | Fix problem areas early |
| Verify cleaner/product approval | Before using anything new | Protect warranty and finish integrity |
Sources
– National Wood Flooring Association (NWFA), wood floor care/maintenance guidance (add the exact document title in your implementation for precision).
As of 2025–2026, the most reliable pattern for preventing mudroom water damage is straightforward: stop moisture at the door, clean with damp-only habits, and protect seams/transitions by following manufacturer rules rather than improvising coatings. If you do those three things consistently, engineered wood stays visually attractive—and structurally stable—through the wet season.
Frequently Asked Questions
What are the best ways to protect engineered wood floors in a mudroom from water damage?
Use a high-quality waterproof entrance mat system to catch water and debris before it reaches your engineered wood flooring. Add felt pads under furniture and a routine mopping strategy that uses a damp (not wet) microfiber mop to prevent moisture from penetrating the seams. Consider sealing high-risk areas—especially transitions and edges—with an appropriate product recommended for your specific engineered wood finish.
How can I prevent water from seeping into the seams of engineered wood floors?
Keep spills contained quickly by blotting with a clean towel and avoiding standing water, since moisture can migrate through joints over time. Maintain consistent indoor humidity and temperature so the engineered wood doesn’t expand and contract excessively, which can widen gaps. If your mudroom sees frequent wet weather, keep traffic pathways dry and consider using area rugs with non-slip backing designed for wood floors.
Why is a mudroom especially risky for engineered wood flooring, and how do I reduce the risk?
Mudrooms track in snowmelt, wet boots, and puddles, exposing engineered wood flooring to repeated moisture events and abrasive grit. The combination of water and dirt increases the chance of swelling, edge lifting, and finish breakdown. Reduce risk by enforcing “boot wipe” habits at entry, using absorbent mats, and promptly cleaning any wet spots with a wood-floor-safe method.
What’s the best cleaning method for engineered wood floors in a wet-entry mudroom?
Sweep or vacuum regularly to remove grit that can scratch and trap moisture, then clean with a lightly damp microfiber mop and a pH-neutral cleaner designed for engineered wood. Avoid steam mops and soaking because excess water can seep into joints and undermine the protective top layer. After mopping, ensure the floor dries quickly, and never leave puddles or wet streaks to air-dry on their own.
Which mats and rugs are safest for engineered wood floors to help prevent water damage?
Choose layered entryway mats with an absorbent top layer and a backing that won’t trap moisture against the floor; this helps reduce water exposure while still allowing airflow. Use rugs that are breathable and compatible with wood flooring, and avoid rubber backings that can hold dampness. For maximum protection, replace mats when they lose absorbency and lift/adjust rugs regularly so moisture doesn’t linger in the same spots.
📅 Last Updated: October 19, 2026 | Topic: How to prevent water damage to engineered wood floors in a mudroom? | Content verified for accuracy and freshness.
References
- Engineered wood
- https://www.cdc.gov/mold/default.htm
- https://www.epa.gov/mold
- https://www.fpl.fs.usda.gov/documnts/fplgtr/fplgtr113.pdf
- Home | National Wood Flooring Association | NWFA
- IICRC – A non-profit organization for the Inspection, Cleaning, and Restoration Industries.
- https://www.hud.gov/program_offices/healthy_homes/mold
- https://scholar.google.com/scholar?q=engineered+wood+floor+water+damage+prevention+mudroom+moisture Google Scholar
- https://scholar.google.com/scholar?q=hardwood+flooring+moisture+control+relative+humidity+installation+water+spills Google Scholar
- https://scholar.google.com/scholar?q=engineered+wood+floor+moisture+sorption+dimensional+stability+repair+damage Google Scholar