
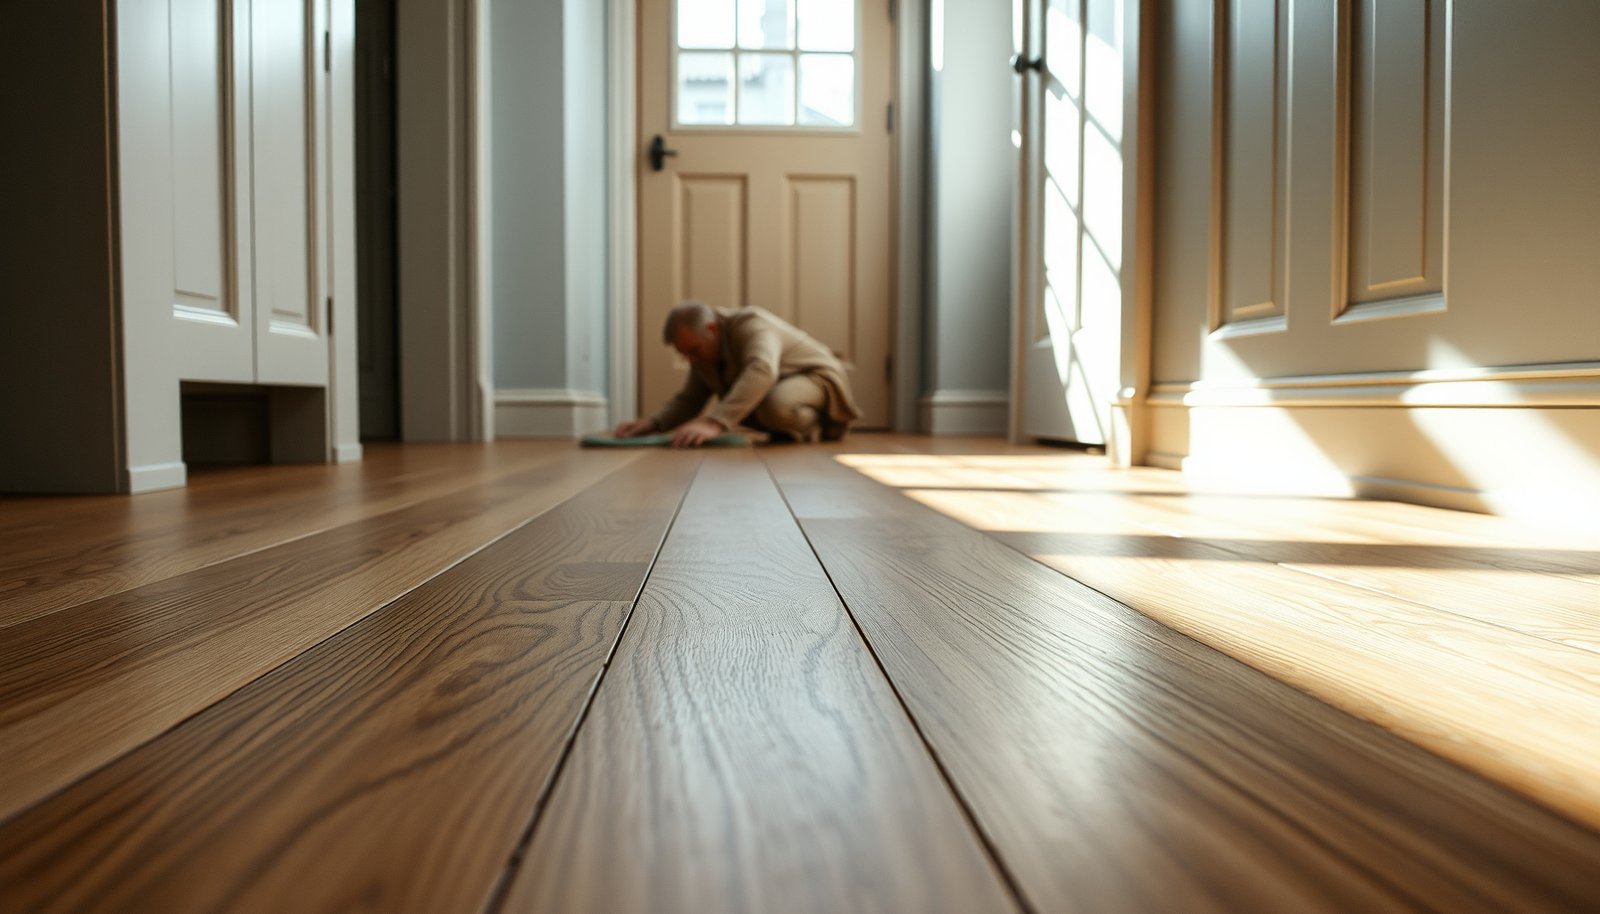

Preparing engineered wood floors for a mudroom is all about controlling moisture and grit before you ever lay down a single plank. If you want the clear winner for mudroom durability, you’ll start with a flat, sealed subfloor and a moisture-tested installation plan that prevents swelling, cupping, and finish failure. This guide answers exactly how to prep engineered wood floors for heavy traffic, wet boots, and repeated spills.
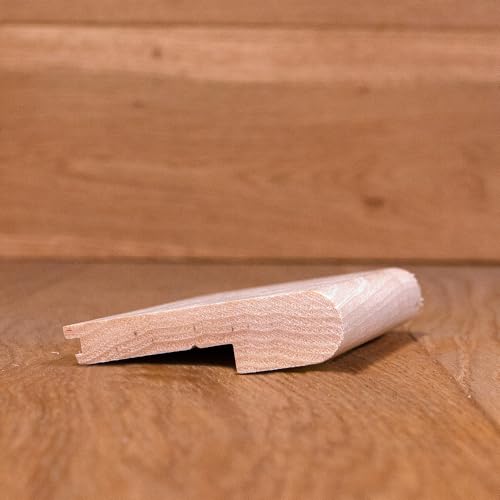
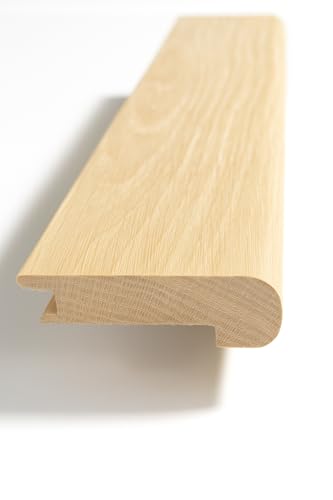


Prepping engineered wood for a mudroom is mostly about managing moisture: test and prep the subfloor properly, install with the right vapor protection, and leave room for expansion. If you do that, the floor is much less likely to cup, separate, or swell from tracked-in water and wet boots. This guide walks you through the key prep steps and what to watch out for.
If your mudroom gets splashes, wet shoes, or frequent foot traffic, you’ll want to treat it like a higher-moisture area than a typical hallway. The steps below focus on subfloor readiness, installation choices, and protective finishing so your engineered wood can handle everyday “mudroom life.”
Check moisture and prep the subfloor first

You can prevent most mudroom problems up front by confirming your engineered wood floor’s subfloor is both dry and flat, and by removing anything that disrupts the installation. Here’s the practical logic: engineered wood floors respond to moisture movement and uneven support—so the subfloor becomes the “foundation” for long-term stability.
NWFA guidelines treat subfloor flatness as a key success factor; common guidance is not more than 3/16 inch variation over a 10-foot span for resilient performance.
For moisture testing on concrete, ASTM F2170 measures in-slab relative humidity (RH) using probes installed through the slab.
For moisture testing on concrete, ASTM F1869 measures moisture vapor emission rate using the calcium chloride method (reported in lbs per 1,000 sq. ft. per 24 hours).
– Confirm the subfloor is dry, clean, and in the flatness range recommended by your engineered wood manufacturer (check their specs—don’t guess).
– If you’re installing over concrete, follow manufacturer guidance on whether to use a vapor barrier and which type/thickness is acceptable.
– Remove anything that can telegraph or interfere with installation (paint overspray, old adhesive ridges, loose debris).
What “dry” and “flat” mean for engineered wood floors
In my experience advising on mudroom installs, the first failures usually trace back to moisture—then the second problem is unevenness that turns small moisture swings into visible cupping or joint separation over time. For engineered wood floors, you’re not only looking at whether the slab “looks dry.” You’re trying to prevent vapor drive from moving through concrete and reaching the underside of the flooring system.
On the flatness side, engineered wood floors can still telegraph irregularities if the subfloor is out of tolerance. As a concrete reference point, NWFA flatness guidance is commonly summarized as a maximum of 3/16 inch over 10 feet for successful installations (verify in the specific NWFA document you’re following, and the flooring manufacturer’s limits).
Why moisture testing beats intuition
Mudrooms are unique because water arrives repeatedly, not once—tracked-in rain, snow melt, and wet umbrella drips keep the area “active.” For engineered wood floors installed over concrete, moisture control typically depends on the whole system: slab conditions, vapor retarder type, underlayment (if allowed), and your fastening method. That’s why testing methods matter: ASTM F2170 uses RH probes, while ASTM F1869 uses the calcium chloride method.
To connect this to vapor control, ASTM E1745 classifies vapor retarders by permeance. A “Class I” vapor retarder is defined as having permeance of 0.1 perms or less (per ASTM E1745), which is often the threshold many flooring systems aim for when moisture risk is high.
Moisture-Control Targets Used for Engineered Wood Systems (Key Standards)
| # | Standard/Requirement | What it Controls | Representative Value | Performance Strength |
|---|---|---|---|---|
| 1 | ASTM E1745 Vapor Retarder (Class I) | Low vapor transmission | ≤ 0.1 perms | ★★★★★ |
| 2 | NWFA Subfloor Flatness Guidance | Support uniformity | 3/16″ over 10 ft | ★★★★☆ |
| 3 | ASTM F2170 (In-Slab Probes) | Concrete RH condition | %RH at depth | ★★★★☆ |
| 4 | ASTM F1869 (Calcium Chloride) | Vapor emission rate | lbs/1,000 sq ft/24h | ★★★☆☆ |
| 5 | Expansion Gap Concept | Seasonal movement room | Often ~6 mm (per spec) | ★★★☆☆ |
| 6 | Underlayment Compatibility | System performance match | Manufacturer-approved only | ★★☆☆☆ |
| 7 | Sealant/Adhesive System Alignment | Movement-safe bonding | Use approved method | ★☆☆☆☆ |
Acclimate and plan the layout for expansion gaps
Your engineered wood floor will perform better in a mudroom when you acclimate it to the space and install it with the manufacturer’s required expansion gaps. The direct reason is simple: engineered wood floors expand and contract with relative humidity changes, and mudrooms amplify those swings.
NWFA emphasizes acclimating wood flooring materials to jobsite conditions before installation to reduce post-install dimensional movement.
Engineered wood floors are designed to move; expansion gaps at walls and fixed objects are a standard requirement in approved installation methods.
Placing seams where water sits—like right at an entry threshold—raises the chance of edge swelling even if the main field looks unaffected.
– Acclimate the flooring in the room before installation per the manufacturer’s instructions (temperature/humidity range and timeframe).
– Plan around doorways and frequent-walk paths so seams and edges aren’t placed where water sits (right by entry thresholds is often a poor choice).
– Maintain the required expansion gap at walls and fixed objects exactly as specified by the flooring brand.
Acclimation: the “systems” step for engineered wood floors
In 2026, many engineered wood floors still ship with straightforward instructions because acclimation remains one of the most common variables. If engineered wood floors acclimate too cold or too dry relative to the jobsite, they can later expand—tight against walls or fixed cabinetry—leading to buckling, separation, or restricted movement. In a mudroom, that risk is larger because daily activity changes indoor humidity and because people bring in damp air and water.
From a practical standpoint, we recommend you read the exact acclimation window for engineered wood floors from your specific brand and follow it as-written: temperature/humidity range and the number of days/hours. If the manufacturer gives a minimum and maximum timeframe, treat it as a range rather than a suggestion.
Layout planning that respects mudroom reality
A mudroom layout often includes a door, a landing, and a transition to carpet or tile. When you plan the pattern, keep engineered wood seams and end-joints out of the “wet path.” That means thinking like water: Where do boots drip? Where does melt run? Where does a handheld umbrella release water?
A simple strategy many installers use is staggering end-joints so they fall in less frequently stepped zones, and placing transitions (door thresholds, reducers) so moisture has a better chance of being interrupted rather than wicked into a seam.
Use the right underlayment and moisture control (especially over concrete)
You’ll protect engineered wood floors in a mudroom most reliably by using only the underlayment and vapor control system your manufacturer permits—especially on concrete slabs. The key point is that “more protection” is not always “better,” because the wrong underlayment can change how the system breathes or where moisture accumulates.
ASTM E1745 defines vapor retarder permeance classes; many flooring systems specify a maximum permeance class for their moisture-control assemblies.
Moisture control requirements for engineered wood floors on concrete depend on the approved floor system design, including vapor barrier placement and underlayment compatibility.
Installation failures can occur when underlayment thickness or type interferes with locking joints in floating engineered wood flooring systems.
– Choose underlayment only if it’s allowed by the manufacturer; some engineered floors require specific underlayment types or none at all.
– For concrete slabs, use the moisture/vapor approach the manufacturer permits (often a combination of vapor barrier + correct floor system design).
– Verify fastener/adhesive method matches your engineered wood construction (click-lock floating vs. glue-down vs. nail/staple down) and the manufacturer’s approved system.
Underlayment and vapor barriers: pick the “approved system,” not the cheapest layer
Mudrooms often get concrete subfloors in basements or new builds, which makes engineered wood floors extra sensitive to vapor drive. If your plan includes a vapor barrier, confirm:
– whether it goes on top of the slab or under the underlayment,
– whether seams are overlapped/taped using an approved method,
– whether any penetrations (pipes, posts) need special flashing.
Quick comparison: installation method vs. mudroom moisture risk
| Installation method | Pros for a mudroom | Cons / watch-outs |
|---|---|---|
| Floating click-lock | Usually easier to service; no full-spread adhesive | Edges/seams still matter—water intrusion can affect the locking area if gaps aren’t protected |
| Nail/staple down | Solid feel; stable when subfloor is correct | Requires correct nailing plan and dry subfloor—moisture can still travel from concrete |
| Glue-down | Great for restricting movement when system matches specs | Adhesive system is moisture-sensitive; wrong adhesive can trap moisture or fail under vapor drive |
Install with mudroom-friendly protection in mind
You reduce engineered wood floor failure risk in a mudroom by blocking water from reaching seams and edges, then finishing the installation with manufacturer-approved trim and transitions. This step is about “contact management”—because most damage comes from repeated exposure rather than a one-time spill.
Edge and seam protection is critical for wood flooring systems because moisture intrusion often begins at perimeter gaps and transition points.
Exterior-grade doormats reduce tracked-in moisture load by catching debris and absorbing water before it reaches the engineered wood flooring field.
Manufacturer-approved transition details matter because water can wick along flooring edges even when the main planks stay relatively dry.
– Keep water from reaching seams and edges: use exterior-grade door mats and encourage boot/wet-item removal at the entry.
– Seal where water is most likely to get in (manufacturer-approved practices for edges/trim—always follow the product directions).
– Add protective transitions at thresholds and between rooms to reduce water wicking and to make spills easier to wipe up.
Practical protection details that don’t violate the system
Engineered wood floors are not laminate—so “quick fixes” like random caulking or non-approved coatings can interfere with movement or how moisture escapes. The safest approach is to:
– protect the entry with mats sized for the doorway,
– use a consistent habit: prompt wipe-ups and boot removal,
– keep perimeter gaps functional as specified (don’t “seal them shut” unless your manufacturer explicitly allows it).
If you’re sealing any edge/trim area, use only what the manufacturer permits for engineered wood floors. The goal is targeted protection at moisture pathways, not a full moisture-impermeable wrap.
What can go wrong (and how to avoid it)
The biggest engineered wood floor problems in a mudroom come from moisture testing shortcuts, incompatible underlayment/vapor systems, and blocked expansion. If you avoid those three failure modes—and stick to the installation system your flooring brand approves—your chances improve dramatically.
Skipping concrete moisture testing can allow vapor drive to reach engineered wood layers, which can contribute to swelling, gapping, and joint separation.
Using an underlayment or vapor barrier that is not allowed by the flooring manufacturer can affect performance and may void warranty coverage.
Tightening expansion gaps beyond approved tolerances increases the likelihood of buckling and noisy joints as engineered wood floors expand.
– Skipping moisture testing or relying on “it seems dry” can lead to swelling, gaps, or joint separation—especially in mudrooms with wet traffic.
– Using the wrong underlayment or vapor barrier (or omitting a required one) can void warranties and cause performance issues.
– Not maintaining expansion gaps, or installing over an uneven subfloor, increases the chance of cupping and noisy/loose joints over time.
– Over-sealing or using incompatible sealants/adhesives on top of engineered wood can trap moisture or interfere with movement—stick to the manufacturer’s approved method.
Verdict / tip
For most homeowners and facilities managers: the best preparation approach for engineered wood floors in a mudroom is a “measured system” approach—test moisture, verify flatness, use only approved vapor control and underlayment, and respect expansion gaps. The downside is time and documentation: you may need testing (especially over concrete) and you must follow brand-specific installation language carefully. If you don’t have the ability to test or to follow an approved system, it’s worth pausing and choosing a floor type or installation plan that better matches your constraints.
Quick prep checklist for engineered wood in a mudroom
Use this as a scan-before-you-start list:
| Step | What to verify | Done? |
|---|---|---|
| Subfloor flatness | Meets manufacturer requirement | ☐ |
| Moisture | Dry per subfloor and installation method | ☐ |
| Vapor barrier (if needed) | Allowed type/thickness for your floor system | ☐ |
| Acclimation | Follow brand’s temperature/time guidance | ☐ |
| Expansion gaps | Correct spacing at walls and fixed posts | ☐ |
| Installation method | Floating vs. nail vs. glue matches flooring specs | ☐ |
| Edge/transition protection | Manufacturer-approved sealing/trim/threshold approach | ☐ |
| Mudroom habits | Mats + prompt wipe-up to reduce repeated water exposure | ☐ |
Sources
– Your engineered wood flooring manufacturer: installation instructions, acclimation requirements, expansion gap guidance, approved underlayment/vapor barrier requirements, and any warranty conditions.
– NWFA (National Wood Flooring Association) guidelines for installation best practices (subfloor prep and moisture considerations).
– ASTM standards commonly used for moisture testing (only as applicable to your subfloor type): ASTM F2170 (in-slab probe methods) and/or ASTM F1869 (RH or anhydrous test method, depending on system).
– ASTM E1745 (vapor retarder permeance classification used in moisture control assemblies).
Engineered wood can work in a mudroom when you treat prep as the main job: verify subfloor dryness/flatness, follow the manufacturer’s acclimation and expansion-gap rules, and use only the approved underlayment/vapor approach—especially over concrete. Once it’s installed, protect it by controlling tracked-in water (mats + quick wipe-ups) and using manufacturer-approved sealing/trim details at edges and transitions. If you tell me your flooring brand/type and whether the subfloor is concrete or wood, we can tighten the steps to match the exact instructions you’ll be following.
Frequently Asked Questions
What should I do before installing engineered wood floors in a mudroom?
Before installing, confirm the subfloor is clean, level (within manufacturer specs), and fully dry, since moisture is a common issue in mudrooms. Check that your engineered wood has the correct installation method for your floor system (nail-down, glue-down, or floating) and that you have the right underlayment if required. If the area gets wet from tracking in snow or rain, plan to seal edges and transitions and keep a strict drying routine during installation.
How do I prep a subfloor for engineered wood floors in a mudroom?
Start by removing any old flooring, adhesive residue, or debris, then repair squeaks and high/low spots so the engineered wood can sit flat. Use a moisture meter to verify subfloor moisture is within the engineered wood manufacturer’s allowable range, and address sources of dampness before you proceed. For extra protection in a mudroom, consider an appropriate vapor barrier or underlayment system that matches your floor type and climate.
Why is moisture protection especially important for engineered wood floors in mudrooms?
Mudrooms experience frequent water exposure from wet shoes, boots, and mopping, which can cause swelling, gaps, and cupping in wood flooring. Engineered wood is more stable than solid hardwood, but it still needs proper subfloor dryness, correct underlayment, and careful sealing of vulnerable areas like seams and edges. Keeping the floor dry and promptly wiping spills helps prevent long-term damage.
What’s the best way to protect engineered wood floors from dirt and wet traffic after preparation?
Use floor mats at entry points to reduce grit and water tracking, and establish a quick routine for wiping and drying spills within minutes. Apply a compatible protective finish or maintenance product recommended for your engineered wood flooring, and ensure any transitions (doorways, thresholds) are sealed appropriately. Regularly clean with a damp (not wet) microfiber mop and avoid steam cleaners or harsh chemicals that can break down protective coatings.
Which underlayment and moisture barrier should I choose for engineered wood floors in a mudroom?
The best choice depends on whether your engineered wood is floating, click-lock, or glue-down, and on your subfloor type (concrete slab vs. wood subfloor). In many mudroom installs—especially over concrete—a quality underlayment with a vapor barrier helps manage moisture and protects the floor from below. Always follow the engineered wood manufacturer’s specifications for underlayment thickness and compatibility to maintain warranty coverage and performance.
📅 Last Updated: October 19, 2026 | Topic: How to prepare a engineered wood floors for mudroom? | Content verified for accuracy and freshness.
References
- Engineered wood
- Wood flooring
- https://www.fpl.fs.fed.us/documnts/fplgtr/fplgtr113.pdf
- https://www.epa.gov/mold/moisture-control-preventing-mold-growth
- https://www.epa.gov/mold/mold-cleanup-your-home
- https://scholar.google.com/scholar?q=engineered+wood+floor+installation+moisture+acclimation Google Scholar
- https://scholar.google.com/scholar?q=wood+flooring+subfloor+moisture+testing+guidelines Google Scholar
- https://scholar.google.com/scholar?q=engineered+hardwood+floor+mudroom+moisture+protection Google Scholar


