
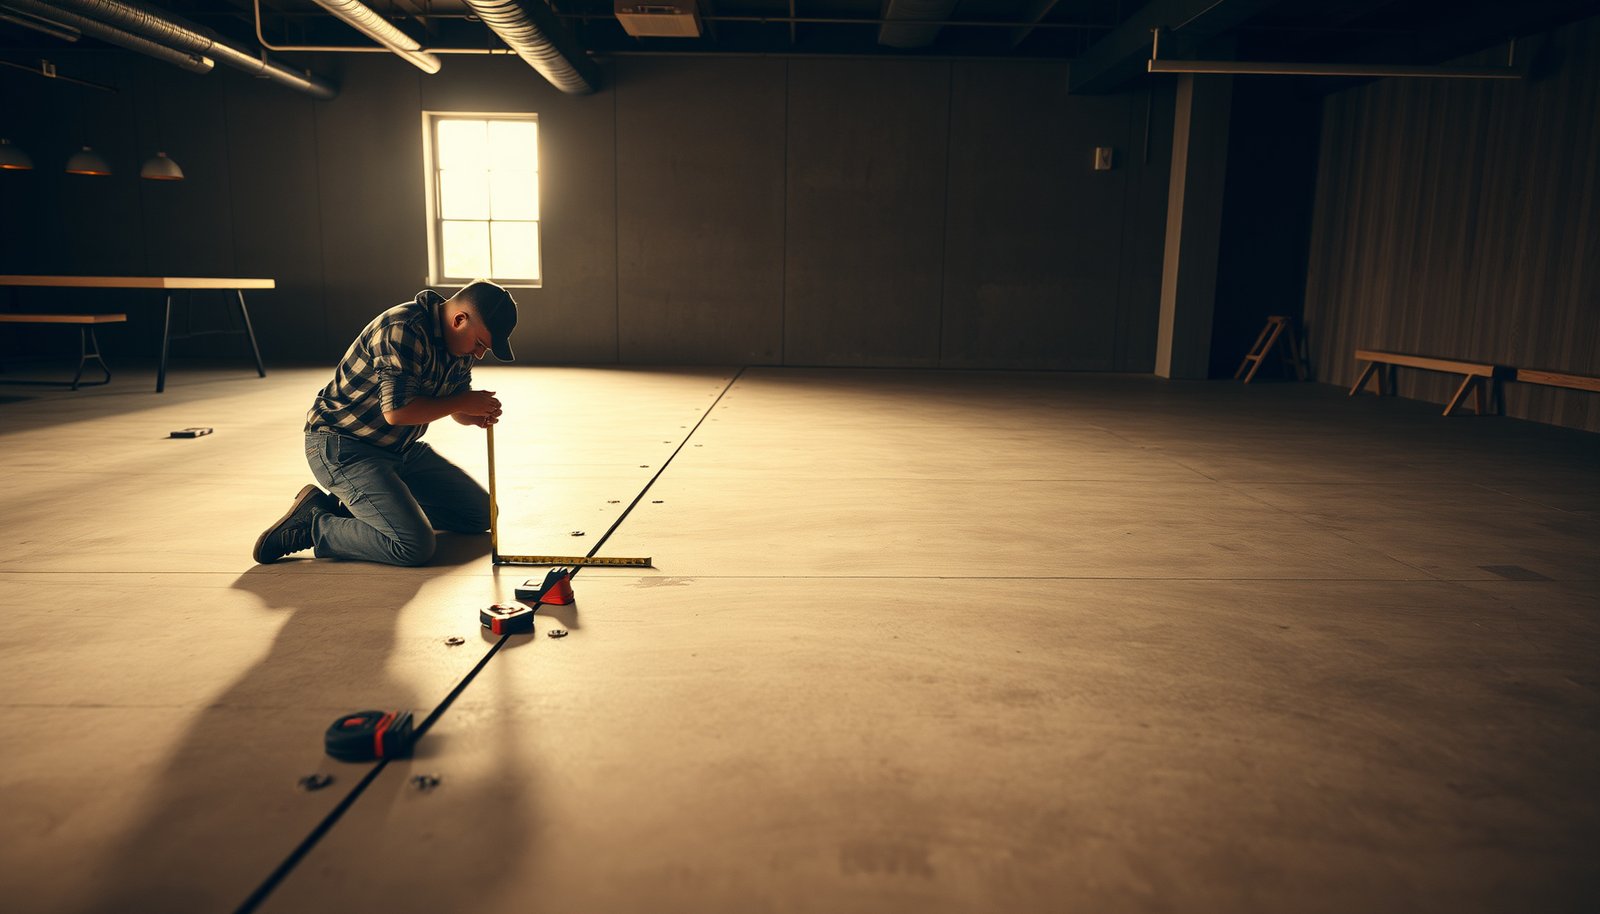

Learn exactly how to measure hardwood floors for a restaurant buildout so you can order the right quantity, avoid costly waste, and plan for transitions, fit under doors, and hit the right square footage. This guide lays out the measurement steps that matter most on restaurant layouts—accurate length-and-width runs, perimeter allowances, and coverage by type and plank direction—so you can calculate materials with confidence. If you follow these rules, you’ll get a clean takeoff the first time.



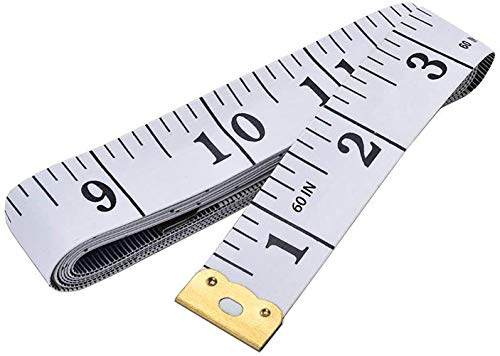
Measure usable hardwood square footage by calculating length × width per finished “zone,” then subtract fixed obstacles (columns, built-ins, fully covered areas) and finally add waste plus edge/transition logic. For restaurant buildouts, you’ll get the most reliable takeoff by treating doorways, thresholds, and expansion gaps as real boundaries—not just “edges.”
If you’re planning a dining room, bar, kitchen-adjacent area, or hallway with hardwood, the goal is the same: get a square-foot number that matches how the space will actually be finished. This is especially important in restaurants because there are often multiple zones, irregular furniture layouts, and frequent trim/threshold details.
Who this is for / when it applies:
This guide is for owners, project managers, and contractors coordinating hardwood floor ordering for restaurants—especially when the plan includes service corridors, bar fronts, or mixed finishes like wood-to-tile transitions. It’s written to support a practical measurement handoff to an installer or contractor and to reduce reorder risk during buildout. As of 2026, that “right number” still matters because lead times and material substitutions can cause schedule pressure.
Prep the room and map the layout first
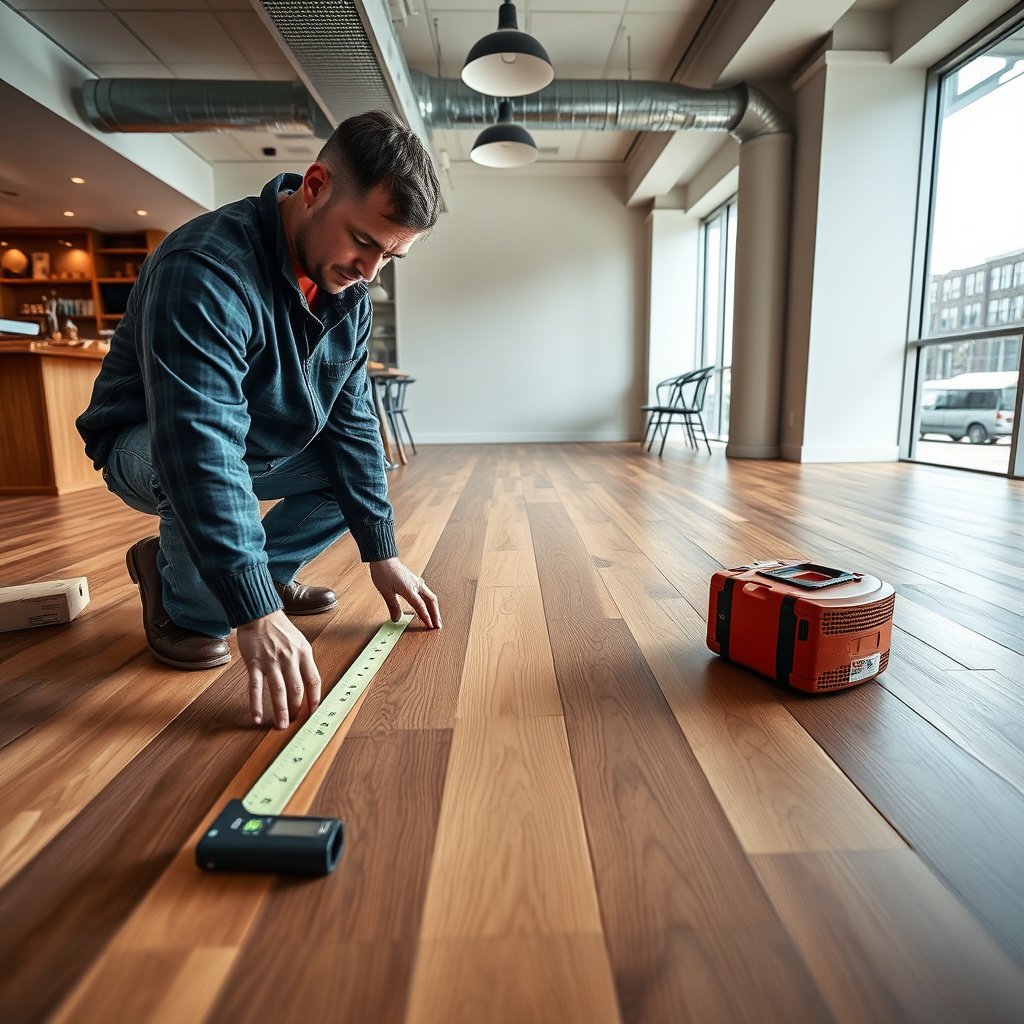
A usable measurement starts with understanding what will actually be finished with hardwood in each restaurant zone. Before you take out a tape measure, map the space so your calculations reflect trim lines, cabinetry boundaries, and any excluded areas.
A hardwood takeoff should be organized by finished zones because many installations require different transition details at boundaries between areas or flooring types ().
Expansion space (gap) is part of the installation plan, so your “coverage boundary” is not always the same as the room’s outer wall line ().
Doorways and thresholds often define where hardwood coverage stops and a transition strip starts, which changes what you should count in the square-foot calculation ().
– Make a quick sketch of the space showing each wall, doorway opening, and any fixed obstacles (islands, kickplates, base cabinetry, columns).
In restaurant plans, “fixed obstacle” isn’t just architectural—think refrigeration bases, kitchen kickplates, and built-in bar stools that are actually anchored to millwork. On the sketch, label each obstacle with a simple footprint dimension (even approximate) so subtraction is consistent later.
– Identify flooring “zones” (e.g., dining area vs. service corridor) so you can measure separately if transitions or different materials are planned.
If the contractor plans a clean break (wood-to-tile, wood-to-VCT, or wood-to-carpet) at a specific line, measure each side independently. That approach reduces the most common problem we see in restaurant estimates: a “correct total room size” that’s still wrong because the boundary isn’t where the rectangle suggests.
Practical mapping tip:
If your construction drawings are updated late (common during MEP coordination in 2025–2026), version your sketch with a date and take a photo of each wall line after demo. That makes it easier to reconcile any field changes before ordering.
Measure length and width accurately (per zone)
For each hardwood zone, calculate area from accurate length × width measurements, then convert that to square feet for ordering. The key is measurement consistency: same reference points, same units, and same interpretation of where hardwood starts and stops.
Square-foot area is calculated as Length × Width in feet, so converting any measured inches to feet before multiplying prevents arithmetic errors ().
If a zone isn’t a perfect rectangle, splitting it into simpler shapes (rectangles/triangles) is a standard takeoff method used for flooring estimation ().
– Measure wall-to-wall length and width in feet for each zone, then calculate area as Length × Width.
Start by choosing your measurement convention (example: “measure from finished drywall face to finished drywall face” or “from inside edge of trim line”). Then stick to it. Restaurant builds often have varying wall finishes—back-of-house walls may be unfinished or framed—so define what “wall line” means on your sketch before measuring.
– If the room isn’t a perfect rectangle, split it into rectangles (or simple shapes) and add the areas together.
The goal is not artistic math; it’s reproducibility. For angled edges, either (1) split into two rectangles using a measured offset, or (2) measure the diagonal as a separate shape only if you’re confident in the geometry. If you’re not sure, mark the tricky edge clearly and have your installer verify onsite—this is one place where “close enough” often isn’t.
A small but important precision point: many job sites measure in feet but obstacle dimensions (posts, toe-kicks, curb edges) get noted in inches or millimeters. Converting correctly supports accurate subtraction later.
Hardwood Takeoff Unit Conversions (Inches → Millimeters)
| # | Measurement parameter | Common inch value | Metric equivalent (mm) | Takeoff relevance |
|---|---|---|---|---|
| 1 | Expansion-gap reference | 3/8 in | 9.525 | ★★★★★ |
| 2 | Expansion-gap reference | 1/2 in | 12.700 | ★★★★★ |
| 3 | Nominal plank width | 2-1/4 in | 57.150 | ★★★★☆ |
| 4 | Nominal plank width | 3 in | 76.200 | ★★★★☆ |
| 5 | Toe-kick subtraction reference | 4 in | 101.600 | ★★★☆☆ |
| 6 | Common post/column width | 12 in | 304.800 | ★★★☆☆ |
| 7 | Threshold/transition width | 2 in | 50.800 | ★★★☆☆ |
Subtract what’s not getting hardwood
Your “hardwood square footage” is the usable area after subtracting fixed exclusions—then adjusted for how thresholds and transitions actually finish at the boundary. In restaurants, subtraction is where many takeoffs diverge from the drawings, especially around built-ins and kitchen-adjacent equipment.
Estimators typically exclude areas that are permanently covered by fixed millwork or posts because the flooring is not installed under those immovable elements ().
A doorway threshold can function as a finish boundary, so only the portions receiving wood should be counted toward the hardwood order ().
– Subtract fixed areas you won’t cover: built-in millwork, permanent posts, and any surfaces fully excluded from the floor plan.
For accuracy, subtract using the obstacle’s footprint that actually overlaps the hardwood zone. For example, if a built-in cabinet projects into the dining room, measure the projection depth and width that the hardwood would otherwise occupy.
– For doorways and thresholds: only count the portions that will actually receive hardwood, and note whether there’s a transition strip that changes the finish boundary.
If your plan specifies a metal or wood transition at a doorway, decide whether that transition strip consumes a band of coverage on one side (common) or simply covers the edge (varies by detail). Put that decision on the sketch so your installer can follow your logic.
Restaurant-specific subtraction examples (what to double-check):
– Columns or structural posts inside a zone (subtract their exact footprint).
– Bar fronts with kickplates or continuous base panels (often excluded—confirm detail).
– Islands or prep bases in kitchen-adjacent areas (some are excluded; others are finished—depends on scope).
– Any “floating” or “wall-mounted” cabinetry that may still block flooring installation behind/under it (drawings can mislead).
Comparison snapshot: whole-room vs zone-aware subtraction
A zone-aware takeoff reduces ambiguity when multiple boundaries exist in the same room.
| Approach | What it does well | Where it breaks in restaurants |
|---|---|---|
| Whole-room rectangle math | Fast initial estimate when the room is simple | Overcounts around thresholds, built-ins, and mixed-material borders |
| Zone-by-zone takeoff + obstacle subtraction | Matches real install boundaries; clearer handoff to installers | Takes a bit longer; requires a clean sketch to stay consistent |
Add waste and account for restaurant realities
After you compute net hardwood square feet, add an appropriate waste allowance for cutting, angles, doorways, and irregular edges. In restaurant projects, waste isn’t just “extra material”—it often compensates for how installs must start, stagger, and transition safely around boundaries.
Waste factors increase as layouts become more complex (more cuts at doorways, returns, and angles), so a single “one size fits all” percentage rarely fits every restaurant plan ().
Perimeter expansion gaps change the effective “finished coverage boundary,” so ordering should follow the manufacturer’s gap and edge instruction—not just the room perimeter ().
Hardwood commonly requires acclimation and humidity control before and during installation, which affects edge behavior and transition planning ().
– Add a waste factor appropriate for your installer’s layout complexity and cutting requirements (especially around angles, doorways, and irregular edges). If you don’t have a number from your installer or supplier, use .
As a planning datapoint, many professional guidelines commonly land around low-teens waste for straightforward installs and higher for complex patterns/irregular geometry—but you must follow your specific manufacturer’s guidance. For your takeoff handoff, write the waste percent directly on the sketch and spreadsheet so nobody “re-interprets” it later.
– Plan for expansion gaps at walls and transitions; don’t treat every edge as “needs full coverage” in your calculations.
Expansion gaps are usually measured along fixed edges where the flooring terminates—walls, thresholds, and certain transition lines—not typically in the middle of open spans. Your installer’s method (nail-down, glue-down, or floating) can influence how the gap is detailed, so treat the product’s installation instructions as the controlling document.
Concrete planning math example (structure, not a fake number):
1) Net area from zone rectangles minus obstacles = Net SF
2) Waste allowance = Net SF × waste %
3) Add/adjust for boundary logic (doorways/transitions where wood stops) = Ordered SF
If your project includes two zones with different transitions (e.g., dining to tile, corridor to carpet), apply waste separately per zone so you can troubleshoot shortages without disturbing the entire order.
Note on expansion gaps (what to document):
On your sketch, label where the flooring edge will be covered by baseboards, reducer thresholds, or transition strips. That label is what turns a theoretical “gap” into a real ordering boundary your installer can execute.
Don’t miss the tricky details (what can go wrong)
Most ordering errors in restaurant hardwood takeoffs come from boundary assumptions—places where the plan looks “open” but the installation actually stops, shifts, or transitions. The fix is verification: compare your sketch to the as-built space before you lock the order.
Restaurants often have multiple construction updates between design and finish, so a second verification measurement against your sketch is a practical safeguard for flooring takeoffs ().
Transition borders between flooring types can reduce usable hardwood coverage in ways that simple rectangle calculations cannot capture, especially when transition strips sit over edge lines ().
– Measuring only once: restaurants often have shifting sightlines and built-ins; a second measurement (or verification against the sketch) prevents under/over-ordering.
Re-measure at least the “high-impact” lengths: the long run in each zone, any dimension that determines obstacle subtraction, and all door openings that create transitions.
– Ignoring obstacles: forgetting to subtract fixed features can cause you to buy too little even when the room’s “square feet” seems correct.
A column you don’t subtract can look small on paper, but multiply it across multiple zones and transitions and shortages show up quickly.
– Confusing finish boundaries: cabinets that look “floating” may still block flooring in practice—confirm what’s actually being covered before finalizing your count.
If cabinets are anchored to the floor, most installers will not install under them. If a detail is truly floating, the installer may follow a different rule; your product instructions and installer scope should control.
– Underestimating transitions: multi-material borders (tile to wood, wood to carpet) can reduce usable coverage in ways that simple rectangle math won’t capture.
Document whether the transition strip is centered on the boundary line or sits primarily on one side. That decision changes how much wood you count near the edge.
Where things go sideways in real buildouts
From planning conversations on restaurant projects, the highest-friction moments are almost always these: (1) updated millwork locations, (2) delayed confirmation of threshold types, and (3) mixed-finish layout changes after plumbing and electrical rough-in. If any of those are still moving on your site as of 2026, treat your measurement takeoff as “draft” until the installer validates boundaries.
| Criteria | Whole-room takeoff | Zone takeoff + obstacle subtraction |
|---|---|---|
| Matches real install boundaries | Low | High |
| Handles doorways/transitions | Medium | High |
| Obstacle subtraction accuracy | Low | High |
| Irregular-room math reliability | Medium | High |
| Installer handoff clarity | Medium | High |
| Waste allocation control | Low | High |
| Risk of reorder during lead times | High | Lower |
| Best for mixed materials borders | Low | High |
| Tolerates sketch updates (field changes) | Medium | High |
| Time to produce takeoff | Faster | More steps |
| Overall reliability for restaurant builds | Lower | Higher |
| Verdict | Use only for very simple layouts | Preferred for restaurant accuracy |
Verdict / tip for ordering confidence
Our practical recommendation: measure by zone, sketch everything, subtract fixed obstacles, then apply waste using the . This reduces the most common restaurant-specific errors (built-ins, corridors, and transitions).
– Downsides: if your space is highly irregular, the “split into shapes” method can get messy—if you’re unsure, consider having your installer validate the takeoff.
– Who should skip DIY measuring: if the restaurant already has demo happening, unclear construction changes, or multiple flooring products with different installation rules, wait for final dimensions from the contractor or installer to avoid rework.
As of 2026, this workflow also helps you communicate with stakeholders: you can show the “why” behind your ordered square feet, not just the number. That clarity is especially valuable when procurement, schedule, and installation teams are working off the same takeoff file.
Quick scan checklist (save this)
– [ ] Sketch room(s) and mark zones
– [ ] Measure Length × Width for each zone
– [ ] Split irregular areas into rectangles/simple shapes
– [ ] Subtract fixed obstacles (posts, built-ins, excluded zones)
– [ ] Apply expansion-gap and boundary logic for doorways/transitions
– [ ] Add waste based on
– [ ] Double-check totals against your sketch
Conclusion
If you want hardwood flooring orders that match what gets installed, treat the takeoff like a boundary-focused estimate: measure length and width per restaurant zone, subtract fixed exclusions, and then add waste plus correct edge/transition logic. This approach is more reliable than whole-room rectangle math in dining rooms, corridors, and bar-and-kitchen-adjacent areas—where thresholds, built-ins, and mixed finishes commonly break “simple” calculations.
Frequently Asked Questions
What’s the best way to measure hardwood floors for a restaurant?
Start by measuring the restaurant’s total floor area in square feet by multiplying each room’s length and width, then adding the totals together. Measure around permanent obstructions like bars, built-in shelving, islands, and fixed equipment so you can subtract those areas from your hardwood floor estimate. Include transitions areas such as entryways, hallways, and restrooms (if applicable) because restaurant traffic patterns often require consistent flooring coverage.
How do you measure hardwood flooring for an irregular restaurant layout with alcoves and angles?
Break the space into smaller rectangles and triangles, measure each section, and then total the square footage to get an accurate hardwood floor measurement. For angled or curved areas, measure the longest width and length, then use a simple area method (or a flooring calculator) to estimate square footage for partial sections. Always double-check measurements at the widest and narrowest points—restaurants frequently have changing widths around doors, corners, and kitchen cutouts.
Why should you add waste and overage when estimating hardwood floors for a restaurant?
You should account for waste because restaurant floors involve cuts for doorways, edges along walls, and possible board patterns like herringbone or plank alignment. For hardwood floor installations, a common rule is to add about 10%–15% extra for waste, which helps cover miscuts, damaged boards, and future repairs. Adding overage is especially important in high-traffic hospitality spaces where schedule certainty matters and replacements should be minimal.
Which measurements do you need to order the right amount of hardwood planks and underlayment?
Measure the total square footage and also identify your board coverage details—each hardwood plank package lists how many square feet it covers, which you’ll multiply by the total area plus waste. If you’re installing over concrete, confirm whether you need an appropriate moisture barrier or underlayment, then measure and order based on the same calculated square footage. For best results, measure and note the direction of the planks you want (lengthwise vs. across) because that affects how many full boards versus cut pieces you’ll use.
How do you measure and plan for doorways, kitchen transitions, and hallway boundaries in restaurant flooring?
Measure each doorway opening width and the flooring area that extends up to the door casing so your hardwood floor estimate includes the correct cut and transition points. For kitchen transitions, note any changes in flooring heights, thresholds, or expansion gaps needed around heavy-use areas—this affects how boards should be measured and installed. Mark the start and end points of the hardwood floor runs (including hallways and entry paths) so your measurement reflects how the installer will handle boundaries and transitions.
📅 Last Updated: October 17, 2026 | Topic: How to measure a hardwood floors for restaurant? | Content verified for accuracy and freshness.
References
- Floor area
- Wood flooring
- Floor plan
- Square foot
- Area
- Perimeter
- Rectangle
- https://scholar.google.com/scholar?q=how+to+measure+hardwood+floor+for+installation+square+footage+estimating Google Scholar
- https://scholar.google.com/scholar?q=hardwood+flooring+estimate+materials+waste+factor+room+dimensions Google Scholar
- https://scholar.google.com/scholar?q=restaurant+flooring+installation+measurement+substrate+layout+wood+floor Google Scholar


