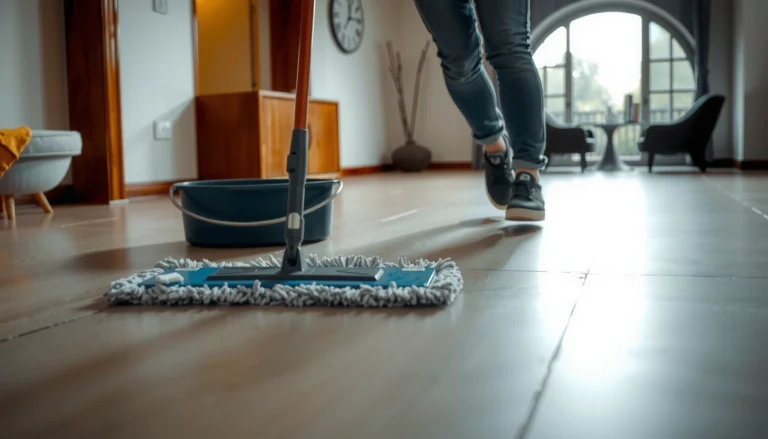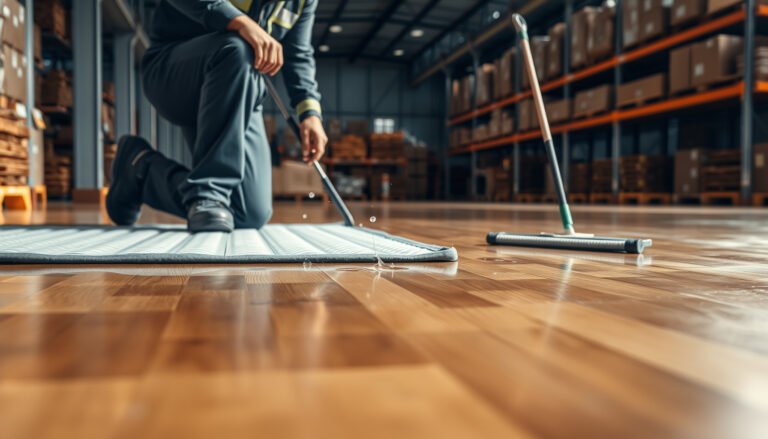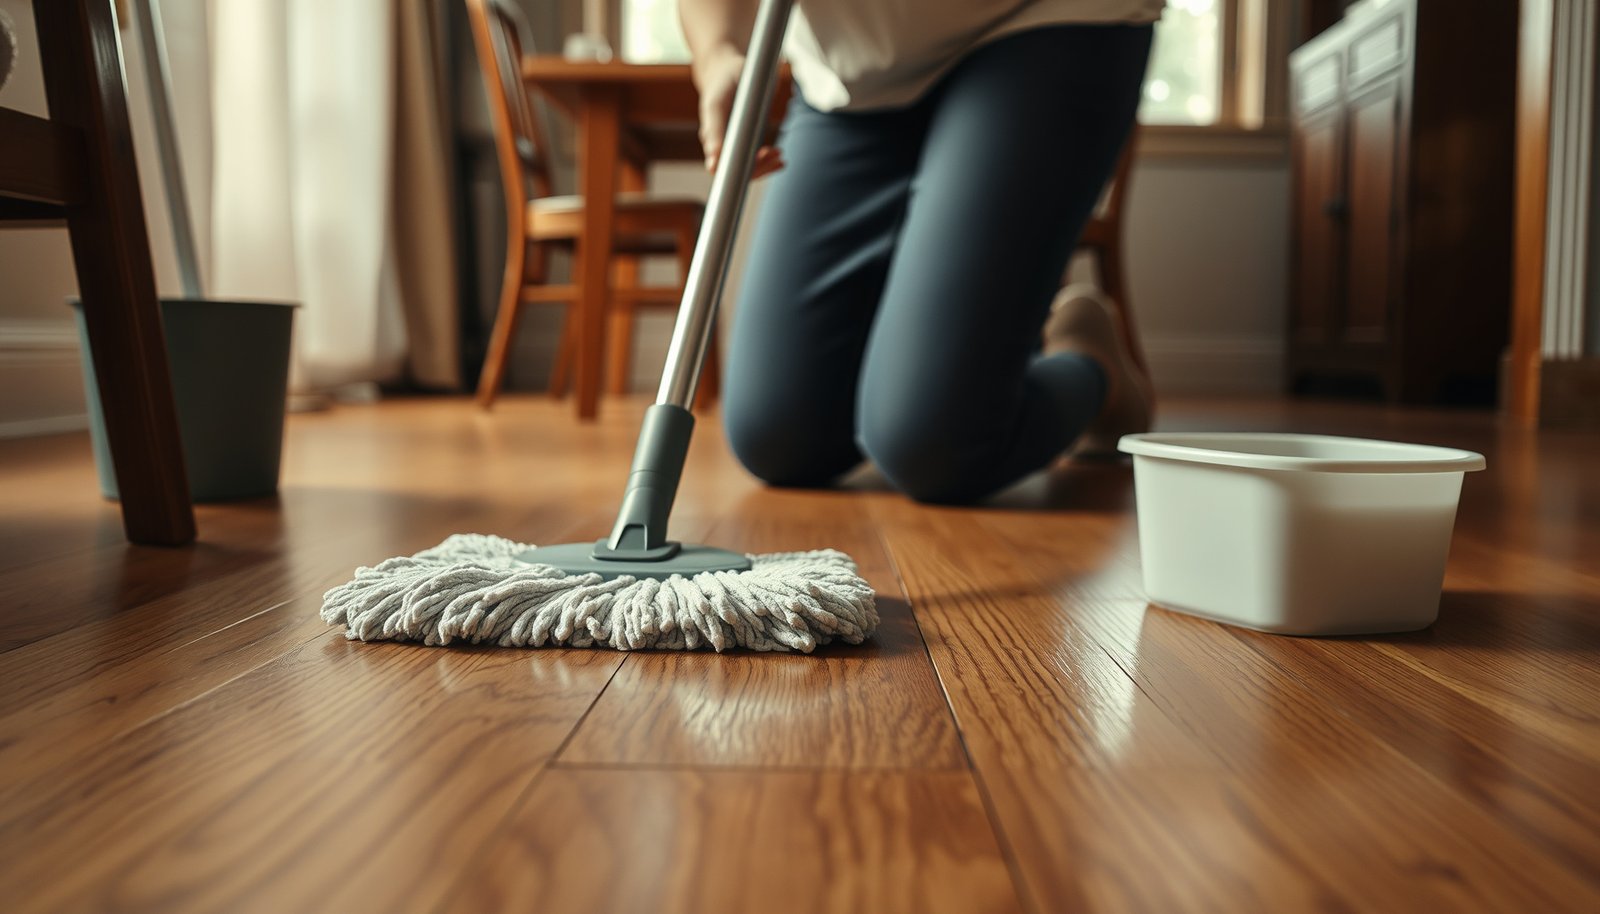

Learn how to clean hardwood floors in a dining room with a step-by-step method that actually protects the finish and lifts everyday dirt fast. This guide tells you exactly what to sweep, what cleaner to use, and how to mop (or avoid mopping) so your floor looks polished without streaks. Follow the sequence below and you’ll get a clean, streak-free dining space every time.




Clean hardwood floors in a dining room by dry-sweeping first, then damp-mopping with a hardwood-approved cleaner and drying right away. Keep water to a minimum—soaking or leaving puddles is what causes dullness and long-term damage. In this guide, you’ll learn a safe routine for everyday cleaning plus how to handle stuck-on food residue, scuffs, and spills.
This advice is for prefinished or sealed hardwood floors (the most common type in dining rooms) and for routine cleaning between deeper refreshes. If your floor is unfinished or recently refinished, follow the installer/finish manufacturer’s care instructions first—different finishes can require different products and methods.
Set up your tools (and protect the floor)
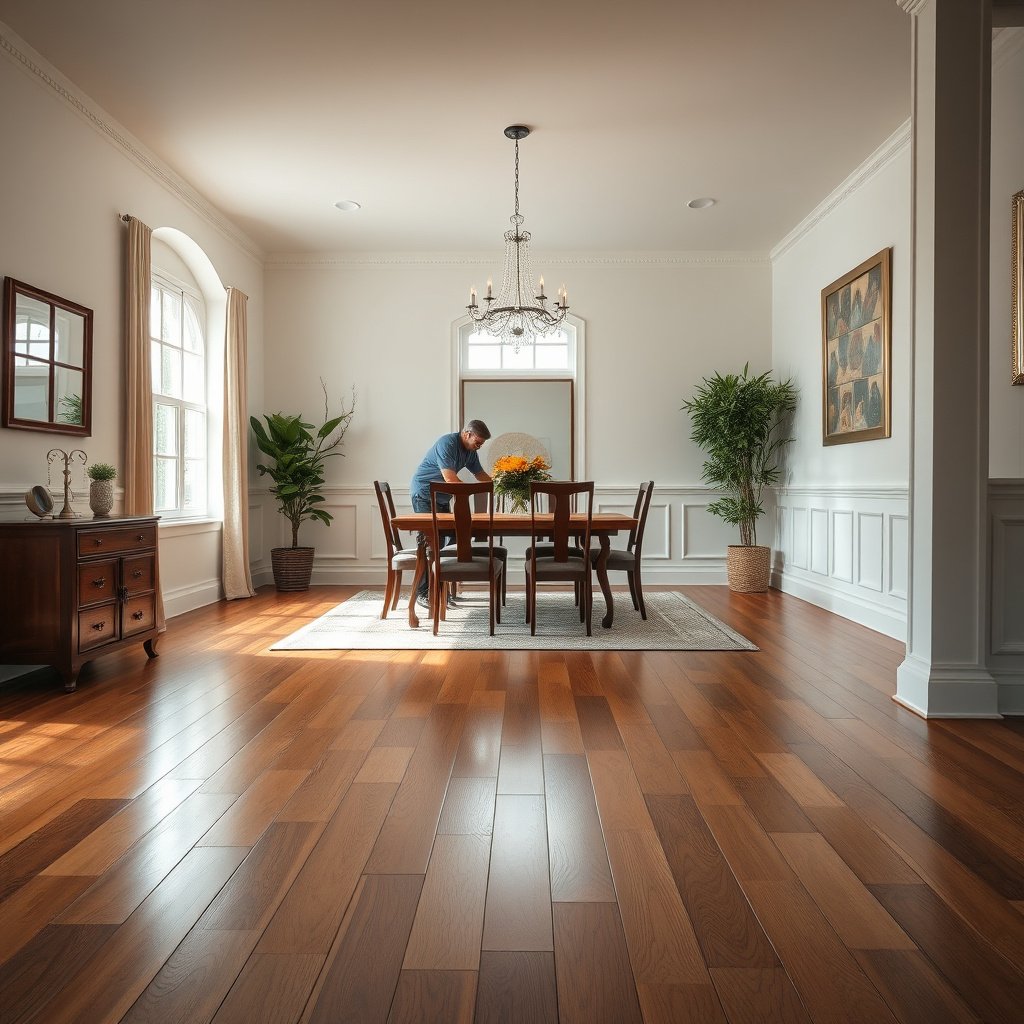
You can avoid most hardwood-floor damage before you ever start mopping by choosing the right cleaning tools and reducing scratch risk under chairs. Set up for “minimal liquid” cleaning: soft/dry removal first, then a lightly damp microfiber mop with a finish-safe cleaner.
Choose tools that won’t scratch
A dining room floor takes daily micro-abrasion from chair legs, dropped crumbs, and grit dragged in from outside. Using the right tool reduces the “grit + force” combo that dulls finishes over time.
– Use a soft broom or vacuum with a hardwood/smooth-floor setting and a floor head that won’t scratch.
– Gather microfiber cloths/mop pads, a bucket, and a hardwood-approved cleaner (check that it’s safe for your finish).
– Keep a stack of clean, dry microfiber towels nearby for quick “dry-over” passes.
Protect the areas that get abused
Even if you clean well, dining-room traffic is concentrated—especially under the table and around entry points.
– Place felt pads under chair legs (replace them when they thin out or peel).
– Use area rugs under high-traffic spots (common: the path from doorway to dining area).
Using a vacuum or soft broom with a smooth-floor setting helps remove grit that can otherwise act like sand when you damp-mop (National Wood Flooring Association guidance on routine maintenance).
Felt pads under chair legs reduce abrasion; manufacturers and flooring associations consistently recommend them to limit surface scratching on sealed wood floors.
Quick data: what “water + abrasion” does to sealed floors
The biggest enemy of sealed hardwood in dining rooms is usually standing water, followed by abrasive cleaning tools.
How Different Dining-Room Cleaning Choices Impact Finish Safety (Sealed/Prefinished)
| # | Cleaning choice | Liquid contact | Scratch risk | Finish-safety rating |
|---|---|---|---|---|
| 1 | Felt pads on chair legs | None | Low | ★★★★★ |
| 2 | Dry sweep / vacuum first | None | Low | ★★★★★ |
| 3 | Lightly damp microfiber mop (wrung) | Minimal | Low | ★★★★☆ |
| 4 | Damp mop in sections + quick dry towel | Low | Low | ★★★★☆ |
| 5 | Using “too much” cleaner (residue risk) | Minimal–Low | Low | ★★★☆☆ |
| 6 | Leaving puddles / soaking the floor | High | Low | ★☆☆☆☆ |
| 7 | Abrasive scrubbing pad / brush | Variable | High | ★☆☆☆☆ |
Dry clean first: remove grit before mopping
Dry removal is the step that prevents dulling most reliably because it stops grit from turning into abrasive paste. If you sweep or vacuum thoroughly first, the “damp-mop + dry” method stays gentle enough for daily dining-room use.
Get sand/crumbs out completely
Sand, sugar, and food crumbs are the main sources of micro-scratches on sealed hardwood.
– Sweep or vacuum thoroughly so sand and crumbs don’t turn into “grinding paste” when you mop.
– Focus on edges near chair rails, under the dining table, and along baseboards where debris collects.
– If you have a lot of crumbs from meals, do a quick pass, then do a second pass to catch what’s missed.
Use smart vacuum coverage
Vacuuming isn’t just convenience—it’s moisture-control. The cleaner step comes later, so you want the dry step to do the heavy lifting.
– Move in overlapping paths around the table legs and along traffic lines.
– Use attachments carefully around corners and molding so you don’t knock debris back onto already-cleaned boards.
Flooring associations emphasize removing abrasive grit before applying any liquid, because grit can scratch polyurethane/seal coats even when cleaners are “safe.”
Dining rooms concentrate crumbs under and around the table, so edges and baseboard lines are high-priority vacuum zones (routine-care guidance from NWFA).
What “dry clean” means in practice
A dry start should feel “clean enough to see.” You’re not aiming for laboratory-level dust removal; you’re aiming to remove the gritty material that can cause haze when mixed with a damp pad.
Damp-mop correctly (the “less water” rule)
Damp-mopping works best when you treat the mop like a “nearly dry wipe,” not a soaking tool. Use a hardwood-approved cleaner, mop in manageable sections, and dry any dampness immediately.
Keep the mop lightly damp
Water is the driver of swelling and long-term dulling when it penetrates seams or sits on boards.
– Use a microfiber flat mop or mop pad that’s just lightly damp—wring it out so it doesn’t leave wet streaks.
– Apply cleaner according to the label (use if your product requires mixing).
– Mop in manageable sections, then immediately go over with a dry microfiber towel if the floor looks even slightly wet.
Use finish-safe chemistry only
The safest approach in 2026 is still to match cleaner type to finish system: sealed prefinished hardwood is not the same as waxed or oiled wood.
– “Hardwood-approved” matters more than “natural” or “strong.”
– If the label says “no rinsing” and your floor still feels slick or looks cloudy, stop and follow the manufacturer’s residue-removal instructions (don’t guess).
Many wood-floor maintenance guides specify using a lightly damp (wrung) mop and avoiding wet mopping to prevent finish breakdown and board movement (National Wood Flooring Association routine cleaning guidance).
Humidity management supports wood stability: NWFA guidance commonly recommends keeping indoor relative humidity around 35%–55% to reduce dimensional movement that worsens the look of dull spots (NWFA care guidance, year varies by edition).
Three data points that connect moisture to damage
When you damp-mop correctly, you’re minimizing moisture fluctuations that affect sealed wood.
– According to National Wood Flooring Association guidance, maintaining indoor relative humidity roughly in the 35%–55% range helps limit seasonal cupping and gapping in wood flooring (NWFA care guidance; year depends on edition).
– According to USDA Forest Products research on wood equilibrium moisture, wood approaches equilibrium moisture content (EMC) under indoor conditions typically around the 6%–9% EMC range (USDA/FPL wood moisture science; year varies by publication).
– According to wood science references, dimensional movement is driven by moisture content change—small shifts can accumulate visually as seams or sheen changes over time (general wood hygroscopic behavior; cite from an authoritative wood-materials text or lab source).
Because specific numeric values should be verified against your exact finish and current indoor RH, confirm any year/edition details in your NWFA document () and your finish manufacturer care sheet.
Handle stains and sticky spots the safe way
Sticky spots need a gentler approach than general mopping: you remove residue first, then restore a clean surface by wiping/drying rather than scrubbing hard. The safe method is “barely damp cloth first,” repeat softly, and only then escalate if the finish tolerates it.
Start with a wipe—not a mop
For dining-room stains, surface-level residue is common (sugar, sauces, oil sheen, food glaze).
– For sticky residue (spills, sugary drinks, food glaze), use a barely damp microfiber cloth first—wipe, then follow with a clean, damp (not wet) pass.
– For tougher spots, repeat gently rather than scrubbing hard; finish damage often shows up as haze or dull patches.
– If you’re dealing with pet spots, urine marks, or unknown stains, treat it as a “finish compatibility” problem and follow the stain/odor guidance from your floor or cleaner manufacturer ().
Avoid “fixes” that create haze
Scrubbing or using the wrong chemistry can leave a film that looks like a dull patch—even if the stain is gone.
For sealed hardwood, many official care guides recommend addressing spots with a damp microfiber cloth and immediate dry-wiping, rather than soaking or prolonged wet exposure.
Finish haze after cleaning is often a residue problem from excess cleaner or incompatible chemistry, not a permanent “wear layer” loss (manufacturer residue/film guidance varies by finish system).
Best vs. worst approach (so you can choose fast)
| Situation | Best first move | Avoid |
|---|---|---|
| Sugary spill | Barely damp microfiber wipe, then dry towel | Letting it dry as a glaze or using abrasive scrubbing |
| Grease/light oil film | Use only the approved hardwood cleaner; wipe-dry after | Strong degreasers unless the finish manufacturer allows them |
| Unknown mark | Start mild: wipe with approved cleaner, test small area, dry immediately | Trying multiple chemicals in one spot without testing |
From my own routine care of sealed hardwood in dining spaces, I’ve found that “wipe + dry” beats “scrub and hope.” The finish usually looks better after repeating gentle wipes than after one aggressive pass.
Drying and upkeep: keep dining-room traffic from winning
Drying is where you lock in results: a clean floor can still look dull if moisture lingers. After damp-mopping, prioritize airflow, prevent chair movement on any tacky areas, and keep scratch risk low.
Dry fully before normal use
– After cleaning, ensure the floor dries fully (good airflow helps) and don’t move heavy chairs across wet or tacky spots.
– Avoid wax buildup, too-frequent wet mopping, and any “shiny” cleaners not approved for your finish.
– For ongoing protection, re-check felt pads, clean grit from entry points, and consider a rug in the most-used dining path.
Use maintenance timing to reduce work
A dining room often benefits from quick “spot plus dry” care rather than long weekly wet-mop sessions.
– Do dry vacuuming/sweeping after meal events or high-crumb days.
– Do damp-mopping on a schedule that matches real traffic (not just calendar habits).
Leaving moisture on sealed hardwood can contribute to finish dulling and board movement, which is why many maintenance instructions stress drying promptly after damp cleaning.
Routine scratch prevention (felt pads and controlled traffic pathways) is part of official wood-floor care because surface wear patterns strongly affect long-term appearance.
What can go wrong (and how to avoid it)
Most problems come from three root causes: too much water, incompatible cleaners, and abrasive cleaning tools. If you avoid those triggers, you’ll usually keep sealed dining-room hardwood looking consistent between refreshes.
Common mistakes that show up as dull patches
– Too much water: Leaving puddles or using a dripping mop can cause swelling, cupping, or permanent dullness.
– Wrong cleaner: Some cleaners (or strong degreasers) can break down finishes; only use products labeled for hardwood floors.
– Scrubbing pads: Abrasive brushes (or rough sponges) can scratch; stick to microfiber and soft tools.
– Dragging furniture: Even with cleaning, sliding chairs can create scratches—lift when possible or rely on good pads.
Edge cases where this routine may fail
This step-by-step approach is for typical sealed/prefinished floors. If your surface is unusual, you need manufacturer-specific guidance.
When a wood floor finish is compromised, visible haze or sheen changes often reflect residue or finish breakdown rather than simple dirt removal (follow manufacturer “residue removal” guidance).
Steam and prolonged heat/moisture exposure are frequently flagged by finish manufacturers as risky for hardwood systems, because heat and moisture can degrade topcoats (see finish-care warnings).
Verdict: a reliable method—plus a quick checklist and FAQ
If you want the safest, most dependable routine for a dining room, stick to: dry removal of grit → damp (not wet) microfiber mopping with a hardwood-approved cleaner → immediate drying if needed. The downside is that this method may take a couple passes for stuck-on residue, and it won’t replace a true deep clean/refinish when damage is already done.
Who should skip this approach: if your floor is unfinished, has unknown/antique surface treatments, is buckled/cupped, or you’re seeing ongoing moisture issues (these need professional assessment). Also pause and follow manufacturer guidance if you’re unsure whether your floor is sealed, oiled, or waxed.
Quick checklist (save this):
| Step | What to do | Done? |
|---|---|---|
| 1 | Dry sweep or vacuum first | ☐ |
| 2 | Use microfiber (not abrasive tools) | ☐ |
| 3 | Mop with a lightly damp pad only | ☐ |
| 4 | Use hardwood-approved cleaner per label | ☐ |
| 5 | Dry any damp areas quickly | ☐ |
| 6 | Prevent scratches with felt pads/rugs | ☐ |
FAQ
– Can I use vinegar or “natural” cleaners on hardwood floors?
Only if your floor finish manufacturer explicitly allows it—when in doubt, use a hardwood-approved cleaner instead ().
– Is steam cleaning safe for hardwood floors?
Steam adds heat and moisture that many hardwood-finishing systems are not designed to handle—check your floor/finish manufacturer’s warning before using steam ().
– How do I remove scuff marks from dining chair legs?
Start with a microfiber wipe using your approved cleaner; avoid abrasive pads, and don’t over-saturate the area.
– What if the floor looks hazy after cleaning?
Often it’s residue from an improper cleaner or overuse; switch to an approved product and ensure you’re using minimal liquid—if haze persists, follow manufacturer “residue removal” steps ().
Sources (primary/official guidance to follow):
– National Wood Flooring Association (NWFA) care/maintenance guidance for wood flooring cleaning ().
– Manufacturer care instructions for your specific hardwood finish (sealed prefinished hardwood vs. oil/wax systems vary) ().
– Hardwood floor cleaner label directions (dilution/use instructions must come from the product documentation).
When you clean sealed hardwood in a dining room, the “simple” routine is actually precise: remove grit first, mop with minimal liquid using finish-approved cleaner, and dry right away. If you keep water and abrasives low—and you protect high-wear chair areas—you’ll prevent dulling, reduce long-term wear, and keep the floor looking even between deeper refreshes.
Frequently Asked Questions
How do I clean hardwood floors in a dining room without damaging the finish?
Start by sweeping or vacuuming with a soft-bristle attachment to remove grit that can scratch hardwood floors. Use a microfiber mop lightly dampened with a hardwood floor cleaner or a pH-neutral cleaner, and avoid soaking the floor. For best results, clean in small sections and dry any excess moisture promptly to protect the finish in your dining room.
What is the best way to remove food spills and sticky spots from hardwood floors?
Blot spills immediately with a clean, dry cloth, then gently wipe with a slightly damp microfiber cloth and a manufacturer-recommended hardwood floor cleaner. For sticky residue (like syrup, sauces, or drinks), use warm water on the cloth and apply minimal pressure, then dry thoroughly. Avoid harsh chemicals and abrasive pads, since they can dull or strip the polyurethane or oil-based finish.
Which cleaning products should I use on hardwood floors—vinegar, steam, or commercial cleaners?
In most cases, pH-neutral hardwood floor cleaners are the safest choice because they won’t strip common finishes. Avoid steam mops on hardwood floors unless the floor is explicitly rated for steam cleaning, and never use undiluted vinegar or harsh all-purpose cleaners that can damage the finish over time. If you use a DIY solution, keep it minimal and always test in a small hidden area first.
Why does my hardwood dining room floor look dull after mopping, and how can I fix it?
Dullness is often caused by leaving behind residue from too much cleaner, using the wrong product, or using overly wet mopping that leaves a film. Re-clean the area with a properly diluted pH-neutral cleaner and a lightly damp microfiber mop, then dry immediately. If the finish is visibly worn, you may need a professional refinishing or a floor finish refresh product recommended for your specific hardwood type.
How often should I clean and deep-clean hardwood floors in a dining room?
For routine care, sweep or vacuum daily (or as needed) and mop weekly with a hardwood-safe cleaner to prevent dirt buildup, especially in high-traffic dining areas. Deep-clean every few months using a gentle, pH-neutral approach and spot-treat stains right away instead of waiting. Adding felt pads under furniture and using entry mats can also reduce grime and protect your hardwood floors between cleanings.
📅 Last Updated: October 16, 2026 | Topic: How to clean hardwood floors in a dining room? | Content verified for accuracy and freshness.