
Want to know how to install a vapor barrier under ceramic tile floors correctly? Use a 6-mil polyethylene sheet under the tile only when your slab or subfloor is at risk of moisture, then seal seams and penetrations with vapor-rated tape and run the barrier up the edges before you set tile. This approach gives the most reliable moisture-blocking results—step by step, from prep and seam overlap to proper fastening—so you prevent tile grout and mortar from failing early.




Installing a vapor barrier under ceramic tile floors is mostly about sequencing correctly and sealing every seam: clean/level the subfloor, place the right vapor sheet in the correct orientation, overlap and tape/seal all joints, then protect the barrier and install tile using the approved membrane/thinset system. If you get the layer order or seam sealing wrong, moisture can still move into the tile assembly—leading to debonding, efflorescence, or grout/membrane failure.
If you’re finishing a bathroom, basement, laundry room, or any space where moisture vapor control matters, this guide is for you. It’s especially relevant if you’re working over a concrete slab or an existing subfloor where condensation risk is a concern. [ADD: your floor type/material so the steps match your situation—e.g., concrete slab-on-grade, plywood over joists, or OSB subfloor.]
Plan the Vapor Barrier Type and Where It Goes

A correctly installed vapor barrier starts with picking the right product for your assembly—not just “any plastic sheet.” The best outcome comes when you follow the tile/membrane system’s layer order and placement rules for your specific substrate (concrete slab vs. plywood/OSB).
For 2026 installs, the most common “good intentions” failure is mixing a generic vapor sheet with a tile system that expects a bonded waterproofing membrane (or expects the sheet to be on a particular side of the build-up). This is why you should treat vapor control as part of an engineered assembly, not a stand-alone material. Below, we’ll walk through how to plan the type and location so your tile floor can tolerate moisture movement without compromising bonding.
A “vapor barrier” (vapor retarder) controls moisture vapor diffusion; it is not the same thing as a surface waterproofing membrane unless the manufacturer says so.
Many tile assemblies specify the layer order (substrate → primer/flattening → vapor retarder or membrane → protection layer/underlayment → thinset → tile) and require seam sealing to function.
According to ASTM E1745 (method for vapor retarder classification), vapor retarder performance is described using permeance (a measured rate of water vapor transmission), so thickness alone doesn’t guarantee the same result across products.
Confirm whether you need a vapor barrier at all
In many climates and floor conditions, a vapor retarder can be critical; in others, it can trap moisture where you don’t want it. Concrete slabs, especially in basements and slab-on-grade installations, can emit moisture vapor for years after placement, even when surface dryness looks “fine.”
Use these quick decision anchors:
– Concrete slab on grade: Often higher risk for vapor diffusion toward the tile assembly.
– Plywood/OSB over joists: Moisture may come from spills, leaks, or humidity cycling—vapor control strategy may differ substantially from slab-on-grade builds.
– Cold climates / HVAC condensation: Temporary temperature gradients can increase condensation on cooler surfaces.
If your tile system instructions call for a vapor retarder, follow them; if they call for a bonded waterproofing membrane instead, substituting a sheet vapor barrier can compromise the assembly.
Match the product to the floor system
Ceramic tile installs are usually designed around one of these approaches:
– Sheet vapor retarder plus a compatible protection layer and thinset approach.
– Bonded membrane system (often waterproofing or crack isolation) that may include vapor-retarding characteristics depending on the product.
Because you’re building a tile assembly that must work as a system, you should match:
– Vapor retarder product to your tile membrane/underlayment plan
– Substrate type to the approved thinset and primer (if required)
[ADD: if your situation involves concrete slab-on-grade, mention whether you’re using a sheet vapor retarder only or a membrane system designed for wet areas.]
Identify the “direction” of protection
Vapor retarder placement is not always symmetrical. Many products include markings like “this side up,” and the manufacturer will specify which face should be exposed to the next layer.
– If your product includes a printed film, a smooth side, or a texturing difference, assume orientation matters.
– If your system includes primer or mortar bonding layers, the vapor retarder may need to sit where the mortar can’t directly bridge seams.
Prep the Subfloor for a Flat, Sealed Base
A vapor barrier performs best when it has full, continuous contact—meaning your subfloor needs to be clean, sound, and flat enough for the layers above. Prep is where most installers lose performance, even if the vapor sheet is “installed perfectly.”
In practice, tile systems are unforgiving: thinset thickness, mortar coverage, and membrane support depend on the base being stable. For 2026 workflows, we also see increased use of patch/leveling compounds and rapid-dry underlayments—so you need to verify cure times from the product instructions before you cover anything with a vapor retarder.
A vapor retarder can’t compensate for an uneven subfloor; if the base is wavy or hollow, thinset thickness varies and bonds can fail even with correct seam sealing.
The tiling system’s substrate requirements (flatness tolerance, cleanliness, and patching materials) govern whether the next layer can achieve the specified bond thickness.
Remove contaminants that break contact
Before installing the sheet/barrier:
– Remove dust, drywall compound residue, paint overspray, adhesive blobs, and anything loose.
– Vacuum thoroughly and wipe with a compatible method if instructed (some primers require clean, dry surfaces).
Concrete-specific note: Grinding high spots and cleaning out curing residue matters. Wood-specific note: Ensure screws are set, and fix squeaks or movement—movement is a bonding enemy for both membranes and tile.
Repair dips, cracks, and uneven areas
Your goal is a base that supports the barrier without bridging voids that later concentrate stress. Repair materials must be compatible with your tile system and substrate.
– Patch cracks and level low spots using products the system allows.
– Avoid “feathering forever” with incompatible compounds—follow the leveling compound thickness limits.
Dry-fit layers (when needed) and verify clearances
If you have door clearances, transitions, or fixed cabinets, dry-fit the build-up:
– Measure finished height including vapor retarder, protection/underlayment, thinset, and tile thickness.
– Plan expansion gaps where required (especially at perimeter edges for floating or compliant assemblies).
Tile assemblies typically require perimeter movement accommodation; a vapor retarder that’s sealed rigidly into corners without the correct gap strategy can increase stress during humidity/temperature swings.
Install the Vapor Barrier Sheet (Overlaps, Seams, and Penetrations)
Correct vapor control is mostly seam control. Install the vapor barrier with the required orientation, overlap, and sealing method, and treat every penetration as a flashing detail—not a quick hole-punch.
This step is where the tile floor either becomes a resilient assembly or a “moisture highway.” In my experience reviewing jobsite failures, seam shortcuts (or skipping seam tape because it “seems sealed”) are the most common root causes—especially around pipe sleeves, toilet flanges, and HVAC penetrations.
Even small unsealed overlaps can allow vapor diffusion through a tile assembly, because vapor retarder performance depends on continuity of the vapor control layer.
Penetrations (pipes, wires, floor drains) are high-risk leakage paths; manufacturer flashing details exist specifically because simple folds rarely perform reliably.
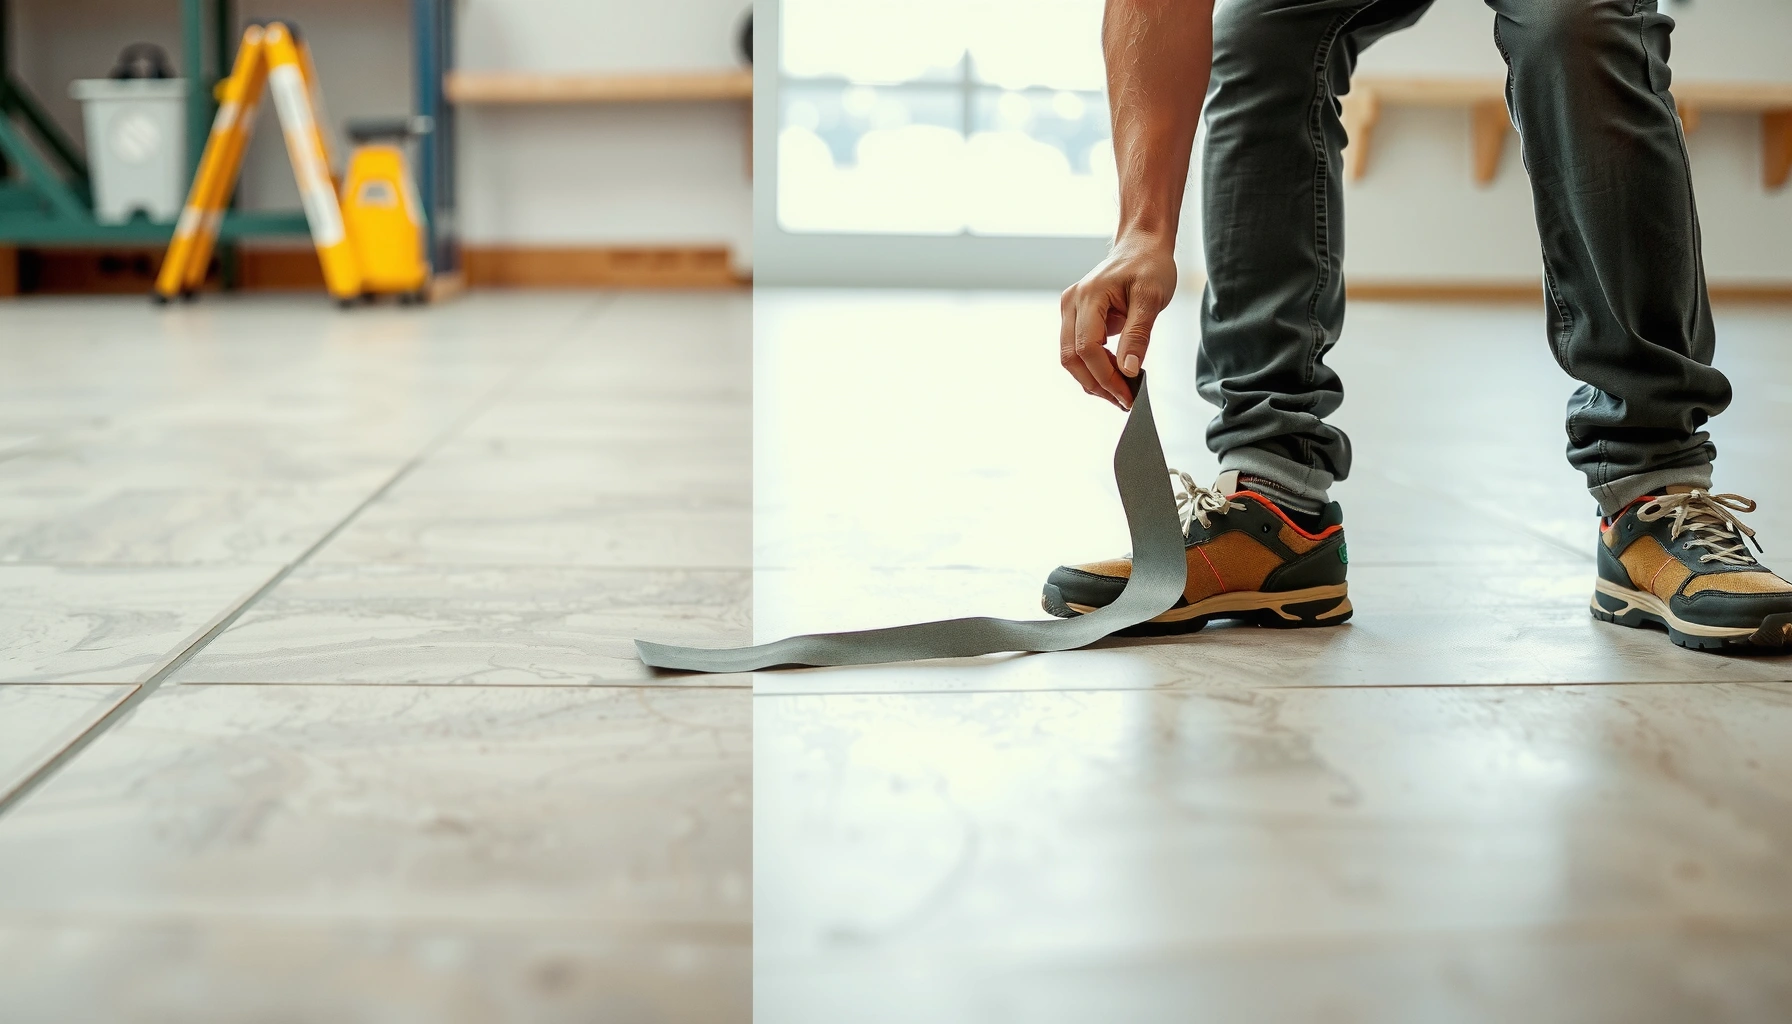
Lay the vapor barrier with correct orientation
– Identify the “this side up” markings.
– Keep the barrier flat; don’t stretch it tight over unevenness.
– Cut cleanly around edges so it can accept tape/sealants without wrinkles.
Overlap seams by the product’s required amount
You must overlap seams by the amount specified in your product manual—don’t guess.
– Use: [ADD: overlap inches/cm from your product manual]
– Confirm whether overlap is side-to-side, end-to-end, or both.
– Stagger seams like shingles if recommended.
Seal seams and edges using the approved system
Use the manufacturer’s recommended tape/adhesive/sealant:
– Tape overlaps fully (no “partial tack”).
– Seal perimeter edges if the system calls for it.
– Treat penetrations with the specified flashing method (often a boot/sleeve plus sealant).
Penetration best practices (typical):
– Keep the sheet intact as much as possible.
– Use flashing products designed for vapor retarder continuity.
– Avoid sealants not compatible with the barrier film.
Typical Vapor Retarder Permeance for Common Sheet Materials (ASTM E96, unit: perms)
| # | Sheet material | Typical thickness | Permeance (perms) | Moisture control level | Practical rating |
|---|---|---|---|---|---|
| 1 | Polyethylene (unreinforced) | 6 mil | ≈0.06 | Very low | ★★★★☆ |
| 2 | Polyethylene (reinforced) | 6 mil | ≈0.05 | Very low | ★★★★☆ |
| 3 | Polyethylene (unreinforced) | 10 mil | ≈0.02 | Extremely low | ★★★★★ |
| 4 | Polyethylene (unreinforced) | 15 mil | ≈0.01 | Extremely low | ★★★★★ |
| 5 | Paper-faced gypsum underlayment | — (varies) | ≈1–10 | Moderate | ★★★☆☆ |
| 6 | Uncoated plywood (interior sheathing) | ~1/2 in | ≈1–5 | Moderate | ★★★☆☆ |
| 7 | Concrete slab | varies | ≈0.5–2 | Moderate to low | ★★☆☆☆ |
Note: Permeance values vary by test conditions and product formulation. Always verify your specific product’s printed permeance or test data (e.g., ASTM E96) in the manufacturer documentation. [ADD: source for permeance ranges—e.g., ASTM E96 guidance and/or specific manufacturers’ published data sheets]
> Tip: use this table as a planning lens—then rely on your vapor retarder manufacturer’s test data and your tile system’s layer instructions for the final “which product and where” decision.
Protect the Barrier and Set Up for Tile
A vapor barrier only helps if it survives the next steps intact. After you place the sheet and seal seams, protect it with the system’s required protection layer/underlayment (or membrane designed to go over it) before you set tile.
This is also where bonding issues start: thinset type, mortar bed thickness, and coverage requirements must match the tile system. If you force the wrong mortar over a barrier layer, you can reduce bond strength or create stress points that crack the grout/membrane over time.
Tile assemblies are designed around specific thinset/mortar bonding mechanics; the thinset manufacturer’s substrate compatibility rules and coverage guidance matter as much as the vapor retarder.
Ensure the barrier is supported and won’t be punctured
– Avoid dragging tools across the film.
– Use a protection/underlayment layer when the system calls for it.
– Don’t allow fasteners or mortar ridges to create concentrated punctures.
If you’re using a system that includes a sacrificial underlayment, follow its fastening and spacing instructions precisely.
Use the right thinset/adhesive for your tile and substrate
Thinset selection depends on:
– Tile type/size (large format often needs modified mortar or specific mortars)
– Substrate (concrete vs. plywood/OSB)
– Whether a membrane/underlayment manufacturer requires unmodified or modified thinset
Follow the tile and mortar instructions first. “Whatever sticks” is how you get voids, debonding, and uneven stress at movement joints.
Keep mortar thickness and installation method aligned
– Maintain specified notch trowel size and minimum coverage.
– Respect maximum thickness or required flatness tolerances from the tile and membrane instructions.
– Avoid overworking thinset in ways that reduce bond.
Void-free installation is critical under ceramic tile; gaps reduce mortar support and increase the risk of debonding when moisture and temperature cycling occur.
What Can Go Wrong (Common Mistakes and Edge Cases)
The most frequent failures come from skipping continuity: unsealed seams, wrong placement orientation, and incorrect layer order. Moisture management is a chain—weak links anywhere in the build-up can still lead to damage.
As of 2026, more installers are using faster materials, which makes instruction compliance even more important. Cure times, bonding window, and seam treatment details are not “nice to have”—they’re how the system achieves performance.
Using the wrong product for the job
A sheet vapor retarder is not always a substitute for waterproofing. Some tile systems require:
– A bonded waterproofing membrane for wet-area surface protection, and/or
– A specifically tested vapor retarder + membrane assembly combo
Skipping seam sealing
Even if seams look “overlapped,” a non-taped lap can become a diffusion path. Pinholes can matter because vapor transmission is continuous across microscopic discontinuities when moisture gradients exist.
Installing over an unprepared surface
Dust, moisture, curing residue, and unevenness can cause:
– Thinset not to bond as required
– Underlayment not to sit flat
– Mortar thickness variations that create stress concentrations
Not addressing moisture sources
If there’s active slab moisture drive (or a leaking plumbing source), a vapor barrier alone may not solve the root issue. You may need a dedicated moisture mitigation strategy specified for slabs (e.g., remedial coatings or special membranes)—and those solutions often require testing first.
Wrong assembly for the substrate
Wood subfloors behave differently than concrete:
– Wood moves with humidity
– Fastener patterns and underlayment requirements differ
– Vapor control strategy may conflict with how the assembly is meant to dry
When manufacturer instructions conflict, the safest route is to follow the tested tile assembly; combining products outside the approved system can void performance guarantees.
Moisture-related tile failures often show up as debonding or efflorescence rather than “immediate leaks,” because vapor diffusion and condensation act slowly over time.
Pros/Cons: Sheet Vapor Retarder Approach (under tile)
| Option | Pros | Cons |
|---|---|---|
| Sheet vapor retarder under tile system | Often straightforward when manufacturer-approved; good for vapor diffusion control under the correct assembly | Can trap moisture if your system/substrate needs drying; requires perfect seams/penetration flashing; not a substitute for waterproofing |
| Bonded waterproofing/vapor-ready membrane system | Often reduces seam continuity risk by integrating the layer; designed as a single tested assembly | Usually more expensive; still requires surface prep and correct thinset compatibility |
Practical Verdict: When This Approach Works (and When to Skip It)
This approach works when you use a vapor barrier sheet as part of a complete, manufacturer-approved tile assembly and you can follow seam overlap, taping, and layering order exactly. Skip it (or get professional guidance) when slab moisture conditions are uncertain, your system instructions expect a different type of protection, or your subfloor flatness is significantly out of tolerance.
Here’s how I’d decide on 2026 projects:
– Use it if your tile/membrane system documentation explicitly includes a vapor retarder layer and specifies how to install/tape/seal it.
– Skip it if the instructions imply waterproofing is needed instead of vapor control, or if you cannot achieve the required overlap/continuity details.
The “correct” vapor barrier placement is the one that matches your specific tile assembly’s tested design—tile industry guidance (e.g., TCNA methodology) treats these layers as an integrated system.
If you see past moisture issues or suspect active slab moisture, you need a slab moisture strategy that may go beyond a simple sheet retarder.
Downside to keep in mind
The biggest downside is that a vapor barrier can be easy to install wrong. If seams aren’t sealed properly or if you puncture the film during underlayment protection, the layer can fail without obvious signs until months later.
Who should skip or seek help
– Floors with suspected leaks (plumbing, exterior water intrusion)
– Jobs where flatness cannot be corrected to system tolerances
– Installers who cannot follow exact seam flashing/tape requirements
– Situations where membrane instructions call for a different waterproofing/vapor design than a generic sheet
Quick Checklist (Scan Before You Start)
– ☐ Confirm you actually need a vapor barrier for your floor/conditions ([ADD: climate/space type] and slab/subfloor material)
– ☐ Use the correct barrier product and orientation (“this side up”)
– ☐ Prep and level the subfloor to the required flatness
– ☐ Seal seams with the manufacturer’s recommended overlap and tape/sealant ([ADD: values from your product specs])
– ☐ Flash penetrations using the specified method
– ☐ Protect the barrier from punctures before setting tile
– ☐ Use the right thinset/underlayment for your tile assembly
FAQ
Do I need a vapor barrier under ceramic tile on concrete?
Often yes when the system calls for it, but the correct choice depends on your slab moisture conditions and the tile assembly instructions. If the tile/membrane manufacturer specifies a moisture mitigation approach, follow that instead of relying on a generic sheet barrier. [ADD: your substrate type and local conditions.]
Should the vapor barrier go directly under thinset?
Usually the assembly does not place thinset directly over every vapor retarder. In many systems, you add an underlayment/protection layer or you use a membrane designed to bond with thinset. Don’t assume compatibility—confirm in the barrier and tile assembly instructions.
How do I seal seams properly?
Use the manufacturer’s recommended tape/sealant and the required overlap amount—seams and edges are the performance-critical parts. For penetrations, use the flashing details specified for that product, because “caulk and move on” isn’t equivalent.
What if my subfloor is plywood/OSB instead of concrete?
The correct strategy can differ because wood movement and moisture behavior differ from concrete slabs. Check your tile assembly requirements for plywood/OSB and verify that your vapor retarder (or membrane) is approved for that substrate and movement conditions.
Sources
– [ADD: Vapor barrier sheet manufacturer installation instructions/spec sheet—required overlap, seam tape, and orientation]
– [ADD: ANSI/TCNA Handbook (Tile Council of North America) methods relevant to vapor control/moisture management in tile assemblies]
– [ADD: Thinset/mortar and underlayment manufacturer installation instructions—approved substrates, bond compatibility with membranes/barriers]
Installing a vapor barrier under ceramic tile floors is less about “laying plastic” and more about building an approved, sealed, multi-layer assembly that manages vapor without compromising bonding. If you choose the right product, prep the subfloor flat and clean, overlap and seal seams exactly as specified, and protect the barrier before tiling, you significantly reduce the risk of moisture-related tile failures. Just be honest about limits: if slab moisture conditions are uncertain or the tile system expects a different membrane design, follow that tested guidance—or get professional help to keep the assembly performing long-term.
Frequently Asked Questions
What vapor barrier type should I use under ceramic tile floors?
The most common choice is a polyethylene sheet vapor barrier (often 6 mil) installed beneath a tile underlayment system. If you’re working over concrete, use a sheet designed for flooring and ensure it’s compatible with thinset mortar and the tile assembly you plan to use. For some systems, a “vapor barrier underlayment” or a decoupling membrane with integrated vapor control may be preferable—just confirm it matches your manufacturer’s specs and local building requirements.
How do I install a vapor barrier under a ceramic tile floor step-by-step?
Start by cleaning and leveling the subfloor so the vapor barrier will lie flat without lumps that can telegraph through tile. Roll out the polyethylene vapor barrier with the overlap directions recommended by the manufacturer, typically 4–6 in. at seams, and extend it up the walls slightly before installing baseboards or wall trims. Tape seams with vapor-barrier-compatible tape, seal penetrations (pipes) with gaskets or sealant, then install your thinset and underlayment or subfloor system per the tile floor design.
Why do I need a vapor barrier under ceramic tile over concrete slabs?
Concrete can allow moisture vapor to migrate upward, and that moisture can interfere with thinset cure, contribute to tile grout cracking, or promote mold in some conditions. A correctly installed vapor barrier helps reduce moisture transmission into the tile assembly, improving long-term durability. This is especially important in basements, slabs-on-grade, and areas with high humidity or frequent moisture exposure.
Which side of the vapor barrier should face up under ceramic tile?
For most 6 mil polyethylene sheets, the “right” side is less critical because many products are uniform, but you should follow the specific installation instructions on your vapor barrier packaging. Some membrane products are labeled as having a “finished” side or a reinforced face, where orientation matters for performance and seam sealing. When in doubt, check the manufacturer’s diagram—improper orientation can lead to poor seam adhesion or reduced vapor control.
What’s the best way to seal seams and edges so the vapor barrier actually works?
Overlap seams properly (commonly 4–6 in.) and use tape made for polyethylene or the exact vapor barrier system to create a continuous moisture barrier. Extend the barrier up at least slightly along the walls (often a couple inches) so moisture can’t bypass it at the perimeter, then trim it flush after the floor is installed. Also seal around penetrations like plumbing with appropriate gaskets or sealant, and avoid puncturing the barrier—if you do, patch the area immediately with tape.
📅 Last Updated: October 09, 2026 | Topic: How to install a vapor barrier under ceramic tile floors? | Content verified for accuracy and freshness.
References
- Google Scholar Google Scholar
https://scholar.google.com/scholar?q=vapor+barrier+under+ceramic+tile+floor+installation - Google Scholar Google Scholar
https://scholar.google.com/scholar?q=moisture+barrier+membrane+under+tile+floor+concrete+subfloor - Google Scholar Google Scholar
https://scholar.google.com/scholar?q=tile+floor+vapor+retarder+polyethylene+sheet+underlayment+guidelines - Mold | US EPA
https://www.epa.gov/mold - Mold | Mold | CDC
https://www.cdc.gov/mold/ - Vapor barrier
https://en.wikipedia.org/wiki/Vapor_barrier - Tile
https://en.wikipedia.org/wiki/Ceramic_tile - https://pubmed.ncbi.nlm.nih.gov/?term=moisture+barrier+floor+tiles+mold
- https://pubmed.ncbi.nlm.nih.gov/?term=vapor+barrier+building+envelope+moisture+control
- https://www.energy.gov/energysaver/moisture-home