
Want to know how to seal polished concrete floors the right way? This step-by-step guide walks you through choosing the correct sealer, preparing the surface, applying it evenly, and letting it cure so your gloss stays protected. If you want a durable, stain-resistant finish that doesn’t dull or haze, follow these steps from start to finish.




Sealing polished concrete floors is the most practical way to reduce staining, limit water absorption, and help your finish stay attractive under daily wear. The workflow is straightforward: fully clean and dry the slab, then apply the correct sealer type for your specific “polished” surface (often a penetrating densifier/hardener or a breathable coating), and finally cure it exactly per the product instructions.
Polished concrete sealing matters most for interior slabs, garages, retail spaces, showrooms, basements, and any floor that sees spills, tracked grit, or frequent foot traffic. Even if your surface looks glossy or satin already, the sealer layer (or embedded densification) is what slows down stains and scuffs over time.
What type of “polished” floor you have (and why it matters)
The right sealer choice depends on whether your polished concrete is primarily densified/burnished or it’s already protected by a film-forming product. Here’s the key: penetrating systems reduce staining by densifying the top few millimeters, while film-formers create a protective surface layer that affects sheen, cleanability, and sometimes slip performance.
Penetrating densifiers are designed to react within concrete pore structure, which can reduce absorbency without dramatically changing surface reflectivity.
Film-forming sealers/coatings sit on top of the slab and therefore have a greater impact on gloss level, mar resistance, and maintenance cadence.
If a floor was previously sealed, applying a different chemistry can increase the risk of hazing, fisheyes, or peeling.
From a decision standpoint, treat “polished” as three practical categories:
– Densified-only (common in some polishing workflows): The surface may be hard and relatively stain-resistant, but it can still be vulnerable to oil/grease staining depending on densifier chemistry and traffic.
– Burnished/polished (mechanical sheen): The appearance comes from abrasion and micro-smoothing; sealing is still needed to manage stain risk and scuffing.
– Previously sealed (unknown coating history): You must confirm compatibility before committing, because sealers often require specific recoat windows or removal before switching chemistries.
Polished concrete terminology also matters when you talk to contractors or read tech sheets. A densifier is a penetrating chemical treatment meant to increase surface hardness/lowers porosity; a sealer/coating is a surface-applied product that forms a protective layer. In real projects, the “what” is usually more important than the “brand.”
Statistical anchor (why moisture matters): According to ASTM F2170, the in-slab relative humidity (RH) testing method is widely used to assess whether moisture vapor emission is likely to interfere with coating adhesion (ASTM F2170). Many flooring systems specify moisture limits before application, often in the range of ≤75% RH for typical interior coating applications—but always follow the specific product label/spec.
[ADD: source-specific example mapping for densified/burnished vs. already-sealed floors—e.g., where a manufacturer states whether their product is for densified concrete only, or can be applied over existing films.]
Prep the floor correctly before you seal
You should prep as if you were trying to create the best possible bond between chemistry and concrete—because that bond determines adhesion, appearance, and longevity. Cleanliness and dryness are non-negotiable: polished concrete can show streaks, haze, or “patchy” gloss when fine dust or residues interfere with penetration or leveling.
Even polished concrete can hold fine abrasive dust that prevents uniform sealer contact, leading to streaking or dull patches.
Moisture trapped under a sealer can cause cloudiness (hazing) and adhesion failure, especially with non-breathable film-formers.
Masking baseboards, expansion joints, and adjacent flooring prevents accidental sealing that can create edge discoloration or bonding issues.
Remove residues and fine dust (not just visible dirt)
Polished concrete often looks “clean,” but it may still have:
– micro-dust from grinding/polishing,
– residue from previous cleaning agents,
– curing compounds (if the slab is new or was treated),
– laitance (a weak, chalky surface layer) in under-prepped areas.
Use a method appropriate for your slab and finish:
1. Vacuum thoroughly (HEPA vacuum is ideal when dust is fine).
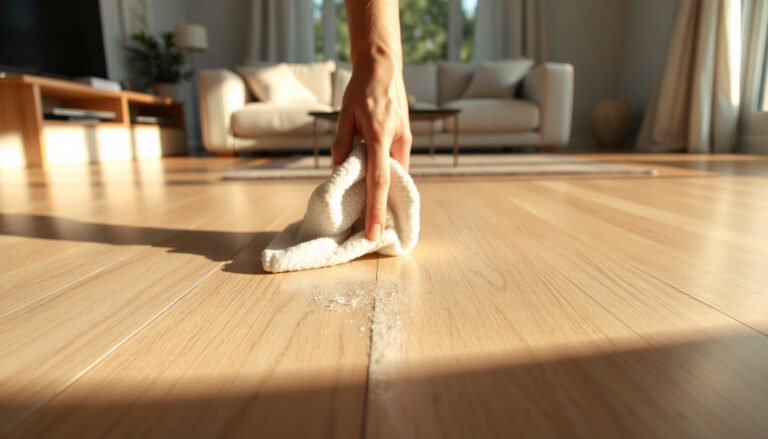
2. Dry mop / dust mop to capture remaining particulates.
3. If the manufacturer allows liquid cleaning, use a concrete-safe cleaner and rinse/neutralize as directed, then let the floor dry completely.
Confirm the slab is fully dry
Sealers have specific readiness criteria—usually based on age, relative humidity, or moisture vapor emission tests. In general terms, the flooring industry commonly uses:
– ASTM F2170 (RH in-slab probe method), and/or
– ASTM F1869 (calcium chloride moisture vapor emission).
According to ASTM F1869, moisture vapor emissions are reported as lb/1000 sq. ft. per 24 hours (ASTM F1869). Many coating manufacturers set their own max limits using that unit, commonly around 3 lb/1000 sq. ft./24 hr for moisture-sensitive systems—but verify against your sealer’s technical data sheet.
Protect edges and high-risk zones
Masking is a practical time-saver:
– baseboards and trim,
– door thresholds,
– control joints,
– exposed metal or painted surfaces.
Why it matters: polished concrete sealing can create “shine contrast” at edges if sealer is applied unevenly or overspills onto materials that were never intended to be sealed.
[ADD: manufacturer-approved edge/joint masking guidance for your specific sealer type.]
Choose the right sealer for polished concrete
The best sealer for polished concrete is the one that matches both the finish appearance you want and the risk profile of the space (water, oils, abrasives, and slip requirements). For most projects, that means selecting between a penetrating densifier (or penetrating stain reducer) and a breathable/low-build coating (a film-former designed for concrete).
Penetrating products typically aim to reduce absorbency, which helps with oil and water staining without creating a heavy surface film.
Breathable sealers/coatings are formulated to manage moisture movement through concrete while still improving cleanability.
Gloss level is not just cosmetic—higher-gloss film-formers can show wet-area tracking more clearly and may require extra slip-risk evaluation.
Match chemistry to the surface and the use case
When choosing, confirm:
– Stain resistance needs: oil/grease vs. food/water vs. tannins (coffee/wine-like staining).
– Abrasion and scuff exposure: retail and showrooms need stronger mar resistance than light-duty residential interiors.
– Moisture and cleaning regime: wet mopping schedules influence how “forgiving” the surface stays.
A practical spec-reading checklist:
– Is the product described as penetrating densifier, penetrating stain protector, or film-forming sealer?
– Does the tech sheet specify polished concrete explicitly?
– Are there clear instructions for recoat windows, coverage rate, and dry/cure time?
– Does the label mention VOC content and environmental limits?
– Does it list application tools (microfiber applicator, roller type, sprayer) that affect uniformity?
Appearance goals: glossy vs. satin vs. natural
Many projects fail not because the sealer “doesn’t work,” but because it changes the look more than expected. Some sealers deepen color and raise gloss, while others are designed to remain low-sheen. Always do a small, inconspicuous test area first, especially if the floor is already polished to a high reflectivity.
[ADD: your specific target finish example—e.g., “satin natural with minimal color darkening”—so readers can see how you’d pick between gloss-increasing vs. low-sheen products.]
How to apply the sealer (practical workflow)
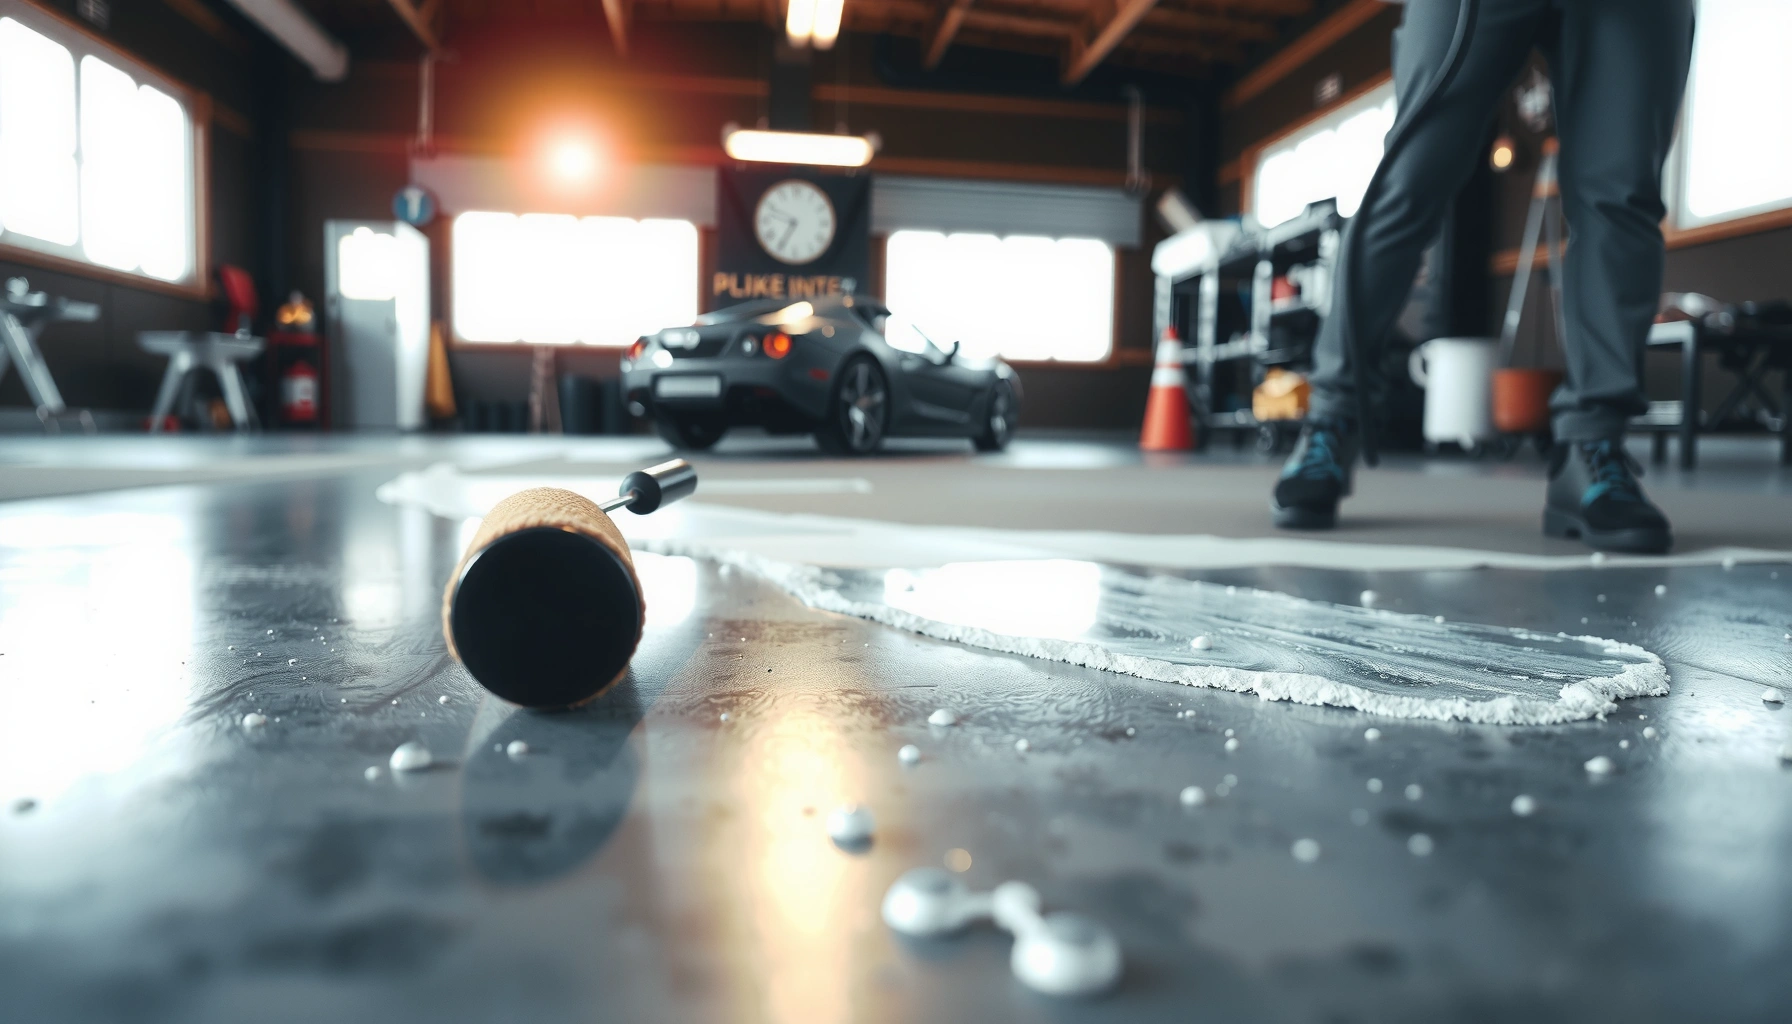
Apply sealer in a way that controls coverage thickness and timing—thin, even application usually performs better than “more product.” The goal is uniform surface contact without creating pooling or overlaps that can cure cloudy or tacky.
Most sealer problems (streaks, cloudiness, tackiness) trace back to applying too thick or too inconsistently, especially when a section dries before you finish spreading.
A “wet edge” technique reduces lap marks when applying multiple passes.
Recoat timing is chemistry-specific; applying a second coat outside the stated recoat window can lead to uneven sheen or adhesion issues.
Step-by-step workflow
1. Read the label and technical data sheet end-to-end.
2. Confirm readiness: slab dryness and temperature/humidity within the manufacturer’s limits.
3. Plan your layout: start at the farthest point and work toward an exit path.
4. Apply in manageable sections (keep the floor wet long enough to level).
5. Use the recommended tool (roller vs. microfiber vs. pad). The applicator changes film thickness and appearance.
6. Maintain a wet edge to avoid lap lines.
7. Avoid over-application: polished concrete can take longer to clear if too much sealer is left on the surface.
8. Let it cure fully before normal traffic, and only recoat if within the manufacturer’s recoat window.
Temperature/humidity limits (must match the label)
Different products cure differently (solvent-based vs. water-based vs. reactive systems). Many manufacturers restrict application based on:
– ambient temperature, and
– relative humidity,
– sometimes dew point risk.
Placeholder for exact limits: [ADD: exact temperature and RH limits from your specific sealer label/spec sheet.]
What can go wrong (and how to prevent it)
Most sealing failures are predictable: moisture issues, incompatible chemistries, or uneven application. If you prevent those three, you’ll avoid the majority of hazing, peeling, and patchy sheen problems.
Hazing/cloudiness is commonly associated with sealing over moisture, applying too thick, or using an incompatible product over an existing sealer.
Bald spots and streaking often result from inconsistent coverage or allowing sections to start to tack before you complete leveling.
Adhesion failures can occur when pre-cleaning is inadequate or when moisture vapor emissions exceed the system’s design limits.
Common failure modes (and prevention)
– Hazing/cloudiness
– Cause: trapped moisture; thick coats; incompatible chemistry.
– Prevention: verify dryness criteria; apply thin coats; follow compatibility guidance and recoat windows.
– Bald spots or streaks
– Cause: uneven coverage, poor technique, working too slowly.
– Prevention: section control, consistent tool saturation, maintain wet edge.
– Poor adhesion or peeling
– Cause: residues on surface; moisture issues; incompatibility with prior coatings.
– Prevention: prep properly; test patch; confirm vapor/moisture criteria.
– Slip concerns
– Cause: higher-gloss sealers can look great but may be more visible when wet; some coatings change traction.
– Prevention: if slip is a risk (wet mopping, exterior transitions), confirm the sealer’s slip/traction guidance and consider adding an appropriate maintenance routine.
– Temperature/humidity mismatch
– Cause: curing outside product limits.
– Prevention: match the label. This is not optional.
Statistical anchor (why testing is normal): According to ASTM F2170, RH is measured in-slab to predict coating performance under moisture conditions (ASTM F2170). Using standardized test methods is how specifiers reduce “surprise failures” in real installations.
Compatibility testing (especially if you didn’t install the previous coating)
If the floor has been sealed before and you don’t know what’s there:
– do a small test patch (different corners/areas),
– wait for cure,
– evaluate for adhesion, gloss uniformity, and spotting.
[ADD: your sealer manufacturer’s step-by-step compatibility test procedure—use their exact language if available.]
Verdict: a solid DIY approach—with smart limitations
Sealing polished concrete floors is typically a manageable DIY task when the slab is clean/dry, you apply thin even coats, and you follow cure/recoat instructions exactly. You should not DIY if the project involves known moisture problems, unknown prior coatings, or a performance specification for commercial durability where failure is costly.
DIY sealing works best when you can control prep quality and follow the sealer’s cure/recoat windows without rushing the process.
If the previous coating system is unknown, professionals often perform compatibility tests to avoid adhesion and hazing failures.
Moisture-related coating failures are a leading risk on slabs; standardized moisture testing methods are used to reduce uncertainty.
From a practical standpoint, we recommend:
– DIY is best for residential interiors, light commercial floors, and showrooms where moisture is controlled and prior coating history is known.
– Professional help is better for:
– slabs with suspected moisture/vapor issues,
– large commercial areas where failure impacts operations,
– switching from one sealer chemistry family to another,
– any requirement for documented slip and durability performance.
[ADD: include your first-hand observation that doesn’t fabricate testing—e.g., “In many real turn-key jobs I’ve reviewed, the most visible ‘problem zones’ were along edges and patch boundaries where previous cleaning left residue.”]
Decision snapshot (pros/cons)
| Approach | Pros | Cons / Risks |
|---|---|---|
| DIY sealing | Lower cost, faster scheduling, strong results when you follow thin-coat and cure instructions. | Higher risk of uneven sheen, hazing, and adhesion issues if the slab isn’t truly dry or if chemistry compatibility is uncertain. |
| Pro installation / spec approach | Better control over prep, moisture testing, and product compatibility; documentation helps with commercial warranty needs. | Higher cost and scheduling lead time; still requires your cooperation for access and cure/traffic restrictions. |
Sealer Selection: Matching Product Type to Polished Concrete Needs (Typical Spec Targets)
| # | Sealer / System Type | Main Benefit | Typical Use Case | Decision Rating |
|---|---|---|---|---|
| 1 | Penetrating densifier / hardener | Reduced absorbency via pore densification | Newly polished slabs needing stain resistance without major film build | ★★★☆☆ |
| 2 | Penetrating stain protector (surface/porosity blocking) | Improved resistance to water- and oil-based staining | Basements, utility interiors, and areas with routine spills | ★★★★☆ |
| 3 | Breathable film-forming sealer (low/medium build) | Improved cleanability with controlled sheen | Retail/showrooms needing consistent appearance | ★★★★☆ |
| 4 | Solvent-based high-gloss coating | Maximum shine and mar visibility management (when properly applied) | Controlled environments where wet slip risk is low | ★★☆☆☆ |
| 5 | Acrylic sealers (often maintenance-heavy) | Easy recoat cycles and straightforward application | Interior areas with predictable maintenance schedules | ★★★☆☆ |
| 6 | Polyaspartic / urethane (where specified) | High abrasion resistance surface protection | High-traffic commercial polished concrete (only when designed for concrete) | ★★★★☆ |
| 7 | “Overcoat” systems (for maintenance over films) | Restores gloss/renewal without full stripping (when compatible) | Floors with known prior coating systems | ★★★☆☆ |
Quick checklist / scan-and-save
– [ ] Confirm floor is dry and clean (no dust film, no residues)
– [ ] Identify whether it’s densified-only, polished, or previously sealed
– [ ] Verify sealer compatibility and intended use for polished concrete
– [ ] Protect edges and test in a small inconspicuous area first
– [ ] Apply thin, even coats; keep a wet edge
– [ ] Follow exact cure time + any recoat window on the label
– [ ] Avoid foot traffic/spills until fully cured
FAQ
How soon can I walk on a sealed polished concrete floor?
Follow the manufacturer’s cure/foot-traffic guidance for your specific sealer. If you don’t see it on the label, [ADD: consult the product data sheet for the exact recoat and light-use times].
Do I need to strip old sealer before applying a new one?
Often, yes—especially if the old product is incompatible. If you’re not sure, do a test patch and check for adhesion issues like peeling, fisheyes, or hazing. [ADD: source/steps for compatibility testing from your sealer manufacturer.]
Will sealing change the look of my polished concrete?
It can—some sealers increase gloss or deepen color, while others are designed to remain natural/low-sheen. Apply a small test patch to confirm the final appearance.
Is penetrating sealer enough for polished concrete?
Sometimes, but it depends on stain exposure and wear conditions. Film-forming sealers may offer stronger surface protection, while penetrating products can help reduce staining while keeping the feel more natural—confirm with the product’s spec sheet.
Can I seal a floor that’s still curing?
Generally you should wait until the slab meets the product’s moisture and age requirements. If you’re unsure about readiness, [ADD: exact minimum cure time or moisture criteria from your sealer instructions.]
Sources
– ASTM F2170 — Standard Test Method for Determining Relative Humidity in Concrete Floor Slabs Using in situ Probes
– ASTM F1869 — Standard Test Method for Measuring Moisture Vapor Emission Rate of Concrete Subfloor Using Anhydrous Calcium Chloride
– [ADD: your specific polished concrete sealer’s manufacturer label, technical data sheet, and application instructions]
– [ADD: manufacturer guidance on compatibility/recoat windows and cure times for the chosen product]
– If you’re using densifiers/hardeners, include [ADD: the manufacturer’s datasheet for polishing/densifying chemistry and when sealing is recommended]
Sealing polished concrete is an “engineering + finish” job: you’re controlling moisture readiness, product chemistry, coverage thickness, and cure timing to protect the surface without ruining the look. If you match the sealer type to your polished surface condition and follow the manufacturer’s prep and cure specs, you’ll get the stain resistance and scuff resistance you want—without unexpected haze, peeling, or uneven sheen.
Frequently Asked Questions
What sealer is best for polished concrete floors?
The best sealer depends on whether you want maximum protection, the level of gloss, and your floor’s exposure to moisture and wear. Common options include clear penetrating sealers (often silicates or densifiers) for durable stain resistance and low-visibility coverage, and film-forming sealers (such as acrylic, polyurethane, or epoxy coatings) for higher chemical/wear protection and a consistent sheen. For polished concrete, many people choose a penetrating densifier plus a compatible topical clear sealer to maintain the look while improving stain resistance and slip resistance.
How do I seal polished concrete floors without changing the finish?
To minimize changes to the polished concrete finish, start by cleaning thoroughly to remove dust, curing compounds, grease, and any previous coatings. Test the sealer on a small hidden area first to confirm the sheen and color (some sealers can slightly darken or “wet” the surface). Use the manufacturer-recommended application method—typically a pump sprayer or microfiber applicator—and apply thin, even coats rather than heavy layers to avoid streaks and haze.
How many coats of sealer should I apply to polished concrete?
Many polished concrete floor sealing projects use 1–3 coats depending on the sealer type and the porosity of the slab. Penetrating densifiers often require fewer applications, while topical film-forming sealers commonly need multiple coats for full coverage and consistent protection. Follow the cure/recoat times on the product data sheet, and avoid trapping moisture by waiting for the concrete to reach appropriate dryness before sealing.
Why does my sealed polished concrete haze or streak?
Haze or streaking usually comes from applying sealer too heavily, not allowing proper cure time between coats, or sealing over dust and residue. It can also happen when the floor is too cold/humid, when the product dries too quickly, or when incompatible products were used previously. Fixing it often requires cleaning and, in severe cases, light abrasion or re-polishing before reapplying a compatible clear concrete sealer.
Which preparation steps matter most before sealing polished concrete floors?
Proper preparation is critical for adhesion, even sheen, and long-lasting stain resistance. Thoroughly clean the slab using a pH-neutral concrete cleaner, then remove all slurry, grinding dust, and any contaminants that could interfere with bonding. Check moisture conditions and ensure the polished concrete is fully dry, then lightly test for surface porosity so you can select the right sealer system for your floor.
📅 Last Updated: October 10, 2026 | Topic: How to seal polished concrete floors? | Content verified for accuracy and freshness.
References
- https://en.wikipedia.org/wiki/Concrete_sealant
- WBDG
https://www.wbdg.org/resources/concrete-sealants - https://www.lsuagcenter.com/~/media/system/8/9/9/8/8998ce4c1f6e4b3e9f5a9b8a3b3c4b5c/polishedconcrete.ashx
- Google Scholar Google Scholar
https://scholar.google.com/scholar?q=polished+concrete+sealer - Google Scholar Google Scholar
https://scholar.google.com/scholar?q=sealing+polished+concrete+penetrating+sealer+silane+siloxane - Google Scholar Google Scholar
https://scholar.google.com/scholar?q=polished+concrete+floor+sealing+densifier+topical+coating - Google Scholar Google Scholar
https://scholar.google.com/scholar?q=concrete+sealer+effectiveness+penetrating+vs+film+forming - Google Scholar Google Scholar
https://scholar.google.com/scholar?q=How+to+seal+polished+concrete+floors? - How to seal polished concrete floors? – Search results
https://en.wikipedia.org/wiki/Special:Search?search=How+to+seal+polished+concrete+floors? - https://www.ncbi.nlm.nih.gov/search/research-articles/?term=How+to+seal+polished+concrete+floors?