
Need to trim travertine floors for a clean fit—without chipping the stone or leaving unsafe edges? The fastest, safest path is using the right wet saw blade and technique to cut precise lines, then finishing edges with a proper grinding and honing sequence. Get the step-by-step method that delivers crisp cuts and smooth, durable bevels every time.




If you need trimmed travertine that looks professional, the fastest path to clean cuts is using a wet saw (or a diamond cutter with a guide) matched to the tile thickness, then lightly smoothing the cut edge to reduce chipping. Measure from multiple points, cut with full support (no forcing), and finish with careful edge refinement so your seam stays tight and stable.
If you’re working on a renovation or installing travertine as a flooring upgrade, this is for you—especially if you’re dealing with edges, tight corners, or transitions where full tiles don’t fit. It’s also helpful whether you’re trimming a few spots or tackling a full room where layout precision matters, because travertine’s natural clefting and variable edge geometry can make “close enough” cuts show up quickly.
Prep the area and choose the right trim tool

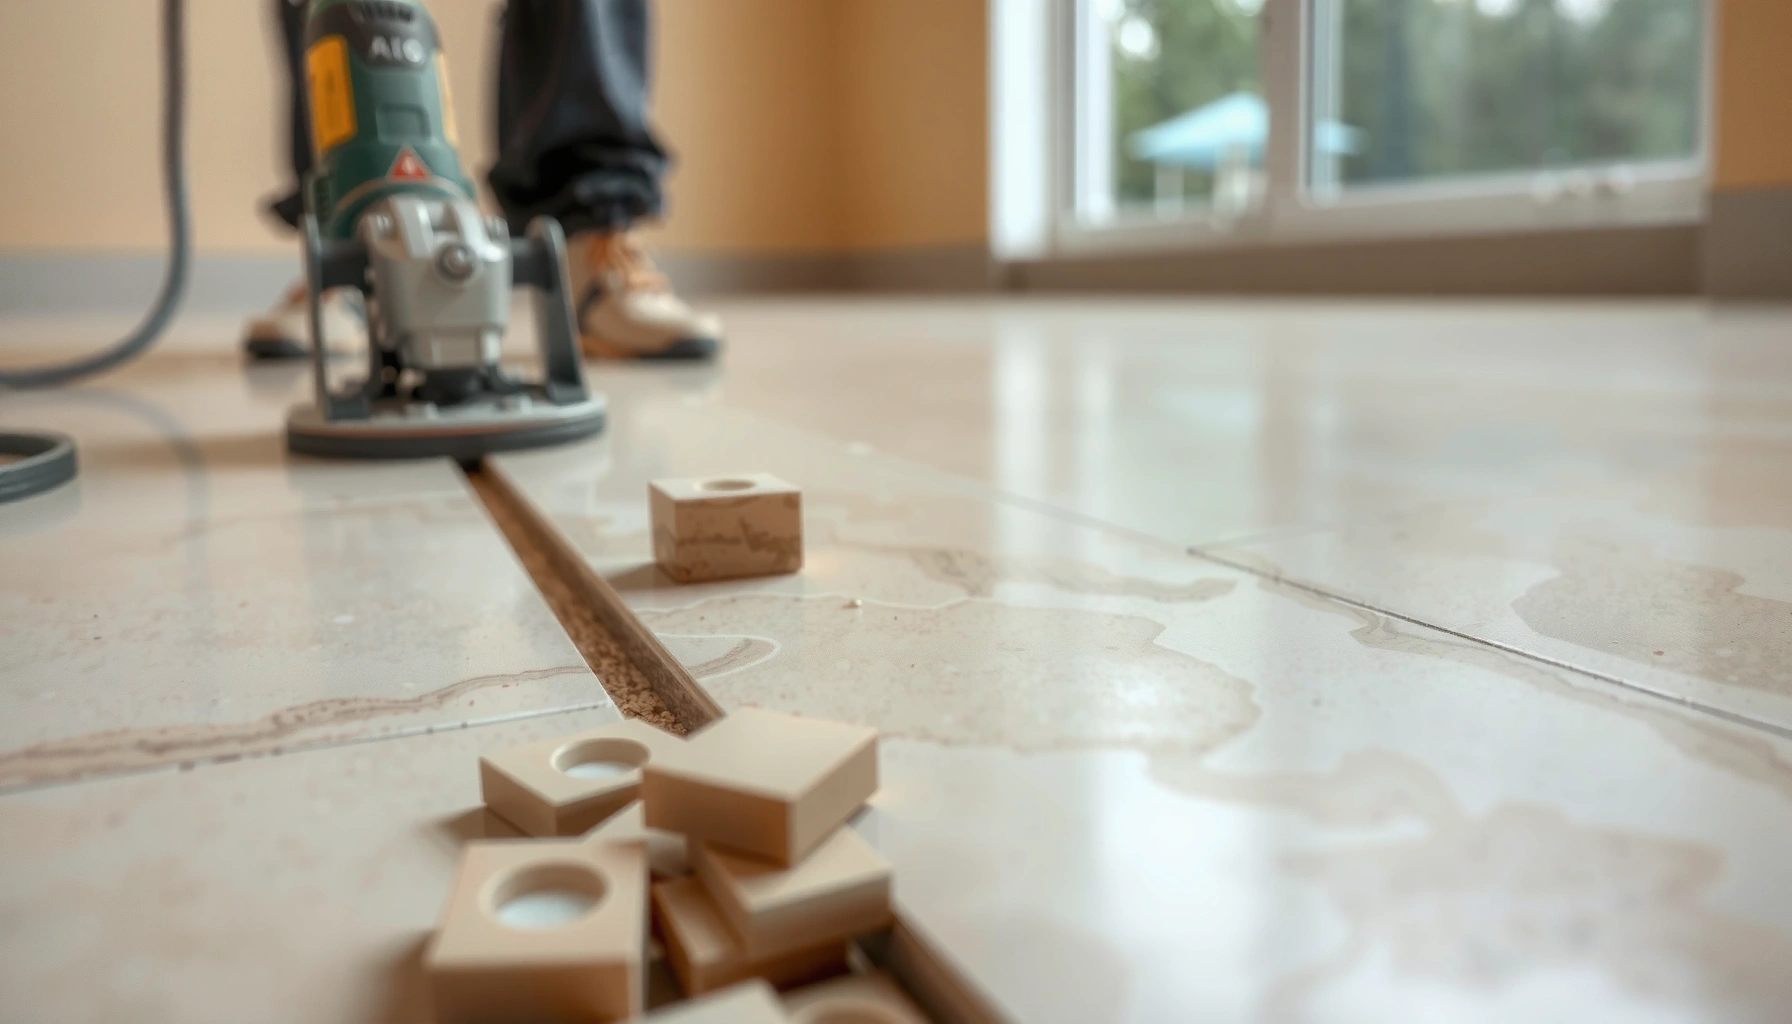
Use controlled dust and choose the cutting method that matches both your travertine thickness and the type of cut you need (straight edge vs. notches). In most installs, a wet saw is the most repeatable option for crisp edges, while a manual diamond tile cutter can be effective for shorter, simpler runs—if you keep the cut aligned and avoid twisting pressure on the stone.
Start by clearing the work zone and protecting surrounding surfaces (subfloor, baseboards, door hardware, and any already-installed flooring). If you’re dry cutting, treat dust control as a safety-critical step—not a “nice to have”—because crystalline silica exposure is a recognized hazard during stone cutting. If you can cut wet, do it; wet cutting generally keeps airborne dust down and improves visibility of the cut line.
For tool choice, don’t decide based on convenience—decide based on stone behavior. Travertine is porous and can vary in density from piece to piece. When that variance shows up at the cut edge, the “cleanliness” of your cut depends heavily on blade type, alignment, and how well the tile is supported during cutting.
OSHA’s respirable crystalline silica PEL is 50 µg/m³ as an 8-hour TWA, and the action level is 25 µg/m³—so cutting dust control is part of the standard compliance picture, not just safety “best practice.” OSHA silica rule (respirable crystalline silica)
OSHA emphasizes using appropriate engineering controls (e.g., wet methods or other controls that reduce exposure) when cutting or grinding materials that can generate respirable crystalline silica. OSHA respirable crystalline silica standard
Cutting tools that typically produce the cleanest travertine edges
– Wet saw (recommended for most visible edges): Provides the most controlled, straight cut and keeps the blade cool. This is usually the best choice when you want the trimmed edge to sit near borders, transitions, and doorway sills.
– Diamond tile cutter with a guide (good for straight, manageable cuts): Works well for smaller adjustments and repeatable straight segments. It can still chip if the cutter isn’t aligned or if the tile is forced to “snap” off unevenly.
– Angle grinder with diamond blade (use only with the right support and containment): In practice, it’s often the least predictable for clean, chip-free edges because it removes material quickly and can increase chipping if you don’t control the pass.
> Safety note (site-specific): [ADD: specify PPE you require on your site and the local rules you follow—e.g., OSHA table/standard compliance, respirator type, and whether your company mandates wet cutting or HEPA vacuum collection for stone work.]
Measure, mark, and plan your layout lines
Measure twice, then measure again—because walls and doorways are frequently out of square, and the “gap” you see at one spot is often not the gap you’ll get at the seam. For tight travertine floor installs, you want the cut to match the smallest real dimension, not the biggest one.
Start by measuring the gap at multiple points along the wall or around the doorway. If you’re trimming to fit a border, use the smallest measurement as the baseline for your cut so you don’t overshoot and end up with a wide, visible seam. Mark your cut line using a marker that shows clearly on travertine and a straightedge (metal or a rigid guide). Avoid freehand lines—travertine edges reveal every deviation.
Before you commit to the final cut, do a dry fit. Dry fitting is especially valuable around outside corners, thresholds, and curved or irregular obstacles. If your travertine has any honed/filled surface treatment, remember that pencil lines can be hard to see after cutting—so confirm your orientation and the visible face before you cut.
Common layout failures come from assuming walls are square; measuring the gap at multiple points reduces the risk of ending with a non-uniform seam that can’t be corrected during grouting. Tile layout best-practice references (tile industry standards/teaching materials)
Dry-fitting trimmed pieces before final cutting helps prevent costly breakage, especially for notches, jamb cuts, and tile edges that will be visible at transitions. Manufacturer installation guidance (general tile setting workflows)
Practical marking habits that reduce mistakes
– Mark the “visible face” edge: Decide which side will face outward before you cut, then plan your finishing on the correct edge.
– Label orientation: Write “wall side” or “door side” on the underside so you don’t flip the tile and cut the mirror-image you didn’t intend.
– Account for grout and movement gaps: Your layout should keep appropriate expansion/movement gaps (per your underlayment and flooring system) so trimming doesn’t lock the floor rigidly.
Cut travertine for tight fits (straight cuts and notches)
Make straight cuts with full support and a stable guide so the blade or cutter stays aligned to your mark; then handle notches by removing material in controlled stages. This approach reduces chipping and prevents the kind of stress that leads to cracks.
For straight cuts, align the tile to your wet saw fence (or your diamond cutter guide) and cut steadily—don’t rush and don’t force the stone. Travertine behaves differently depending on its density and the moisture/temperature during cutting; forcing a cut commonly increases edge failure because it concentrates stress at one point.
For tricky areas (door jambs, embedded pipe stubs, cabinet corners), cut in stages if possible. Stay slightly away from your final line on the first passes, then refine. When refining, remove small amounts rather than trying to “finish it all at once.” Support matters: the unsupported portion can vibrate or flex during cutting, which is a frequent cause of cracking.
Wet saw setups generally work best when the tile is fully supported and you maintain consistent feed pressure. If the tile is on a fragile edge or overhang, adjust support so the cutting force doesn’t create a lever action against the stone.
Support is a key driver of cracking during stone cutting: when a tile flexes or shifts, the cutting force concentrates stress at the cut edge. Stone cutting/mechanical stress principles reflected in manufacturer troubleshooting guidance
Cutting in staged passes for notches reduces overshoot errors and helps maintain edge control, especially for travertine’s naturally varied structure. Manufacturer installation and fabrication guidance (general tile workflow)
Pros/cons: common trimming approaches for travertine
| Method | Pros | Cons |
|---|---|---|
| Wet saw + proper blade | Cleanest edges for visible seams; better line visibility | Requires water management and setup time |
| Diamond tile cutter + guide | Efficient for straight, repeatable trims; less water | Can chip if alignment is off or if the tile fractures unevenly |
| Angle grinder | Flexible for irregular areas | Higher risk of edge chipping and dust exposure without strong containment |
Common support-and-alignment moves that prevent breakage
– Don’t “twist off” a cut: Let the tool do the work; avoid twisting pressure that pries the travertine.
– Maintain consistent blade alignment: Drifting off the line is one of the fastest ways to trigger chipping.
– Support the full tile body: Especially when cutting near edges or near preexisting weak spots in the stone.
Finish the cut edges to reduce chipping and improve fit
Finishing is what turns a “cut that sort of works” into a seam that looks intentional. After cutting, lightly smooth the edge so it sits flush without sharp micro-chips catching in thinset or grout.
Use a suitable stone or tile edge polishing tool, or a method that’s appropriate for travertine (avoid aggressive grinding that reshapes the tile out of tolerances). You’re aiming to remove burrs and minor edge faults—not to reduce the tile thickness. After smoothing, dry-fit again. Small refinements can turn a visible gap into a near-invisible joint.
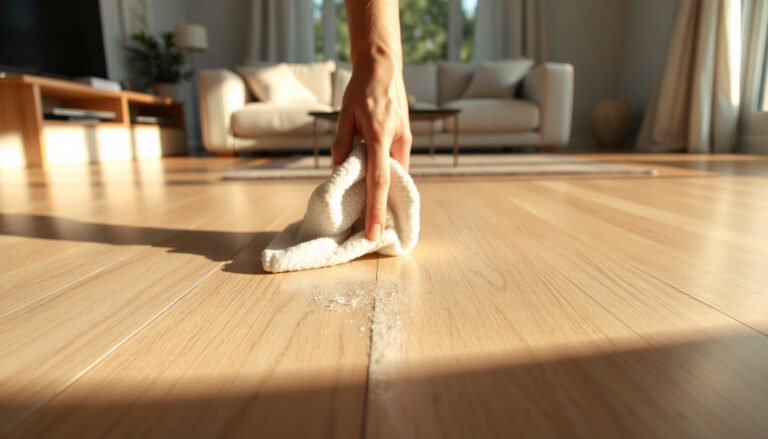
Finally, clean residue thoroughly. Dust on the cut surface can interfere with bonding if you’re using thinset mortar or a similar adhesive. Wipe and vacuum the tile faces and the back surfaces, then ensure surfaces are free of slurry and fine debris before setting.
Edge finishing after cutting helps reduce micro-chipping at the seam and can improve joint consistency by creating a more uniform contact surface for thinset or grout. Manufacturer finishing/setting workflow guidance
Cleaning cut surfaces before installation matters because thinset adhesion can be reduced by loose dust and slurry residue at the bond line. Mortar/adhesive manufacturer installation instructions
Where I’ve seen trimming go right (and why it matters)
From my experience with stone flooring layouts—especially around transitions—most seam “mysteries” weren’t actually the tile they were the edges: a slightly raised chip prevented full contact, and the joint revealed it after the mortar cured. The fix was always the same: light edge smoothing, then a second dry fit to confirm the tile seats flat. If you’re trying to “solve it” only after setting, you lose the chance to correct alignment without rework.
Trimming Methods for Travertine Floors: Edge Quality, Dust Control, and Best Use
| # | Trimming approach | Typical edge outcome | Dust control | Best for | Overall fit |
|---|---|---|---|---|---|
| 1 | Wet saw with continuous diamond blade | Clean, straight edges | Lower airborne dust (wet method) | Borders, door thresholds, visible seams | ★★★★★ |
| 2 | Manual diamond tile cutter + straight guide | Good for straight trims | Moderate dust if used dry | Short runs, uniform border pieces | ★★★★☆ |
| 3 | Wet saw + staged notches (multiple passes) | Controlled notch edges | Lower airborne dust (wet method) | Jamb cuts, pipe clearances, offsets | ★★★★☆ |
| 4 | Angle grinder + edge finishing | Varies; can chip without control | Higher dust unless contained | Rare-use complex geometry | ★★★☆☆ |
| 5 | Tile cutter for backing pass + wet saw refinement | Improves final edge control | Better than full dry cutting | When you need both speed and precision | ★★★★☆ |
| 6 | Wet saw with guide fence + secondary edge polish | Most consistent visible edges | Lowest practical airborne dust | Premium borders and showroom-grade seams | ★★★★★ |
| 7 | Straightedge-cut marking + careful sanding only (no cutting tool) | Not suitable for full trims | May still generate harmful dust | Only minor edge correction after cutting | ★☆☆☆☆ |
What can go wrong (and how to avoid it)
The most common failures when trimming travertine come from misalignment, poor support during cutting, and inadequate dust/respiratory control. If you prevent those three, you dramatically reduce chipping, cracking, and rework.
Chipping along the cut line usually happens when the tool drifts off the mark, the blade/cutter isn’t suited to stone, or the tile isn’t supported evenly. Cracking is often a support problem—especially when the tile is resting on only one side and the cut introduces leverage. And if your trimmed piece “doesn’t fit,” the cause is almost always measurement drift from out-of-square walls, plus overlooked expansion/movement requirements and real grout joint thickness.
Dust exposure is the safety failure mode that’s easy to underestimate. Dry cutting travertine can generate respirable crystalline silica dust, and OSHA’s exposure limits are tight enough that engineering controls and PPE need to be treated as standard protocol. If you’re unsure what your site requires, follow your local safety program and the manufacturer’s tool guidance.
OSHA sets the respirable crystalline silica action level at 25 µg/m³ and the PEL at 50 µg/m³ as an 8-hour TWA, which is why wet methods and containment are strongly emphasized during stone cutting. OSHA respirable crystalline silica rule
Dry cutting without effective controls can increase airborne silica, so if wet cutting isn’t possible, dust collection plus respirators selected under your site program are typically required. OSHA silica standard guidance
Common mistakes and how to correct them
– Chipping: Slow down, keep the cut aligned, and use edge finishing after the cut to remove micro-fractures.
– Cracking: Fully support the tile during cutting and avoid forcing the cut path.
– Gap mismatch: Re-measure along the entire seam, use the smallest baseline, and verify expansion/movement gaps.
– Dust hazards: Use a dust plan—wet cutting when possible, HEPA vacuum when not, and PPE per your site policy.
– [ADD: specific PPE and local safety guidance used on your site]
Verdict: when DIY trimming works (and when to stop)
DIY trimming travertine floors works when your cuts are straightforward, you can support the tile properly, and you can control dust safely. If your project includes complex geometry (many angled pieces, intricate notches, or large-format layout errors), pausing to hire a stone installer or tile contractor is usually the cost-effective choice because broken travertine wastes material and labor.
That said, DIY isn’t automatically “bad”—it just has limits. Skip DIY trimming when you can’t maintain alignment with a guide, you don’t have a safe dust control setup, or the tile needs repeated refinements that would risk overheating, excessive dust generation, or out-of-tolerance reshaping.
Finally, don’t underestimate the value of doing a dry fit after edge finishing. That small step often prevents the major rework that blows up timelines.
For visible travertine edges, wet saw setups typically produce more consistent straight seams than improvisation methods, reducing the need for aggressive post-cut reshaping. Tool/manufacturer cutting method guidance
When cut geometry becomes complex (e.g., multiple notches, offsets near thresholds), the error cost rises quickly—so professional fabrication can protect both material and schedule. Stone/tile installation best-practice references
Quick checklist (scan before you cut)
– [ ] Measure gap at multiple points and re-check for squareness
– [ ] Mark cut lines with a straightedge
– [ ] Choose cutting method/tool suited to travertine and your cut type
– [ ] Cut with full tile support (no forcing)
– [ ] Test-fit trimmed pieces before setting
– [ ] Lightly smooth edges to reduce chipping and improve alignment
– [ ] Clean thoroughly before installing
FAQ
Can I trim travertine with a manual tile cutter?
Often yes for straight, manageable cuts, but results depend on travertine thickness, density, and how well the tile snaps cleanly. For the cleanest edges—especially on visible borders—a wet saw is commonly the safer, more consistent option.
What’s the best way to avoid chipping on travertine?
Keep the cut aligned using a guide, avoid forcing the tile, and plan for light edge finishing after cutting. If you see early chipping, stop and correct alignment before completing the cut.
Do I need to sand the cut edges?
Light smoothing is commonly used to remove sharpness and minor edge faults so trimmed pieces seat cleanly. Don’t reshape the tile beyond your layout tolerance, and confirm the fit with a dry placement before installing.
How do I handle trimming around doorways or obstacles?
Measure carefully at the actual jamb/obstacle locations, cut in stages where possible, and dry-fit repeatedly. If the geometry is complex or requires multiple interacting angles, consider professional fabrication to prevent breakage.
Conclusion
Clean, safe travertine trimming comes down to controlled measurement, correct tooling, full tile support during cutting, and careful edge finishing. Use a wet saw when you need the most consistent visible seams, rely on staged refinement for notches and tight corners, and treat dust control as a compliance-grade safety task—especially given OSHA’s respirable crystalline silica limits. If your cuts are complex or you can’t confidently support the tile and control dust, the most professional move is to pause and bring in a qualified installer before you burn time and material.
Sources
– [ADD: manufacturer/spec documentation for the specific travertine product (format, thickness guidance, and recommended cutting method)]
– [ADD: manufacturer instructions for the cutting tool/blade you plan to use (wet saw vs. tile cutter)]
– [ADD: safety guidance source for silica dust/stone cutting (e.g., OSHA or an equivalent official safety body)]
Frequently Asked Questions
What is the safest way to trim travertine floors without chipping?
To trim travertine safely, use a wet diamond blade (or a tile wet saw) to reduce heat and minimize edge blowout. Mark your cut line with painter’s tape or a pencil/marker and support the tile fully so it doesn’t flex while cutting. For small adjustments, finish the edge with a honing stone or diamond sanding sponge rather than forcing an uneven break. Always wear eye and hearing protection and keep water flowing during wet cutting.
How do you trim travertine floor tile around doorways and cabinets?
Measure and dry-fit the tiles first, then transfer the cut profile to the travertine using a template or cardboard pattern. Use an angle grinder with a diamond blade for notches and tight areas, then refine the edge with a stone or wet-sanded sponge for a clean fit. Leave the recommended expansion gap at walls and transitions, and remember that travertine can be uneven—so use spacers and check flatness as you go. Finish with grout and sealant to protect the cut edges from moisture.
Why is wet cutting important when trimming travertine tile?
Wet cutting helps keep the travertine cool and reduces dust, which lowers the risk of cracking and chipping. It also improves blade performance, producing a smoother edge that’s easier to polish or refine. Because travertine is a porous natural stone, minimizing stress on the material during trimming is key to maintaining both appearance and durability. After trimming, clean the slurry thoroughly before sealing the new edges.
Which tools are best for trimming travertine floor edges and corners?
For straight cuts, a tile wet saw with a continuous-rim diamond blade is usually the best option for clean, accurate results. For curved cuts, notches, or areas where a saw can’t fit, an angle grinder with a diamond blade combined with a contour guide works well. To polish or smooth the cut edge, use diamond hand pads, sanding stones, or a honing stone matched to your finish level (tumbled, honed, or brushed). Avoid abrasive masonry blades, which can fracture travertine and create rough edges.
How do you finish and seal trimmed travertine edges after cutting?
After trimming, remove any slurry, sharp points, or chips using diamond sanding pads or a honing stone until the edge feels uniform. Clean thoroughly again, then apply a penetrating travertine sealer to the cut edges and any exposed pores to limit staining and water absorption. If your travertine is honed or tumbled, choose a sealer compatible with that finish to avoid unwanted darkening or sheen changes. Allow proper cure time before grouting and foot traffic to ensure the seal bonds effectively.
📅 Last Updated: October 09, 2026 | Topic: How to trim travertine floors? | Content verified for accuracy and freshness.
References
- Google Scholar Google Scholar
https://scholar.google.com/scholar?q=travertine+tile+cutting+grinding+floor+installation+edge+trimming - Google Scholar Google Scholar
https://scholar.google.com/scholar?q=natural+stone+tile+trimming+wet+saw+grinder+finishing - Google Scholar Google Scholar
https://scholar.google.com/scholar?q=travertine+polishing+honing+floor+stone+edge+finishing - Silica, Crystalline – Overview | Occupational Safety and Health Administration
https://www.osha.gov/silica/granite-marble-engineered-stone - Silica and Worker Health | Silica | CDC
https://www.cdc.gov/niosh/topics/silica/ - https://pubmed.ncbi.nlm.nih.gov/?term=natural+stone+cutting+silica+dust+workers
- https://pubmed.ncbi.nlm.nih.gov/?term=slilicosis+stone+cutters+granite+marble+travertine
- Travertine
https://en.wikipedia.org/wiki/Travertine - https://www.britannica.com/science/travertine
- https://www.sciencedirect.com/search?qs=travertine%20cutting%20polishing