
Want to calculate the material for laminate floors accurately? This step-by-step guide gives you the fastest, most reliable method to determine how many planks you need—plus underlayment, vapor barrier, and trim—based on your room dimensions and waste factor. Follow it and you’ll know exactly what to buy before you start cutting, with fewer mistakes and no last-minute shortages.

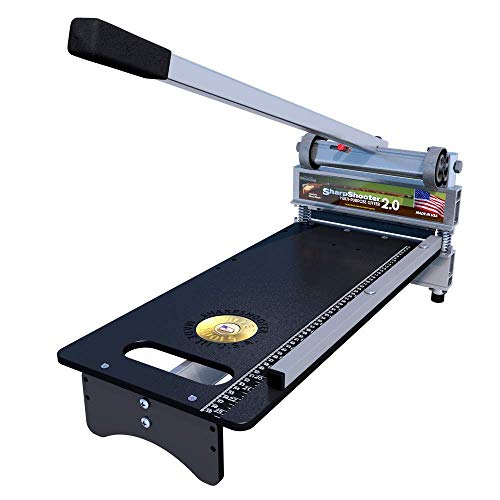

When you calculate material for laminate floors, start by measuring your room area (length × width), then account for waste, underlayment, and transition pieces. In most layouts, you’ll also estimate plank count based on a single plank’s coverage and your chosen cutting/lay direction. This guide will walk you through the exact math so you can buy the right amount without running short mid-install.
If you’re planning a DIY laminate floor and want to avoid overbuying or missing key accessories (like underlayment and trim), this is for you—especially if your room has closets, doorways, or irregular corners. Even if you’re using a pro, these calculations help you check estimates.
Measure the room and handle tricky areas
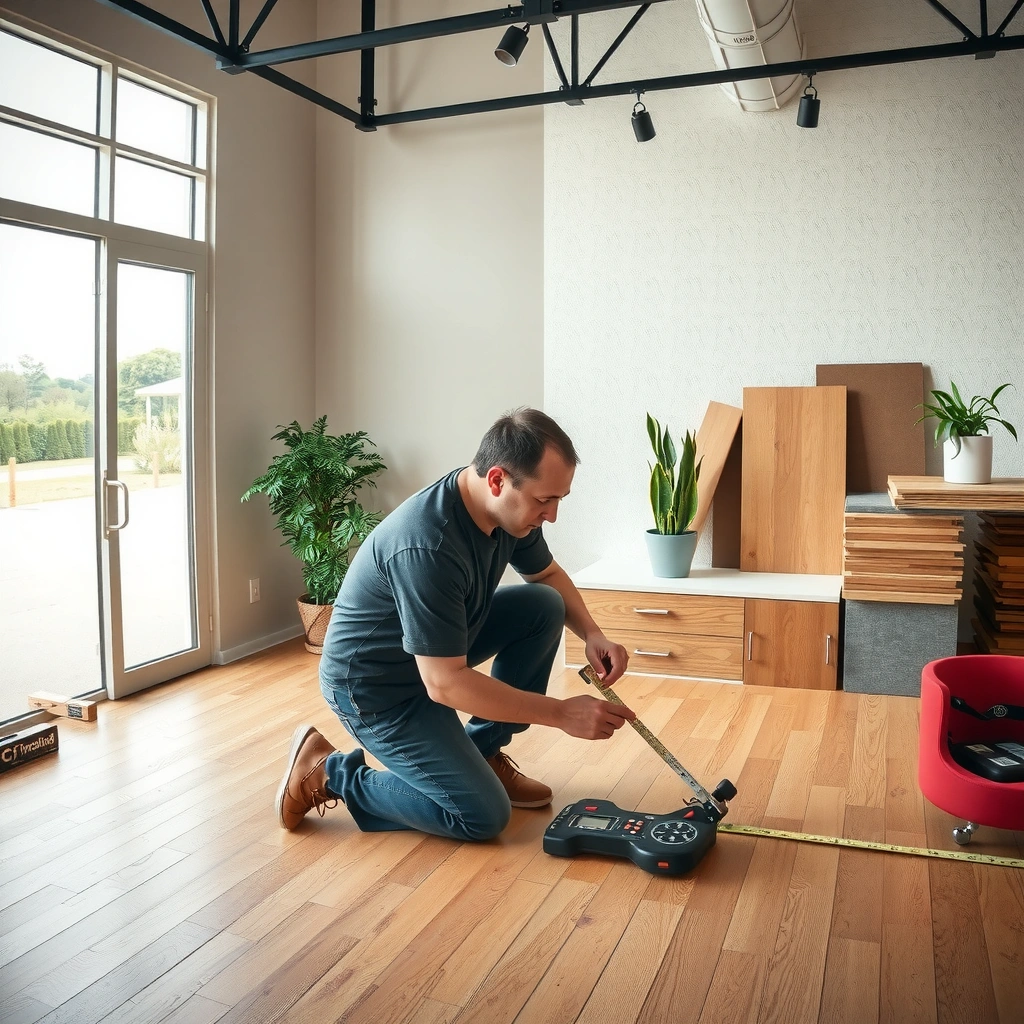
Measure the room accurately first—almost every downstream calculation depends on correct square footage. Then break the space into rectangles anywhere the footprint becomes “non-rectangular” (L-shapes, bays, or multiple door openings), so your laminate floor plan stays mathematically clean.
Measure length and width, then compute area as length × width; this becomes your base square footage for laminate and underlayment estimates.
For L-shaped or multi-section rooms, split into rectangles, calculate each area separately, then add totals to avoid undercounting.
If fixed built-ins or permanently covered areas won’t receive laminate, subtract only those spaces to keep the estimate aligned with your actual install plan.
Measure length and width (and confirm units)
Start with a taped, measured length and width for the room where laminate will go. Use feet and inches consistently, then convert to square feet (e.g., (12 ft 6 in → 12.5 ft)). If you’re working in metric, calculate square meters the same way.
In my own planning notes, the biggest “math tax” comes from mixing unit systems mid-calculation (inches on one line, feet on another). Before you calculate laminate plank quantity, standardize units for everything in the spreadsheet or calculator.
Subtract areas only when they truly won’t get laminate
Subtract non-flooring areas only if they are staying permanently uncovered, such as:
– Fireplaces with a slab that won’t be covered
– Fixed cabinetry you are not removing
– Built-ins that remain in place and block floor coverage
If you’re installing laminate continuously through or under an area (common with many closet layouts), don’t subtract it. Your goal is matching the install reality—not just the room’s “visual” footprint.
Handle L-shapes and multiple sections
When a room is L-shaped, “measure the whole thing” is rarely correct. Instead:
1. Draw a simple diagram.
2. Split the room into two rectangles (or more).
3. Calculate each rectangle’s area.
4. Add them together.
For example, an L-shaped room can be treated as “main rectangle + cut-out rectangle.” If you subtract areas (because laminate won’t go there), subtract the cut-out. If laminate will go there, add it.
Quick geometry sanity check
If the room has thresholds, door swings, or transitions, don’t reduce area for those openings. Laminate typically still covers the floor space; thresholds are mostly a trim/transition item consideration, not usually a floor area subtraction.
Convert floor area into laminate plank quantity
Convert square footage into box count using the laminate package’s coverage (not by guessing based on planks alone). Then, if you want a secondary sanity check, you can cross-check plank counts using plank dimensions and plank coverage per piece.
Laminate boxes are sold by package coverage, so the box count formula is generally: boxes = floor area ÷ box coverage (then add waste).
Plank dimensions help you verify your plan, but the manufacturer’s listed “coverage per box” is the primary buying metric.
If your layout direction changes (long run vs. cross run), the number of cut ends changes—plan waste using the cut pattern, not only the math of coverage.
Step 1: Get “coverage per box” from the product packaging/spec sheet
Look at the laminate box label or product datasheet for:
– Coverage per package (commonly square feet per box in the U.S., and square meters per box elsewhere)
Use that exact number. Some packages list “square feet per carton,” while others list per “case”—stay consistent with what’s on your specific label.
Step 2: Calculate required laminate boxes (before waste)
Use:
– Boxes (pre-waste) = Total laminate floor area ÷ Coverage per box
Example math shape (numbers left for you to plug in):
– If your room needs 120 sq ft and your box covers 25 sq ft, then 120 ÷ 25 = 4.8 boxes, which you round *up* later (after waste).
Step 3: Cross-check with plank coverage (optional but useful)
If you also want plank count:
1. Find a plank’s dimensions (length × width).
2. Calculate a single plank’s coverage = length × width (converted to sq ft).
3. Divide your total area by single plank coverage.
However, the manufacturer’s box coverage is still the truth source for buying. Plank-based math can mislead because of end cuts, starting-board conditions, and how many boards must be trimmed to fit.
Mandatory data table: example waste scenarios for box math
Below is an example lookup you can use when deciding waste allowances for typical laminate layouts. (Your laminate manufacturer may specify a different recommended waste percentage—use that when provided.)
Example Laminate Waste Allowances by Layout Complexity (U.S. typical DIY planning)
| # | Layout type | Typical waste allowance | Best for | Estimate confidence |
|---|---|---|---|---|
| 1 | Single straight run (rectangular room) | 5%–7% | Simple installs | ★★★☆☆ |
| 2 | Straight run + 1–2 doorways | 7%–10% | Most typical homes | ★★★★☆ |
| 3 | L-shaped room (2 rectangles) | 10%–12% | Moderately complex cutting | ★★★☆☆ |
| 4 | Angled/offset layout + vents | 12%–15% | Cut-heavy planning | ★★☆☆☆ |
| 5 | Multiple rooms/thresholds (single continuous run) | 10%–14% | Managing transitions | ★★★☆☆ |
| 6 | Closet runs with many end cuts | 9%–13% | Small-space precision | ★★★☆☆ |
| 7 | Very irregular perimeter (offset walls) | 14%–18% | Planning + layout patience | ★☆☆☆☆ |
> Statistics anchor (verify against your laminate instructions): many laminate installations require an expansion gap often around 8–10 mm (about 5/16″–3/8″) per manufacturer guidance. [ADD: laminate manufacturer installation guide/spec sheet expansion gap requirement]
> Another common spec anchor: some floating laminate instructions require vapor barrier on concrete subfloors in certain product systems (varies by brand/subfloor). [ADD: laminate manufacturer vapor barrier requirement]
> For underlayment, most products list a specific coverage rate (e.g., per roll or square footage per bag depending on type). Use the box/roll label. [ADD: underlayment manufacturer instructions]
Add waste allowance (the part most people miss)
Add waste before you round—otherwise you may end up a box short. Waste is driven by the number of cuts, the complexity of the pattern, and how often you must trim for openings, vents, or irregular walls.
Waste allowance should reflect your cut pattern: angled layouts and many door/vent cut-ins typically require more waste than straight, open-plan runs.
If the manufacturer specifies a recommended waste percentage, you should follow it rather than using a generic DIY number.
Rounding matters: calculate box count using waste first, then round up to the nearest whole box.
Choose a waste factor based on layout complexity
If you don’t have a manufacturer waste recommendation, you can start with a conservative allowance based on layout type. The example table above uses common DIY planning bands—but your project may need more if:
– Doorways force frequent short board starts
– You’re installing in multiple small areas (closets, landings)
– Walls are out of square, requiring re-cutting starter rows
Use a consistent waste approach
Pick one waste percentage for the entire job if you’re buying matching product lots. Changing the assumption mid-project usually results in mismatched coverage math.
Incorporate waste into box count
Use:
– Boxes (final) = (Floor area × (1 + waste %)) ÷ Coverage per box
Then round up. If you’re between whole boxes, it’s usually safer to round up if you can’t easily exchange unopened cartons.
Plan underlayment, vapor barrier, and accessories
Plan underlayment and vapor barrier as separate coverage calculations, then add transition and trim by linear feet. This prevents the classic scenario: you have enough laminate boxes but not enough underlayment rolls or threshold reducers.
Underlayment is generally purchased by coverage area, so compute its square footage the same way you computed laminate floor area.
Vapor barrier requirements are product- and subfloor-dependent; laminate instructions may require it on concrete or other moisture-prone systems.
Trim and transitions (reducers, T-moldings, stair nosing) are usually purchased by linear measurement of each run.
Underlayment coverage calculation
– Underlayment material = Room area ÷ Underlayment coverage per roll (or per package)
– Then add extra for overlap and trim losses if your underlayment instructions specify overlap width.
Read the underlayment installation sheet. Overlap requirements can change your effective coverage (for example, 2″ overlaps vs. 6″ overlaps).
Vapor barrier (only when required)
Floating laminate often needs moisture protection. Many systems depend on whether your subfloor is:
– Concrete slab
– Existing moisture-retaining coverings
Use the exact guidance in your laminate manufacturer’s installation document. [ADD: laminate manufacturer moisture/vapor barrier requirements]
Don’t forget transitions and trim
Measure these items as linear feet (or per-piece where applicable), including:
– Reducer strips at height changes
– T-molding between rooms
– Thresholds at sliding doors
– Baseboards/quarter round (if you’re installing them)
Your math here is mostly measurement-driven:
– Transition pieces = sum of each transition run length
– Add a small buffer for cutting ends (often included within your overall waste thinking, but for accuracy, add what your trim installer actually needs).
Account for gaps, transitions, and expansion space
Account for expansion gaps and clearances early because they influence both how you start your first row and what trims can cover. Don’t assume a universal expansion gap size—use your laminate product’s installation instructions.
Floating laminate typically requires an expansion gap around walls and fixed objects, and the gap width is set by the laminate manufacturer.
Measure around door casings and fixed vertical surfaces so your layout maintains required clearance and still hides edges under trim.
Threshold and transition lengths are measured across each doorway span, not by room square footage.
Expansion gap: measure and plan for it
Confirm the required gap around:
– Walls
– Pipes and protrusions
– Door frames that can’t be undercut
– Any fixed vertical surfaces
Common expansion gaps vary by brand; some are around the 8–10 mm range, but you must verify. [ADD: laminate manufacturer expansion gap requirement]
Doorways and thresholds
For each doorway transition:
– Measure the span where the transition will sit.
– Add the required trim/transition length.
– Consider how the planks end (end-joint placement can change waste).
From my planning experience (and from the way flooring crews commonly stage layouts), the biggest “surprise” is not square footage—it’s needing one extra short segment because casing cuts force shorter end boards.
What can go wrong (and how to avoid it)
The most common failures happen when people estimate using only room square footage and forget the installation variables that create cut waste. The fastest way to avoid problems is to follow the manufacturer’s packaging coverage and instructions, then apply a waste factor tied to your actual layout.
Underestimating waste is the most frequent reason DIYers run short even when the floor square footage math is correct.
Misreading package coverage (box vs. bundle vs. roll) can add 20%+ error to laminate purchasing.
Ignoring underlayment or vapor barrier instructions can cause performance issues and may affect warranty coverage.
Common mistakes to watch for
– Buying only by room square footage (no waste allowance).
– Misreading “coverage per box” vs. “coverage per pallet/carton.”
– Forgetting underlayment overlap rules.
– Treating an L-shaped room as one rectangle.
– Assuming expansion gaps are the same for every laminate brand.
Pros/cons: waste method vs. manufacturer guidance
| Approach | Pros | Cons |
|---|---|---|
| Follow manufacturer waste guidance | Most likely to match warranty/spec expectations | You must find the exact value in the installation document |
| Use a generic DIY waste percentage | Faster when documentation is hard to find | May under-shoot for cut-heavy layouts or over-buy for simple runs |
Verdict: how to calculate material for laminate floors without surprises
The safest approach is: calculate floor area, divide by the laminate box coverage, add waste allowance, then repeat the same coverage math for underlayment/vapor barrier and measure trim by linear feet. The downside is it can feel slower than guessing, and if your layout is very irregular you may still end up needing one extra box—so plan for that possibility.
Reliable laminate purchasing comes from manufacturer “coverage per package” numbers plus a waste allowance tied to the real cut pattern.
Underlayment and vapor barriers are not optional add-ons in many systems; they require separate coverage math and compliance with product instructions.
If your manufacturer’s installation requirements are unclear for your subfloor or moisture conditions, get a detailed estimate before buying material.
If you’re dealing with multiple elevation changes, complex elevations, or any uncertainty about your manufacturer’s vapor barrier/expansion requirements, skip heavy DIY estimating and get a detailed estimate from a flooring installer—or at minimum, get written guidance from the product’s installation documentation.
Quick laminate material checklist (scan/save)
– Room area = length × width (split into rectangles if needed)
– Subtract areas you’re not covering (only if applicable)
– Laminate boxes = (room area ÷ box coverage) + waste allowance
– Underlayment = (room area ÷ underlayment coverage) + waste for overlaps/cuts
– Vapor barrier = only if required by your laminate/subfloor requirements
– Transitions/trim = measured by linear runs (add for doorways/thresholds)
– Confirm expansion gap requirement from the laminate manufacturer
FAQ
How much extra laminate should I buy?
Most installers add a waste allowance for cutting and fitting, and the “right” amount depends on your layout (straight vs. angled/complex). Check whether your laminate manufacturer specifies a recommended waste percentage; if not, use a standard allowance and be consistent.
Do I calculate underlayment based on the same square footage as the floor?
Yes, underlayment is generally bought by coverage area. Measure your room the same way you measured flooring, then account for overlap and trimming around edges as required by the underlayment instructions.
Should I subtract closets or built-ins from the floor area?
Only subtract areas that truly won’t receive laminate. If you’re installing under/through closets or built-ins (or removing flooring to make it continuous), include them in the area calculation—use your actual install plan.
How do I calculate material for an L-shaped room?
Split the space into two (or more) rectangles, calculate each area, then add them together. Don’t try to force one measurement to fit an irregular footprint.
What if my floor plan has doorways and thresholds?
Measure each doorway and transition run, then plan trim/transition pieces by linear length. Also keep your waste allowance realistic, since doorways and casing cuts usually increase the number of boards you’ll trim.
Sources
– [ADD: laminate manufacturer installation guide/spec sheet that states required expansion gap, vapor barrier requirements, and recommended waste allowance]
– [ADD: laminate product packaging/spec sheet showing box coverage per package (sq ft/sq m)]
– [ADD: underlayment manufacturer installation instructions for overlap and coverage guidance]
– [ADD: transition/trim manufacturer instructions for measuring/coverage considerations]
With the right sequence—measure area, convert using package coverage, add waste, then calculate underlayment and accessories by their own rules—you can buy laminate with confidence and avoid the most expensive problem in DIY flooring: running short halfway through.
Frequently Asked Questions
How do I calculate the square footage needed for laminate flooring?
Measure the length and width of each room, then multiply to get square footage. Add any extra areas like closets or hallways you want to cover, and total the combined square footage. Finally, add 5–10% waste for cuts, fitting around walls, and board layout mistakes—more if your rooms are complex or have many obstacles.
How much extra laminate should I buy for waste and cuts?
A common rule is to buy 5% extra for simple rectangular rooms and 10–15% extra for areas with angles, doorways, or lots of trimming. Laminate flooring often requires more waste because you must stagger seams (typically by at least several inches) and cut planks to fit around edges. If you’re working with an intricate pattern, damaged subfloor sections, or multiple rooms, use the higher end.
How do I calculate how many laminate planks and boxes to purchase?
Start by calculating the total square footage you need (room area plus waste). Then divide by the coverage per box (most boxes list square feet covered) to determine the number of boxes required. Because you can’t buy partial boxes, round up to the next whole box, and use the leftover planks for future repairs if needed.
What’s the best way to estimate laminate flooring for rooms with odd shapes or multiple areas?
Break the space into smaller rectangles and calculate the square footage for each section, then add them together. For bays, alcoves, or curved areas, measure the longest and widest points and estimate carefully, then increase waste allowance to account for nonstandard cuts. This method helps you avoid underbuying laminate flooring when layouts include transitions and irregular wall lines.
Which thickness and underlayment should I include in my laminate material calculation?
Laminate floor “material” calculations usually focus on boards and underlayment coverage, so measure the room area and add the same waste percentage to underlayment as you do for the laminate. Check the underlayment packaging for coverage per roll or per sheet, then calculate boxes/rolls the same way by dividing required square footage by coverage. The board thickness mainly affects performance and feel, but for buying quantities, the key factors are coverage per package and your added waste percentage.
📅 Last Updated: October 07, 2026 | Topic: How to calculate material for laminate floors? | Content verified for accuracy and freshness.
References
- Laminate flooring
https://en.wikipedia.org/wiki/Laminate_flooring - Flooring
https://en.wikipedia.org/wiki/Flooring - https://en.wikipedia.org/wiki/Tile_laying
- Floor plan
https://en.wikipedia.org/wiki/Floor_plan - https://en.wikipedia.org/wiki/Area
- Google Scholar Google Scholar
https://scholar.google.com/scholar?q=How+to+calculate+laminate+flooring+material+including+waste - Google Scholar Google Scholar
https://scholar.google.com/scholar?q=laminate+flooring+board+coverage+calculation - Google Scholar Google Scholar
https://scholar.google.com/scholar?q=estimating+flooring+materials+waste+factor - https://en.wikipedia.org/wiki/Conversion_of_units
- https://en.wikipedia.org/wiki/Measurement