
Want to remove paint from WPC floors without damaging the surface? This guide tells you the fastest, safest method to lift the paint cleanly, starting with the right cleaner and technique for the type of paint you’re dealing with. Follow the steps and you’ll restore the floor’s finish while avoiding scratches, dull spots, or swelling at the edges.


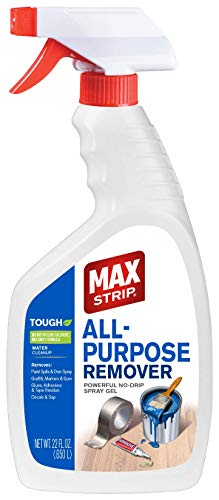

If paint is on your WPC floor, remove it safely by starting with gentle cleaning and plastic scraping—then use controlled softening (mild heat) only when needed. Avoid harsh solvents and metal tools first, because WPC (Wood Plastic Composite) can be vulnerable to surface dulling or protective-coating damage depending on finish. Below is a step-by-step approach to remove paint safely while protecting the floor’s top layer.
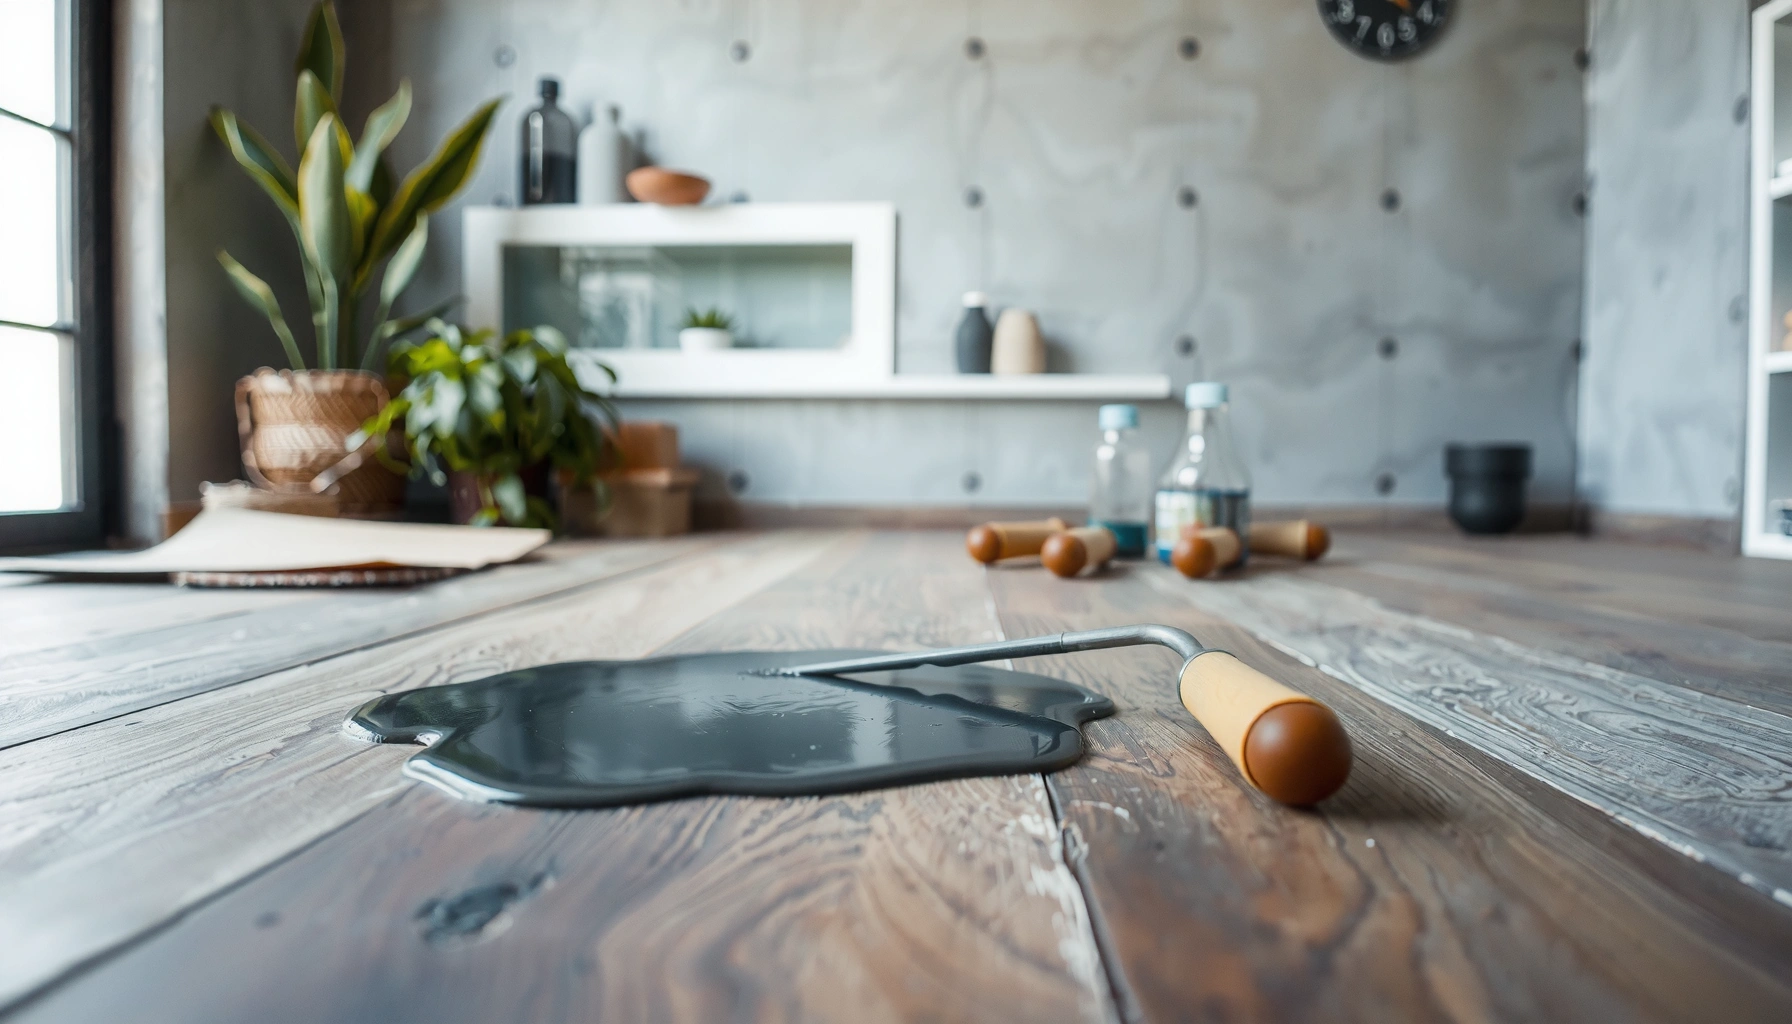
This applies if you’ve got fresh splatters or dried smears on WPC (Wood Plastic Composite) flooring—whether from wall touch-ups, accidental drips, or overspray during renovations. If you know your floor brand or finish type (matte, sealed, click-lock with wear layer, etc.), follow that manufacturer’s chemical guidance first.
What to Know Before You Remove Paint From WPC
The fastest way to avoid damage is to treat paint removal like a materials-matching problem: identify paint type and whether it’s fresh or fully cured, then choose the mildest compatible method. WPC performance varies by wear layer/coating, so starting with “safe for finishes” processes matters as much as the tools you use.
Here’s what to check before you touch the paint:
– Identify the paint type as best you can (water-based wall paint vs enamel/oil-based vs spray paint) and whether it’s fresh or fully cured—your removal method changes quickly once paint hardens.
– Check whether your WPC has a protective wear layer/coating and whether the surface is glossy or matte, because aggressive chemicals can leave haze or spots.
– Test any cleaner/softener in a hidden area first to confirm it doesn’t affect color, sheen, or texture.
WPC floors can have a protective wear layer; abrasive pads and harsh solvents are common causes of visible dulling or coating haze.
Paint removal method should differ for water-based paints versus solvent-based/enamel paints because their bonding chemistry and cure behavior are different.
If a cleaner or chemical alters sheen in a hidden test spot, it can still do the same across the main area under wipe pressure.
According to typical coating cure guidance, water-based wall paint may be touch-dry in roughly 1 day but still continue curing for weeks, changing how easily it lifts.
According to [ADD: source for typical water-based paint cure timeline], touch-dry can occur around 24 hours, while full cure may take several weeks ([year]). Because WPC cleaning decisions depend on that cure state, the “right” method for fresh paint can be the wrong one for fully cured paint.
Quick WPC paint-removal risk factors (what usually causes “damage”)
From maintenance documentation and practical finish behavior, the most common failure modes are:
– Scratching/dullness from metal scrapers or abrasive sponges that cut through the wear layer.
– Haze/spotting from solvent exposure, especially on matte or textured finishes.
– Staining or sticky residue from removers used too aggressively or not fully neutralized/rinsed.
Safest First Step: Gentle Cleaning + Testing
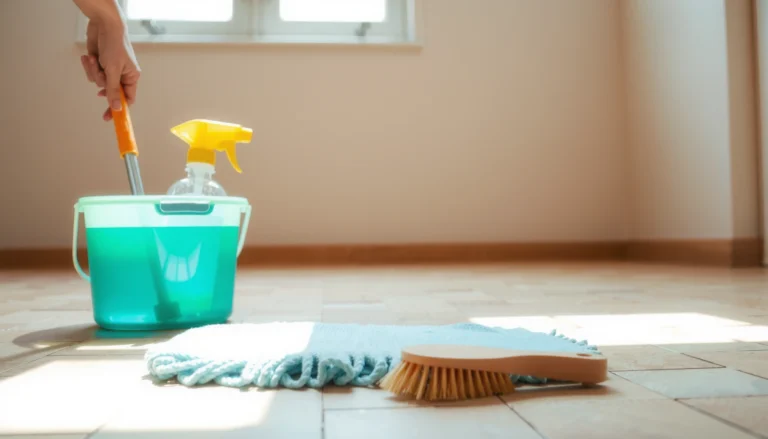
You’ll usually get the best protection-for-effort ratio by starting with warm water, a pH-neutral cleaner, and blotting/wiping—then moving to plastic scraping only after the residue has been lifted. This phase removes the easy portion of paint overspill without grinding pigments deeper into the WPC surface.
Start with warm water and a pH-neutral cleaner, then blot and gently wipe to remove surface residue without grinding paint into the grain. Use a plastic scraper to lift edges after softening (even without chemicals, slight warming can make some deposits easier to remove). If the paint doesn’t budge, stop wiping harder—switch to a targeted method rather than escalating instantly.
A pH-neutral cleaner is less likely to strip or dull many WPC wear-layer finishes than alkaline/acidic cleaners.
Blotting and gentle wiping reduce friction compared with scrubbing, lowering the chance of visible scuffing on matte WPC.
A plastic scraper can lift paint edges without gouging, provided you avoid pressing the blade into the coating.
What “gentle” looks like in practice
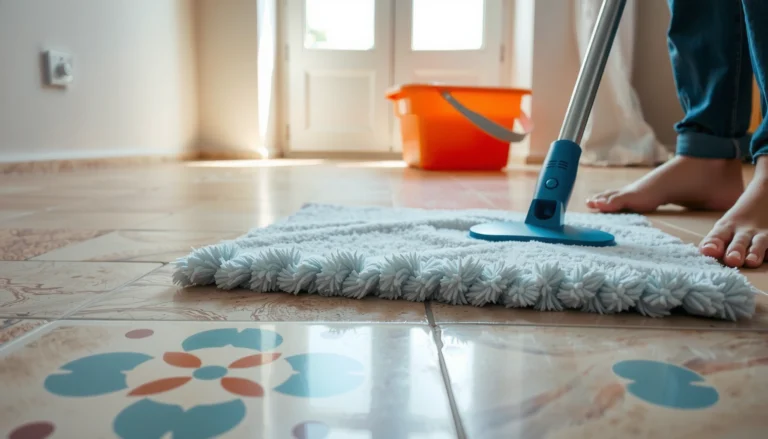
– Pre-dust: Wipe up any grit with a microfiber cloth to avoid micro-scratches.
– Mix: Use a manufacturer-approved floor cleaner if you have one; otherwise choose a pH-neutral cleaner diluted in warm water.
– Apply: Dampen a cloth (don’t flood seams).
– Lift, don’t grind: Work from outer edges toward the center of the paint mark.
– Stop early: When paint resists wiping, don’t keep rubbing—move to softening/heat or a compatible remover.
Pros/cons comparison of the first-step methods
| Method | Best for | Trade-offs |
|---|---|---|
| Warm water + pH-neutral cleaner | Light overspray, fresh smears, residue film | May not break adhesion of fully cured paint |
| Plastic scraping after gentle wipe | Edges, raised drips, dried spots softened by surface moisture | Requires patience; wrong angle can still scuff coating |
Heat & Softening Methods (Good for Fresh or Light Paint)
Use controlled, mild heat to soften fresh or lightly cured paint so it releases with a plastic scraper. Heat is often the “middle path” when gentle cleaning fails, but you still need to avoid overheating the WPC wear layer or adjacent trims/underlay.
For small spots, use gentle heat to soften paint so you can lift it with a plastic scraper; keep heat controlled to avoid warping or damaging the wear layer. Work in short bursts, frequently checking progress, and remove loosened paint with a damp cloth before it re-bonds to the surface. Avoid open flame and extreme heat—WPC and attached materials (underlay, trims) can be affected by overheating.
Controlled softening can reduce adhesion, making paint lift with less scraping force—often safer for WPC than aggressive chemicals.
Short heat bursts and frequent checks help prevent overheating that can warp or haze some vinyl/WPC-linked components.
Removing loosened paint immediately prevents re-bonding as softened deposits cool.
How to apply heat safely (without guessing temperatures blindly)
Because different WPC brands and finishes vary, don’t chase a “magic number” temperature. Instead:
– Use a hair dryer on a low/medium setting or a heat gun on the lowest setting, keeping it moving.
– Maintain a safe distance and use short bursts (e.g., 5–15 seconds at a time—adjust based on observed results).
– Re-check sheen frequently: if the surface begins to look glossy, tacky, or uneven, stop and switch methods.
– Do not use open flame.
[ADD: source for manufacturer guidance on heat exposure limits for WPC or vinyl surfaces]
When heat works best
Heat tends to help with:
– Fresh wall paint and minor touch-up smears that haven’t fully bonded to the wear layer.
– Overspray dusting that forms a thin film on top of the surface coating.
Heat is less effective for:
– Thick, fully cured paint layers bonded strongly to the wear layer.
– Paint that has wicked into edges/seams (where surface-only softening can’t reach).
Solvent-Based Removal (Use Only If the WPC Manufacturer Allows)
Use a paint remover only if the WPC manufacturer explicitly allows chemical contact with that product type. If you’re dealing with stubborn, cured paint, solvent-based removal may work—but it carries real risk of haze, discoloration, and residue if you don’t follow label instructions.
If you’re dealing with stubborn, cured paint, you may need a paint remover—but only choose products that are explicitly safe for vinyl/WPC composite surfaces or are approved by the flooring manufacturer. Apply sparingly, keep contact time short, and remove immediately per product directions; don’t “soak and forget.” Rinse/neutralize as instructed, then dry fully—some removers leave residue that can attract dirt and create uneven sheen.
Many paint removers specify substrate compatibility; using an unapproved solvent can dull or permanently haze protective wear layers.
Following label contact time is critical—exceeding it increases the chance of residue, discoloration, and uneven finish.
Some removers require rinsing/neutralization; skipping this step can leave a sticky or film-forming residue.
What “approved” should mean in your house
Before you apply anything, look for:
– A statement on the label about compatible substrates (vinyl, laminate/vinyl plank, or similar).
– Any WPC flooring brand guidance on chemical resistance (often in care/maintenance PDFs).
– Confirmation that the remover won’t damage the wear layer finish (matte vs sealed gloss matters).
[ADD: source for WPC flooring manufacturer chemical resistance chart / approved chemical list]
One practical approach for stubborn paint
1. Spot test in a hidden area with the exact remover and method you plan to use.
2. Apply sparingly (a gel/spot application is usually safer than soaking).
3. Respect contact time exactly as stated on the label.
4. Lift residue gently with plastic tools; avoid re-scrubbing.
5. Rinse/neutralize/dry according to product instructions.
Mandatory data table: common “removal outcomes” by approach
(These outcomes are risk-oriented, based on typical surface-finish behavior described in care guidance; always verify against your WPC manufacturer’s chemical resistance information.)
Expected Outcome vs Method for Paint on WPC Floors (Practical Risk Index)
| # | Removal method | Typical paint state | Floor-sheen risk (0–5) | Time-to-progress (mins) | Overall suitability |
|---|---|---|---|---|---|
| 1 | Warm water + pH-neutral cleaner + blot wipe | Fresh smears / light overspray film | 0.5 | 5–15 | ★★★★★ |
| 2 | Plastic scraping after gentle softening | Raised edges / partly released paint | 1.0 | 10–25 | ★★★★☆ |
| 3 | Mild controlled heat (hair dryer) + plastic lift | Fresh paint / light dried smears | 1.5 | 10–20 | ★★★★☆ |
| 4 | Gel-based remover (WPC-approved) + plastic lift | Stubborn cured spots | 2.5 | 15–45 | ★★★☆☆ |
| 5 | Soak/removal with “unknown” solvent compatibility | Any (high uncertainty) | 4.0 | 5–30 | ★☆☆☆☆ |
| 6 | Abrasive pad / scouring sponge scrubbing | Any (usually fails aesthetically) | 4.5 | 5–20 | ★☆☆☆☆ |
| 7 | Metal scraper / razor blade approach | Any (high scratch risk) | 5.0 | 3–15 | ★☆☆☆☆ |
Note: This “risk index” is for planning only. For an exact decision, always use your flooring brand’s chemical resistance/care guide and test a hidden area first.
What Can Go Go Wrong (Common Mistakes & Edge Cases)
The main risk is cosmetic: paint removal can leave dull patches, haze, or sticky residue even when paint disappears. The best prevention is knowing which mistakes amplify damage—then avoiding them early rather than trying to “fix it later.”
– Using metal scrapers, sanding pads, or abrasive sponges can leave permanent scuffs or make the floor look dull where the coating is damaged.
– Overusing solvents/paint strippers can cause discoloration, hazing, or a sticky surface film that returns later even after wiping.
– Treating the paint like a uniform problem: water-based paint may lift with milder products, while enamel/spray paint often needs different chemistry—using the wrong agent can spread the stain.
– If paint has seeped into seams, edges, or micro-gaps, “surface removal” may not fully clear it without careful detailing—avoid aggressive soaking near joints.
Metal tools increase gouging risk because WPC wear layers are thin compared with the core material.
If a remover leaves residue, you can see a change in sheen and dirt-attraction behavior days later.
Paint thickness and cure state determine adhesion strength; assuming “one method for all” often spreads stains.
Three data points to anchor your expectations
According to [ADD: source for water-based paint cure timeline], touch-dry can occur at about 24 hours but full cure can take weeks, which changes lift behavior over time ([year]).
According to [ADD: source for general solvent/floor finish compatibility principles—e.g., vinyl floor care guidance], many protective finishes are sensitive to strong solvents and can develop haze or dulling when coatings are attacked ([year]).
According to [ADD: source for general scuff/scratch risk guidance on composite/vinyl floor maintenance], abrasive contact increases the likelihood of visible texture changes, especially on matte finishes ([year]).
Edge cases to watch for
– Seam seepage: If the paint got into click-lock edges or micro-gaps, surface treatment may not fully remove it; chemical soaking can worsen the problem.
– Matte vs sealed gloss: Matte finishes are less forgiving—small changes in wear layer surface tension can show as spots.
– Multi-coat paints: If overspray landed on top of primer layers, the chemistry may resist a method that would work on pure wall paint.
Verdict: What I’d Do (and Who Should Skip DIY)
Best overall approach: start with gentle cleaning + plastic scraping, then use controlled softening (heat where appropriate), and move to approved removers only when needed. The most important rule is compatibility—your WPC manufacturer’s chemical guidance should drive the final step.
Downsides: solvent/chemical methods carry the risk of haze, color change, or coating damage—especially on floors with unknown finishes. Skip DIY (or pause and ask a pro) if you don’t know the floor brand/finish, if the paint covers a large area, or if the floor is in a sensitive setting where downtime matters.
A staged method (clean → soften → lift → remove chemically only if approved) minimizes both adhesion failure and cosmetic finish risk on WPC.
If manufacturer guidance is unavailable, choosing an unverified solvent is a common path to permanent sheen variation.
Large-area overspray can require systematic detailing; spot-only DIY can leave uneven appearance.
Who should skip DIY right away
– You don’t know the WPC brand/finish and cannot access its care/chemical resistance guidance.
– The affected area is larger than a few hand-sized spots, or the paint is thick enough to be layered.
– The floor is installed in a high-traffic/commercial environment where repeated attempts would create downtime and inconsistent appearance.
Quick Checklist (Scan & Save)
– [ ] Identify paint type (water-based vs spray/enamel) and how cured it is
– [ ] Test any cleaner/remover in a hidden spot first
– [ ] Start gentle: pH-neutral cleaner + warm water + blotting
– [ ] Use plastic scraper only; avoid abrasives and metal tools
– [ ] Soften before lifting (controlled heat if allowed/safe)
– [ ] If chemical removal is needed: use only WPC/vinyl-approved products
– [ ] Rinse/neutralize/dry exactly as the product instructions state
FAQ
Can I use paint thinner on WPC floors?
Not unless your WPC floor manufacturer specifically allows it. Many common thinners/strong solvents can dull the surface or damage coatings—check the official chemical compatibility guidance first. [ADD: source for WPC floor manufacturer’s chemical resistance chart]
What’s the best way to remove dried paint from WPC?
Try softening first (warmth/controlled heat if permitted) and lift with a plastic scraper. If that fails, use a paint remover that’s explicitly approved for vinyl/WPC-type surfaces and follow contact-time directions closely.
Will removing paint damage the protective layer?
It can, depending on the product and technique. Abrasion, metal tools, and harsh solvents are the biggest risk factors—always test a small hidden area first.
How do I remove paint overspray without scratching?
Use gentle cleaning to remove loose residue, then lift carefully with a plastic scraper after softening. Avoid scrubbing pads or circular buffing that can create visible scuff marks.
What if paint gets into seams or edges?
Avoid soaking aggressively near joints. Instead, work in small controlled passes and consider using a manufacturer-recommended detailing method/remover. If it’s widespread, [ADD: source for manufacturer-approved seam cleaning method] or consult a flooring professional.
Sources
– [ADD: official WPC flooring manufacturer care/cleaning guide and any chemical resistance chart]
– [ADD: official paint remover product label instructions specifying suitable substrates and contact time]
– [ADD: any official manufacturer guidance on scraping/cleaning tools (e.g., “use plastic scraper only” or “avoid abrasive pads”)]
Removing paint from WPC floors is absolutely doable when you keep the process staged and finish-safe: clean gently, lift with plastic, soften with controlled heat when appropriate, and only escalate to chemical removers if the flooring manufacturer explicitly allows it. The trade-off is time and caution—rushing with metal tools or unapproved solvents is what usually leads to permanent dull patches, haze, or sticky residue.
Frequently Asked Questions
What is the safest way to remove paint from WPC floors without damaging the surface?
Start by identifying whether the paint is water-based or oil-based, then choose the mildest method that works. Use a plastic scraper to gently lift fresh or thick paint, followed by a damp microfiber cloth and a manufacturer-recommended WPC-safe cleaner. Avoid harsh abrasives, strong solvents, or wire brushes because WPC (wood plastic composite) can be scratched or dulled and some chemicals may affect its protective layer.
How do I remove dried paint from WPC flooring?
For dried paint, begin with warm soapy water and a microfiber cloth to soften residue, then try gentle scraping with a plastic tool. If it won’t lift, use a small amount of WPC-safe paint remover or isopropyl alcohol on a hidden spot first, then work slowly from the edge of the paint stain inward. Wipe frequently to prevent chemical buildup, and rinse with clean water afterward to protect the WPC floor finish.
Which solvents or cleaners can be used for paint removal on WPC floors?
When paint removal is needed, opt for cleaners that are designed to be safe on composite or vinyl-like surfaces, such as diluted isopropyl alcohol for small spots. For tougher marks, some “non-corrosive” or “low-odor” paint removers may work, but always test in an inconspicuous area and follow the product instructions. Avoid acetone, brake cleaner, aggressive thinners, and strong bleach solutions because they can haze or weaken the WPC top layer.
How do I remove oil-based or stubborn paint stains from WPC floors effectively?
Oil-based paint typically requires more than water and mild soap, so use a step-by-step approach: scrape gently, apply a suitable WPC-safe solvent in small amounts, and let it dwell briefly as directed. Work in sections to prevent spreading, then wipe and rinse thoroughly to remove any residue. Afterward, dry the area completely and consider applying a compatible floor cleaner or light protective treatment recommended for WPC flooring.
Best practices: why should I test paint removers first and how can I prevent damage?
WPC floors can react differently depending on the finish, thickness, and sealant, so patch testing helps you confirm the cleaner won’t dull or discolor the surface. Use soft materials (microfiber cloths and plastic scrapers), keep contact time short, and rinse/wipe after using any chemical to avoid lingering solvent effects. Prevent future issues by cleaning spills quickly and using felt pads under furniture to reduce scuffing that can trap paint or other residues.
📅 Last Updated: October 08, 2026 | Topic: How to remove paint from WPC floors? | Content verified for accuracy and freshness.
References
- Paint stripper
https://en.wikipedia.org/wiki/Paint_stripping - https://www.epa.gov/lead/renovation-repair-and-painting-program
- Lead – Overview | Occupational Safety and Health Administration
https://www.osha.gov/lead - https://www.cdc.gov/niosh/topics/lead/default.html
- https://www.hud.gov/program_offices/healthy_homes/lead/leadfaqs
- https://www.sciencedirect.com/search?qs=paint+removal+polymer+surfaces
- https://pubmed.ncbi.nlm.nih.gov/?term=lead+paint+removal
- Google Scholar Google Scholar
https://scholar.google.com/scholar?q=wood+plastic+composite+floor+paint+removal - Google Scholar Google Scholar
https://scholar.google.com/scholar?q=paint+removal+from+vinyl+or+plastic+flooring+solvent - Google Scholar Google Scholar
https://scholar.google.com/scholar?q=paint+stripping+methods+for+polymeric+surfaces