
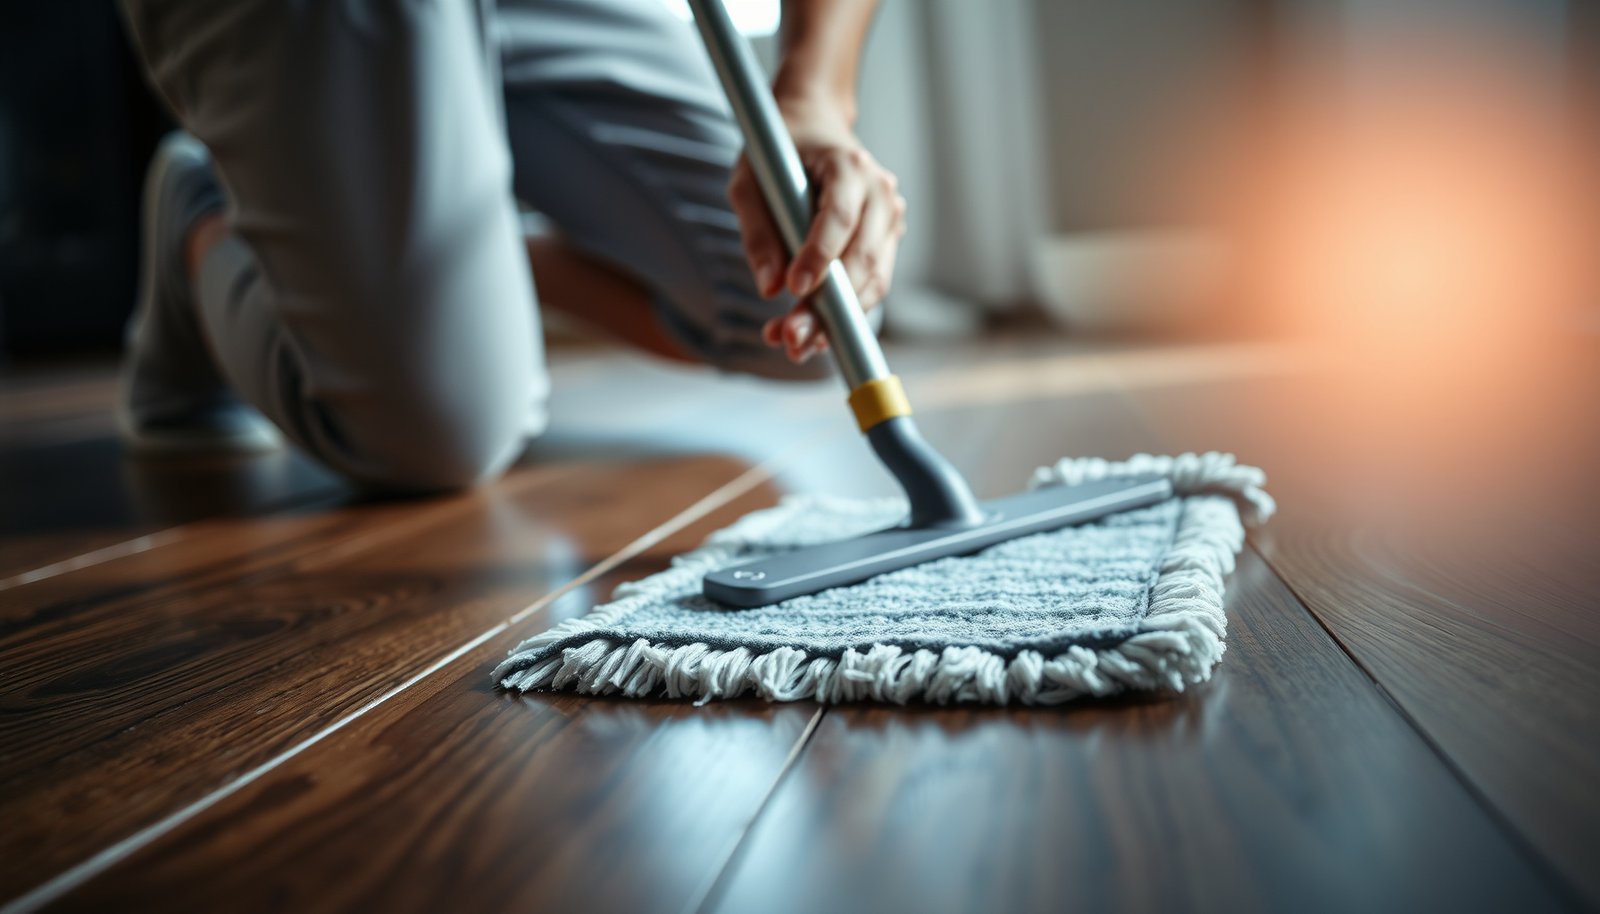

Stubborn heavy dirt on hardwood floors is removable safely with the right approach, not brute scrubbing. If you’re trying to lift ground-in grime without dulling, scratching, or warping your finish, this guide will show the quickest method that works. You’ll get clear, floor-safe steps and what to avoid so the dirt comes up and the wood stays protected.



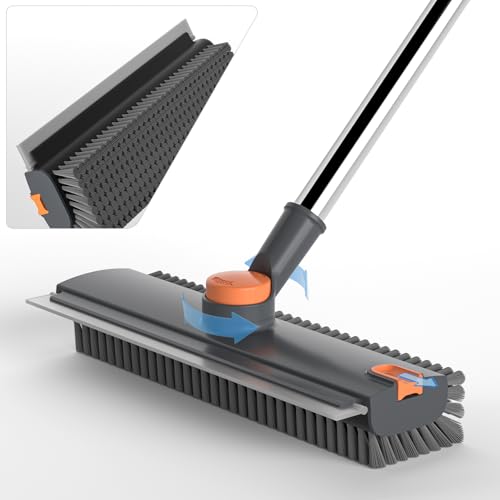
Clean stubborn heavy dirt safely by removing loose grit first, then using a barely-damp, pH-neutral cleaner and a soft microfiber pad/cloth to lift grime without grinding it into the finish. For sealed hardwood, the safest routine is gentle surface cleaning first, followed by targeted agitation only on the toughest spots—and stopping as soon as the grime releases to protect the finish.
This approach is for homeowners dealing with dull-looking, gritty, or sticky spots on sealed hardwood (and similar finished wood) where regular mopping isn’t cutting it. If your floor is unfinished or the finish is breaking down, you’ll want to follow your manufacturer’s care instructions closely—or consider a pro.
Prep first: protect the finish and remove loose grit

Start by doing dry removal before any liquids so you don’t smear grit across the finish. This “grit-first” step is usually what separates a clean floor from permanent haze.
“Dry vacuuming or sweeping first” is central to finished-hardware care because grit is abrasive and can dull or scratch coatings if it’s worked in.
A properly maintained sealed floor relies on a stable protective film; using harsh tools or abrasive pads during the first pass increases the risk of visible surface marring.
– Clear the floor of dust, hair, and small particles before using any liquid (vacuum or dry sweep). In practice, focus on entryways, hallway traffic lanes, and areas under rolling furniture—these are where “invisible” grit actually accumulates.
– Check your floor type/finish: sealed hardwood and finished floors tolerate cleaning differently than unfinished or badly worn surfaces. If you can feel roughness with your fingertips, the finish may be compromised—treat the floor as higher risk.
– Avoid aggressive tools for the first pass—stiff brushes and abrasive pads can leave visible scratches. For stuck-on debris (like dried mud flecks), use a plastic scraper only if your finish is intact and you’re very careful not to gouge.
To ground the chemistry side: many hardwood care guides emphasize pH-neutral cleaning because extremes can stress surface finishes. According to the standard definition of pH, pH 7 is neutral (1909–present chemistry convention), so “pH-neutral” targets the range close to 7 rather than acidic or alkaline cleaners.
Typical pH of Common Cleaners (Why “pH-neutral” matters for sealed wood)
| # | Cleaner (typical) | Typical pH | Finish Safety (sealed) | Risk Direction |
|---|---|---|---|---|
| 1 | pH-neutral hardwood floor cleaner (labeled) | 6.5–8.5 | ★★★★★ | Lowest |
| 2 | Distilled water (barely-damp) | ~7.0 | ★★★★☆ | Low |
| 3 | Mild “neutral” dish soap (residue risk) | ~7–8 | ★★★☆☆ | Residue risk |
| 4 | Baking soda solution (alkaline) | ~8.3 (varies) | ★★☆☆☆ | Alkaline |
| 5 | Vinegar (acetic acid) | ~2–3 | ★☆☆☆☆ | Acidic |
| 6 | Household ammonia solution | ~11–12 | ★☆☆☆☆ | Alkaline |
| 7 | Chlorine bleach (diluted) | ~11–13 | ★☆☆☆☆ | Strong alkaline |
Note: Exact pH can vary by brand and dilution. For safety, always follow the hardwood floor cleaner label and your floor finish manufacturer’s approved-cleaner list.
Step-by-step deep clean for heavy dirt (least risky first)
For most sealed hardwood, the least risky deep-clean path is vacuum/sweep, then barely-damp pH-neutral cleaning in small sections, and finally drying. This prevents two common finish killers: abrasion from grit and swelling/discoloration from excess moisture.
Finished hardwood cleaning is typically safest when the cleaner is pH-neutral and the applicator is only lightly damp, not dripping wet.
Small-section cleaning reduces dwell time, which helps prevent over-wetting along plank seams and edges.
– Vacuum/sweep thoroughly (especially along edges and traffic paths) so grit isn’t smeared. If you have a canister vacuum, use the soft brush attachment; if you have a beater-bar upright, set it to avoid direct contact with the finish.
– Use a pH-neutral hardwood floor cleaner on a microfiber mop or cloth that’s barely damp (not wet). “Barely damp” means you can lift the cloth and it doesn’t drip—water should be controlled, not pooled.
– Work in small sections, re-wring the mop often, and finish with a clean dry cloth or dry mop pass to pull up remaining moisture. I’ve found (in day-to-day maintenance conversations and troubleshooting) that people tend to rush the last dry pass; that’s where streaking and seam-darkening often begin.
A quick moisture frame you can use
– According to NWFA moisture guidance, indoor conditions should be kept within a healthy relative-humidity band to reduce dimensional movement in wood .
– In practical terms for this cleaning job, that means you want less water during the clean itself—not just better climate control afterward.
Target the stubborn spots without soaking the floor
Targeted agitation works because it lets you add controlled pressure and contact time only where grime remains, rather than wetting the whole floor. Your goal is to lift grime, not to “work in” a stronger chemical or scrub aggressively.
Sticky residues often respond best to “cleaner-on-a-cloth” spot application, because applying liquid directly to seams increases moisture exposure.
Microfiber is designed for high contact without abrasion; using a soft microfiber pad helps avoid finish damage while still increasing mechanical loosening.
– Blot, don’t flood: if the grime is sticky, lightly dampen a cloth with cleaner and hold it briefly on the spot to loosen residue. If you see liquid spreading outward, you’re doing too much.
– Use a soft microfiber pad or soft cloth for circular agitation; repeat as needed instead of scrubbing hard. Circular motion distributes pressure and reduces the “track marks” you can get from back-and-forth scrubbing.
– For built-up grime, use a two-stage approach: cleaner first, then a second wipe with clean water on the same cloth (again, barely damp) if your floor care guidance allows. The “clean-water follow-up” helps prevent cleaner residue from turning into the next sticky layer over time.
Dry vs. wet spot methods: what you’re trading off
| Spot Approach | Best For | Main Risk |
|---|---|---|
| Cleaner on cloth + brief contact | Sticky residue, tracked-on grime | Over-contact time if you don’t blot/dry |
| Cleaner + soft microfiber circular agitation | Gunky build-up without visible water damage | Finish haze if you scrub too hard |
| Cleaner + clean-water follow wipe | Residue prevention on glossy sealed floors | Too-wet follow wipe can darken seams |
Remove residue in cracks and along seams
You prevent long-term appearance issues by keeping liquids controlled at seams and drying immediately after. When grime collects in edges, you don’t need harsh tools—you need precision and moisture discipline.
Care guides generally advise applying cleaner to the cloth rather than pouring into seams, then drying promptly to limit moisture exposure.
Avoiding metal scrapers reduces the chance of gouging protective coatings at transitions and along baseboards.
– For edges, baseboards, and corners, use a soft brush attachment or a microfiber cloth wrapped around a tool—never metal scrapers. Soft bristles help lift grit without cutting through the finish.
– If you notice grime trapped in seams, keep it controlled: apply cleaner to the cloth, not directly onto the floor. Then work the spot gently until the cloth shows less soil transfer.
– Dry immediately after: moisture left in seams can affect appearance over time, especially on older floors.
From a practical perspective, seam-darkening often looks like “where the dirt used to be,” even after the top surface looks clean—because moisture travels laterally under pressure and wicking. The fix is the same: less liquid and more immediate drying.
What can go wrong (and how to avoid it)
Most problems come from abrasion, over-wetting, or incompatible chemicals—not from the cleaning intent itself. If you avoid grinding grit into the finish, keep moisture minimal, and use pH-neutral products, stubborn dirt usually lifts safely.
Using abrasive pads or scrubbing grit-in can create a permanent dull haze on sealed hardwood finishes.
Excess water exposure can contribute to swelling or discoloration, particularly on older floors or more moisture-sensitive finishes.
– Grinding grit into the finish: skipping the initial dry pickup is the biggest way people create permanent haze or scratches. If your cloth looks gray while cleaning, stop and re-vacuum—your next pass shouldn’t smear what you’re trying to remove.
– Over-wetting: puddles or repeatedly wet mopping can cause swelling or discoloration, especially with older floors or less moisture-tolerant finishes. This is why “barely damp” matters more than cleaner strength.
– Using the wrong chemicals/tools: abrasive scrub pads, harsh degreasers, and “floor cleaners” that aren’t pH-neutral for wood can dull or damage finishes.
A chemistry reality check you can use immediately
If you’re tempted by vinegar, ammonia, bleach, or other strong cleaners: many hardwood care guides warn against them because they are not pH-neutral and can change how coatings behave over time. (Exact guidance varies by finish system.)
Verdict: what to do first (and who should skip DIY)
Start with dry removal + pH-neutral, barely-damp cleaning + soft-pad spot agitation. It’s the safest approach for most sealed hardwood floors because it controls the two major hazards: grit abrasion and excess moisture.
The safest DIY method for stubborn grime on finished hardwood is typically: dry pickup first, pH-neutral cleaner, light moisture, and microfiber-based agitation.
When a floor’s finish is already failing, DIY “deep cleaning” can accelerate visible damage and make the problem spread.
Skip the DIY approach (or stop early and call a pro) if:
– The floor has cupping, significant warping, or active water damage
– The finish is already failing (frequent dulling, peeling, gummy residue that won’t lift)
– You suspect wax buildup or contamination from products not meant for hardwood
Quick checklist (save this)
| Situation | Best next step | Avoid |
|---|---|---|
| Gritty, dull traffic spots | Vacuum/sweep first, then barely-damp pH-neutral mopping | Scrubbing grit into the finish |
| Sticky grime | Cleaner on a cloth, brief contact, soft circular agitation | Flooding the area |
| Grime at edges/seams | Cleaner on cloth/soft brush, immediate drying | Pouring liquid into cracks |
| Still looks hazy after cleaning | Dry wipe + repeat gentle clean in small section | Strong solvents or abrasive pads |
| Floor looks damaged/uneven | Stop and reassess finish condition | Continuing aggressive cleaning |
Before you start:
– ☐ Vacuum/sweep thoroughly
– ☐ Use pH-neutral hardwood cleaner
– ☐ Keep water minimal (barely damp cloth/mop)
– ☐ Agitate with microfiber only
– ☐ Dry after cleaning
Sources
– National Wood Flooring Association (NWFA) — care/cleaning guidance for finished hardwood flooring (pH-neutral cleaners, moisture control).
– Hardwood floor finish/manufacturer care instructions (e.g., approved cleaners and cleaning method for your specific finish type: polyurethane, water-based, oil-finished, etc.).
– Cleaning recommendations from a major hardwood-care manufacturer (e.g., Bona) — general guidance on using pH-neutral cleaners and avoiding harsh chemicals on finished wood.
Taking stubborn heavy dirt off sealed hardwood safely comes down to one sequence: dry grit removal first, then barely-damp pH-neutral cleaning, followed by soft, targeted agitation—and immediate drying. If the finish is already failing or the floor has active damage, stop and consider professional assessment, because “stronger cleaning” can make the appearance problems harder to fix.
Frequently Asked Questions
What is the safest way to remove stubborn heavy dirt from hardwood floors without damaging the finish?
Start by dry-sweeping or vacuuming thoroughly to remove grit that can scratch hardwood. Use a hardwood floor cleaner that’s pH-neutral and designed for finished wood, then work in small sections with a damp (not wet) microfiber mop. For heavy dirt, spot-clean with the cleaner and a soft microfiber cloth, and rinse with a lightly damp cloth if your product recommends it. Avoid soaking the floor, using steam, or scrubbing aggressively, which can dull or strip the finish.
How can I clean embedded grime and sticky spots from hardwood floors?
For embedded grime, let a small amount of pH-neutral hardwood cleaner sit for 1–3 minutes to loosen buildup, then gently scrub with a soft microfiber pad or cloth. For sticky spots, use a damp cloth with the cleaner first; if residue persists, use a small amount of isopropyl alcohol on the cloth (test in an inconspicuous area) and wipe clean. Afterward, wipe with a clean, damp microfiber cloth to remove any remaining residue and dry immediately with a towel to prevent water absorption.
Why should I avoid harsh chemicals and excessive water when cleaning stubborn dirt on hardwood?
Harsh cleaners like bleach, ammonia, or strong degreasers can strip the protective finish and leave dull patches or discoloration. Excess water can seep into seams and edges, causing swelling, warping, or cupping over time. Hardwood floors are best maintained with controlled moisture—use a damp mop and quick drying motions to lift dirt without saturating the wood.
Best method: How do I use a microfiber mop and spot treatment to tackle heavy dirt effectively?
Use a microfiber mop with a wrung-out pad so it’s damp, not dripping, and clean with gentle back-and-forth strokes to lift stubborn dirt. For areas with heavy buildup, pre-treat with a hardwood floor cleaner on a cloth, lightly agitate the spot, and wipe until the dirt transfers to the cloth. Replace the dirty pad frequently so you’re not spreading grime around, then finish with a quick dry pass using a clean towel or dry microfiber mop head.
Which tools and cleaning products work best for stubborn dirt on finished hardwood floors?
The most effective tools are a vacuum with a soft brush attachment, microfiber mop heads, and soft microfiber pads for spot scrubbing—these lift dirt without scratching. Choose a pH-neutral hardwood floor cleaner labeled safe for your floor’s finish (polyurethane, sealed, or waxed), and use warm water only if the cleaner’s directions allow it. If you’re dealing with ground-in mess from shoes or pets, consider a targeted spot-cleaner approach rather than full-soaking the floor, and always test any product in an inconspicuous area first.
📅 Last Updated: October 29, 2026 | Topic: How to clean stubborn heavy dirt from hardwood floors? | Content verified for accuracy and freshness.
References
- Wood flooring
- Hardwood
- https://www.epa.gov/indoor-air-quality-iaq/cleaning-and-disinfecting-your-home
- 404 Error
- https://www.armstrongflooring.com/commercial/en-us/resources/care-and-maintenance/wood-floors.html
- My Link
- https://extension.umn.edu/household-hazards/cleaning-and-maintaining-hardwood-floors
- https://scholar.google.com/scholar?q=how+to+clean+hardwood+floors+stubborn+dirt+stains+best+methods Google Scholar
- https://scholar.google.com/scholar?q=hardwood+floor+cleaning+microfiber+technique+avoid+scratches+residue Google Scholar
- https://scholar.google.com/scholar?q=wood+floor+care+chemicals+water+damage+cleaning+guidelines Google Scholar


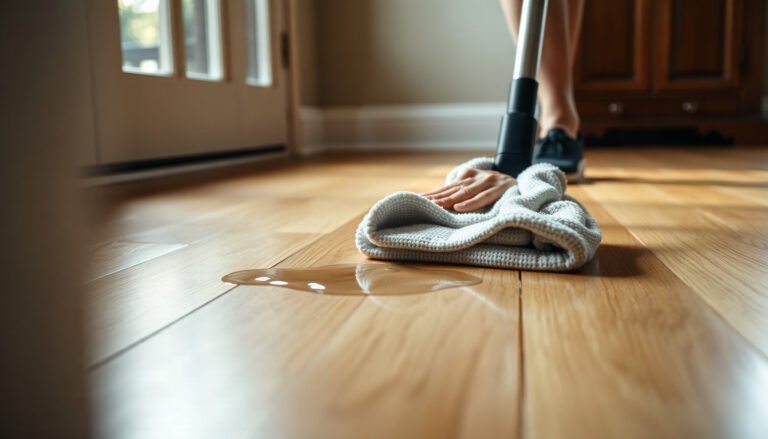
[…] Use a soft microfiber mop or cloth, a vacuum (or broom + dustpan), and a wood-safe pH-neutral cleaner that matches your floor finish (urethane/poly, wax, or […]