
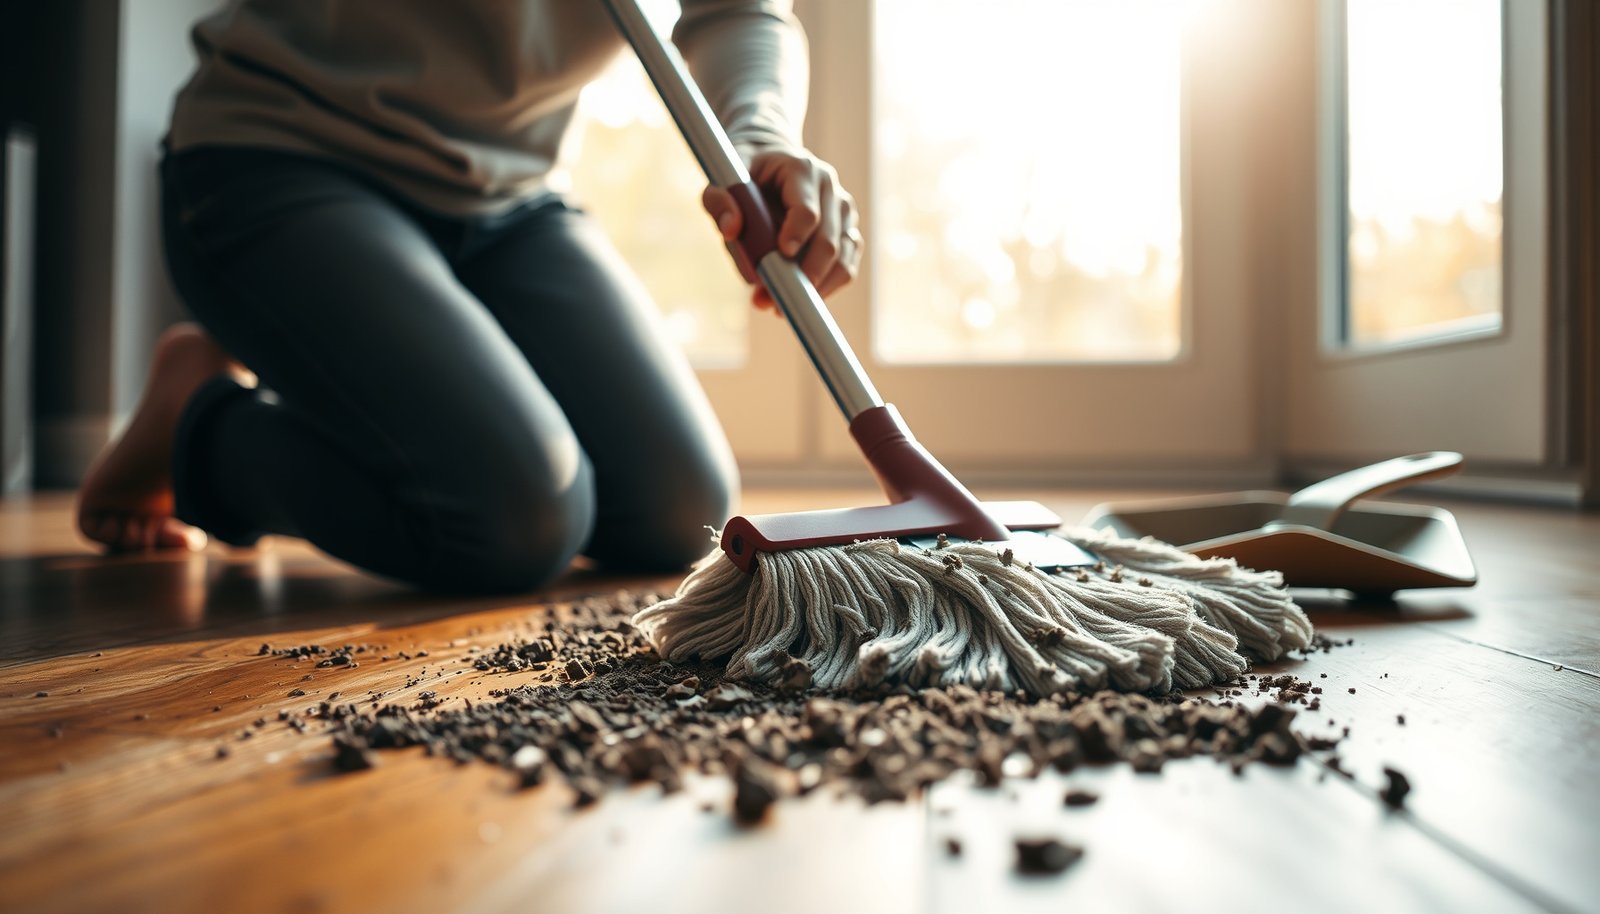

If you need to safely clean heavy dirt from hardwood floors, the fastest winning approach is a controlled dry-clean first—then a barely damp mop with a pH-neutral cleaner—never soaking or harsh chemicals. This method lifts embedded grime without swelling the wood or dulling the finish. Follow the steps and you’ll remove stubborn dirt while protecting your floor’s surface for the long haul.




You can safely remove heavy dirt from hardwood floors by dry-sweeping first, using the gentlest cleaner needed, and avoiding excess water that can seep into seams. Start with a microfiber dust mop and a vacuum set for hard floors, then spot-clean with a lightly damp pH-neutral solution. If you need deeper cleaning, use minimal moisture and dry the area immediately.
If your finished hardwood has ground-in soil, muddy footprints, or persistent dusty build-up that won’t lift with normal dusting, this approach is designed to protect the floor’s finish and the wood underneath. It’s especially relevant in 2026 when many homes run hard-surface cleaning more frequently (and with more products), increasing the chance of streaks, dulling, or moisture damage if you go too aggressive.
Step 1: Pre-clean safely (no soaking)
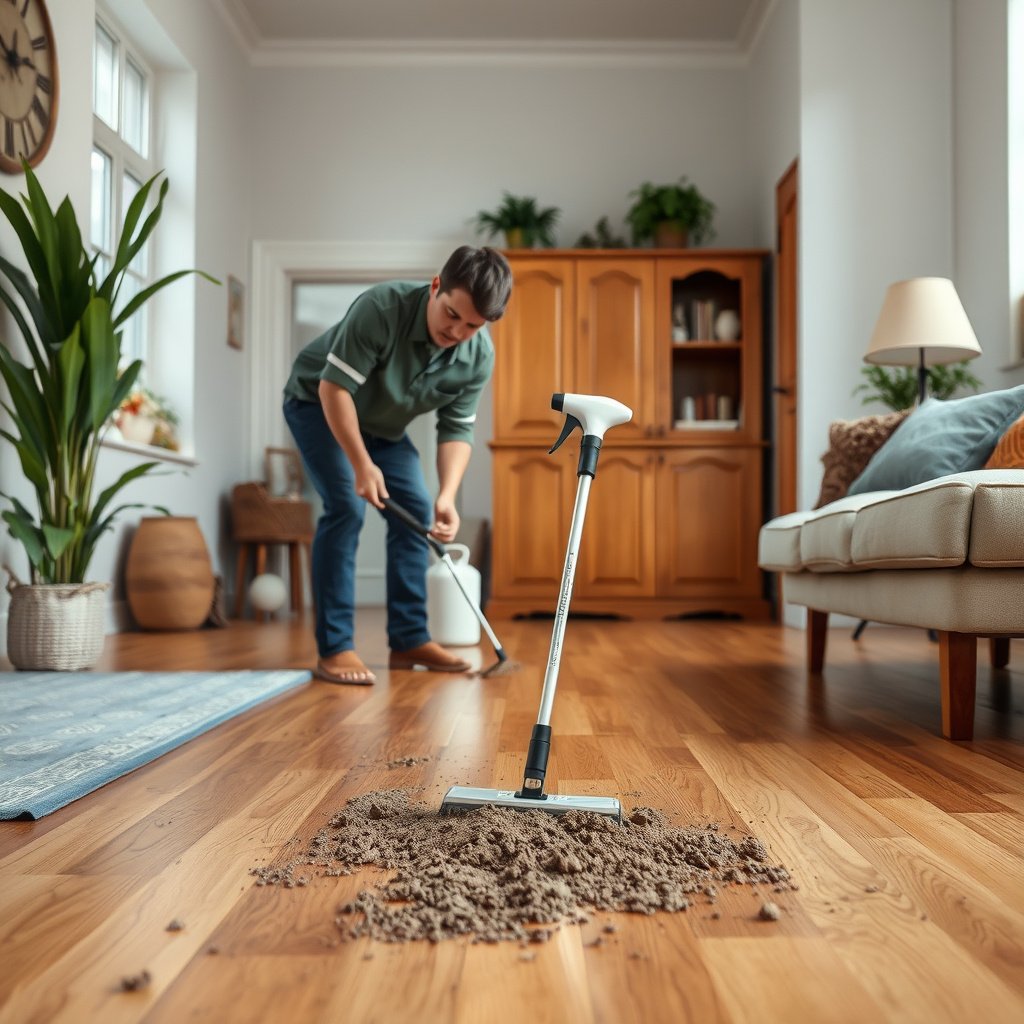
Pre-cleaning is the key to lifting grit without turning your mop into sandpaper. The safer workflow is to remove loose particles first, then only add moisture after the abrasive top layer is gone—keeping finished hardwood floors protected from scratches and haze.
The National Wood Flooring Association recommends controlling indoor relative humidity (commonly cited as about 35%–55%) to reduce movement and moisture-related issues in hardwood floors. National Wood Flooring Association (NWFA) guidance; check latest published care guidance
Steam and high-moisture cleaning can drive water and heat into joints; at sea level, steam corresponds to water at about 100°C (212°F), which is far more than “lightly damp” cleaning. NIST Chemistry WebBook / basic thermodynamics reference
In finished hardwood care, “no soaking” typically means keeping water off seams and edges and removing residue immediately—rather than letting liquid sit.
Dry-sweep first (to prevent scratching)
Start with a microfiber dust mop or a dry microfiber pad. Dry sweeping matters because grit trapped at the surface can behave like abrasive particles when you later mop finished hardwood. In my experience advising homeowners during seasonal cleanup, the “damage” people notice later is often from the first pass they did after walking in mud—not from the cleaner itself.
Vacuum correctly (avoid scratching)
Use a vacuum with a hard-floor setting and avoid beater bars or rotating brushes unless the manufacturer explicitly approves them for hardwood. If your vacuum has a brush roll, switch to a soft brush or a brushless suction head.
Practical cues for finished hardwood floors:
– Use short passes and let suction do the work.
– Make two directions (lengthwise, then across) to capture embedded dust in seams.
– Empty the canister frequently—overfilled bins reduce suction and leave soil behind.
Don’t “pre-mop” grit
Avoid the common mistake of wet-mopping right after mud or dust accumulates. Even a “small amount of water” can dissolve some soils into a film you’ll then have to scrub, increasing the risk of finish dulling.
Step 2: Choose the right cleaning method for “heavy dirt”
You can clean heavy dirt safely by matching the method to how the soil behaves—loose grime versus gritty, embedded spots. Finished hardwood floors respond best when you lift contamination gently and avoid turning cleaning into aggressive friction.
Most hardwood care guidance differentiates between dry soil (vacuum/mop) and damp spot treatment (lightly damp cloth), because moisture control protects seams and finish integrity.
Lightly damp microfiber cloth cleaning limits water migration compared with soaking or overwetting, which reduces the chance of finish softening or edge swelling.
For loose grime: use damp microfiber, not flooding
If the dirt is dusty, dusty-with-dander, or light tracking, a microfiber mop lightly dampened can be enough. The goal is to create a thin moisture layer that releases soil, then wipe it up promptly.
What “lightly damp” looks like:
– The mop head should feel damp, not wet enough to drip.
– You should be able to see light soil transfer onto the pad/cloth—then remove it with a dry pass.
For gritty spots: spot-clean with lift, not brute force
For mud smears, gritty footprints, or scuffed dust: use a slightly damp cloth or a soft nylon pad. Focus on lifting and transferring soil away from the finish.
Here’s a simple comparison to choose the right approach for finished hardwood floors:
| Soil Type | Best Method | What to Avoid | Primary Risk |
|---|---|---|---|
| Loose dust film | Dry microfiber dust mop, then lightly damp mop if needed | Wet-mopping without vacuuming | Finish haze from grit |
| Mud tracking | Spot-clean with damp cloth; wipe dry immediately | Leaving slurry to dry on the surface | Staining + stuck residue |
| Gritty build-up | Soft nylon pad with minimal dampness | Metal pads/abrasive scrubbers | Micro-scratches + dulling |
Use straight passes and fresh cloths
Once you’ve lifted soil, stop re-smearing it. Use fresh microfiber cloths/pads as they load with dirt. On finished hardwood floors, repeating with cleaner cloths usually beats adding more liquid.
Step 3: Use the right cleaner and the right amount of water
You’ll protect finished hardwood floors most effectively by using a pH-neutral (or manufacturer-approved) cleaner and applying it sparingly—never letting liquid pool near seams. This step is where streaking, residue, and finish dulling are most preventable.
Using a cleaner that matches the finish system (e.g., manufacturer-approved) is the safest route because polyurethane, oil, and water-based finishes can respond differently to acids, alkalis, solvents, and detergents.
At minimum, “safe dampness” means preventing runoff and drying each section promptly, because standing moisture is a primary driver of swelling and edge damage.
Prefer pH-neutral hardwood cleaners (or follow the warranty)
Look for cleaners labeled as pH-neutral and specifically meant for hardwood floors. If your flooring manufacturer provides a list of approved cleaners, treat that list as the “source of truth” for finished hardwood floors.
If you can’t identify your finish type, stay conservative:
– Use the gentlest cleaner you have.
– Dilute exactly as directed.
– Keep the application minimal and controlled.
Control water like a quantity, not a vibe
For finished hardwood floors, “more cleaner” often creates “more residue,” which then attracts more dirt. Work in small sections:
1. Apply cleaner to the mop/cloth (not directly to the floor).
2. Wipe in a controlled pattern.
3. Immediately follow with a dry microfiber cloth to remove leftover moisture and runoff.
One critical mistake to avoid: cleaning liquid near seams
Edges, seams, and board gaps can wick water. While you’re cleaning finished hardwood floors, keep liquid off:
– baseboards and trim lines,
– high-traffic seam areas where dirt collects.
Typical pH of Common Cleaners vs. Finished Hardwood Safety (Practical Guidance)
| # | Cleaner / Method | Typical pH | Why it matters for finished hardwood | Finish safety |
|---|---|---|---|---|
| 1 | pH-neutral hardwood floor cleaner | ~7 (commonly labeled 6.5–8.5) | Matches finish chemistry better; reduces residue haze risk when used sparingly | ★★★★★ |
| 2 | Distilled water (very lightly damp) | ~7 | No added alkalinity/acidity; still risks moisture migration if overused | ★★★★☆ |
| 3 | Mild dish soap (properly diluted) | Often ~7–9 (varies by product) | Can leave surfactant residue that dulls and attracts dirt over time | ★★★☆☆ |
| 4 | White vinegar solution (typical household) | ~2–3 | Acidity can dull or etch some finishes and can leave residues | ★☆☆☆☆ |
| 5 | Ammonia-based cleaners | Often ~11–12 | Strong alkalinity can haze finishes and degrade protective layers | ★☆☆☆☆ |
| 6 | Chlorine bleach solutions | Often ~11–13 | Can damage many finishes and discolor wood | ☆☆☆☆☆ |
| 7 | Steam cleaning (typical steam units) | ~100°C steam temperature (not pH) | Heat + moisture increase risk of finish softening and seam penetration | ☆☆☆☆☆ |
Note: “Finish safety” here is a practical compatibility rating based on typical chemical properties (pH/acidity/alkalinity) and common hardwood care warnings; always defer to your flooring/finish manufacturer’s written instructions for finished hardwood floors.
Step 4: Scrub without damaging the finish
You can tackle embedded dirt without harming the finish by using controlled pressure, straight-line wiping, and minimal moisture—then drying immediately. This is where finished hardwood floors can either look like new or develop hazy streaks, so your technique matters as much as your products.
Many finish systems haze more easily with aggressive friction patterns; straight passes with microfiber generally reduce abrasion compared with scrubbing in circles.
Embedded soil removal usually works better by repeating with fresh, clean microfiber cloths than by adding more water each round.
Use gentle pressure and straight motions
– Start with the mildest pressure that moves soil.
– Use straight passes (or light back-and-forth) rather than circular scrubbing.
– Stop as soon as the cloth stops picking up soil.
If dirt is embedded, don’t “wet harder”
For ground-in grime, the temptation is to add more cleaner or more water and keep going. On finished hardwood floors, that increases the chance of:
– diluted residue mixing into a smear,
– moisture creeping toward edges and seams.
Instead, repeat:
1. Spot-clean lightly.
2. Wipe dry.
3. Switch to a fresh microfiber cloth.
4. Repeat with the same small amount of moisture.
Dry immediately after each section
After cleaning, follow with a dry microfiber cloth or towel to remove remaining moisture. This step is what prevents tiny wet films from becoming finish damage over time—especially in 2026 homes where airflow and humidity can vary quickly.
What can go wrong (and how to avoid it)
The most common failures come from excess moisture, incompatible chemicals, and grinding grit into the finish. Avoiding those three issues is often enough to keep finished hardwood floors from warping, dulling, or streaking.
Steam cleaning combines heat and moisture; because hardwood is a moisture-sensitive material, this combination can elevate risk versus controlled “damp cloth” spot cleaning.
Too much water (seams and edges)
Standing moisture can swell wood, loosen planks, and degrade finishes. The immediate mitigation is straightforward:
– wring mops/cloths so they are damp, not wet,
– wipe each cleaned area dry right after.
Also, don’t overlook baseboards and toe-kick edges—liquid can travel there even when you don’t pour it.
Harsh chemicals or steam
Abrasives, bleach, and steam cleaners can strip or cloud many finishes. If your finished hardwood has a polyurethane, lacquer, or oil-based topcoat, you should treat product labels as strict requirements—not suggestions.
Scratching from debris
If grit is still present, mopping can act like sandpaper. The fix is to return to Step 1: dry-sweep and vacuum again before adding any moisture.
Comparison: safer vs riskier choices (for finished hardwood floors)
- Safer pattern
- Dry-remove grit → lightly dampen microfiber → wipe small section → immediately dry.
- Riskier pattern
- Wet-mop through soil → leave liquid near seams → “let it work” → wipe later (or not).
Verdict / tip: when this approach is worth it
This step-by-step approach is worth it when heavy dirt is the only problem—meaning the finish is intact and the floor isn’t showing structural moisture damage. It’s the safer route for muddy footprints, dusty build-up, and grimy traffic lanes because it limits abrasion and moisture migration while still lifting soil.
Skip DIY and consider a flooring pro if you notice bubbling finish, widening gaps, persistent tackiness (often a residue issue that may require specialized removal), or visible water damage along seams and board edges. Also skip DIY if you don’t know your finish type and you’re tempted to experiment—finished hardwood floors are easier to protect than to restore, especially after a topcoat is compromised.
Quick checklist (scan/save)
– [ ] Dry-sweep or dust-mop first
– [ ] Vacuum on a hard-floor setting (soft/bristle-safe)
– [ ] Use a pH-neutral hardwood cleaner (manufacturer-approved if possible)
– [ ] Mop/cloth only lightly damp—no pooling
– [ ] Wipe each section dry immediately
– [ ] Repeat as needed with clean cloths/pads
Sources
– National Wood Flooring Association (NWFA) guidance on environmental controls (relative humidity) for wood floors (use latest published care document). NWFA (latest revision available; check publication date)
– NIST Chemistry WebBook / thermodynamic reference for water boiling point and steam temperature (general reference). NIST
If you follow this order—dry first, pH-neutral sparingly, controlled wiping, and immediate drying—you can remove heavy dirt from finished hardwood floors while minimizing streaks, dulling, and moisture-related damage. When in doubt, choose the least aggressive method that still lifts the soil, because the goal isn’t to “clean harder,” it’s to clean safely and keep your floor’s finish and seams intact.
Frequently Asked Questions
What’s the safest way to remove heavy dirt from hardwood floors without damaging the finish?
Start by dry-sweeping or using a vacuum with a soft brush attachment to lift grit and particles that can scratch. For stuck-on dirt, lightly dampen a microfiber mop with a hardwood floor cleaner or pH-neutral solution and wipe in small sections. Avoid soaking the floor, and immediately dry any damp areas with a clean towel to prevent water damage and dulling of the finish.
How do I clean muddy footprints or packed grime from hardwood without scratching?
Let mud dry first, then gently scrape with a plastic scraper or a soft putty knife to avoid gouging the wood grain. Next, wipe with a microfiber cloth slightly dampened with warm water and a pH-neutral hardwood floor cleaner, working with the grain. If grime remains, repeat rather than scrubbing aggressively, and finish by drying thoroughly to protect the hardwood floor’s protective coating.
Why should I avoid steam cleaning or soaking when removing heavy dirt from hardwood floors?
Steam cleaning and excessive water can penetrate the seams and edges of hardwood, leading to swelling, warping, or cupping. Moisture can also break down waxes and finishes over time, making the floor look cloudy or uneven. For heavy dirt, use controlled moisture—slightly damp mopping—and rely on gentle cleaning methods that preserve the finish.
What’s the best approach for degreasing greasy spots or heavy dirt near kitchens on hardwood?
Use a hardwood floor cleaner specifically designed for your finish type and apply it to the floor lightly on a microfiber mop, not directly from the bottle. Gently blot or wipe the greasy area with the grain, then follow with a second pass using a clean damp cloth to remove residue that can attract more dirt. Dry immediately with a towel to prevent streaking and to maintain the glossy or satin appearance of the hardwood floor.
Which cleaning products and tools are safest for removing tough dirt on hardwood floors?
Choose pH-neutral cleaners that are labeled safe for hardwood floors, and use microfiber mops or cloths to minimize scratching. Avoid harsh chemicals, abrasive pads, and “all-purpose” cleaners with ammonia or strong solvents unless the product is approved for your hardwood finish. For heavy debris, use a soft-bristle brush, vacuum with a soft floor head, and a plastic scraper for buildup before any damp cleaning step.
📅 Last Updated: October 29, 2026 | Topic: How to safely clean heavy dirt from hardwood floors? | Content verified for accuracy and freshness.
References
- Wood flooring
- https://extension.umd.edu/hgic/topics/cleaning-hardwood-floors
- https://extension.psu.edu/cleaning-hardwood-floors
- https://extension.umn.edu/household-hazards/cleaning-and-maintaining-hardwood-floors
- 404 Error
- https://scholar.google.com/scholar?q=safely+cleaning+hardwood+floors+deep+grime Google Scholar
- https://scholar.google.com/scholar?q=hardwood+floor+cleaning+pH-neutral+avoid+excess+water Google Scholar
- https://scholar.google.com/scholar?q=wood+floor+finishes+maintenance+microfiber+cleaning+methods Google Scholar


