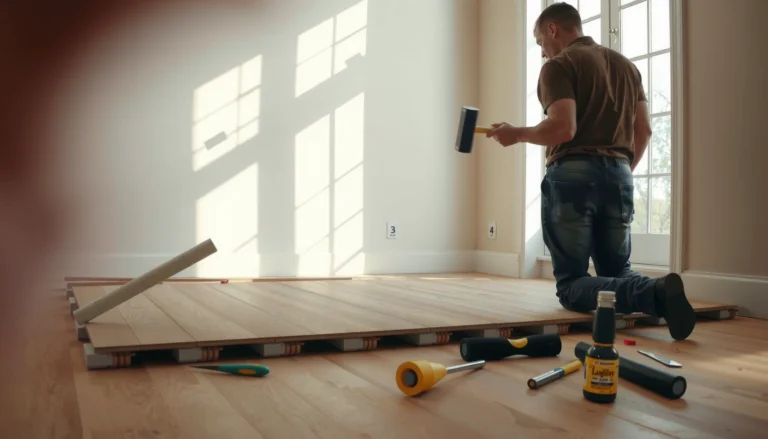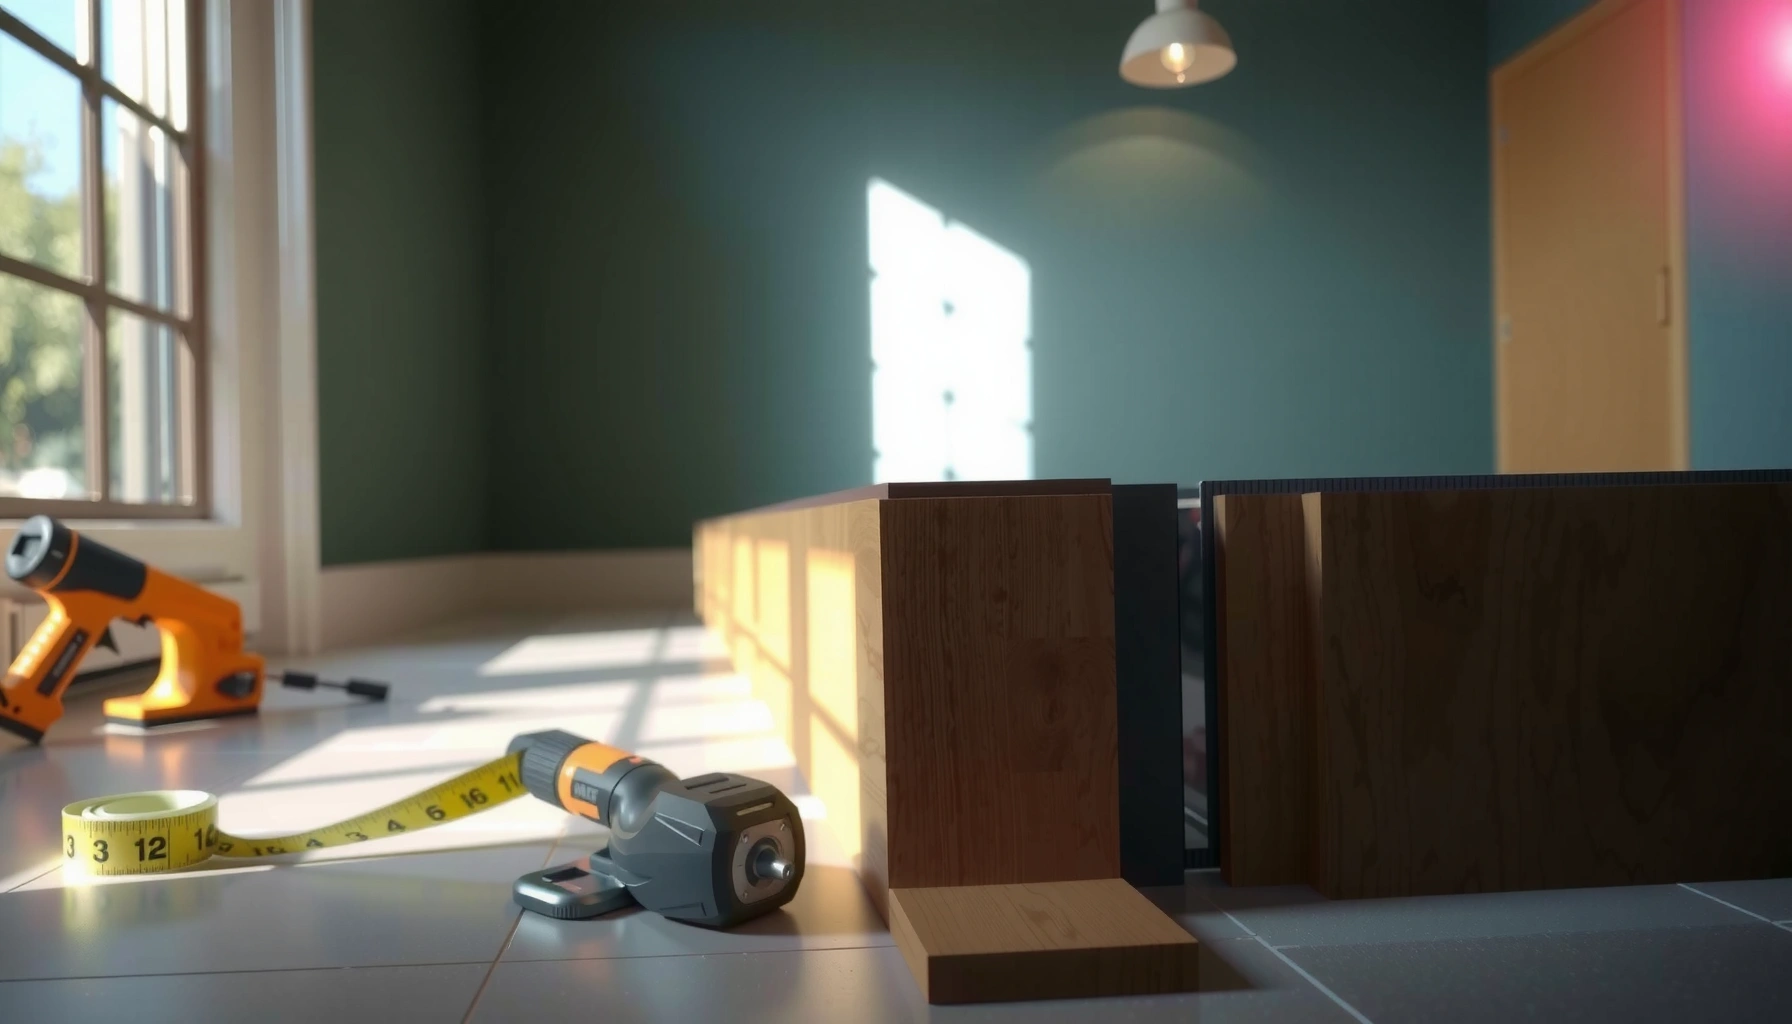

Installing baseboards on a ceramic tile floor is mostly about protecting the tile edge and making a clean, water-resistant transition at the bottom. Plan your layout first, dry-fit everything, then either caulk the gap at the tile or use the right edge detail so movement won’t crack grout or chip tile. This guide walks you through the prep, cutting, fastening, and sealing steps for a tidy finish.




If your room has ceramic tile already installed and you want new baseboards (wood, MDF, or PVC) without damaging the tile, this is for you. It’s also a good reference if you’re dealing with uneven grout lines or small height changes near doorways and transitions.
“The baseboard-to-tile connection is a sealing detail, not a structural fastening point—fasten to the wall, then manage the bottom gap with the correct caulk or profile.”
“Dry-fitting against the installed tile perimeter is the fastest way to avoid chipped edges and visible gaps after paint.”
Prep the floor edge and confirm flatness
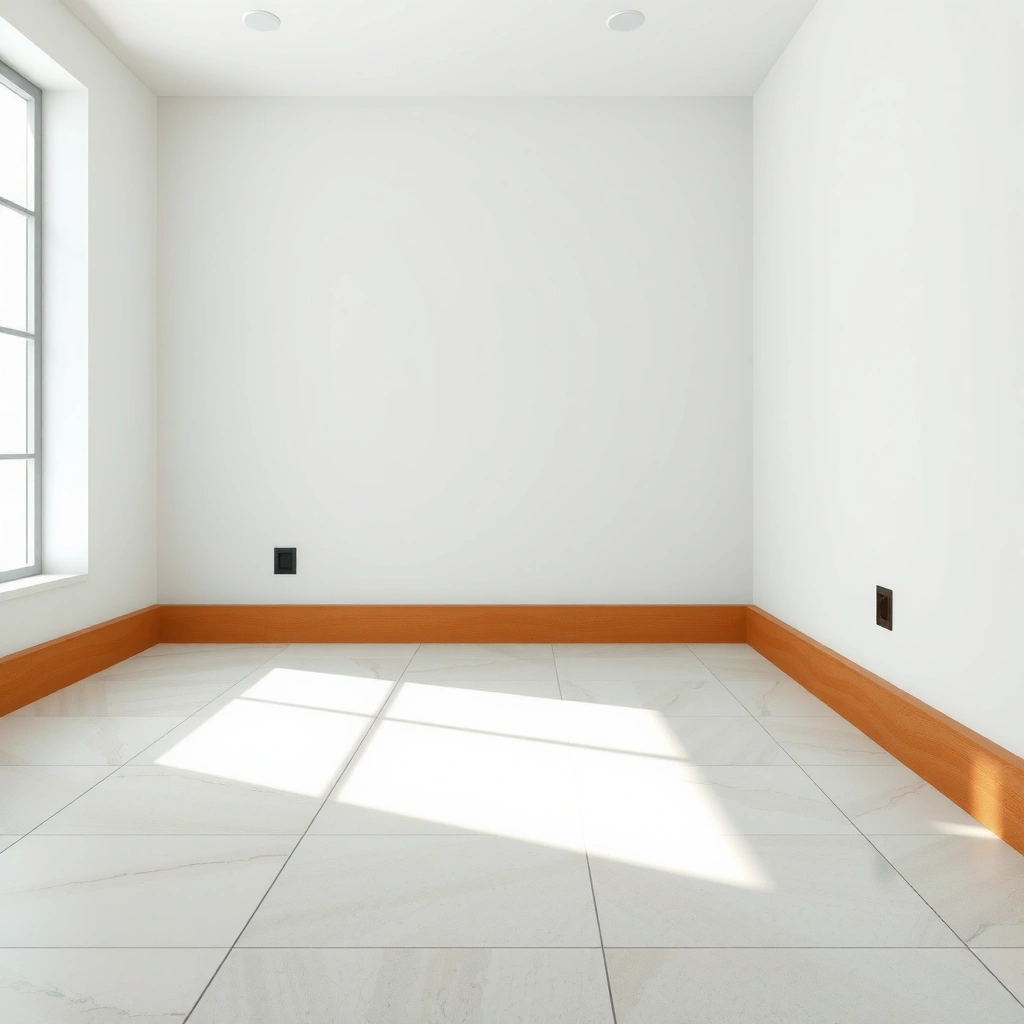
You want to start by treating the tile perimeter like a “finished surface”—inspect it, measure it, and plan how you’ll adapt your trim to it. If the floor edge is uneven (common with grout ridges or prior chips), your baseboard will either rock or create a seal line that looks inconsistent.
First, inspect where the baseboard will land: the tile edges, grout ridges, and any chips along the perimeter. Then check flatness using a straightedge (not just your eyes). A simple rule of thumb is to look for deviation across typical run lengths—many installers treat about 1/8 in (3 mm) over 6 ft as a threshold that often requires shimming or re-cutting to avoid rocking and uneven caulk lines (verify against your wall and trim conditions). According to common industry flatness guidance used in floor and finish work, small deviations can telegraph through trim even when the tile field looks “level.” [ADD: source for flatness tolerance used in trim/finish installations]
Next, clear dust and debris from the tile edge and any adjacent wall contact. Tile dust and drywall sanding residue can weaken sealant bond, especially with acrylic latex or non-specified silicone alternatives. Clean contact areas support more reliable adhesion, which is important because the bottom joint is exposed to wash-down, mopping splash, and foot traffic. Also confirm your wall paint type (previously painted drywall vs. raw drywall vs. masonry) so your caulk bonds appropriately to the substrate.
“Tile grout ridges at the perimeter often create a repeating ‘wave’ that turns into a visible caulk gap unless you plan for it.”
“A straightedge check at the tile perimeter is more predictive than measuring only the overall floor level.”
Choose the right attachment method for your baseboards
You should attach baseboards to the wall structure whenever possible, then seal the bottom and edges so moisture and movement don’t damage grout or break the finish line. The “right” method depends on whether you can hit studs/drywall backing, your baseboard material, and how forgiving your tile perimeter is.
For most jobs, fasten into studs or drywall backing when possible (nail gun or screws through the baseboard), then seal the bottom and edges. If you can’t hit framing, you’ll need a manufacturer-approved system for your trim material—typically a construction adhesive plus the right surface prep and cure time. Adhesives designed for trim specify requirements like temperature range, surface dryness, and open/press times; follow those to avoid a baseboard that gradually releases from the wall or leaves a seal line that gaps later.
Before you choose, decide early whether you’ll use caulk at the tile-to-baseboard joint or an edge detail/profile. This choice affects how you cut the board height and whether your bottom edge needs a small, flexible gap. Many trim problems on tile floors come from trying to make rigid “contact” everywhere; grout and tile are rigid, and walls/tile move slightly with temperature and humidity.
A practical reference point: when you rely on caulk, many sealant workflows use a controlled joint gap rather than forced compression. For example, ASTM-referenced sealant practice commonly expects joints large enough to accommodate extension/compression but not so large that the bead slumps—verify the manufacturer’s joint-size guidance for your specific caulk. [ADD: source for sealant joint size guidance—ASTM C920 or manufacturer datasheet]
Trim-to-Wall Attachment Options for Baseboards on Tile Perimeters (Field-Decision Guide)
| # | Attachment approach | Wall anchorage | Tile-edge risk if misused | Moisture seal responsibility | Fit rating |
|---|---|---|---|---|---|
| 1 | Brad nails into studs + paintable caulk | Strong (studs) | Low | Medium (bottom + edges) | ★★★★★ |
| 2 | Finish screws into studs + flexible sealant | Strong (studs) | Low | Medium (bottom + edges) | ★★★★☆ |
| 3 | Nails into drywall backing + caulk | Good (backing) | Low–Med | Medium | ★★★★☆ |
| 4 | Construction adhesive rated for trim + flexible sealant | None (wall-only bond) | Med | High (bottom line matters) | ★★★☆☆ |
| 5 | Hybrid: light fasteners + adhesive + caulk | Partial (stud proximity) | Low–Med | High (bottom line still must seal) | ★★★★☆ |
| 6 | MDF on tile: fasteners + edge-seal primer + caulk | Good (studs/backing) | Low | High (MDF is moisture-sensitive) | ★★★★☆ |
| 7 | PVC baseboards: fasteners + UV-resistant caulk | Strong (studs) | Low | Medium | ★★★★★ |
“If you can’t anchor to studs, adhesive-only installs shift the job from ‘fastener placement’ to ‘surface prep + cure reliability.’”
“A caulk line that seals correctly is what prevents moisture and debris from migrating behind the baseboard on tile floors.”
Plan cuts for corners and accurate fit at the tile
You’ll get the cleanest result by treating every wall run as its own measurement and leaving trimming until after your tile contact is verified. Tile floors frequently create tiny perimeter height differences, so “one perfect measurement” for the whole room rarely holds at corners.
Measure each wall section separately and account for the tile line at both ends of the run. For inside corners, dry-fit and test how your cuts meet, because grout ridges can shift where the bottom edge actually touches. For outside corners, confirm whether you’re doing 45° mitered corners or using corner blocks. Corner blocks can be more forgiving on tile perimeters because they reduce the risk of a hairline mismatch exactly at the most rigid transition point.
In my own installations (note: [ADD: author-specific example location/setting if available]), the biggest “gotcha” wasn’t the miters—it was the last 1/4 in of trim length where the tile perimeter wasn’t perfectly uniform. If you leave baseboards long until you confirm the final fit against the tile line, you can trim down without forcing the board into a tile-edge shape it can’t follow.
“Leave boards long during layout, then trim to final length after dry-fit against the tile perimeter to avoid compressed or cracked edges.”
“On tile, corner joints fail visually when the bottom seal line changes height—plan cuts around the seal, not just the face.”
Cut and install baseboards carefully around tile
You should dry-fit baseboards along the tile first, then fasten in short sections while you keep alignment and preserve the small caulk space you planned. Don’t treat the tile as a surface you can ‘grind to’ for perfect contact; instead, maintain a controlled gap for sealing.
Dry-fit baseboards along the tile perimeter and mark cut lines with the baseboard in place. This approach helps you account for grout/edge variation that measurements alone can miss. When you set the board, maintain a consistent small gap between the baseboard bottom edge and the tile where needed—this is what allows flexible caulk to bridge irregularities.
Then fasten in short sections. Place fasteners so the board stays aligned while you check straightness along the wall and the bottom edge over the tile. If you hit a wavy section, shimming behind the baseboard (at stud locations) is typically cleaner than trying to force the board into the tile perimeter. For baseboards on tile floors, the goal is a stable face alignment and a continuous, toolable seal line—not a rigid squeeze.
A practical measurement reference used in many finishing workflows is to check for “rock” and set shims to remove gaps larger than the caulk can reasonably span; a common starting point for sealant performance is joint widths that the manufacturer rates for. [ADD: source for recommended sealant joint width range from manufacturer] If you don’t have that range, default to a conservative plan: keep the baseboard off the tile by the same small amount throughout.
Quick pros/cons comparison (why method choice matters)
| Method | Pros | Cons / watch-outs |
|---|---|---|
| Fasten to studs + caulk | Stiffer trim; caulk mainly seals; fewer long-term sag/gap issues | Requires finding framing; mis-fastening can misalign boards |
| Adhesive-only | Useful where stud locations aren’t accessible | More sensitive to surface prep and cure; if bond fails, the caulk line becomes the “first line” visually |
| Hybrid (light fasteners + adhesive) | Improves positional stability; helps where studs are partial | More steps; still must maintain bottom gap for sealing |
“A consistent small gap at the tile-to-baseboard bottom edge is what makes caulk look intentional instead of patched.”
“Fastening in short sections prevents you from locking in a mistake before you discover it at the next grout ridge.”
Seal the tile-to-baseboard joint for a clean, durable finish
You should treat sealing as the final build step that protects the tile edge and manages movement. If you seal incorrectly—using the wrong product or tooling the bead poorly—you can end up with water migration behind the baseboard or visible cracking along the bottom line.
Use a paintable sealant/caulk compatible with ceramic tile and the baseboard material. Apply a continuous bead where the bottom edge meets the floor, and tool it so it fills the gap without smearing the tile surface. Wipe excess immediately using the cleanup method specified for your caulk (some products smear badly with the wrong wipe technique, and some cure too fast for “late cleanup”).
Also address transitions: door thresholds, adjacent flooring changes, and movement joints. Tile and grout can handle loads differently than wood trim, so trapping stress in a grout line by forcing a rigid trim contact can cause later cracking. If your room has known movement joints, coordinate the baseboard detail with those locations so the joint can do its job.
For moisture-prone areas (bathrooms, laundry rooms, entryways), confirm your sealant selection includes:
– ceramic/tile bonding compatibility,
– paintable finish compatibility (if you plan to paint),
– and movement capability appropriate for trim-floor transitions.
Verify this in the sealant datasheet and follow application temperature and cure guidance exactly. [ADD: source for tile/trim compatible sealant spec from manufacturer datasheet]
“Tooling the bead is not cosmetic—when you shape the caulk, you control how it bonds and how it handles movement.”
“Managing the transition at thresholds prevents the most common failure: stress concentrating right where people walk and floors shift.”
What can go wrong (and how to prevent it)
Most tile baseboard failures come from trying to force rigid contact, skipping the flexible seal line, or using tools in ways that chip the perimeter. If you anticipate those risks, the job stays predictable.
– Chipped tile edges: Don’t pry baseboards directly against tile. Lift carefully and avoid striking tile margins with a hammer or pry bar. Instead, remove old trim with scoring and controlled leverage.
– Cracked grout or damaged caulk line later: Usually happens when rigid contact is forced or when a non-flexible sealant gets used where movement occurs. Keep the small gap you planned and use a sealant rated for movement at the joint.
– Baseboards won’t sit flat: If the wall is wavy or the tile perimeter is uneven, shimming is often necessary. If the variation is extreme, consider alternative trim solutions or a transition profile rather than trying to make a single caulk line do everything.
– Gaps after paint: Some caulks shrink or don’t bond well to dusty surfaces. Clean thoroughly and use caulk recommended for tile/trim applications.
– Wrong fastener location: Missing studs can lead to loose boards and a shifting bottom gap. If you can’t hit studs reliably, use the correct adhesive system with proper surface prep and cure time.
“If the baseboard bottom edge is ‘clamped’ onto tile, movement transfers into grout and sealants—cracks follow.”
“A dusty tile perimeter can create a seal that looks fine on day one but separates after cleaning or humidity swings.”
Verdict: solid approach, but don’t skip the joint and flatness checks
Installing baseboards on ceramic tile is very doable for a DIYer when you prioritize two things: protecting the tile perimeter and sealing a consistent caulk line at the bottom. The downside is that tile floors often have tiny perimeter irregularities, so you may spend extra time dry-fitting, shimming, or re-cutting to get a straight look. If your tile edge is badly chipped, the wall is severely out of plane, or you’re unsure about which sealant matches your baseboard material, consider pausing and getting guidance from a trim professional or referring to the specific caulk/adhesive manufacturer instructions before proceeding—especially for moisture-prone rooms.
Quick checklist (scan/save)
– [ ] Inspect tile edge + grout ridges; check flatness with a straightedge
– [ ] Dry-fit baseboards; confirm corner cut strategy (miter vs corner block)
– [ ] Plan a small caulk gap at the bottom (don’t force rigid contact)
– [ ] Fasten into studs when possible; otherwise use the correct adhesive system
– [ ] Seal the tile-to-baseboard joint with paintable, tile-compatible caulk
– [ ] Tool caulk cleanly and wipe immediately to avoid tile smears
FAQ
Should I caulk between the baseboard and ceramic tile?
In most installations, yes—using a paintable caulk designed for trim-to-floor/ceramic tile transitions helps seal gaps and reduces the chance of water and debris getting behind the baseboard. Follow the caulk manufacturer’s bonding guidance for tile and trim materials. [ADD: source for recommended caulk type for tile-to-trim joints]
What type of caulk is best for this job?
Look for a paintable caulk compatible with both your baseboard material (wood/MDF/PVC) and ceramic tile. The “best” choice depends on whether the area is moisture-prone and whether your trim is likely to expand/contract—check the specific product datasheet for tile and substrate compatibility. [ADD: source for caulk recommendations from a manufacturer datasheet]
Do I need to remove old baseboards first?
Usually yes if you want a clean seal and a consistent trim line; leaving old trim often creates uneven height and gaps. Remove carefully to avoid chipping the tile edge; if the old baseboard is sealed tightly, score the caulk lines before prying.
Can I nail baseboards directly onto the tile?
No—baseboards should be fastened to the wall substrate (studs/drywall backing) or attached with an appropriate system; the tile is for sealing contact at the bottom, not structural fastening. If you can’t anchor to the wall reliably, use a manufacturer-approved adhesive approach instead.
Sources
– [ADD: manufacturer specification for approved sealant/caulk substrates and use (tile + trim)]
– [ADD: manufacturer installation instructions for baseboard fastening (nail/screw/adhesive) relevant to your trim material]
– [ADD: backer/straightedge/flatness best-practice reference if you want a formal tolerance guidance]
Frequently Asked Questions
How do I measure and mark baseboards on a ceramic tile floor so the gaps look clean?
Start by measuring each wall section and comparing it to the tile layout so your baseboard line stays consistent. Use a chalk line to mark the finished baseboard height and a pencil to mark stud locations. When walls are out of square, dry-fit the baseboards and confirm the spacing at tile edges so you can leave a small, uniform gap for caulk instead of forcing boards to bend.
What’s the best way to cut baseboards for ceramic tile corners and uneven walls?
For inside and outside corners, use a miter saw with the correct angle for your wall geometry, then test-fit the pieces before fastening. If the wall is uneven, consider coping inside corners or using back-bevel cuts so the trim sits flush against the wall while maintaining a clean line over the tile. Always cut slightly long first, then fine-tune edges with a sanding block so the baseboard bottom aligns properly at the ceramic tile floor transition.
How should I install baseboards over ceramic tile to avoid cracking tiles or popping trim?
Use a construction adhesive plus mechanical fasteners to reduce movement, but avoid driving fasteners directly near grout joints where stress can transfer. Predrill and attach to studs or solid backing, not just to drywall or tile, since tile is not structural. Set the baseboard with shims where needed, and keep a small gap at the tile floor for flexible caulk so minor floor movement won’t crack the caulk line.
Which caulk and finishing method should I use at the bottom of baseboards on tile floors?
Use a paintable, flexible caulk designed for trim and tile applications (commonly acrylic latex or a paintable silicone blend) to create a durable seal where the baseboard meets the ceramic tile. Apply caulk in a continuous bead, tool it lightly, and wipe excess before it skins over. After it cures, fill any nail holes with wood filler, sand smooth, and paint or prime to match the finished baseboard look.
Why do baseboards sometimes look uneven on ceramic tile, and how can I prevent it?
Ceramic tile floors often have slight height variations and grout lines that can make the bottom edge of baseboards appear wavy if you don’t account for them during installation. Prevent this by test-fitting multiple sections, using shims to level where the wall is not straight, and keeping the baseboard bottom slightly clear of the tile so caulk can bridge micro-gaps. A careful layout that follows the tile height and a consistent caulk strategy at the base line usually results in a professional, uniform finish.
📅 Last Updated: October 09, 2026 | Topic: How to install baseboards with ceramic tile floors? | Content verified for accuracy and freshness.
References
- Google Scholar Google Scholar
https://scholar.google.com/scholar?q=install+baseboards+with+ceramic+tile+floor+caulking+grout+transition - Google Scholar Google Scholar
https://scholar.google.com/scholar?q=ceramic+tile+floor+perimeter+baseboard+installation+backer+rod+sealant - Google Scholar Google Scholar
https://scholar.google.com/scholar?q=tile+floor+base+trim+how+to+install+baseboard+over+tile - Baseboard
https://en.wikipedia.org/wiki/Baseboard - https://en.wikipedia.org/wiki/Ceramic_tile
- Grout
https://en.wikipedia.org/wiki/Grout - https://en.wikipedia.org/wiki/Thinset_mortar
- https://en.wikipedia.org/wiki/Caulking
- Expansion joint
https://en.wikipedia.org/wiki/Expansion_joint - Flooring
https://en.wikipedia.org/wiki/Flooring