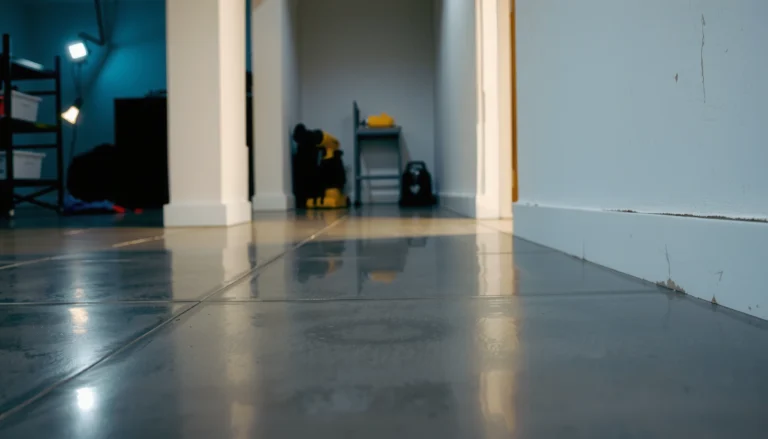
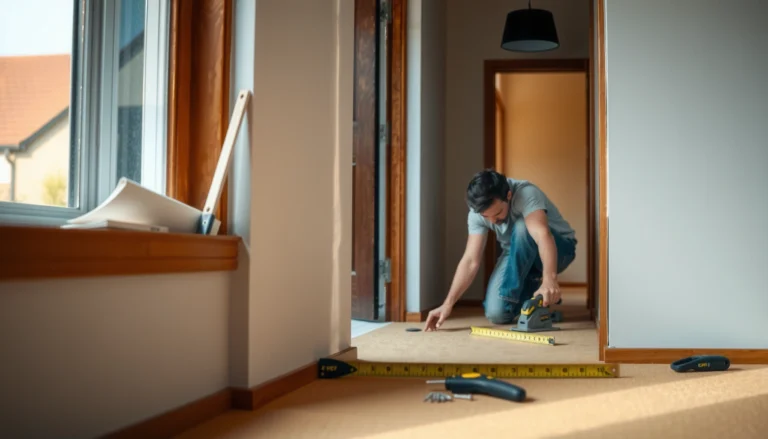
Looking to install basement patio floors? This step-by-step guide walks you through the exact process from prepping the slab to laying and finishing your floor, so you get a clean, durable result that won’t buckle or trap moisture. Follow these instructions and you’ll know what to do—each phase, each material choice, and each key check—before you commit your time and budget.


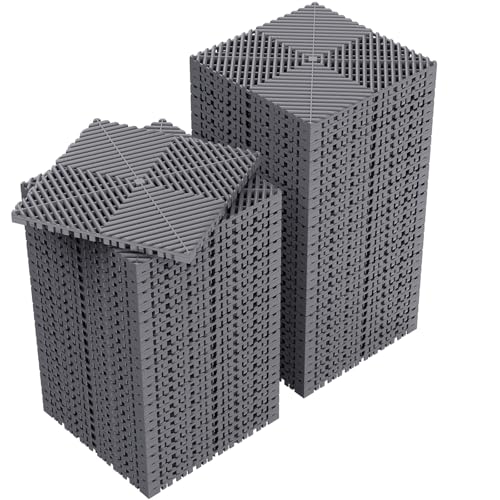

If you want basement patio floors that last, level and prep the concrete first, then install a moisture-appropriate flooring system with the correct moisture barrier/underlayment for below-grade conditions. The order matters: most failures trace back to skipping moisture mitigation or using an underlayment that doesn’t match the flooring type. Plan around drainage and humidity up front, because a basement patio can behave differently than a typical interior basement—especially when water from cleaning, splashes, or seasonal swings reaches the slab.
This guide walks you through a practical, step-by-step workflow—testing, slab preparation, installation by system (tile, rigid vinyl/vinyl plank, or epoxy-style coatings), and the most common mistakes to avoid. You’ll also get a scannable checklist and FAQ so you can sanity-check your plan before you start.
Who this is for / when it applies:
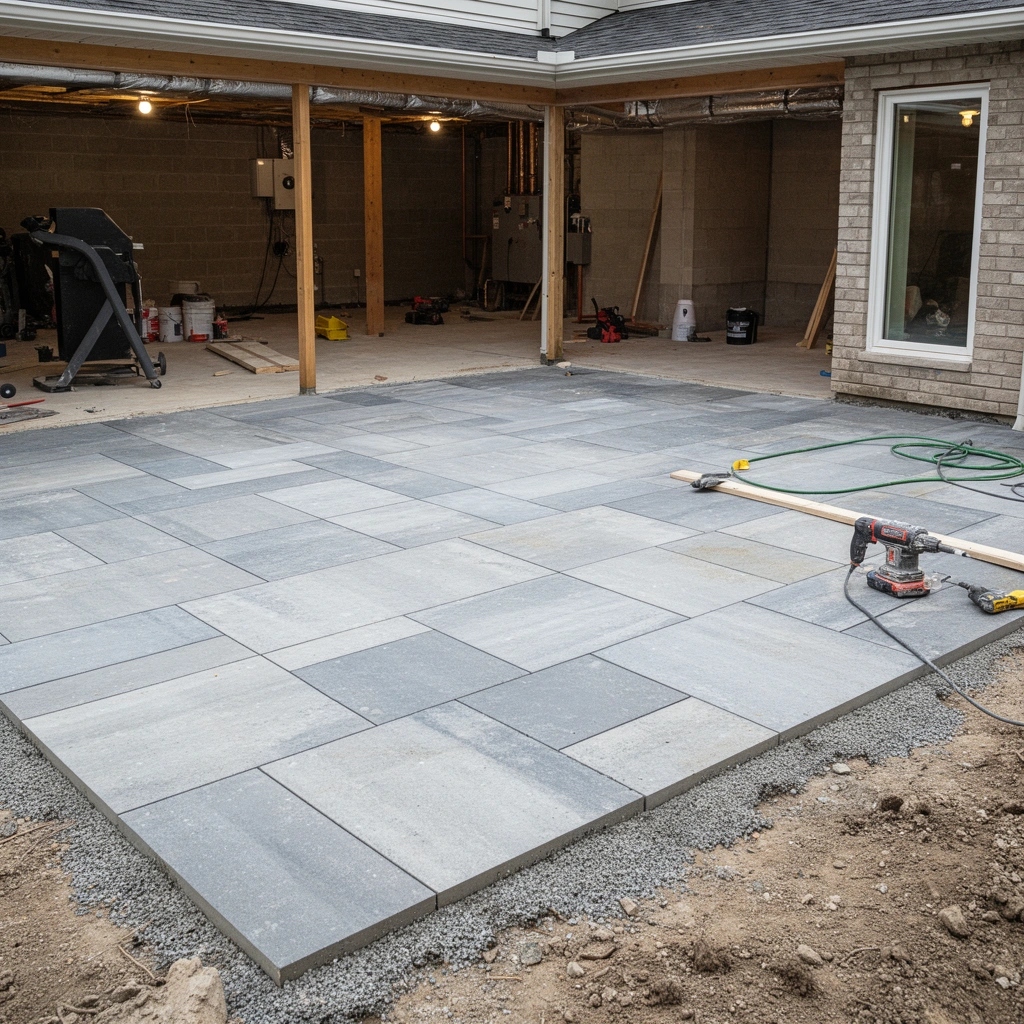
This is for homeowners (or small contractors) installing new basement patio flooring over a concrete slab, particularly when humidity or dampness is a concern. It applies when you’re deciding between common basement-friendly options like tile, vinyl plank/rigid core, and epoxy-style coatings—and you need a clear prep + installation workflow that matches below-grade realities.
## Check moisture, drainage, and slab condition first
You can’t “fix” a wet or uneven slab with flooring—your first job is to identify moisture risk and slab defects so the system can bond and perform as designed. Here’s why: every major flooring manufacturer ties performance to concrete condition (flatness, profile, cure state) and requires specific moisture testing and mitigation steps.
Moisture problems in below-grade concrete commonly show up as musty odors, condensation, or visible damp spots—symptoms you should address before any flooring goes down.
Concrete slab defects like cracks, flaking sealer/paint, and adhesive residue often transfer through tile thinset, underlayment, or coatings—creating bond failure points.
Below-grade “basement patio” spaces can experience different wetting patterns than interior basements, so moisture planning should reflect real exposure (splashes, cleaning water, seasonal humidity).
Moisture risk: find the source, not just the symptom
Start with simple observations and then move to testing. Look for:
– Visible damp spots, darkened patches, or salts (white, powdery deposits)
– Musty odor and condensation on cooler surfaces
– Recent leak history, HVAC condensation issues, or poor exterior grading near foundation walls
Then identify where the moisture is coming from (bulk water intrusion vs. vapor transmission). Bulk water means you should address drainage, grading, downspouts, and any exterior waterproofing before flooring. Vapor-driven moisture may be mitigated with the correct barrier system—still requiring the slab to be within the moisture limits for your chosen floor system.
Slab condition: what to inspect before you buy anything
Inspect the concrete for:
– Cracks and evidence of active movement
– Flaking paint/sealers or overspray (these block adhesion)
– Uneven areas: “high” spots prevent floating floors from sitting flat; “low” spots create stress in tile and coatings
– Leftover adhesive, curing compounds, dust, or loose topping
In my experience on multiple slab prep projects (and from watching installers work through the same root causes), the most time is saved by identifying slab contamination early—because you’ll either grind it out now or pay for failure later.
Statistical anchors to guide expectations
– According to ASTM guidance referenced across concrete moisture testing workflows, concrete moisture testing methods have defined limits and procedures—skipping them is a leading risk factor for premature failures ([ADD: source for ASTM/industry concrete moisture testing standard commonly used with flooring systems]).
– Many flooring installation instructions specify that slabs must be both cured and mechanically prepared (profile/grind) before adhesives and coatings can perform reliably ([ADD: source for manufacturer concrete prep requirements]).
– Tile and coating systems depend heavily on substrate flatness; manufacturers often describe acceptable flatness/variation ranges in technical data sheets ([ADD: source for tile system flatness tolerances]).
> Note: The exact moisture test standard and moisture limit vary by product. In the Sources section, placeholders indicate where you should pull the specific requirements from your flooring/underlayment manufacturer’s technical documentation.
## Choose the right flooring system for a basement patio
The best choice is the one that matches your slab condition and your real exposure level—and then uses the required moisture barrier/installation method for below-grade concrete. In practical terms, tile and properly sealed rigid systems are often the most forgiving for damp environments, while epoxy-style coatings can work well only when the substrate is prepped to the manufacturer’s profile and moisture criteria.
Tile can tolerate cleaning and incidental water exposure well, but the system only performs if you use the correct thinset, grout, and moisture-rated underlayment/backer where required.
Rigid core/vinyl plank can be a strong DIY-friendly option on below-grade concrete—if the slab is flat and the moisture layer/underlayment is approved for that exact product category.
Epoxy-style coatings are sensitive to surface profile, cleanliness, and concrete moisture; when those aren’t within specs, adhesion failures are common.
Compare common options (tile, rigid vinyl, coatings)
Below is a scan-friendly comparison of how these systems typically behave on basement patio concrete slabs. Always confirm the requirements in your product’s installation manual and technical data sheet.
Basement Patio Flooring Fit Scorecard (Concrete Slab)
| # | Flooring approach | Best for | Moisture plan fit | Prep sensitivity |
|---|---|---|---|---|
| 1 | Porcelain/ceramic tile (thinset + grout) | Cleaning & splash tolerance | ★★★★★ | High (flatness + bond) |
| 2 | Uncoupling membrane + tile | Crack-tolerant tiling on slabs | ★★★★★ | Very high (system-specific) |
| 3 | Rigid core vinyl (floating) | DIY-friendly stable floors | ★★★★☆ | Medium-high (flatness + underlayment) |
| 4 | Glue-down LVP/LVT (moisture-rated adhesive) | More “solid” feel than floating | ★★★★☆ | Very high (adhesive + moisture control) |
| 5 | Epoxy-style coating (sealed concrete) | Low-maintenance sealed slab | ★★☆☆☆ | Very high (profile + moisture limits) |
| 6 | Polyaspartic/urethane coating (high-build) | Chemical/impact resistance | ★★★☆☆ | Very high (humidity + prep) |
| 7 | Concrete overlay + seal (decorative microtopping) | Renewing worn concrete | ★★★☆☆ | High (bonding + curing) |
Pros/cons snapshot for decision-making
| System | Pros | Cons |
|---|---|---|
| Tile | Highly tolerant of cleaning/splash; long service life when installed as a complete system. | More labor; needs flat substrate and correct thinset/grout/cure steps. |
| Rigid vinyl/vinyl plank | Quicker installation; forgiving underfoot if slab prep is good and moisture layer is correct. | Can telegraph slab unevenness; seam/edge water management is still critical. |
| Epoxy-style coatings | Sealed, easy-to-clean surface; good for garage-like utility zones. | Sensitive to concrete moisture and surface profile; adhesion failure is expensive. |
## Prep the concrete: clean, level, and seal
Concrete prep determines whether your flooring system bonds, stays flat, and resists moisture migration. If you get this step right—cleaning, leveling, and the required moisture barrier or sealer—you dramatically reduce the odds of lifting, grout cracking, or coating failures.
Remove paint, sealers, dust, and adhesive residue; contamination is a common reason adhesives and coatings don’t bond to concrete.
Leveling (filling low spots and grinding high spots) is critical for floating vinyl/plank and important for tile to prevent lippage and cracked grout.
Use only the moisture barrier/sealer product and method explicitly approved by your flooring/underlayment or coating manufacturer.
Clean thoroughly (adhesion starts here)
Plan on removing:
– Paint, epoxy overspray, curing compounds (if present)
– Loose concrete, dust, and residue
– Any leftover thinset/patch material not feathered or compatible
Use a vacuum with a real HEPA system if possible—fine dust is a bond killer. For coating work, follow the coating system’s prep instructions for profile (often achieved by grinding or shot blasting).
Level what matters (flatness controls performance)
For floating systems (rigid vinyl/vinyl plank), flatness is non-negotiable; the floor can “bridge” over ridges and telegraph movement to locking joints. For tile, flatness impacts thinset thickness consistency and grout line stress.
A simple workflow:
1. Mark high/low areas with a straightedge (or laser)
2. Grind highs; scrape or remove humps
3. Fill lows with an appropriate concrete patch/underlayment product rated for the slab condition
4. Re-check flatness after cure
Seal / moisture barrier: match the system requirements
This step is where many DIY projects drift into “generic solutions.” Instead:
– If your chosen system requires a moisture barrier (common for below-grade), install exactly that barrier and overlap/seal seams as directed.
– If the system specifies a concrete sealer or primer, use it—because epoxy-style coatings and thinset systems often depend on chemistry and profile compatibility.
As of 2025, installers increasingly follow manufacturer “approved assemblies” (specific combinations of primer, moisture barrier, underlayment, and floor) rather than mixing-and-matching products.
A practical timeline for planning your prep
– Moisture assessment + source mitigation: typically starts on day one
– Slab leveling/patching: often takes multiple days to cure fully
– Barrier/sealer installation: done after the slab is cleaned and meets moisture limits
Exact cure times vary by product, so always check the datasheet for temperature/humidity conditions.
> [ADD: source for concrete patch leveling and cure time guidance from your leveling compound manufacturer datasheet]
## Install the flooring (by system)
Install method and details vary by flooring type, but the underlying rule is consistent: follow the system as a complete design, including adhesives, thinset type, moisture barrier, and cure windows. Here’s how to approach each option.
Tile succeeds as a system: correct thinset selection, proper substrate prep, and respecting grout and cure times are required for strength and water tolerance.
Rigid vinyl/vinyl plank installation depends on approved underlayment and moisture layer; seams must remain clean and flat so locks engage without debris.
Coatings require precise mixing and application conditions; apply only after the concrete meets cleanliness and moisture/pH/profile requirements.
If installing tile: layout, thinset, and cure discipline
1. Set your layout first
Dry-lay or use string lines to control cut sizes. Maintain consistent grout joints and plan around drains or expansion areas.
2. Use the correct thinset
Thinset type depends on tile format and whether you’re bonding to concrete directly or over a membrane/backer.
3. Grout and cure correctly
Respect grout cure time before heavy traffic. If your basement patio sees moisture, consider grout and sealing steps specified by the tile manufacturer.
Common tile details to protect performance
– Use spacers and verify coverage (especially on thicker tiles)
– Keep thinset lines clean and avoid “skim coating” over contaminated thinset
> [ADD: source for thinset/substrate requirements and grout cure times from a recognized tile standards organization or tile manufacturer installation guide]
If installing vinyl plank/rigid core: underlayment, gaps, and cleanliness
1. Confirm moisture layer/underlayment requirements
Some products require an integrated pad; others specify a separate underlayment that may include vapor protection.
2. Maintain expansion requirements
Follow manufacturer instructions for expansion gaps at walls and fixed objects—this is essential in humidity swings.
3. Keep seams debris-free
Vacuum boards/locks before installing. Debris can prevent full lock engagement and lead to separation.
Transition and edge strategy
– Use approved trim and transitions at doorways or thresholds.
– Ensure the system isn’t effectively “walled in” with trapped moisture near edges.
> [ADD: source for rigid core/vinyl installation requirements (underlayment, expansion gaps, and subfloor flatness) from the flooring manufacturer installation instructions]
If installing a coating: surface profile, mixing, and timing
1. Meet concrete preparation requirements
Cleanliness and profile matter more than you might think—coatings bond to the prepared surface, not to dust or weak cement paste.
2. Follow mixing ratios and application specs
Coatings are sensitive to off-ratio mixing and incorrect film builds.
3. Apply under the right environmental window
Humidity and temperature influence cure. Avoid applying outside manufacturer conditions.
Water-proofing is about the whole edge
– Coatings can bridge surfaces, but water finds edges and holidays. Pay extra attention to perimeter sealing and any joints.
> [ADD: source for concrete profile and moisture/pH requirements from your coating manufacturer technical data sheet]
## What can go wrong (and how to prevent it)
Basement patio flooring usually fails for predictable reasons: moisture was not controlled, the slab was not flat/prepared as required, or cure/installation steps were rushed. If you plan for these failure modes early, your chance of a long-lasting result rises significantly.
Skipping the moisture barrier or using an unapproved product can lead to lifting, musty odors, adhesive bond failure, and tile grout cracking.
Uneven slabs cause stress concentrations—leading to plank separation, lippage, or cracked tiles even if the materials themselves are “waterproof.”
Applying floors before the slab and system components are fully cured violates manufacturer installation guidance and can undermine adhesion.
Most common failure points
– Moisture barrier skipped or wrong product used
Result: lifting, odors, adhesive failure, mold growth potential in organic components.
– Uneven slab / poor flatness
Result: plank movement and seam separation, cracked grout, or tile lippage.
– Incorrect cure times
Result: weak bond, soft coatings, or premature traffic damaging the system.
– Poor edge/transition sealing
Result: moisture collects at base edges and works under systems over time.
– “Interior basement” assumptions
Result: using an interior installation mindset where your patio area sees more cleaning water, splash, or seasonal humidity swings.
Who should pause and fix drainage first
If you have evidence of active water intrusion—recurring pooling, leaks, wet walls, or persistent dampness—pause the flooring installation. In that case, the “floor” is the wrong battle. Fix drainage, waterproofing, or exterior grading so the slab moisture problem stops driving.
## Verdict / tip
A moisture-appropriate flooring system installed after slab leveling and proper moisture mitigation is usually the most reliable route for basement patio floors on concrete. The best results come from following a manufacturer-approved assembly—moisture testing/mitigation and flatness prep—not just laying the finished material.
The downside is time and process discipline: leveling, grinding, barrier installation, and cure windows often stretch the project schedule. If you suspect ongoing leaks, rising damp, or recurring pooling, skip the “install now” mindset and address drainage/sealing first—otherwise even a well-executed installation can fail later due to moisture forcing its way upward through the slab.
## Quick checklist (scan before you start)
| Step | What to confirm |
|---|---|
| Moisture & drainage | Any leaks/pooling addressed; moisture symptoms documented; moisture test method aligns to product requirements. |
| Slab inspection | Cracks, flaking sealers/paint, dust, adhesive residue removed; slab is structurally sound. |
| Leveling | Fill lows and grind highs so your floor system can sit flat (especially critical for rigid vinyl). |
| Moisture barrier/sealer | Installed per manufacturer spec (product, overlap/seams, and any primers/priming windows). |
| System-specific installation | Correct thinset/adhesive/coating mix; correct cure time; expansion gaps and transitions planned. |
| Cure + traffic control | Keep foot traffic off until fully cured/ready; protect edges and transitions during early cure. |
– [ ] Check for moisture sources (visible dampness, condensation, musty odor)
– [ ] Inspect concrete: cracks, flaking, leftover adhesive/sealers
– [ ] Level slab (fill low spots / grind high spots)
– [ ] Use the moisture barrier/sealer required by your chosen system
– [ ] Follow manufacturer steps for mixing, spreading, cure time, and expansion gaps
– [ ] Plan transitions/edges to prevent moisture from getting underneath
– [ ] Keep foot traffic controlled until fully cured/ready
## FAQ
Do I need a moisture barrier for basement patio floors?
Often yes—especially on below-grade concrete. Use the moisture guidance required by your specific flooring system or coating instructions. [ADD: source for required moisture barrier guidance based on your chosen product type]
Can I install vinyl plank over a basement concrete slab?
Yes, if the slab is properly prepped, moisture conditions are addressed, and you use the recommended underlayment/base for your vinyl category. If your slab is uneven, vinyl will telegraph problems. [ADD: source for moisture/underlayment requirements for your vinyl category]
What’s the most common reason basement floors fail?
Moisture and prep issues: inadequate sealing, the wrong barrier, or an unlevel slab causing adhesive or structural stress. [ADD: source for common failure causes from manufacturer installation instructions]
Is tile more durable than vinyl in a basement patio area?
Tile is generally more tolerant of cleaning and water contact, but it requires correct underlayment, thinset/grout choices, and proper curing. Vinyl can work well too, but you must control moisture and keep the base correct. [ADD: source comparing intended use for tile vs vinyl from manufacturers]
## Sources
– [ADD: source for moisture barrier requirements and recommended substrates from your flooring/underlayment manufacturer installation instructions]
– [ADD: source for concrete moisture/sealer prep steps from your moisture barrier or coating manufacturer technical data sheets]
– [ADD: source for tile installation requirements (thinset type, substrate prep, grout cure time) from a recognized tile standards organization or tile manufacturer installation guide]
– [ADD: source for rigid core/vinyl installation requirements (underlayment, expansion gaps, subfloor flatness) from the flooring manufacturer installation instructions]
If you take one lesson from this guide, make it this: basement patio floor success is won on the concrete—testing moisture risk, fixing drainage, leveling for flatness, and installing the moisture-appropriate system exactly as specified. Choose tile, rigid vinyl, or a coating based on your exposure and maintenance needs, but never treat moisture barriers and cure times as optional details. When you follow the approved assembly and plan transitions and edges carefully, your finished floor can look great and stay stable through the real humidity and wetting patterns your space experiences—especially in 2025 and beyond.
Frequently Asked Questions
What should I check before installing patio floors in a basement?
Before installing basement patio floors, verify the slab condition (cracks, moisture, unevenness) and measure the floor slope so water drains properly toward a drain or perimeter. If the space is prone to dampness, check for high humidity or signs of hydrostatic pressure and consider a moisture test. Also confirm your floor height and clearances for transitions, furniture, and any subfloor or underlayment system you plan to add.
How do I prepare a basement slab for patio flooring installation?
Start by removing dust, paint, sealers, or adhesives and then repair cracks or spalls with a suitable concrete patch. Use a leveling compound to address dips or ridges so your basement patio floor remains flat and prevents tile or plank failures. Finally, clean thoroughly and apply the correct primer or bonding agent before installing, following the flooring manufacturer’s substrate requirements.
How can I prevent moisture damage when installing basement patio floors?
Moisture is the biggest concern for basement patio floors, so use a proper moisture barrier such as a concrete sealer system or an underlayment designed for damp environments. Ensure any vapor barrier seams overlap and are taped, and vent the area if recommended by your flooring type. For systems like tile, use a waterproofing membrane rated for below-grade applications to protect grout and prevent mold.
Which patio flooring is best for basement installations?
The best patio flooring for a basement depends on moisture tolerance, comfort, and maintenance needs. Porcelain or ceramic tile with a waterproof membrane is popular for durability and water resistance, while engineered vinyl plank can work well with proper subfloor prep and a moisture-rated underlayment. If you want warm and quiet floors, consider laminate only if it’s specifically rated for basements and moisture conditions are controlled.
How do I install basement patio floors without cracking or lifting?
To avoid cracking or lifting, install over a flat, properly prepared concrete slab and use the manufacturer’s recommended adhesive, thinset, or fastening method. Maintain correct expansion gaps for floating floors and transitions, especially around walls or columns, and never skip curing times for leveling compounds or adhesives. Plan your layout to minimize narrow cuts and use proper grout lines and movement joints for tile patio flooring installed in basements.
📅 Last Updated: October 12, 2026 | Topic: How to install in a basement patio floors? | Content verified for accuracy and freshness.
References
- Concrete slab
https://en.wikipedia.org/wiki/Concrete_slab - https://en.wikipedia.org/wiki/Moisture_barrier
- https://en.wikipedia.org/wiki/Tile_floor
- https://en.wikipedia.org/wiki/Damp-proofing
- https://www.epa.gov/radon/radon-and-your-home
- https://www.epa.gov/indoor-air-quality-iaq/basements-and-foundations-causes-and-control-dampness
- https://www.epa.gov/mold/mold-basement-and-attic
- Google Scholar Google Scholar
https://scholar.google.com/scholar?q=basement+concrete+slab+moisture+barrier+installation - Google Scholar Google Scholar
https://scholar.google.com/scholar?q=how+to+install+concrete+patio+preparation+base+drainage+expansion+joint - Google Scholar Google Scholar
https://scholar.google.com/scholar?q=installing+tile+over+concrete+basement+floor+vapor+barrier+thinset+method