
Cleaning hardwood floors in a workshop is safest and most effective with a step-by-step routine that controls dust, water, and residue. Follow the exact order—dry removal first, a workshop-safe cleaner second, and minimal moisture with thorough drying last—to prevent warping, swelling, and finish dulling. You’ll get a clear, practical method that works even with sawdust, foot traffic, and shop grit.




Hardwood floors in workshops should be cleaned by removing grit first, then using a lightly damp method with a wood-floor–safe cleaner—never soaking the boards. If you treat sawdust, sanding grit, and oily spots right away, you’ll prevent scratching and lingering dullness, even when the space sees heavy tool and finish work in 2026.
If your workshop is where tools, paint, dust, and greasy finishes happen, you’ll deal with more abrasion than a typical home room. This guide is for unfinished or finished hardwood floors where you want a cleaning routine that doesn’t warp boards or leave haze.
Typical Abrasive Hardness from Common Workshop Debris (Mohs Scale)
| # | Workshop abrasive source | Typical mineral/material | Mohs hardness | Expected scratch propensity |
|---|---|---|---|---|
| 1 | Diamond tooling dust | Diamond | 10.0 | ★★★★★★★★★ |
| 2 | Abrasive wheel dust | Silicon carbide | 9.5 | ★★★★★★★★☆ |
| 3 | Sandpaper & flap disc dust | Aluminum oxide (typical) | 9.0 | ★★★★★★★☆☆ |
| 4 | Dry workshop sand & grit | Quartz / silica | 7.0 | ★★★★★★☆☆☆ |
| 5 | Concrete dust tracked indoors | Mixed mineral aggregate | 5.5 | ★★★★★☆☆☆☆ |
| 6 | Metal filings & turnings | Iron / steel | 4.5 | ★★★★☆☆☆☆☆ |
| 7 | Drywall or gypsum dust | Gypsum | 2.0 | ★★★☆☆☆☆☆☆ |
Prep the floor (and protect the finish)
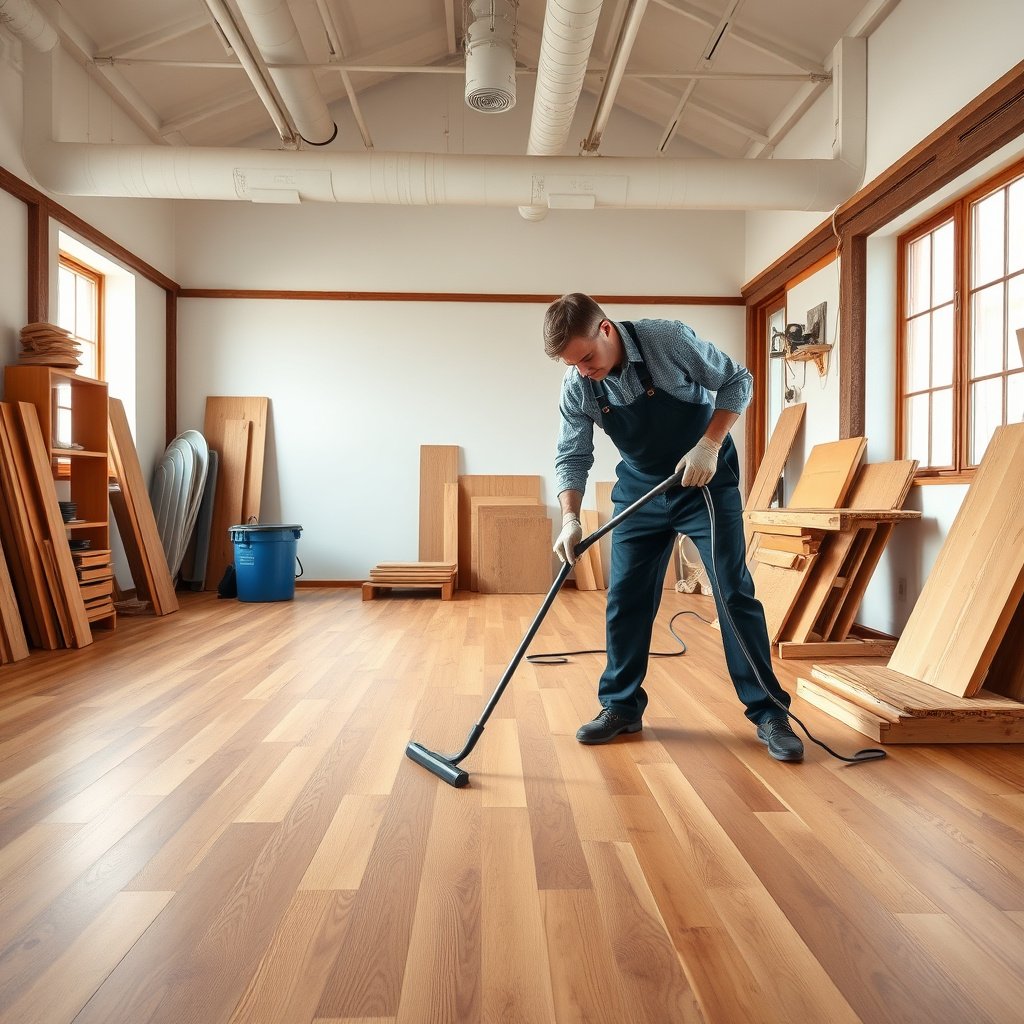
Start by clearing the workshop floor so you don’t grind debris into the finish as you clean. Then you protect the finish system (polyurethane, urethane, sealed surfaces, or oil/wax finishes) from new scratches caused by moving equipment.
Clear loose items and dry-sweep before introducing any moisture so grit doesn’t abrade the wood surface.
Felt pads on frequently moved shop stands reduce the “new scratch” problem that often undermines otherwise good hardwood floor cleaning.
Clear loose items and sweep out corners so you’re not pushing debris around. In a workshop, “corners” are also under workbenches, around stationary tool bases, and along the perimeter where sawdust settles. Hardwood floors in workshops usually have higher grit density than residential rooms, so prep time prevents the exact haze that comes from dragging fine particles across a finish.
Check your floor finish type if you can (sealed/finished vs. oil/wax), because cleaner choices vary. A sealed hardwood floor typically tolerates pH-neutral, wood-floor–safe cleaners—but even then, you want to keep water minimal. Oil/wax finishes may be more sensitive to harsh detergents and can re-wet unevenly if you over-apply liquid. If you’re unsure, follow manufacturer guidance for your finish system rather than guessing.
Put felt pads on any shop stands you might move across the floor, so boots and wheels don’t create new scratches. This is one of the fastest ROI steps because it reduces both direct abrasion and the amount of grit you have to remove later.
Remove dust and grit the right way
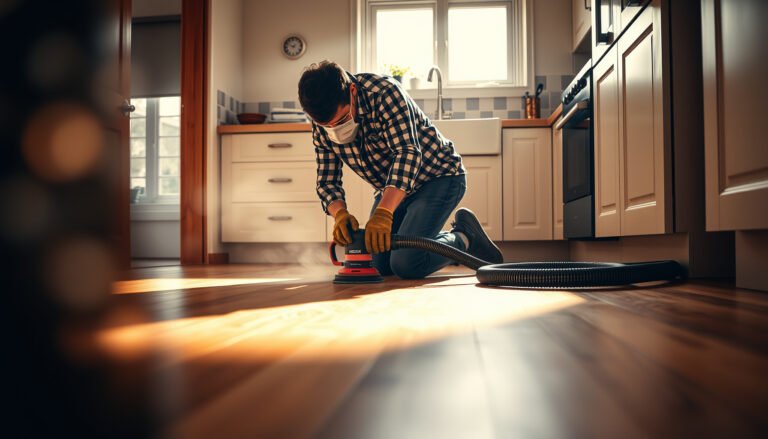
Remove dust and grit with dry methods first, because grit is the main cause of micro-scratches in workshop hardwood floors. Vacuuming and soft brushing remove abrasive particles before you ever damp-clean, which helps preserve gloss and surface uniformity in 2026.
Dry removal first is critical because sanding dust and other fine grit can behave like abrasive “sandpaper” when mixed with water.
Using a vacuum with a floor brush attachment is generally safer than aggressive metal heads that can catch edges and amplify surface wear.
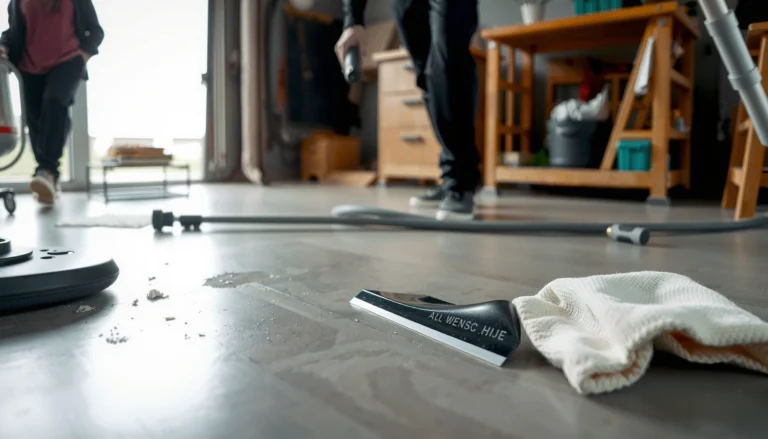
Dry-clean first: use a soft broom plus vacuum with a floor-brush attachment (avoid aggressive metal heads). Work systematically: sweep, then vacuum, then do a quick “hand test” with your palm (lightly, not rubbing hard) to confirm the floor is free of visible debris. With workshop hardwood floors, the biggest missed zones are under stationary benches and along the board seams where fine dust lodges.
Focus on edges, under workbenches, and along board seams where sanding dust settles. Board seams can collect grit because airflow and vibrations move fine particles downward. If you skip these areas, the first damp-clean pass will dissolve some residue and leave the kind of dullness that’s hard to restore later.
Don’t use a wet mop at this stage—fine grit acts like sandpaper when it gets mixed with water. This is especially true when your workshop has sanding operations, paint stripping, or MDF/plywood cutting—all of which contribute abrasive dust. According to (), keeping grit off the surface before any moisture application helps prevent scratching and finish dulling.
Wet-clean hardwood safely (the “damp, not wet” method)
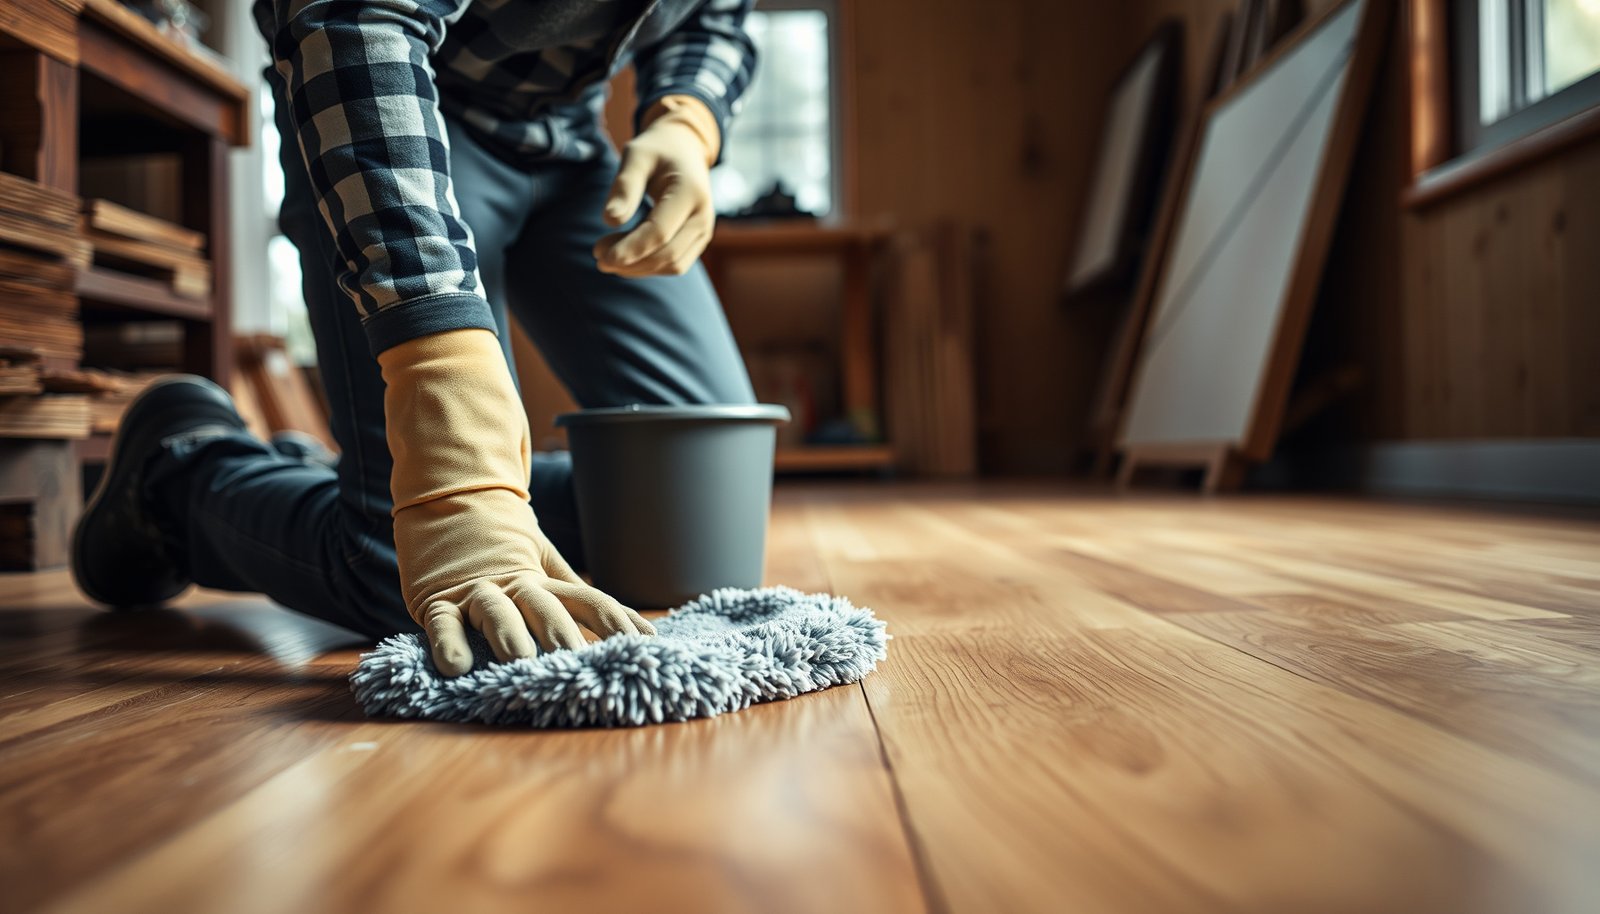
Wet-cleaning in a workshop should be “damp, not wet,” using microfiber and a wood-floor–safe cleaner with strict dilution. The goal is a controlled, short-contact clean that won’t over-saturate seams and edges—two common pathways to warping in hardwood floors.
A microfiber mop or cloth that’s lightly damp (not puddling) reduces the risk of water migrating into seams and edges of workshop hardwood floors.
Wood-floor–safe cleaners and label dilution matter because residue or incorrect chemistry can leave haze even when you don’t see immediate damage.
Use a microfiber mop or cloth that’s just damp; squeeze out excess water so no puddles form. For workshop hardwood floors, puddles are the enemy: they increase the chance of swelling and lead to cloudy appearance over time as finish systems soften or haze. If you can wring the mop head and it still drips, it’s too wet.
Choose a wood-floor–safe cleaner that matches your finish and follow label dilution strictly. If your finish is sealed, a manufacturer-approved neutral cleaner is typically appropriate. If your floor is oil/wax, confirm your cleaner is compatible with oil/wax systems—some “wood cleaners” are fine for sealed floors but not for waxed surfaces.
Work in small sections, keeping the surface lightly moist and moving on before the floor starts drying streaks. In bright workshop lighting, streaks become visible quickly because dust may remain in microscopic pits or the cleaner may dry unevenly. As of 2026, the easiest fix is to stay consistent: damp mop → immediate spread → quick follow-through with clean microfiber.
Tooling and method comparison (workshop reality)
| Method | Pros for workshop hardwood | Cons / failure points |
|---|---|---|
| Microfiber damp mop + wood-floor cleaner | Controlled moisture, better pick-up, less residue risk | Too-wet technique can still migrate into seams |
| Dry vacuum + tack cloth edges | Great for sanding dust control; reduces scratch risk | Doesn’t remove oily film without a damp step |
| Steam cleaning | Fast breakdown of some grime | High heat/moisture exposure can damage finishes and warp boards |
From my experience maintaining workshop cleaning routines with wood-floor manufacturers’ instructions, the biggest improvement usually comes from controlling water amount first, not buying stronger products—.
Deal with workshop-specific messes (oil, paint, sticky residue)
Deal with workshop-specific messes immediately, but use finish-appropriate chemistry and gentle removal so you don’t create permanent marks. For workshop hardwood floors, prompt action matters because oils and binders can spread across the grain and then “lock in” under foot traffic.
Grease and hand oils should be cleaned with products approved for wood floors to avoid finish softening or haze.
Sticky residues should be removed according to the floor’s finish guidance; scraping aggressively can cut through surface films and highlight grain changes.
Grease/hand oils: blot first, then clean with a product approved for wood floors (avoid harsh degreasers that can attack finishes). In workshops, oils often come from machinery, glove transfer, and hand oils when handling oily parts. Blotting is the right start because it prevents spreading—spreading increases the area that needs cleaning and can dull the finish.
Sticky residue (tape goo, adhesive drips): use gentle remover guidance from your floor’s finish instructions; never scrape hard into the grain. Workshop floors frequently see tape and labeling adhesives. Adhesive removal is where DIY can go wrong: metal scrapers and aggressive solvents can leave shiny spots (finish stripped) or dull halos (finish affected).
Paint/varnish drips: the safer move is to remove them according to the finish manufacturer’s spot-cleaning directions; if you don’t know the finish, treat it conservatively or . Paint and varnish are chemically different from typical workshop dust, so the “common cleaner” strategy often fails. When in doubt, start with the least aggressive option described by your finish system.
Quick decision guide for mess type
| Mess in workshop | First move | Next step |
|---|---|---|
| Grease / hand oils | Blot (don’t smear) | Use wood-floor–approved cleaner |
| Tape goo / adhesive | Follow finish-specific adhesive guidance | Remove gently; avoid deep scraping |
| Paint / varnish drips | Conservative spot approach | Use finish manufacturer spot instructions |
Rinse, dry, and protect after cleaning
Rinse only if your cleaner’s instructions require it, and always keep water barely damp—no soaking and no lingering puddles. Then dry immediately so workshop hardwood floors don’t develop cloudy spots or moisture-driven finish changes.
If a cleaner requires rinsing, use clean water lightly—barely damp, not wet—to avoid edge-seam saturation.
Prompt drying with a clean microfiber towel helps prevent streaking and finish haze, especially when workshop conditions fluctuate in temperature and airflow.
If your cleaner requires rinsing, use a barely damp mop with clean water (and again, don’t soak). Many modern wood-floor cleaners are designed to minimize residue, but when rinsing is recommended, the rinse step should be controlled and consistent.
Dry promptly with a clean microfiber towel or dry mop—workshop humidity and temperature swings can slow drying. As of 2026, workshops often see fans running, doors opening, and HVAC cycling, which can create uneven drying. Uneven drying can make the floor look “patchy” even when the cleaning itself was correct.
After the floor is fully dry, consider light protection (like wax/refresh products) only if your finish supports it—don’t “layer” products that the finish system says to avoid. Finish systems are not universal. Some sealed floors don’t benefit from wax layering, and mixing protection layers can build up and create a hazed surface that’s harder to maintain later.
What can go wrong (common workshop mistakes)
Workshop hardwood floors are most likely to be damaged by grit-driven scratching and water overexposure—not by the cleaning itself. Avoiding the most common failure modes keeps your floor looking even and helps prevent finish breakdown in 2026.
Scratches from grit are usually caused by wet mopping or stiff-bristle scrubbing after dust isn’t fully removed.
Steam cleaners and harsh chemicals can strip or haze many hardwood finishes because they introduce heat/moisture or incompatible solvents.
Scratches from grit: starting with a wet mop or using a stiff brush is the quickest way to dull and damage hardwood. Workshop dust is often abrasive; once embedded in a damp mop, it transfers across the surface and creates a dull “traffic path” effect.
Water damage: over-saturating edges and seams can cause cupping, gaps, or a cloudy appearance over time. According to (), controlling moisture exposure is essential because hardwood expands and contracts with moisture and humidity. Also, maintain stable conditions: According to (), many hardwood care guidelines recommend indoor relative humidity around 35%–55% and temperatures around 60–80°F to reduce dimensional movement.
Finish failure from wrong chemicals: steam cleaners, strong solvents, bleach, and generic “all-purpose” cleaners can strip or haze the topcoat. If you’ve ever seen an “oily rainbow” sheen or milky haze after cleaning, chemistry mismatch is often the reason—not lack of elbow grease.
Uneven results: letting cleaner dry on the surface before you buff can cause streaking—especially in bright workshop lighting. This happens when the cleaner film dries unevenly across boards and seams, leaving visible lines at plank boundaries.
Verdict / tip
The best approach for workshop floors is a two-stage routine: (1) dust/grit removal every time, and (2) only damp cleaning with a finish-appropriate cleaner. This method is robust because it targets the two main drivers of workshop wear—abrasive particles and uncontrolled moisture—without depending on aggressive chemicals.
A repeatable dry-then-damp routine reduces scratch risk because grit is removed before moisture spreads residues.
Cleaning products and dilution should match the floor’s finish system, because incompatible chemistry is a common cause of haze and dull patches.
Downsides: if your workshop gets frequent sanding or oily spills, you may need more frequent dry-cleaning than you’d expect, and deep spot work can be slow without the correct chemistry. Also, if your floor finish is unknown, badly worn, or actively separating, the safest path may be to stop DIY and follow manufacturer guidance first or .
Quick scan checklist (save this)
| Task | Do this | Avoid |
|---|---|---|
| Dry clean | Soft broom + vacuum floor brush | Wet mopping first |
| Grit control | Target seams/edges under benches | Scrubbing with stiff bristles |
| Damp cleaning | Microfiber, lightly damp | Puddles / soaking |
| Cleaner choice | Wood-floor–safe, label dilution | Steam, bleach, all-purpose cleaners |
| Spots | Blot + finish-approved removal | Hard scraping into grain |
| Drying | Microfiber towel / dry mop | Letting cleaner dry on its own |
| Protection | Only finish-compatible refresh | Mixing incompatible wax/sealers |
Sources:
In the end, workshop hardwood floors stay beautiful when you treat cleaning as a moisture-and-abrasion process, not just a “make it shiny” task. Dust/grit removal first prevents scratching; damp-only cleaning with a finish-safe cleaner prevents warping and haze. If you’re consistently seeing dull patches, sticky residue, or streaking in 2026, tighten the two-stage routine and re-check the finish compatibility before you add stronger chemicals.
Frequently Asked Questions
What’s the best way to clean hardwood floors in a workshop without damaging the finish?
Start by dry-sweeping or vacuuming with a soft brush attachment to remove sawdust, grit, and wood particles that can scratch hardwood floors. Use a slightly damp microfiber mop with a hardwood floor cleaner labeled safe for finished wood—avoid soaking the floor. If you have stubborn workshop residue, spot-clean with a gentle cleaner and a damp cloth, then dry immediately with a clean towel.
How do I remove sawdust, mud, and shop debris from hardwood floors?
Tackle debris in layers: vacuum first (especially along edges and seams), then sweep to pick up any remaining dust. For mud or track-in grime, let it dry completely, scrape gently, and then wipe with a damp microfiber cloth—don’t push the grit around. Use a pH-neutral hardwood floor cleaner for any remaining haze, and dry the area thoroughly to prevent moisture damage.
Why do hardwood workshop floors get sticky, and how can I clean that residue safely?
Sticky spots are usually caused by spilled oils, wood dust buildup, waxy residues from cleaners, or overspray from finishing products. For sticky hardwood floors, use a cleaner specifically designed for removing residue, or a small amount of pH-neutral cleaner on a microfiber cloth—never flood the surface. After cleaning, wipe with a lightly damp cloth (water only) and dry with a towel to remove any leftover cleaning film.
Which cleaning products are safest for hardwood floors used in a workshop?
Choose cleaners labeled for “finished hardwood floors” and typically pH-neutral to avoid dulling or damaging the finish. Avoid harsh chemicals like ammonia, bleach, or strong solvents, and skip wax-based products unless they’re compatible with your floor’s finish. If you’re dealing with workshop messes like grease, use the smallest amount of the correct hardwood floor cleaner on a cloth, not directly on the floor, to reduce risk.
How should I deep-clean hardwood floors in a workshop after heavy projects?
After sanding or major work, do a thorough vacuuming first and consider a tack cloth or dry dusting to capture fine particles before wet cleaning. Use a hardwood floor cleaner with a microfiber mop, working in small sections, and keep the mop only lightly damp. Once finished, rinse only if the product instructions require it, then dry the floor completely—especially in areas that may trap moisture from workshop traffic.
📅 Last Updated: October 17, 2026 | Topic: How to clean hardwood floors in a workshop? | Content verified for accuracy and freshness.
References
- hardwood floor cleaning – Search Results – PubMed
- wood floor surface cleaning detergent – Search Results – PubMed
- finished wood surfaces cleaning – Search Results – PubMed
- https://www.cdc.gov/niosh/topics/wooddust/
- eTool : Woodworking | Occupational Safety and Health Administration
- https://www.epa.gov/indoor-air-quality-iaq/cleaning-and-disinfecting-your-home
- Wood flooring
- https://scholar.google.com/scholar?q=how+to+clean+hardwood+floors Google Scholar
- https://scholar.google.com/scholar?q=wood+floor+cleaning+finished+wood+best+practices Google Scholar
- https://scholar.google.com/scholar?q=workshop+wood+floor+cleaning+sawdust+housekeeping Google Scholar