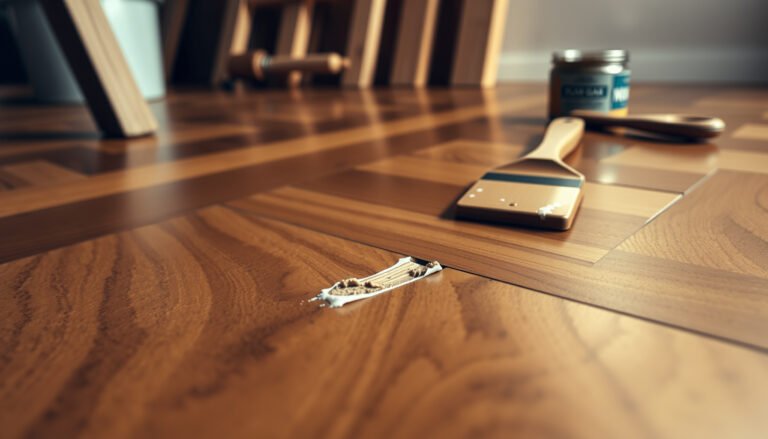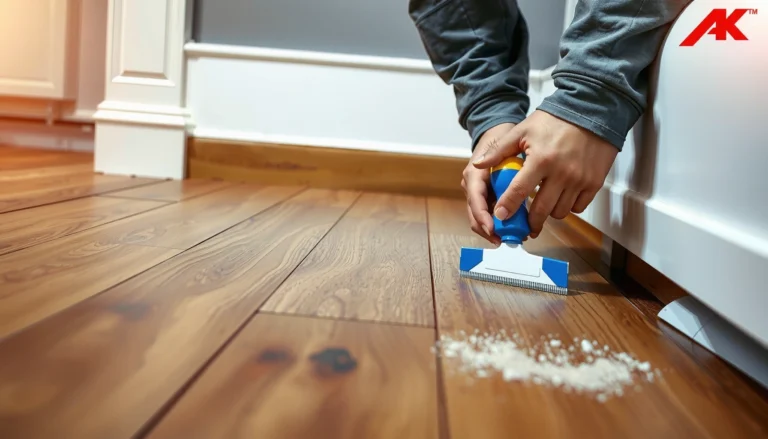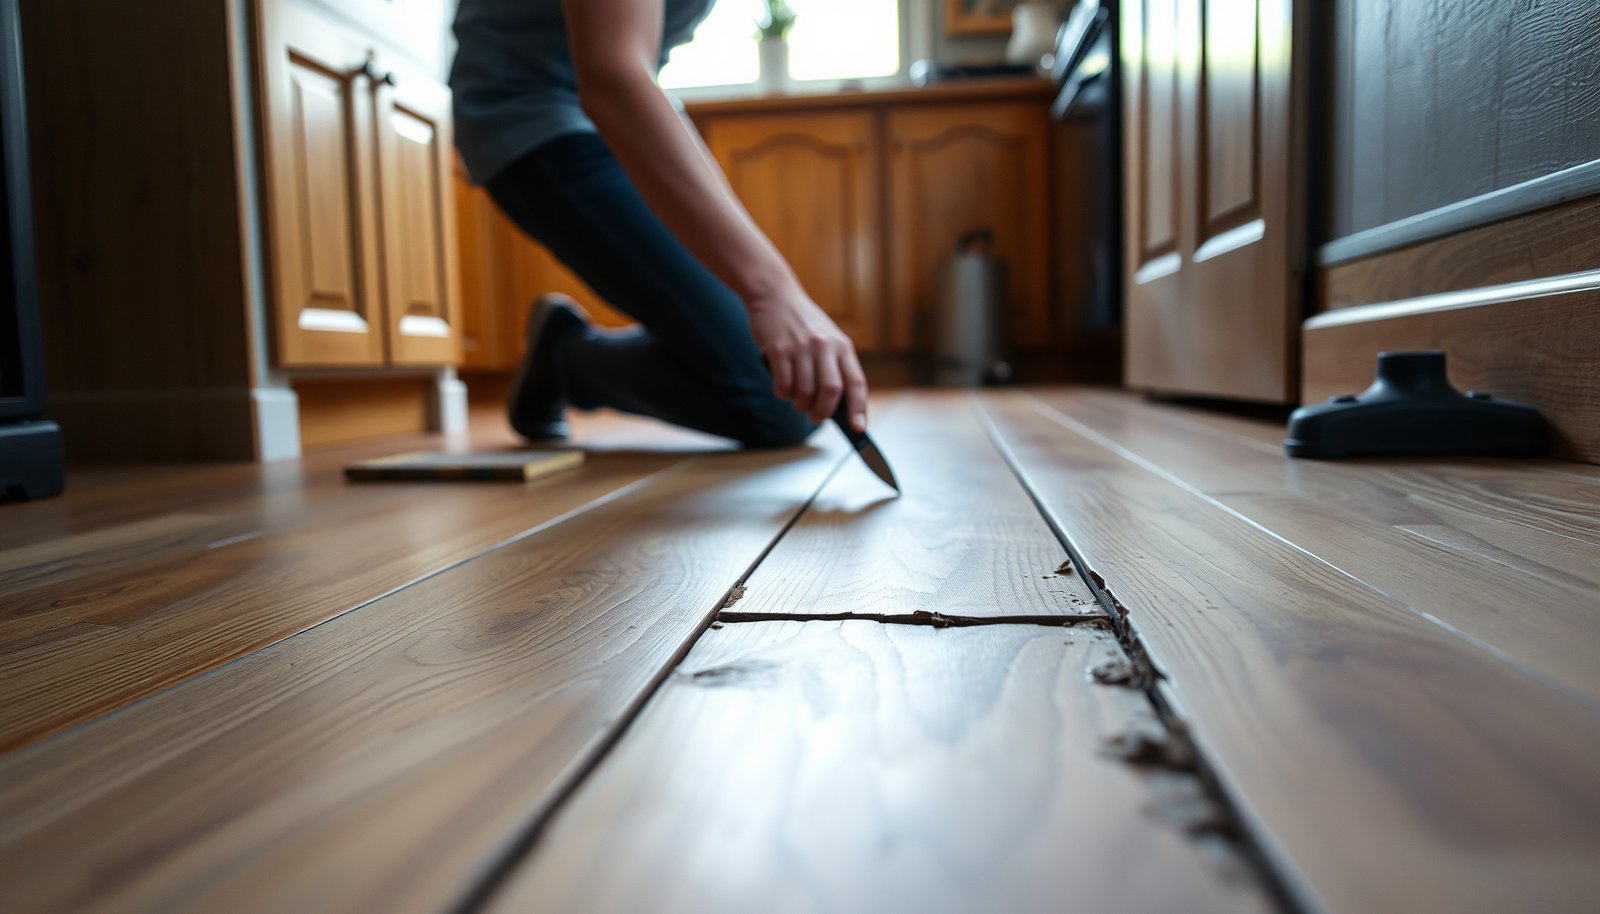

If your kitchen hardwood floor has dents, scratches, gaps, or worn finish, this step-by-step repair guide will show you exactly how to fix it the right way. You’ll learn what to inspect first, which materials to use, and how to sand, patch, refinish, and seal so the results hold up to everyday spills and traffic. By the end, you’ll know the fastest, most reliable method for restoring a kitchen floor without guesswork.



If your kitchen hardwood is failing, the right repair plan is the one that fixes the moisture problem first—because cosmetic patching without moisture control usually fails quickly. Once you’ve identified the cause (most often leaks, wet mopping, or humidity swings) and matched the repair method to the damage depth, you can make the floor stable again and blend it back to the surrounding boards.
If your kitchen hardwood is showing gaps, lifting, cupping, or surface damage, the repair starts with figuring out why it’s failing—moisture is the usual culprit in kitchens. Once you identify the moisture source and assess whether you need spot repairs, refinishing, or board replacement, you can fix the damage without making it worse. This guide walks you through inspection, prep, and the safest repair approach for common kitchen floor problems.
If you’re dealing with squeaks, worn finish, scratches, small dents, or a section that’s buckling near sinks/dishwashers, this is for you. It’s especially relevant for older floors or homes where spills, frequent mopping, or humidity swings have been happening.
Diagnose the kitchen problem first (moisture, wear, or impact)
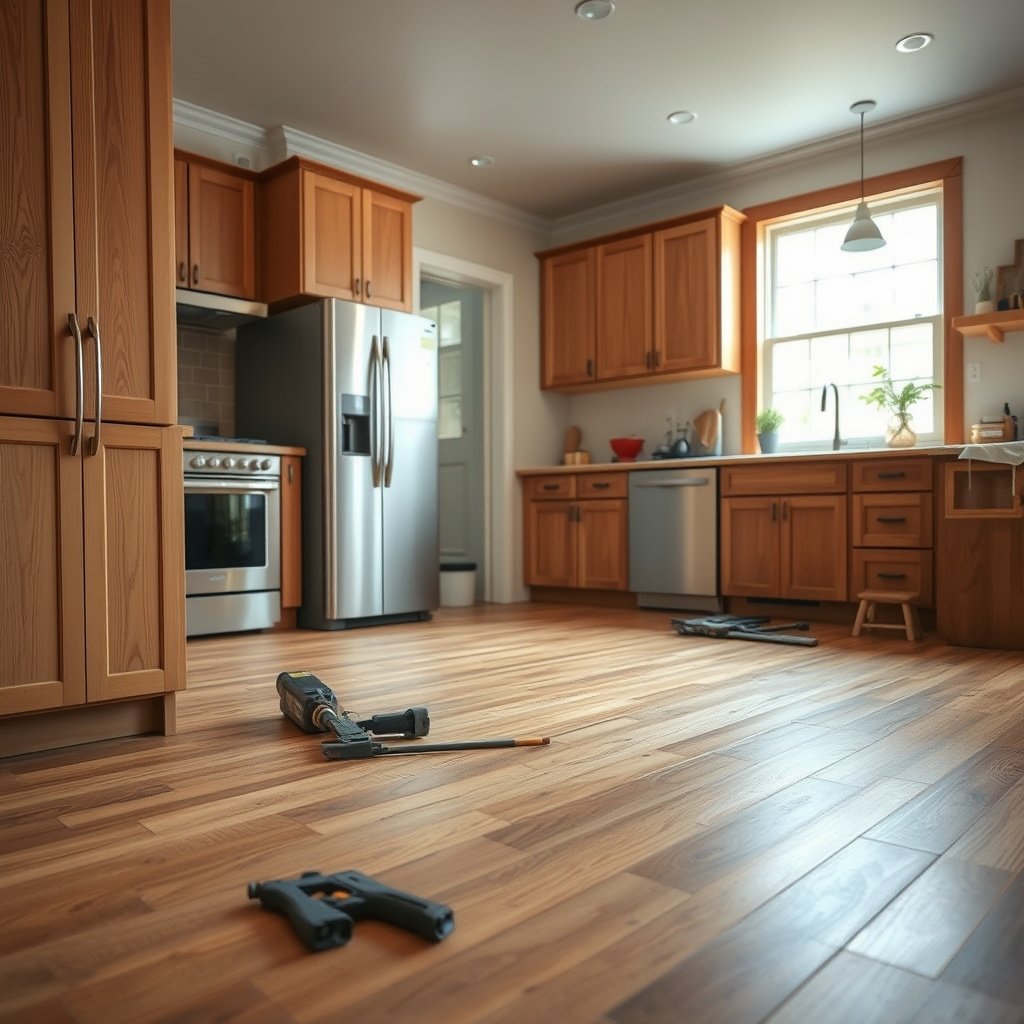
Most kitchen hardwood failures are moisture-driven, so start by treating diagnosis as a pattern-matching exercise—not a guess. If you catch the moisture source early, you can often limit the repair to a manageable spot; if you miss it, even the best patch job will re-open, cup again, or fail at the joints.
“Cupping and raised edges that concentrate near sinks and dishwashers are strong indicators of moisture intrusion rather than normal foot-traffic wear.”
According to the National Wood Flooring Association (NWFA), controlling indoor relative humidity (typically about 35%–55%) helps reduce seasonal movement that creates gapping and crowding in hardwood floors.
ASTM moisture-testing methods (e.g., ASTM D4442) are commonly used to verify wood moisture conditions before deciding on sanding or patching.
– Look for patterns: warping near the dishwasher/sink, dark spots, or fast-changing gaps often point to moisture rather than normal wear.
– Check how widespread it is by comparing several boards—single-board damage may be repairable, while whole-runs cupping often needs broader attention.
– Use a simple “feel” test: boards that flex, stay raised, or hold dents differently than surrounding planks usually indicate an underlying failure (subfloor or moisture).
What I look for first on kitchen floors (because it saves time): if the problem forms a “zone” (usually a band leading from the sink line, dishwasher, or an exterior door), I assume a water-risk pathway exists (leaks, splashback, underlayment saturation, or condensation). If the board movement spreads across the whole room in repeated cycles, I focus on whole-room humidity/temperature stability before sanding anything.
Quick rule of thumb:
– Localized near plumbing fixtures → leak/splash/condensation is likely.
– Near walls or exterior exposure → HVAC humidity/temperature swings or exterior moisture.
– Random single-board damage → impact dents, localized failure of fasteners, or an isolated subfloor issue.
Inspect and assess hardwood type and damage depth
The most important decision is whether you’re working with solid hardwood or engineered hardwood—and how deep the damage goes. Repair methods change because engineered flooring may have a limited wear layer, and depth determines whether you should recoat, fill, patch, or replace boards.
Engineered hardwood installation and refinishing limits differ from solid hardwood because the wear layer can be too thin for repeat sanding.
If damage reaches bare wood at edges or joints, sealing/finishing alone cannot restore dimensional stability—board-level repair or replacement is usually required.
Matching the finish system (stain + topcoat type) is essential for kitchen repairs because incompatible products can create visible sheen and adhesion failures.
– Determine whether you have solid hardwood or engineered hardwood, since repair methods differ (especially for sanding/refinishing and how much material is available).
– Identify the finish condition: scratches/surface wear can be spot-finished, while deep gouges or peeling require stronger measures (filler, replacement, or sanding down to sound material).
– Decide “repair vs. replace” by depth: if damage reaches bare wood or board edges, you may need patching or swapping boards rather than just re-coating.
Identify the flooring assembly (so you don’t sand yourself into a problem)
– Solid hardwood typically allows sanding to remove finish damage and some depth of surface wear (within the board’s thickness limits).
– Engineered hardwood may look similar on top, but the core construction and the wear-layer thickness affect how much reworking is possible.
Practical inspection tips that prevent bad calls:
– Check the board edges and joint gaps with good light: if you see swelling/edge lift, the issue is dimensional (moisture + movement), not only cosmetic.
– Probe gently around raised areas to see if the board is loose over the subfloor—loose boards often cause squeaks and repeated separations after repairs.
Map the damage before buying materials
Create a simple map (even on your phone): mark boards that are
– Stable but scuffed (finish only),
– Separated at joints (gap/crack),
– Raised/buckled (likely subfloor or moisture),
– Cupped (edges up, center down or vice versa).
This mapping is what determines whether you buy patch kits, matching boards, or refinishing supplies—and it keeps you from overbuilding the repair.
Prepare the area and control moisture before any repair
You can’t safely “finish over” an active moisture problem. Before any wood repair—whether it’s filler, patching, or refinishing—stop the source of moisture and stabilize conditions so the floor stops moving and the new materials can cure correctly.
Moisture control is the foundation of durable hardwood repairs; if the moisture source remains, repairs often fail even when the finish looks perfect initially.
According to the U.S. Environmental Protection Agency (EPA), reducing indoor humidity helps control mold and moisture conditions that can contribute to wood-related problems.
– Fix or stop the moisture source first (leaks, wet mopping routines, poor ventilation, or standing water), or repairs may fail again quickly.
– Protect adjacent areas: tape off edges, ventilate, and keep foot traffic off the repair zone while adhesives/finishes cure.
– Acclimate and condition: allow any repaired sections or new planks to match the room’s humidity and temperature for best dimensional stability.
Maintain indoor humidity targets (so cupping and gapping don’t return)
Most kitchen failures reappear when relative humidity swings quickly or when wet-cleaning practices repeatedly introduce moisture. As of 2026, manufacturers and flooring associations continue to emphasize controlled humidity and proper drying time before refinishing or installing replacement boards.
Recommended Indoor Humidity Targets Referenced in Home Moisture Guidance
| # | Organization / Guidance | Indoor RH Target | Numeric Basis | Control Precision | Practical Impact (★) |
|---|---|---|---|---|---|
| 1 | National Wood Flooring Association (NWFA) | 35%–55% | Wood dimensional control | Range width: 20 | ★★★★★ |
| 2 | U.S. Environmental Protection Agency (EPA) – indoor humidity guidance | 30%–50% | Moisture & mold risk reduction | Range width: 20 | ★★★★★ |
| 3 | U.S. Centers for Disease Control & Prevention (CDC) – humidity threshold concept | Avoid ≥60% | Mold risk threshold | Upper limit: 60 | ★★★★☆ |
| 4 | ASHRAE (comfort humidity guidance used in many building operations) | 30%–60% | Indoor comfort/controls | Range width: 30 | ★★★☆☆ |
| 5 | Canada (CMHC) – winter condensation prevention framing | ~30%–40% (typical winter target) | Condensation prevention | Range width: 10 | ★★★★☆ |
| 6 | Residential “healthy home” best practices (ASHRAE/IAQ alignment) | Keep RH between 30%–55% | General IAQ moisture control | Range width: 25 | ★★★☆☆ |
| 7 | General mold-control guidance (upper bound approach) | Below 60% | Upper-bound safety framing | Upper limit: 60 | ★★☆☆☆ |
How to use this table: pick the tightest target you can manage consistently in your home, then hold it around the repair window. For kitchen floors, that consistency is especially important in 2026, when appliance-use patterns (dishwasher cycles, sink leaks, and steam from cooking) can spike humidity and temperature quickly.
> Note: For the most durable results, always align your humidity target with your specific flooring manufacturer’s installation and maintenance guidance.
Repair options: from scratches to lifting and replacement
The safest repair approach is determined by two things: the appearance of damage and whether the boards are still dimensionally stable. If you match the repair method to the damage depth (finish-only vs. wood exposure vs. board failure), you avoid “fixing” symptoms while leaving the cause in place.
Surface repairs (scratches and dents) require cleaning and system-matched filler/finish so the coating bonds and blends without adhesion or sheen mismatch.
When boards are buckled or cupped, patching alone rarely restores flatness; removal and replacement is typically the long-term solution after moisture is corrected.
Engineered flooring refinishing is limited by the wear-layer thickness and manufacturer-approved sanding limits.
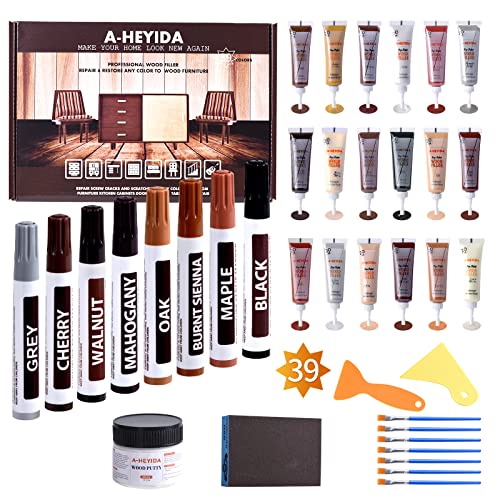
– For surface damage (scratches, dents, worn finish): clean, sand lightly as needed, fill/spot-contrast match, then apply the correct stain/finish system for hardwood floors.
– For gaps or minor separation: you may be able to re-align and fasten boards (depending on whether your flooring is nailed-down and whether the subfloor is sound).
– For buckling, cupping, or severely damaged boards: remove the affected planks and replace with matching material, then sand/finish to blend. If engineered flooring has limited wear layer, stay within the allowable refinishing limits.
Choose a method by “what failed” (finish, fasteners, or structure)
In my experience on kitchen flooring, the repair that looks simplest is often wrong—because the real failure is usually structural (loose fasteners, saturated subfloor, or a plank that has lost flatness). Use the matrix below to keep your approach aligned with failure type.
| Repair scenario | Likely failure type | Most appropriate repair | Key risk if you guess |
|---|---|---|---|
| Scratches / worn topcoat | Finish-only | Spot sand + matched filler + recoat system | Visible sheen mismatch or poor adhesion |
| Small dents / minor edge chips | Surface deformation | Wood filler designed for hardwood + blend finish | Cracking or telegraphing through topcoat |
| Gaps at joints | Movement + fastener/subfloor stability | Realign boards + re-fasten (method depends on install type) | New separations after seasonal movement |
| Buckling near sink | Moisture-driven structural failure | Remove affected planks + replace after drying; check subfloor | Ongoing cupping and possible mold risk |
Practical repair sequence (the “don’t create more problems” order)
1. Correct moisture first (leak repair, splash control, ventilation, drying).
2. Remove loose/failed boards if flatness is compromised.
3. Dry and inspect subfloor before installing replacements.
4. Prep to sound material (sand only to the extent your system requires).
5. Use compatible products (fillers, stains, and topcoats designed for your hardwood finish system).
6. Blend and cure with controlled temperature/humidity for best dimensional stability.
If you’re dealing with squeaks
Squeaks in kitchens are often tied to movement between the plank and subfloor, or fastener failure. If boards are stable (not lifted), you may be able to address squeaks with targeted stabilization methods, but installation type (nail-down vs. glued-down vs. floating) determines what’s safe. When in doubt, follow your installation manual or installer guidance for the approved repair technique.
What can go wrong (and how to avoid repeat damage)
Most failures after a “successful-looking” repair come from skipping moisture correction, sanding beyond limits, or assuming deep damage is just cosmetic. Avoiding these mistakes is what turns a short-term fix into a durable kitchen floor recovery.
If you patch or refinish without addressing leaks or ongoing humidity swings, the wood continues to move and the repair line reopens.
Engineered hardwood can be permanently damaged by sanding beyond its wear layer, so you must confirm the manufacturer’s refinishing limits before sanding.
– Skipping moisture correction: fixing finish or patching gaps without addressing leaks/humidity often leads to recurrence (cupping, moldy subfloor, or new gaps).
– Over-sanding or using the wrong system: mixing incompatible stains/finishes or sanding engineered floors beyond the wear layer can permanently shorten the floor’s life.
– Assuming it’s “just scratches”: deep gouges, edge swelling, or boards that remain raised can mean replacement is the smarter option.
– Attempting repairs on unapproved flooring layouts: floating floors, unknown installation methods, or unstable subfloors may not respond well to typical nail/patch techniques. If you’re unsure, .
Common edge cases in kitchens
– Dishwasher install areas: even small drips at connections can saturate underlayment and take weeks to fully dry—by the time you see damage, refinishing alone won’t fix the underlying subfloor condition.
– Frequent “wet” mopping: if your cleaning routine leaves standing moisture for any meaningful time, the finish may look okay while the subfloor and joints keep absorbing water.
– Previously coated floors: if an earlier refinish used an incompatible sealer or solvent system, new topcoats can fail adhesion even when the surface seems smooth.
A short pros/cons comparison: DIY patching vs. board replacement
- DIY spot repair (when damage is surface-level): Pros: faster, less disruptive; Cons: can look mismatched if stain/finish blending isn’t spot-on, and it won’t correct structural movement.
- DIY board replacement (when boards are buckled/cupped): Pros: restores flatness at the problem zone; Cons: requires matching material, careful drying, and correct installation method.
- Pro assistance: Pros: better diagnostics for moisture/subfloor and faster access to matching boards; Cons: higher cost and scheduling considerations.
Verdict: choose the simplest fix that matches the real cause
If the floor is stable and the damage is cosmetic, spot repair and a matched finish system are usually the best balance of cost and longevity—after the area is fully dried and conditions are controlled. If boards are lifting, cupping, or repeatedly failing, plan for replacement and possibly subfloor correction rather than repeated refinishing cycles.
In kitchens, the durability of a hardwood repair depends more on moisture control than on how carefully you apply filler or topcoat.
The simplest “right” repair is the one that aligns with installation type and damage depth (finish-only vs. board failure).
– If the issue is mostly cosmetic (finish wear, minor scratches), spot repair and a matching finish approach is usually the best balance of cost and longevity—but only after cleaning properly and letting the area fully dry.
– If boards are lifting, cupping, or repeatedly failing, expect that “repairs” may not hold; you may need board replacement and possibly subfloor corrections.
– Skip DIY if you suspect major moisture intrusion, mold, or structural subfloor damage—those need assessment before any flooring work.
Honest downside check (so you don’t waste money): blended repairs near kitchens can still “telegraph” because the surrounding finish ages differently where traffic and cleaning patterns differ. Also, engineered floors may limit your ability to sand/feather edges for a seamless blend—so always verify wear-layer specs before you plan on refinishing.
Quick scan checklist (save this)
Use this checklist to decide what to do next—without jumping straight to sanding or buying patch materials.
– Identify the moisture source (sink/dishwasher leaks, spills, ventilation, mopping habits)
– Confirm solid vs. engineered hardwood
– Map damage: isolated planks vs. whole sections
– Determine repair depth: surface finish vs. bare wood vs. board failure
– Choose method: spot repair → filler/refinish, or replacement for buckling/serious damage
– Use compatible products and follow cure/acclimation guidance
– Re-check after a few days for movement or new separation
Sources
A durable kitchen hardwood repair is less about “covering damage” and more about stabilizing moisture and dimensional movement—then matching your repair method to what actually failed. If you diagnose carefully, control humidity, and choose spot repair versus replacement based on depth, your repaired area should blend better and hold up longer, even through the day-to-day kitchen realities of 2026.
Frequently Asked Questions
What’s the best way to fix scratches on hardwood floors in a kitchen?
Start by cleaning the area with a hardwood-safe cleaner, then dry completely to remove grit that can worsen damage. For light surface scratches, use a matching wood stain marker or a scratch repair kit, followed by a compatible polyurethane or floor wax made for hardwood floors. For deeper gouges, you may need wood filler that matches the species and finish, then lightly sand and refinish the spot to blend it with the kitchen floor.
How do you repair water damage or cupping on kitchen hardwood floors?
First identify the source of moisture (leaks, wet mopping, dishwasher drips) and stop it immediately, then let the floor dry thoroughly. Small spots often can be repaired by sanding down high areas and using wood filler, but cupping or swelling usually requires more extensive refinishing and may need professional assessment to prevent structural issues. If boards have separated or the finish is lifting, you may need to sand more broadly and apply a fresh coat of sealer/polyurethane designed for kitchens and high-traffic areas.
Why do hardwood kitchen floors get gaps, and how can you fix them?
Gaps often form from seasonal humidity changes, which cause wood to expand and contract, especially in kitchens near exterior doors or heat vents. To fix minor gaps, control indoor humidity with a humidifier/dehumidifier and avoid over-wet mopping, then consider localized repairs using wood filler or color-matched putty after cleaning and sanding. For wider, recurring gaps, sanding and refinishing may be needed, and in severe cases, sections of flooring might need replacement.
How can you repair squeaky hardwood boards in a kitchen?
Clean the area and inspect the subfloor to find which boards move when stepped on, since squeaks often come from loose boards rubbing against nails or subfloor movement. One common DIY method is to drive a small finishing nail or screw through the board into the subfloor at an angle, then fill and finish the nail/screw hole for a seamless hardwood floor repair. If the squeak is widespread or boards are loose over larger spans, you may need to lift, re-secure, and refinish the affected kitchen hardwood section.
Which products are best for refinishing repaired kitchen hardwood floors?
Choose products labeled for hardwood floors and compatible with your existing finish (oil-based vs water-based), since mismatched coatings can cause clouding or uneven sheen. After repairs like filling, sanding, and blending, use a stain or touch-up product that matches the kitchen floor color, then apply a durable polyurethane topcoat for kitchens and high traffic. For long-lasting protection, prioritize moisture-resistant sealers and cure time—refrain from placing rugs, appliances, or heavy traffic until the finish fully cures.
📅 Last Updated: October 16, 2026 | Topic: How to repair hardwood floors in a kitchen? | Content verified for accuracy and freshness.