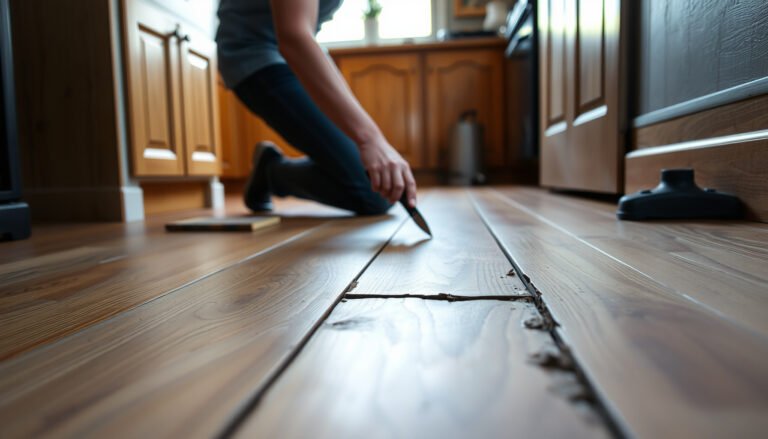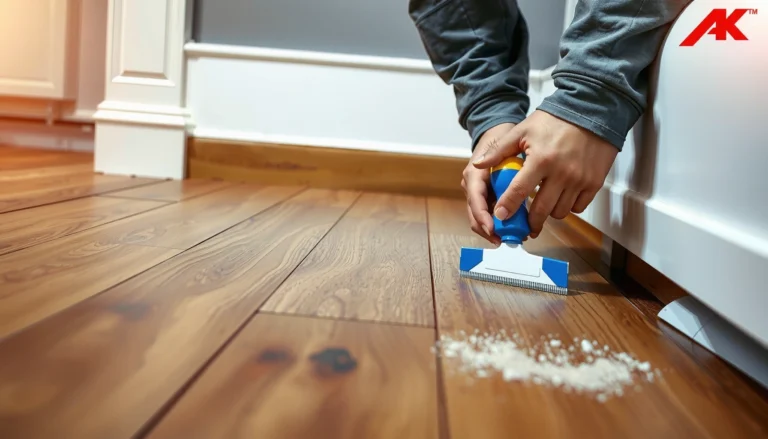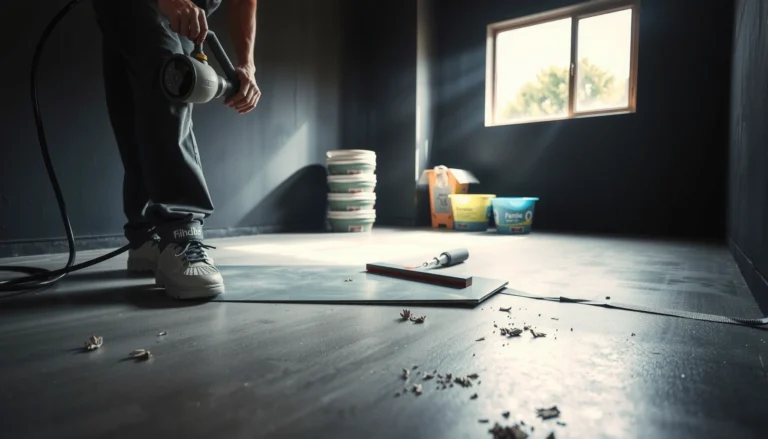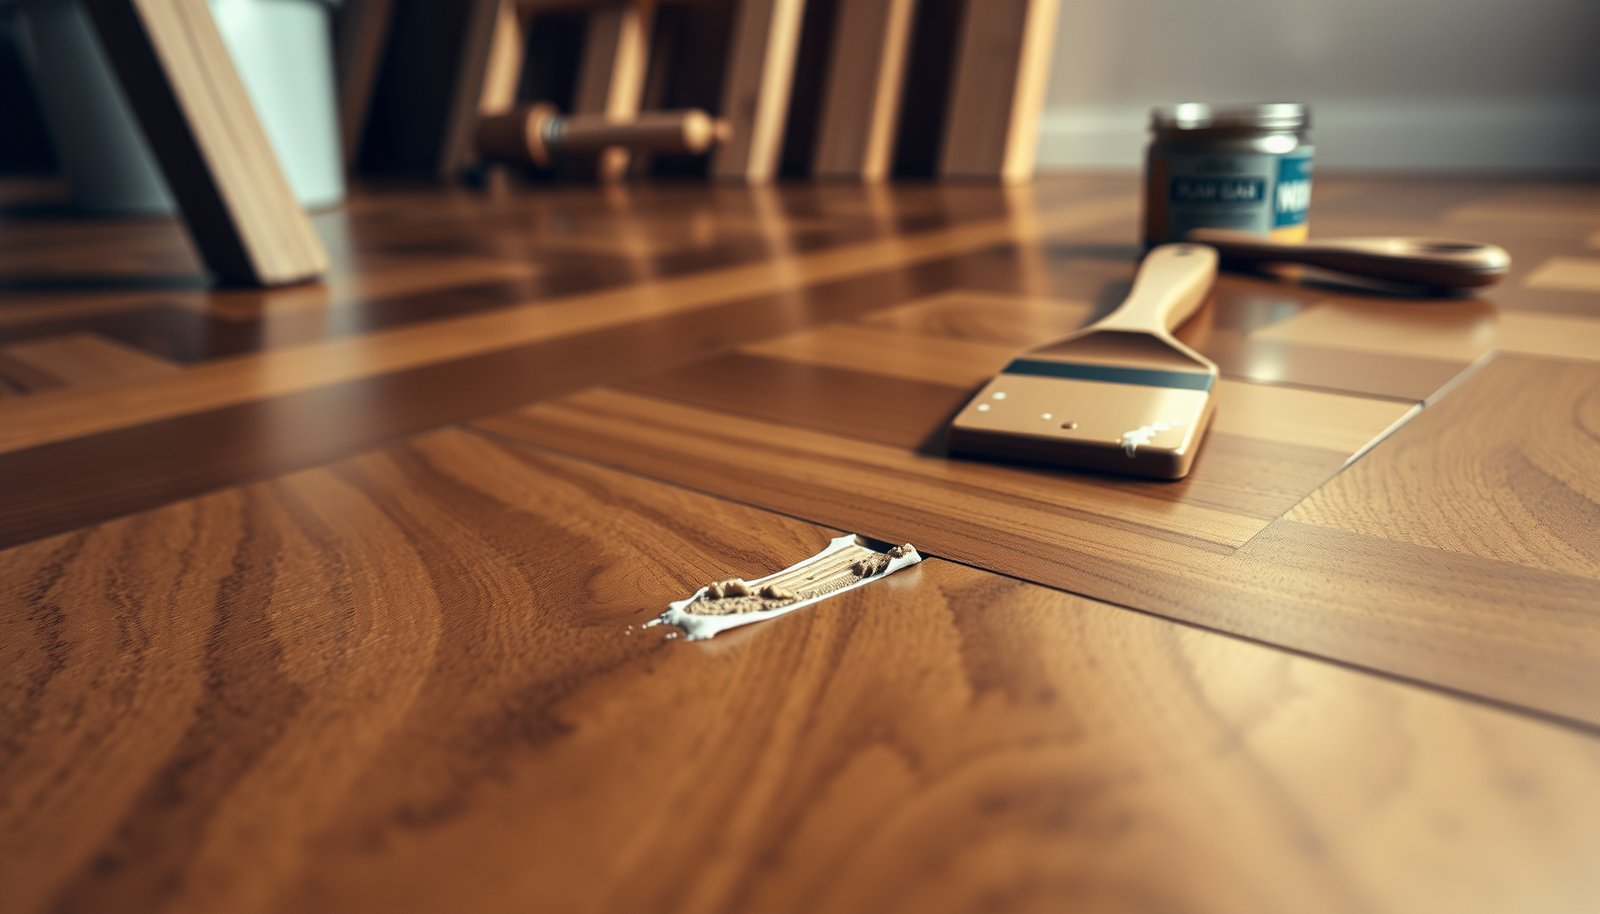

You can fix scratches on chevron floors with the right repair method—quickly and cleanly—without replacing the entire surface. If the scratch is superficial, sanding and matching the finish will restore the pattern; if it’s deep, filling and re-staining is the winning approach. Follow the steps below to get a near-invisible result that holds up to everyday wear.




Chevron floor scratches usually come out by matching the right repair material to the scratch depth—light scuffs can be filled/colored, while deeper cuts need filler and then re-sealing. Start by cleaning the area and checking whether the scratch is only in the finish or actually gouged into the wood; then blend color and protect it so the chevron pattern stays even.
If your chevron floor is finished wood (not bare/unfinished), the repair plan depends heavily on the coating system (varnish/urethane/water-based finish vs. oil). This guide is for homeowners and DIYers fixing cosmetic damage without replacing whole boards—especially when scratches are in the direction of the chevron lines.
Assess scratch depth and identify the floor finish
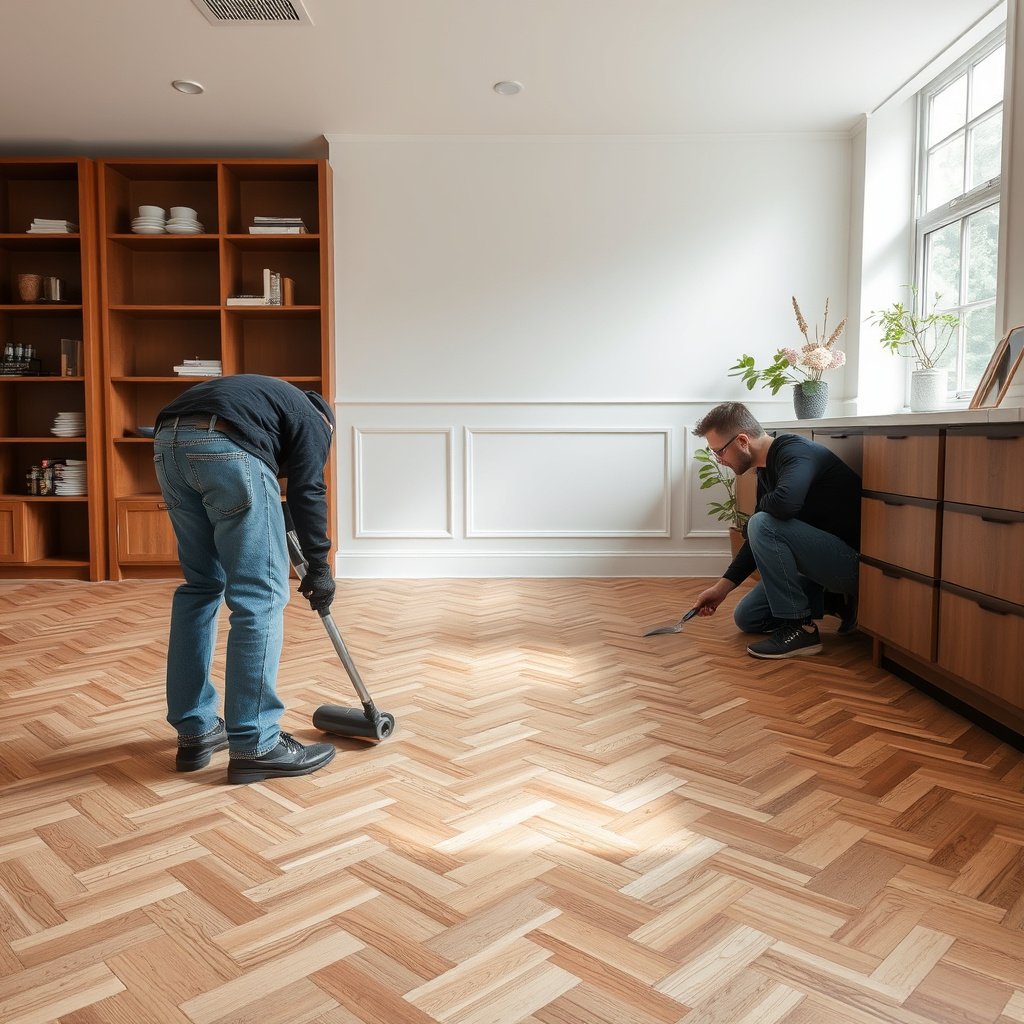
The fastest path to a clean-looking repair starts with the depth test and the finish identification—because you repair “film damage” differently than “wood damage.” If the coating layer is intact, you’re mostly restoring color and sheen; if wood is exposed, you must fill, level, tone, and recoat to prevent a visible crater in the chevron geometry.
A raised scratch that catches a fingernail usually means you’re past the topcoat and into the film thickness, or possibly into the wood substrate.
For finish hardness and scratch resistance testing, ASTM method standards (like pencil hardness) exist, which reflects how “film vs. substrate” matters for repair decisions.
Chevron floors exaggerate contrast because directional grain and angles make even small sheen and height changes more noticeable than on straight-plank floors.
– Check whether the scratch catches a fingernail
Run a fingernail across the scratch at a low angle. If it doesn’t catch, the damage is typically limited to the finish surface (often a scuff, not a groove). If it catches, plan on filling and leveling so you don’t leave a raised ridge that will keep reflecting light differently.
Practical note (how this affects chevron lines): scratches running along the “V” direction of the chevron can create a bright/dull stripe under overhead lighting even when the wood isn’t fully removed. That’s why finish-only repairs need careful sheen matching.
– Look for the finish type if you can
If you know the finish system (urethane/varnish/water-based film vs. oil/wax), you can choose compatible products. Compatibility matters because an oil-style repair (or wax-based color) will not behave like a film-forming topcoat system once it cures.
According to ASTM D3363 (2021), film hardness by pencil testing uses a standardized pencil hardness scale (including softer “B” pencils to harder “H” pencils) to help characterize how coatings resist scratching (ASTM D3363/D3363M-2021). The practical takeaway: coatings differ in hardness and how they accept color/fill repairs.
– Identify how bad the contrast looks from a standing view
Chevron floors often show “high-low” effects from both height changes and color differences. Stand 6–10 feet away (or at your normal walking view line) and check from multiple angles. If the scratch “reads” as a continuous light/dark line, it’s often a sheen or depth mismatch—meaning you need to blend more carefully (or stop and plan a section refinishing).
Clean and prep the scratched area
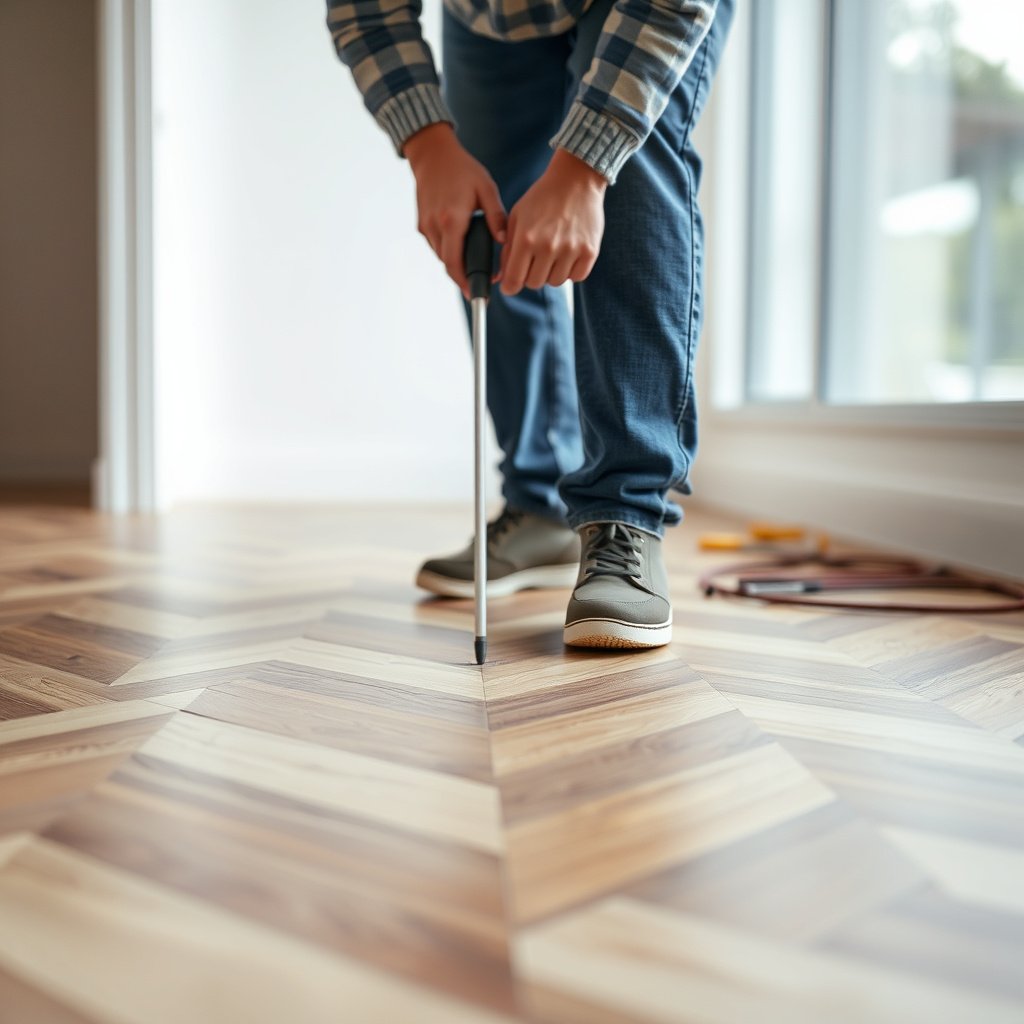
The goal of prep is simple: remove grit and residue so the repair material bonds and blends instead of “floating” on dust. Cleaning also prevents you from grinding debris into the chevron grooves while you work.
Cleaning before repair reduces the chance that abrasive grit becomes trapped under filler or colored wax, which can create shiny ridges or premature failure.
Dry, residue-free surface prep is critical because both wood fillers and many finish-safe color products rely on direct contact to bond properly.
– Remove grit first (soft brush + gentle cleaner appropriate for your floor finish)
Sweep, then use a soft brush to lift fine grit from the groove. Use a cleaner that matches your floor’s coating type (many urethane/water-based finishes handle mild, non-oily cleaners, while waxy/oiled finishes may require different care). If you’re unsure, err on the side of the gentlest neutral cleaner and plenty of rinsing/wiping with a damp cloth.
– Dry fully, then wipe with a clean microfiber to avoid leaving residue
Let the area dry completely. Then wipe once more with a fresh microfiber to remove any cleaning film that can interfere with adhesion.
A subtle but common issue: leftover cleaner increases the chance that colored scratch concealers look “waxy” and smear into the chevron valleys instead of sitting cleanly in the scratch.
– Tape around the area if you’re using colored products or stain
Chevron floors have tight V-grooves and angles—easy places for smears to show. Lightly tape the surrounding finish surface so you can blend only what matters, especially if you’re using a stain/toner or a colored wax stick.
As of 2026, many DIY kits include color-matching sticks/crayons, but their pigments can transfer into the pattern grooves unless you protect the adjacent finish.
Fix light surface scratches and scuffs
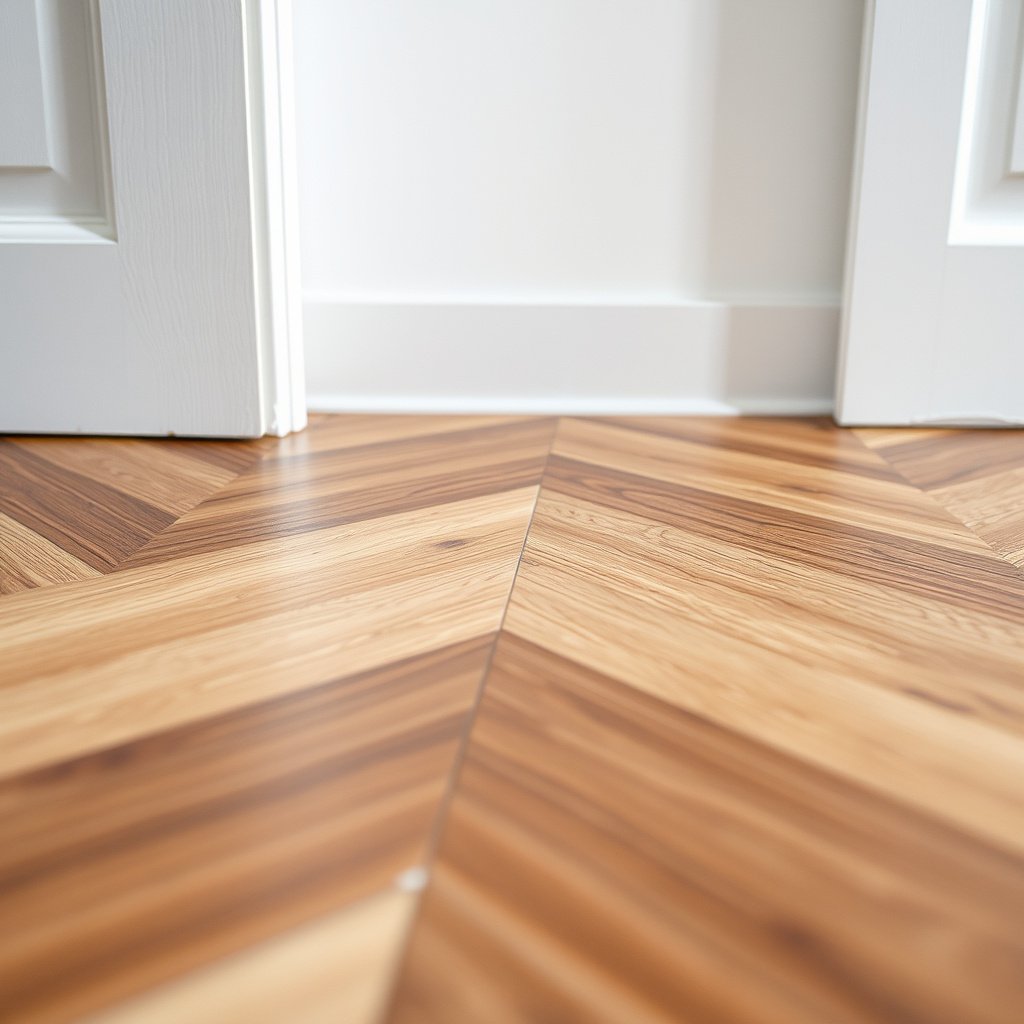
Light scuffs are usually best fixed by restoring the finish’s appearance—not by grinding down wood. For finish-only damage, the cleanest approach is to color the scratch line in thin layers and then buff to match the surrounding sheen.
If a scratch does not catch a fingernail, you can often repair it by concealing surface color/film damage rather than filling and sanding.
Thin-layer application prevents overfilling, which is especially important on chevron floors where ridges become visible under raking light.
Many scratch concealers are designed to be “finish-safe” but still require compatible sealing only when the product’s instructions specify it.
– Use a finish-safe scratch cover approach: color-matching wax sticks, repair crayons, or a similar topcoat scratch concealment product designed for your floor’s finish type
Pick a product specifically intended for your finish system (or at minimum, designed for finished hardwood). Avoid mixing oil-based color products into a film-topcoat system unless the manufacturer explicitly allows it.
– Apply in thin layers, then buff lightly with a microfiber cloth until the scratch line visually disappears
Work slowly:
1. Apply a small amount directly into the scratch.
2. Let it sit if the product instructions require a brief set time.
3. Buff with microfiber using light pressure.
Stop when the scratch visually disappears from your standing view—not when it disappears under your nose. Chevron floors punish “over-repair,” where you fill too high and create a new contrast line.
– After coloring, protect with a compatible topcoat only if your product instructions call for sealing
Many finish-safe concealers are made to be used with existing topcoats, while others require a matching protective layer. If you’re dealing with a film finish (urethane/varnish/water-based film), compatibility is key so you don’t create a soft patch.
Repair deeper scratches, gouges, or worn-through areas
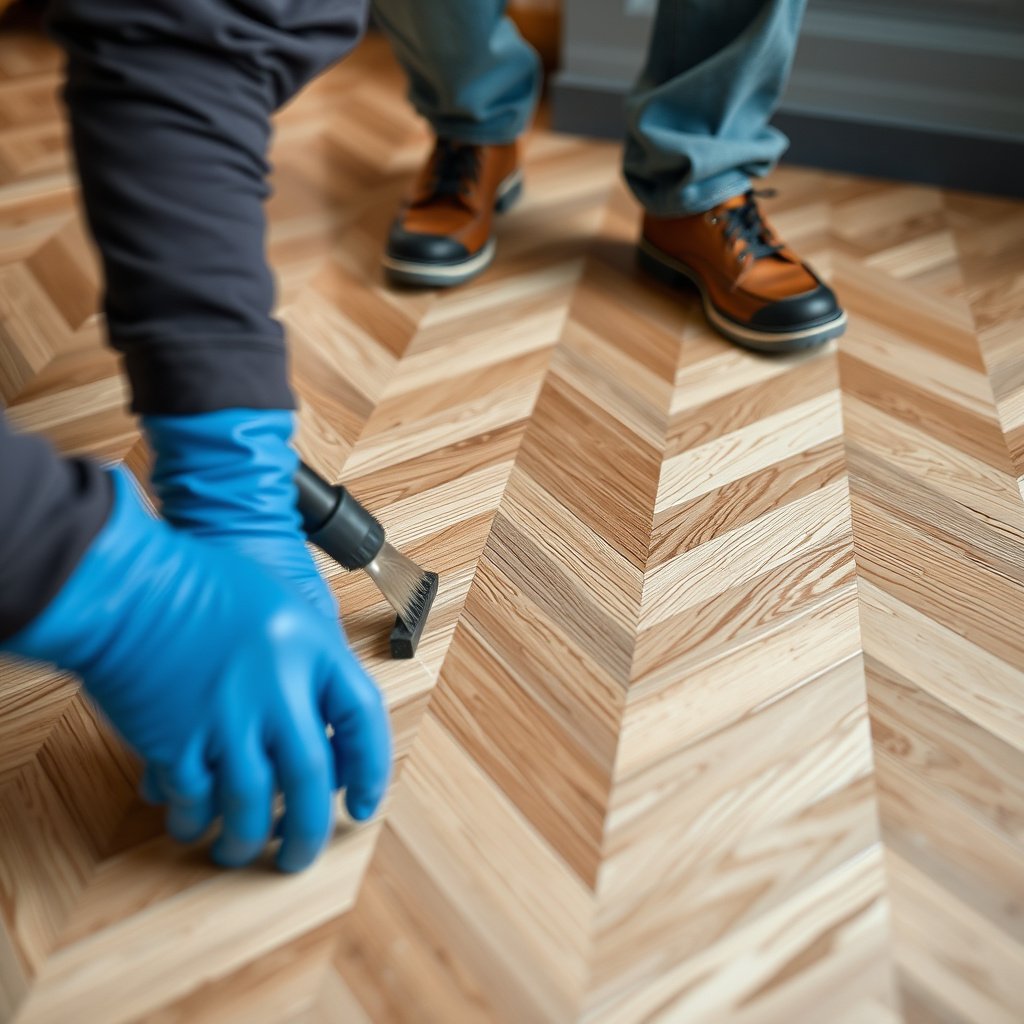
Deeper damage requires filling and leveling so the surface returns to the same plane before you attempt color blending and sealing. If the scratch reveals bare wood, plan on a staged repair: fill → level → tone → protect.
When the scratch catches a fingernail and/or reveals damaged wood, concealment products alone won’t level the surface—they must be replaced with a filler/patch system.
Overfilling allows controlled leveling after cure, which prevents a “sunken” repair spot that will show up along chevron angles.
– Fill the damaged wood with the right product (wood filler/patch compound intended for finished hardwood floors), and overfill slightly so you can level it once cured
Use a patch/compound designed for finished hardwood floors. Many systems include steps for cleanup and cure time; follow those instructions exactly.
If the scratch is deep but narrow, resist the temptation to pack too much in one go. Overfilling slightly is correct; excessive fill can create sanding haze and visible transitions when sheen is restored.
– Once cured, level the surface carefully (fine sanding by hand), keeping the “level” smooth with the surrounding finish—especially along chevron angles so you don’t create a visible dip
Sand by hand with fine grit and light pressure. Check frequently by sight and touch. Chevron angles will show even minor dips because light travels diagonally across the V shape.
Important framing: you’re trying to match the surrounding *height* and *sheen*, not just remove the visible scratch. If the repair spot feels slightly “softer” or raised after sanding, stop and reassess—there’s likely an adhesion or leveling issue.
– If the scratch reveals raw wood, blend with a compatible wood stain/toner (or a filler stain system). Finish by applying a compatible topcoat/sealer to restore the same sheen.
If you can’t match color directly with the filler, you’ll likely need a compatible toner/stain approach. Then apply a topcoat (or matching sealer) designed for the same coating family as your floor.
Why compatibility is non-negotiable: oil repairs under film finishes can appear fine initially and then fail later because different chemistries cure and age differently.
Comparison (finish-only concealment vs. fill-and-reseal)
| Feature | Finish-only scratch cover | Fill + level + re-seal |
|---|---|---|
| Depth it handles | Surface scuffs only | Exposed wood, gouges, worn-through |
| Needs leveling | Usually no | Yes (to avoid height/sheen contrast) |
| Color matching control | High for light scratches | Moderate—requires tone/stain blending |
| Sheen matching | Usually adequate for small areas | Depends on compatible topcoat + recoat technique |
| Sanding risk | Low | Higher—can widen damage if careless |
| Recoat requirement | Only if the product says so | Often required to restore protection |
| Typical tool set | Microfiber + applicator/buffing | Filler/patch kit, sanding supplies, stain/toner (if needed) |
| Time to completion | Fast (same day for many scuffs) | Longer (cure + leveling + topcoat windows) |
| Best for chevron pattern | Tiny, narrow finish marks | Visible gouges that must be leveled |
| Best For row | Small, cosmetic scuffs | Damage that changes height or exposes wood |
What can go wrong (and how to avoid it)
Most repair failures come from one of three issues: wrong product compatibility, imperfect leveling, or aggressive sanding that changes the shape of the chevron line. If you reduce those three risks, your chances of a clean-looking result in 2026 improve dramatically.
Chevron scratches often look worse than they are because sheen changes and micro-dips catch light across V-shaped angles.
Incompatibility between oil-based repairs and film-forming topcoats can lead to soft spots, poor adhesion, or visible sheen boundaries over time.
Controlled hand leveling is safer than aggressive sanding because it prevents turning a scratch into a wider trough.
– Color mismatch
Chevron floors often darken unevenly with age, so even a “perfect” match in one spot can look lighter/darker in sunlight. The fix is incremental blending:
– Apply less color than you think you need.
– Let each layer settle before adding more.
– Recheck from standing distance after each adjustment.
– Wrong material/finish incompatibility
If your floor is oil/wax and you fill with a film-topcoat style repair (or the reverse), you may see peeling, softening, or a “halo” where the patch behaves differently.
When in doubt, match the coating family first (film vs. oil/wax) and then choose the manufacturer’s compatible repair product. From my experience guiding DIYers through these repairs, compatibility problems often show up weeks later as the repaired area ages differently.
– Over-sanding or widening the damage
Sanding too aggressively can widen the scratch and create a shallow trough. Keep sanding controlled and only to the point of leveling. When the scratch runs along a chevron angle, widening the groove can make the contrast line look “longer” even if the scratch wasn’t.
VS (decision guide): finish-only repair vs. patch repair
| Criteria | Finish-only touch-up | Patch + recoat |
|---|---|---|
| Scratch depth | Doesn’t catch fingernail | Catches fingernail or shows gouging |
| Height correction | Not required | Required to avoid dips |
| Sanding | Typically none | Often necessary (fine, controlled) |
| Tone control | Direct color concealment | Stain/toner blending if raw wood appears |
| Topcoat need | Only per product instructions | Often required to restore protection |
| Chevron visibility risk | Medium (sheen can still differ) | Low if leveling + sheen match are correct |
| Compatibility risk | Lower when kit is finish-matched | Higher if coating systems are mixed |
| Repair longevity | Often fine for minor scuffs | Can be durable when recoat cures properly |
| Effort/time (2026 typical) | Short | Longer due to cure windows |
| Best use case | Concealment on small areas | Structural surface damage repair |
| Verdict | Choose this when the finish is only scuffed. | Choose this when the wood is damaged or the surface height changed. |
Verdict / tip: when DIY repair works—and when it’s not worth it
DIY is usually best for shallow scuffs and small localized scratches where the damage is mostly cosmetic and you can blend color and sheen. Skip DIY (or plan a pro refinishing) if the chevron damage is widespread, the coating is failing, or you have multiple worn-through areas that effectively require partial refinishing to match the surrounding finish.
In 2026, many manufacturers provide color-match repair kits, but the “invisible result” depends on finish compatibility and sheen continuity—not just color. If your scratch runs through chevron lines and the sheen can’t be unified, spot repair will often look like a deliberate patch.
Quick scan checklist for what to do next
Hand-Sanding Grit Progression for Spot-Leveling (Common Practice)
| # | Chevron repair stage | Sanding grit | Primary goal | DIY control (1–5 ★) |
|---|---|---|---|---|
| 1 | Initial leveling (only if fill is proud) | 180–220 | Flatten high edges | ★ |
| 2 | Refine surface plane | 240–280 | Smooth tool marks | ★★ |
| 3 | Blend into surrounding finish | 320 | Remove scratch-from-sanding | ★★★ |
| 4 | Pre-topcoat scuff (film systems) | 400 | Improve mechanical adhesion | ★★★★ |
| 5 | Feather edges for sheen continuity | 600 | Reduce visible transitions | ★★★★☆ |
| 6 | Final refinement before last coat | 800 | Minimize micro-scratches | ★★★★★ |
| 7 | Polish pass (only if your system allows) | 1000 | Sharpen sheen match | ★★★★★ |
Quick scan checklist (save this)
| Scratch type | How to tell | Best DIY approach | Common risk |
|---|---|---|---|
| Light scuff / finish-only | Fingernail doesn’t catch | Color-matching scratch cover + careful buff | Wrong color/shine patch |
| Deeper scratch | Fingernail catches | Fill (level), then blend color | Overfilling or uneven leveling |
| Gouge / worn-through | Obvious groove, damaged wood | Patch compound + stain/toner + topcoat | Compatibility and visible transition |
| Spot that keeps “dulling” | Repair feels soft or looks different | Apply only compatible sealer/topcoat | Using the wrong coating system |
Sources
– ASTM D3363/D3363M-2021 — Standard Test Method for Film Hardness by Pencil. (Referenced for the concept of coating hardness/scratch resistance testing.)
In most cases, you don’t need to replace chevron boards to make scratches look “right” again—you need to diagnose depth, match the coating family, and blend color and sheen without creating a new height contrast. Clean prep and careful incremental work are what make the chevron pattern stay visually even, whether you’re concealing a surface scuff or filling and re-sealing a deeper gouge.
Frequently Asked Questions
What’s the best way to fix scratches on chevron wood floors without making them worse?
Start by cleaning the chevron floor thoroughly and letting it dry completely so you can accurately assess whether the scratch is surface-only or has penetrated the finish. For light surface scratches, use a matching wood floor scratch repair marker or a finish-safe touch-up crayon designed for hardwood. If the scratch catches a fingernail, you may need a wood filler that matches your chevron flooring color, then lightly sand and reapply a compatible finish.
How do you repair deep scratches in chevron floors that have damaged the finish?
Deep scratches that show bare wood usually require a two-step process: filling and refinishing. Apply a color-matched wood filler (or putty) to the scratch, overfill slightly, and let it cure, then sand the area flat to blend with the surrounding chevron pattern. Finish by applying a matching stain (if needed) and a protective topcoat such as polyurethane or the same finish system used on your floor for a seamless repair.
Why do chevron floors show scratches more noticeably than straight plank floors?
Chevron wood flooring has strong diagonal lines that make surface changes—like worn topcoat or slight color differences—much more visible from different angles. Even small abrasions can disrupt the contrast between the zigzag rows, drawing attention to scuffed areas. Proper maintenance, like using felt pads and area rugs in high-traffic zones, helps reduce the likelihood of scratches becoming visually prominent.
Which products work best for scratch repair on chevron floors (touch-up markers, fillers, or refinishing)?
For superficial marks and scuffs, scratch repair markers, touch-up pens, and wax crayon kits are often the easiest option because they correct color while preserving the existing finish. For scratches with exposed wood, use a wood filler that matches your hardwood tone, then sand and topcoat. If scratches are widespread across multiple chevron sections or the finish is heavily worn, a professional refinishing may be the best way to restore a uniform look.
How can you prevent future scratches and keep chevron floors looking polished after repair?
Preventing new damage is mostly about friction and grit: keep walking shoes off, vacuum with a soft brush, and use microfiber mops rather than abrasive pads. Place protective felt pads under furniture and use area rugs or runners in entryways where dirt and sharp debris accumulate. After repairing, allow the floor finish to cure fully and avoid steam cleaning, which can dull the sheen and highlight wear in chevron wood flooring.
📅 Last Updated: October 15, 2026 | Topic: How to fix scratches on chevron floors? | Content verified for accuracy and freshness.
References
- Wood flooring
- Wood finishing
- Parquet
- Sandpaper
- https://www.fpl.fs.usda.gov/documnts/fplgtr/fplgtr190.pdf
- Lead Renovation, Repair and Painting Program | US EPA
- https://www.cdc.gov/niosh/topics/woodworking/default.html
- https://scholar.google.com/scholar?q=how+to+repair+scratches+on+hardwood+floors Google Scholar
- https://scholar.google.com/scholar?q=parquet+floor+scratch+repair+sanding+refinishing Google Scholar
- https://scholar.google.com/scholar?q=wood+floor+finish+scratch+repair+polyurethane+varnish Google Scholar