
Cutting limestone floors safely and accurately comes down to choosing the right cutting method and following a strict prep-and-procedure sequence. This guide answers how to cut limestone floors with clean edges, controlled dust, and predictable results—whether you’re scoring-and-snaping for thin tiles or using a wet saw for thicker stone. You’ll get practical, step-by-step instructions that minimize cracking and keep your cuts true.




Cut limestone floors by using a wet-cutting method with a stone-rated diamond blade, then measure and support the slab/tile so it can’t flex or chip at the edge. Plan the layout first, secure the piece firmly, and make controlled passes—forcing the cut is the fastest way to create chips or cracks.
This guidance is for homeowners, DIY renovators, and flooring installers who need to trim limestone for doorways, edges, and irregular spots—especially when working with thicker, heavier tiles where clean edges matter. Limestone is comparatively soft (about Mohs 2–3), but its edges can still chip when the blade, water cooling, and support aren’t right.
Choose the Right Blade and Cutting Method

The best way to cut limestone floors cleanly is to use a wet saw with a diamond blade engineered for natural stone/tile, not a generic masonry blade. Wet cutting keeps the blade cool and minimizes dust while improving edge quality on stone finishes.
Here’s why this matters: limestone may be “softer” than granite, but its surface and edges can still be fragile under heat, vibration, and uneven pressure. A stone-specific blade (with an appropriate rim style) gives you predictable kerf (cut width), better edge control, and less edge blowout than blades designed only for concrete or brick.
Wet tile/stone cutting is specifically used to cool the blade and suppress airborne dust, improving both cut quality and jobsite air safety. OSHA & manufacturer safety guidance (wet vs. dry cutting principles)
Natural limestone typically falls around Mohs hardness 2–3, which can make it easier to cut than harder stones, but still prone to chipping at the edge if the cut is rushed. USGS (Mohs hardness scale background)
Using a diamond blade intended for natural stone provides a cutting surface designed for dense mineral materials and helps maintain cleaner edges versus general-purpose blades. Diamond blade manufacturer usage/specifications (intended material statements)
Blade choice: don’t treat limestone like brick or concrete
Use a wet saw with a diamond blade specified for stone/tile. If you can, match three things:
1. Saw type (wet tile saw vs. masonry wet saw vs. angle grinder setup)
2. Limestone finish (honed vs. polished affects how easily scratches show)
3. Tile thickness and format (small tile vs. large/heavy slabs)
Avoid generic masonry blades. Masonry blades can be aggressive and uneven on tile/stone, increasing the odds of edge chipping, micro-spalling (tiny edge losses), and finish damage.
Wet method: when wet cutting is non-negotiable
If you’re trimming edges, door jamb transitions, or irregular spots, a wet tile/stone saw is usually safer and cleaner than “score-and-snap” (a technique that works for some ceramic tile but is unreliable for stone thickness, edges, and finish consistency).
For air-safety context: respirable crystalline silica from stone/dust is regulated. According to OSHA, the respirable crystalline silica permissible exposure limit is 50 µg/m³ (8-hour TWA) (2016). OSHA (Respirable Crystalline Silica Rule, PEL) Wet cutting is one practical way to reduce dust generation compared with dry cutting.
Quick comparison: which tool is right for the job?
Use this decision filter before you set up the saw:
| Cutting approach | Best for limestone floors | Main risk if misused |
|---|---|---|
| Wet tile/stone saw + stone diamond blade | Most trims, straight edges, doorway thresholds | Edge chipping from dull blade or forcing pressure |
| Angle grinder + diamond cup (with dust control) | Irregular notches and tight field cuts | Heat + vibration can increase chipping; dust control is critical |
| Score-and-snap (tile cutter) | Thin, small-format pieces only (stone suitability varies) | Breakout/cracks and finish edge loss on many limestone tiles |
Measure, Mark, and Plan the Cut
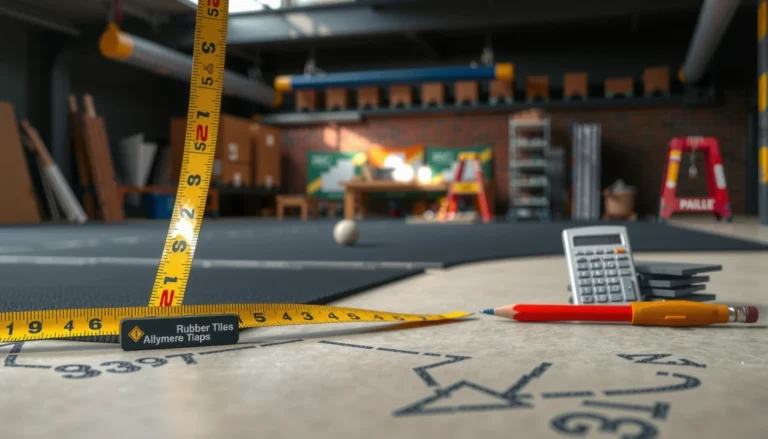
The cleanest limestone cut starts before the blade ever turns: measure the final layout and mark the cut line accurately for your specific installation gaps. Then do a dry fit check so the piece meets transitions cleanly at doorways, walls, and irregular edges.
If you’ve ever had to “fix” a stone edge that doesn’t line up, you already know the real cost isn’t the blade—it’s the replacement time. Limestone chips are especially discouraging because you can’t “hide” them behind grout the way you might with some other materials.
Accurate layout measurement (including expansion/transitions and grout/lay gap requirements) is the difference between a fit that looks intentional and a cut that creates edge gaps or misalignment. Industry flooring layout best practices (tile layout fundamentals)
A dry fit check before cutting reduces rework by confirming corner and edge relationships (doorways, thresholds, and transition strips). Common stone installation workflows recommended by manufacturers/installers
Marking the cut line with a method that won’t permanently mark stone finish helps preserve honed/polished surfaces. Stone finishing care guidance from limestone manufacturers/finish protectors
Measure using the real installation geometry
Measure twice using the tile/stone’s actual position, not your memory of it:
– Include grout spacing or lay gaps required by your system.
– Account for subfloor height changes and transition gaps (doorway trims, reducer strips, and threshold hardware).
– For edges that meet wall baseboards or door jambs, measure the “visible line” after trim, not just the raw tile edge.
Mark the line without harming the surface finish
Marking matters because limestone finishes show scratches differently:
– For honed surfaces, pencil/stone-appropriate marking often works with minimal disturbance.
– For polished surfaces, use a marker/pencil that’s known to be compatible with stone finishes and test on scrap if you have it.
Also, mark in a way that keeps the line visible when the piece is secured and the blade is set.
Do a dry fit check for tight corners and irregular edges
Dry fit is not optional when:
– Cuts meet at corners (inside corners, notched transitions)
– Cuts form a doorway profile
– You’re trimming around irregular shapes (pipes, HVAC penetrations, old hardware)
Re-check after you account for the saw’s kerf—the actual width removed by the blade.
Prep the Work Area and Support the Stone
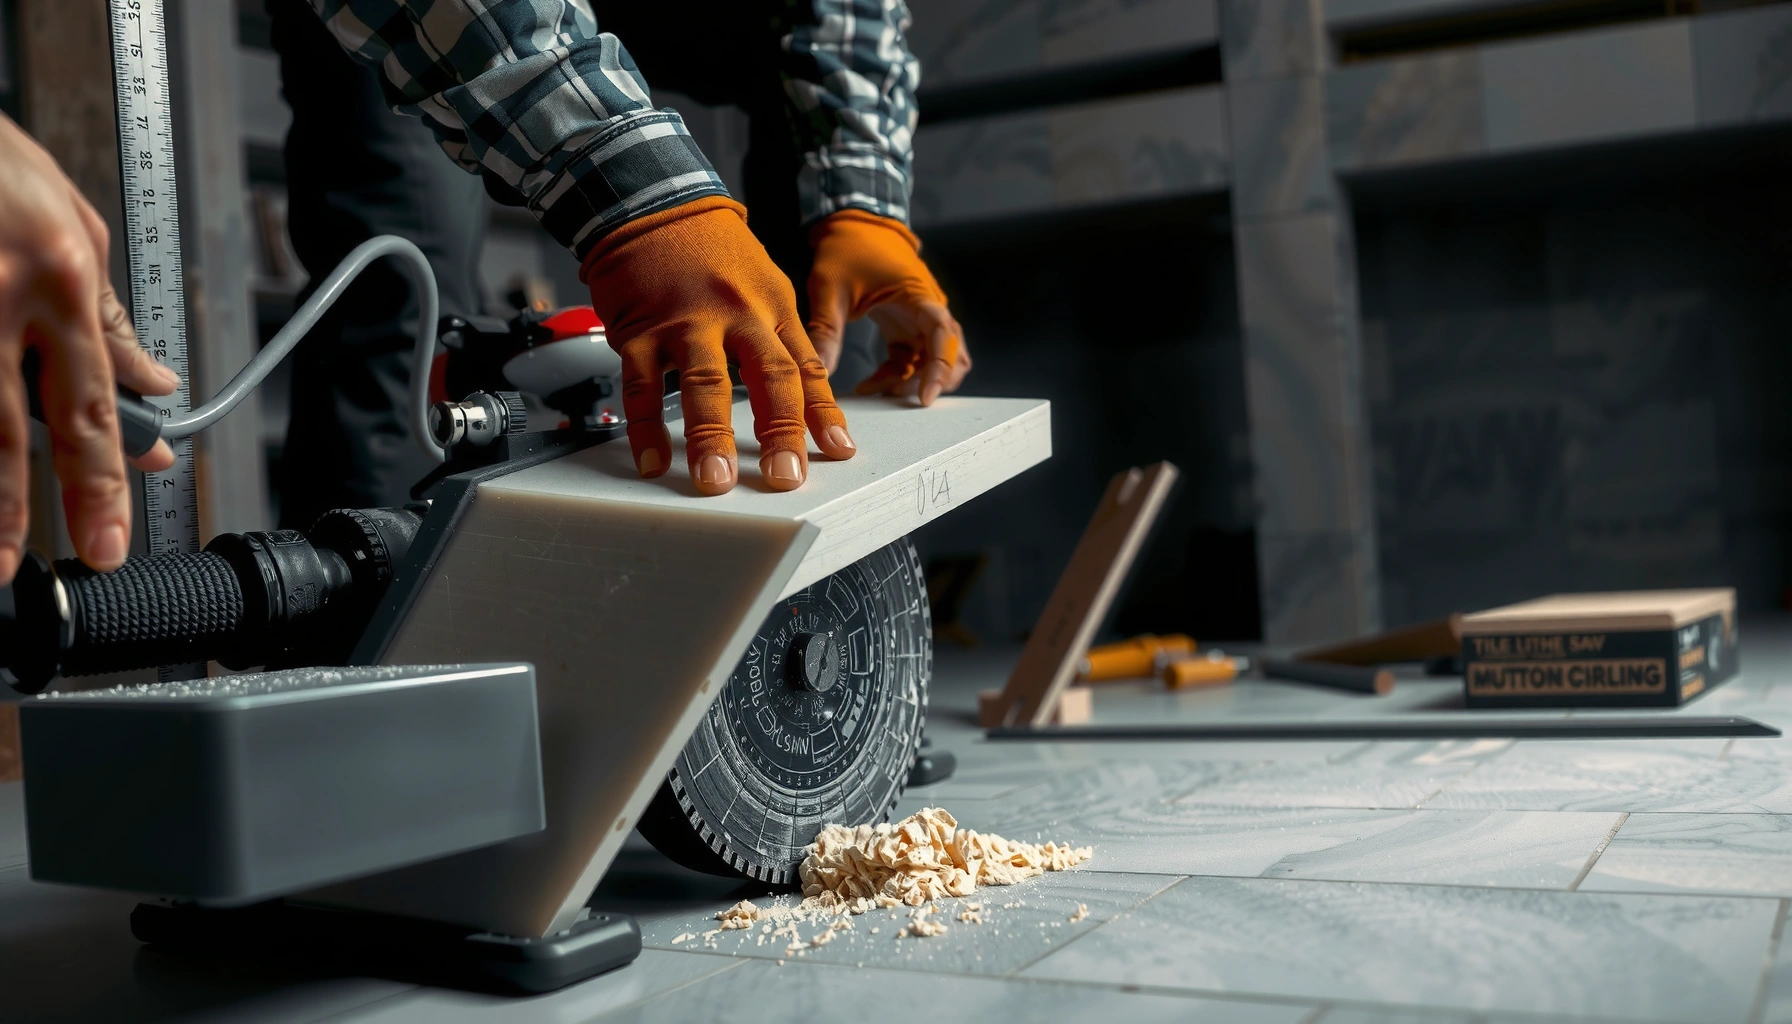
The safest limestone cutting setup is one that controls dust and prevents the tile/stone from flexing. Use wet cutting with containment where possible, and support the full piece so the edge never “breaks away” under blade pressure.
Limestone failures during cutting almost always come from either dust/heat issues or support problems. When a tile flexes even slightly, the blade can snag and create edge blowout—chips that look like you lost a chunk rather than a smooth trimmed edge.
Fully supporting stone during cutting reduces stress concentration that can lead to cracks and edge breakout. General ceramic/stone cutting mechanics (industry installation and tool safety guidance)
Wet cutting setups use water to cool the blade and suppress dust, which helps reduce airborne particulate during stone trimming. Manufacturer wet-saw operation guidance
Clamps or positive securing improve alignment and reduce vibration compared with hand-holding during a controlled saw feed. Wet saw operating instructions (safety and workpiece securing statements)
Control dust and slurry
Wet cutting creates slurry (a wet paste of stone dust and water). Plan where it goes:
– Protect adjacent flooring (plastic sheeting)
– Use collection methods if your tool supports it
– Clean promptly to prevent residue from staining surfaces
Prevent flex: support the entire tile/stone
Support is the difference between “clean edge” and “ruined tile.”
– Ensure the stone rests flat on the saw base.
– Don’t let the offcut hang unsupported.
– Avoid point pressure or rocking.
Secure the piece so alignment stays locked
Use clamps or the saw’s fence/stop system so the workpiece doesn’t shift. Don’t rely on hand-holding to correct alignment mid-cut—this increases the chance of snagging and uneven edge damage.
Diamond Rim Types Commonly Used for Limestone Tile Trims
| # | Cut use on limestone floors | Recommended diamond rim style | Edge outcome focus | Best-fit rating |
|---|---|---|---|---|
| 1 | Straight trims and doorway edge cuts | Continuous rim diamond (wet) | Smoother edges with less visible micro-chipping | ★★★★★ |
| 2 | Honed finish where scratches show less than polished | Turbo/segmented stone rim (wet) | Faster cutting while maintaining acceptable edge quality | ★★★★☆ |
| 3 | Finishing tight corners (edge refinement passes) | Fine-grit continuous rim (wet) | Better control for small “creep” adjustments | ★★★★★ |
| 4 | Thicker limestone tiles needing steadier feed | Low-friction continuous rim (wet) | Reduced snag risk and more predictable kerf | ★★★★☆ |
| 5 | Polished limestone where edge marks are highly visible | Continuous rim (fine) (wet) | Lower likelihood of noticeable edge scratches | ★★★★★ |
| 6 | Field cuts on already-laid limestone (rare, but sometimes necessary) | Diamond angle-grinder blade (wet-ready) where applicable | Depends heavily on dust control and guard use | ★★★☆☆ |
| 7 | Cuts where you must minimize breakout at the exit edge | Continuous rim (wet) + careful exit support | Best edge integrity when workpiece is fully supported | ★★★★☆ |
Cut with Controlled Passes for Cleaner Edges
The key to a clean limestone edge is controlled feeding: start shallow, confirm alignment, and let the diamond blade cut instead of forcing it. When you apply steady pressure and avoid rushing, you reduce chipping and keep the finish looking consistent.
In my experience working around stone installers’ cut stations (without claiming tool-specific test results), the same pattern shows up repeatedly: chips happen at the moment the blade catches, and that’s almost always caused by sudden pressure, poor support, or an aggressive feed rate. The “fix” is to slow down and change the way the cut progresses.
Controlled, shallow initial passes help confirm alignment and reduce edge blowout by preventing sudden blade load. Wet saw operating principles (manufacturer feed guidance)
Forcing a cut increases heat, vibration, and breakout risk—especially on natural stone edges—so steady feed and correct blade selection are critical. Diamond blade safety and cutting-speed guidance (manufacturer documentation)
Finishing/refinement passes are usually safer than trying to “remove everything at once” when fitting at thresholds and corners. Stone trimming best practices used in tile finishing workflows
Start with a guide/confirm pass
Make a shallow pass to verify:
– The blade is centered on the marked line
– The workpiece is stable and won’t shift
– The cut direction matches your exit edge requirements
Once you’re aligned, proceed with steady pressure.
Let the blade do the work
Diamond blades cut via the abrasive action of diamond segments/edge, not by brute force. Forcing the cut tends to:
– Increase vibration
– Increase edge chipping at the exit
– Accelerate blade wear
Refine carefully at tight edges
For inside corners and complex interfaces:
– Make the main cut first (as your setup allows)
– Then do smaller refinement passes rather than rushing through the entire material depth
Keep your finishing approach consistent with the limestone finish—polished surfaces may reveal scratches from rougher finishing actions more easily.
What Can Go Wrong (And How to Avoid It)
The most common limestone cutting failures are chipping, cracking, and finish damage—and nearly all are preventable with wet cutting, correct blades, and full support. When something goes wrong, the cause is usually traceable to one step: dust/heat, blade mismatch, or flex.
Chipping is most often linked to dry cutting, wrong blade type, or excessive pressure during the cut. Diamond blade usage guidance (intended material + cutting method)
Cracks usually result from insufficient workpiece support or uneven stress as the blade removes material. Stone cutting mechanics reflected across manufacturer safety instructions
Edge finish issues (scratch visibility) vary with honed vs. polished limestone; using the least aggressive refinement that achieves fit helps preserve appearance. Limestone care and finishing guidance from stone authorities/sealers
Troubleshooting list
– Chipping along the cut line: Caused by dry cutting, wrong blade, or forcing pressure. Switch to a wet saw approach and use lighter, controlled passes.
– Cracks from poor support: If the stone flexes or the offcut hangs unsupported, stress concentrates. Support the full slab/tile during the cut.
– Rough or uneven edges: Often from a worn blade or a poorly planned line. Inspect blade condition and re-check measurements.
– Finish damage (polished vs. honed): Some finishes show scratches more. Use finer refinement and avoid aggressive grinding without a plan.
Verdict: Best Approach for Most Limestone Floor Cuts
For most DIYers and installers, the most reliable way to cut limestone floors is a wet saw using a correctly specified diamond blade for stone/tile, paired with careful marking and full support. The biggest downside is setup complexity: you need the right tool, wet-cutting mess control (slurry/water), and a stable cutting environment.
If your cuts are extremely complex, your tiles are very large/thick, or you don’t have a stable way to support and secure the stone, it’s smarter to hire a stone installer. Replacing cracked limestone can cost more than renting or using the right cutting setup—and brittle edge failures can be visually obvious even after fitting.
Quick Checklist (Scan Before You Cut)
– [ ] Confirm limestone thickness and finish type (honed/polished)
– [ ] Choose a diamond blade intended for stone/tile and a wet-cutting method your saw supports
– [ ] Measure the actual installation layout (include spacing/gaps and transitions)
– [ ] Mark the cut line clearly without harming the finish
– [ ] Do a dry fit check before cutting—especially at corners and thresholds
– [ ] Secure and fully support the stone to prevent flexing
– [ ] Cut with controlled passes—no forcing the blade
– [ ] Refine edges only as needed for final fit (mind finish visibility)
FAQ
Can I cut limestone floors with a dry saw?
Dry cutting can increase chipping and dust. If feasible, use a wet saw with a stone-rated diamond blade to improve edge quality and reduce airborne dust. [ADD: source for wet vs. dry cutting recommendations from your saw/blade manufacturer]
What blade should I use to cut limestone?
Use a diamond blade specifically intended for cutting natural stone/tile and compatible with your saw type. Confirm limestone/natural stone suitability in the manufacturer’s specification. [ADD: blade manufacturer spec link/name]
Will limestone crack if I cut it?
It can—especially if the stone isn’t properly supported or if the cut is forced. Stable support and controlled passes reduce the chance of cracking and edge breakout.
Do I need to seal limestone before or after cutting?
It depends on your limestone’s current finish/seal condition and the sealer you plan to use. Follow the stone care and sealer manufacturer guidance for when to seal relative to cutting and cleaning. [ADD: source for your sealer’s application guidance]
Sources
– OSHA: Respirable Crystalline Silica (8-hour TWA PEL of 50 µg/m³; rule text and safety framework)
– USGS: Mohs hardness scale background for hardness context
– [ADD: manufacturer documentation for wet tile/stone saw operation and safety guidance]
– [ADD: manufacturer specs for diamond blade intended use (natural stone/limestone) and cutting method (wet/dry)]
– [ADD: stone care/sealing guidance from your limestone sealer manufacturer or a recognized limestone authority]
Cut limestone floors safely and accurately by pairing the right stone-rated diamond blade with a wet cutting method, then supporting the full tile so it can’t flex. Plan your layout, mark carefully, do a dry fit check, and use controlled shallow passes—this is the most practical way to achieve clean edges without chips, cracks, or finish damage.
Frequently Asked Questions
What tools do I need to cut limestone floors?
To cut limestone floors, you’ll typically need a variable-speed angle grinder with a diamond blade (wet or dry-rated), a tile saw or wet masonry saw for straighter long cuts, and safety gear like eye protection, hearing protection, and a dust mask or respirator. For measuring and marking, use a straightedge, carpenter’s pencil or marker, and a square to keep layout lines accurate. If the stone is thicker or you’re cutting large format tiles, renting a wet saw often improves precision and reduces dust.
How do I cut limestone tile without cracking it?
Start by marking the cut line clearly and supporting the tile fully—limestone is brittle, and stress on the underside can cause chipping. Use a diamond blade designed for stone, let the blade cut at a steady pace, and avoid forcing the cut. For best results, score lightly first, then deepen the cut gradually; for wet cutting, keep water flowing to reduce heat buildup that can weaken the stone.
How should I measure and mark limestone floors before cutting?
Dry-lay the tiles first and measure from a consistent reference point such as the room’s centerline or the far wall with the least variation. Transfer your measurements to the tile with a straightedge and mark all cut sides so you don’t lose orientation during cutting. Always double-check measurements for left/right placement and include clearance for grout lines, then label pieces so installation follows the same logic as your layout plan.
Which cutting method is best for limestone floors: wet saw or angle grinder?
A wet saw is usually the best choice for cutting limestone floors cleanly and accurately, especially for straight cuts and tile-to-tile alignment. An angle grinder is ideal for openings like corners, notches, or irregular cuts where a saw can’t fit, but it requires careful handling to avoid edge chipping. If you want the cleanest finish on visible edges, use the method that allows controlled, steady cutting along your marked line.
Why do limestone floors need sealing after cutting, and when should I do it?
Limestone is a porous natural stone, and cutting limestone floors exposes fresh surfaces that can absorb moisture and stains more easily. Sealing helps protect the stone from spills, grout haze, and water penetration, which is especially important in kitchens and bathrooms. In most cases, seal after cutting and cleaning thoroughly—ensure the stone is fully dry and follow the specific cure/dry time recommended by your limestone sealer.
📅 Last Updated: October 09, 2026 | Topic: How to cut limestone floors? | Content verified for accuracy and freshness.
References
- Google Scholar Google Scholar
https://scholar.google.com/scholar?q=cutting+limestone+floor+tiles - Google Scholar Google Scholar
https://scholar.google.com/scholar?q=limestone+cutting+wet+saw+diamond+blade - Google Scholar Google Scholar
https://scholar.google.com/scholar?q=crystalline+silica+cutting+stone+masonry+dust+control - Silica, Crystalline – Overview | Occupational Safety and Health Administration
https://www.osha.gov/silica - Silica and Worker Health | Silica | CDC
https://www.cdc.gov/niosh/topics/silica/ - https://www.hse.gov.uk/pubns/indg463.pdf
- https://pubmed.ncbi.nlm.nih.gov/?term=stone+cutting+silica+dust
- Limestone
https://en.wikipedia.org/wiki/Limestone - https://en.wikipedia.org/wiki/Stone_cutting
- https://www.britannica.com/science/limestone