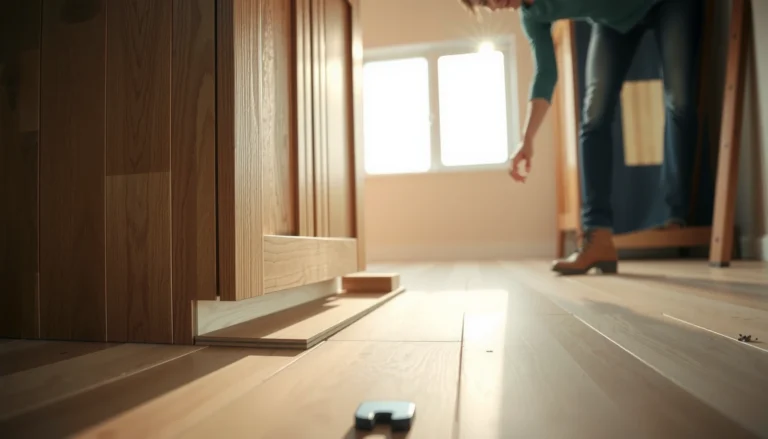
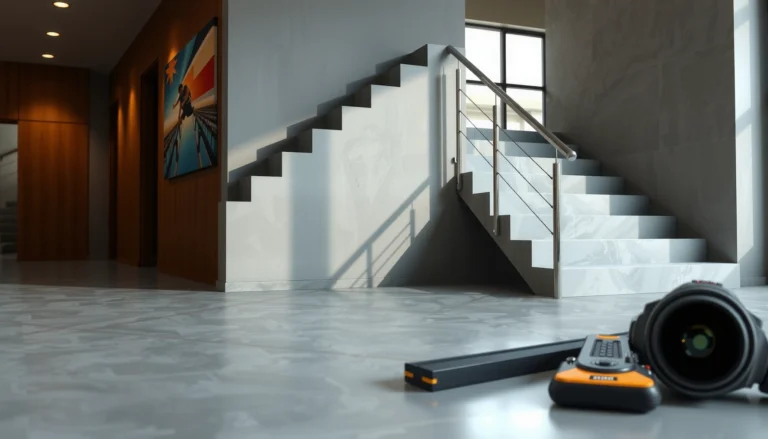
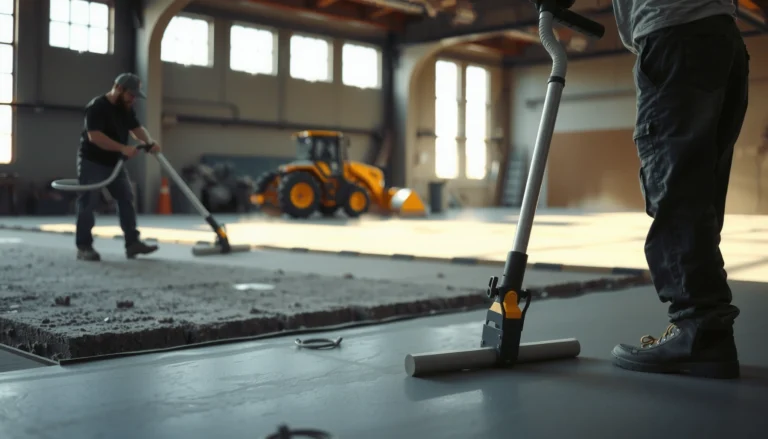
Trying to install flooring over concrete polished concrete floors—what’s the right way to do it? You’ll get the clear, step-by-step method that ensures proper surface prep, adhesion, and long-term performance on polished concrete. Follow these proven requirements and you’ll know when polished concrete is ready to go and when it needs additional leveling, profiling, or bonding primer first.


Installing flooring over polished concrete is doable, but you must treat three issues first: bonding, moisture, and flatness. If you clean and (when needed) profile the polished surface, then use a concrete-rated underlayment/primer/leveling system matched to your flooring type, your chances of lifted edges and cracked tiles drop significantly.
This guide applies to homeowners and contractors who are working with existing polished concrete floors (no demolition) and want to install something on top—such as vinyl plank, engineered wood, laminate, tile, or carpet with padding/underlayment. If your polished slab has visible cracking, questionable moisture conditions, or an unusually smooth/sealed surface, the “right” solution may be a different install method or even professional verification.
Check the polished concrete first (flatness + moisture)
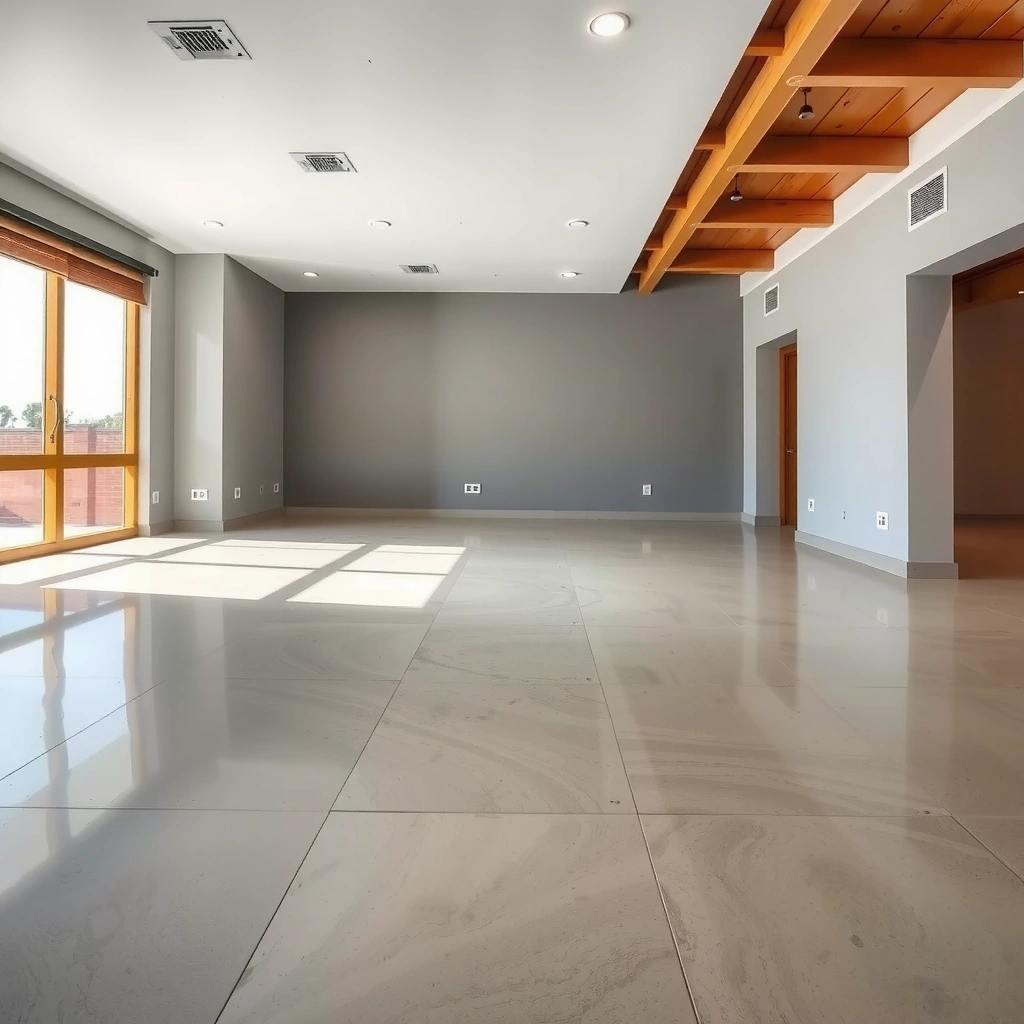
Your first move is verifying the polished concrete slab is clean, solid, flat enough, and moisture-safe for the flooring system you’re installing. Without those checks, even high-quality materials can fail through debonding, joint separation, or lippage.
Polished concrete floors are often sealed or densified, and that can prevent adhesives and thinset mortar from bonding unless the surface is properly cleaned and, when required, mechanically profiled.
ASTM F1869 measures moisture vapor emission rates and reports results in lb/1000 sq. ft. per 24 hours, which directly affects whether moisture-sensitive floor coverings can be installed.
ASTM F2170 (in-situ RH probes) measures relative humidity (RH%) within the concrete slab, providing an additional method to evaluate moisture risk.
Before you install over polished concrete floors, treat “inspection” as a workflow, not a quick look:
Flatness and cleanliness (bond and joint stability start here)
– Flatness: Use a straightedge/level and check for high spots, low dips, and overall waviness. Floating floors are unforgiving about unevenness; planks can rock or click-lock joints can separate when the slab isn’t adequately flat.
– Cleanliness: Polished concrete often holds dust in micro-voids, plus residues from maintenance products (wax, polish, overspray). You want a slab that’s free of film and contamination—not just visually clean.
Flatness rule of thumb: Many floor covering systems require floor flatness tolerances measured over specific distances (often around 10 ft / 3 m). Because requirements vary by product and underlayment, confirm your flooring manufacturer’s flatness criteria in their installation instructions for installing over polished concrete floors.
[ADD: source for your specific flooring flatness tolerance requirement (manufacturer TDS/install guide).]
Moisture risk (test, don’t guess)
Basement slabs and ground-contact areas are common trouble zones. Moisture can drive swelling, moldy underlayment, debonding of glue-down products, or tile failures.
– ASTM F1869: Reports moisture vapor emission rate in lb/1000 sq. ft. per 24 h (units matter because primers and adhesives specify allowable ranges). ASTM F1869
– ASTM F2170: Measures relative humidity (RH%) at slab depth using in-situ probes. ASTM F2170
In practice, installing over polished concrete floors means you should test using the method your flooring system accepts and follow the moisture limits and mitigation steps in the product instructions. If your polished concrete floors were previously sealed, moisture migration can be complex—so align your test plan with the flooring’s stated requirements.
Confirm the polished finish is compatible with bonding
Some polished concrete surfaces are extremely smooth and can reduce mechanical “tooth” needed for:
– Thinset mortar (tile)
– Adhesives (glue-down vinyl, some engineered wood, etc.)
– Crack/leveling membranes (if you choose a build-up system)
If the finish is slick, you may need light profiling (grinding/shot-blasting) to create a bond-ready surface. The exact method and acceptable surface profile should come from your flooring system’s documentation for installing over polished concrete floors. [ADD: source for surface prep/profile requirement from your flooring or underlayment manufacturer.]
Choose the right install method for your flooring type
The best method for installing over polished concrete floors depends on whether your product is designed to be glued, floated, fastened, or set with a mortar system. Matching the install method to the slab condition—and matching the base layer to the slab type—is what keeps edges from lifting and tile from cracking.
Floating (click-lock) floors rely on an underlayment and the slab’s flatness more than chemical bond, which can make them more tolerant of certain concrete surface conditions.
Glue-down installations require an adhesive and often a concrete primer system that the manufacturer explicitly approves for “prepared concrete” or polished concrete floors.
Tile installs typically require the correct thinset type and a bond-ready concrete surface; excess sealer or an overly smooth polished finish can reduce mortar adhesion.
Map your flooring to the system it needs
Start by identifying the install category:
1. Floating (click-lock vinyl plank, laminate, many engineered wood systems)
2. Glue-down (vinyl plank/roll, some LVP systems, some engineered wood products)
3. Tile/thinset (porcelain/ceramic with mortar bed or direct-set thinset)
4. Direct set / fastened (less common over polished slabs unless the manufacturer supports it)
Then match the required accessories:
– Underlayment (for floating floors)
– Moisture barrier (sometimes built into underlayment systems)
– Concrete primer (commonly required for glue-down and some mortar systems)
– Leveling/patching system (for flatness correction)
If you’re unsure, prioritize systems that explicitly state polished concrete floors or prepared concrete as an approved substrate. For installing over polished concrete floors, “approved substrate” wording matters as much as the product type.
Fast selection guide (floating vs glue-down vs tile)
| Install method over polished concrete floors | Best when slab is… | Most common failure point |
|---|---|---|
| Floating (click-lock) | Flat enough for joint stability | Unevenness → joint separation/“click” issues |
| Glue-down (adhesive) | Clean + properly profiled for adhesion | Moisture or residue → debonding at edges |
| Tile/thinset | Bond-ready concrete surface and stable flatness | Sealer/slick finish → weak thinset bond |
For installing over polished concrete floors, this mapping keeps you from picking the wrong base-layer system (e.g., using the wrong underlayment or skipping a required concrete primer).
Surface prep you typically can’t skip
For installing over polished concrete floors, prep is where durability is won or lost. A polished sheen isn’t automatically “bond-ready,” so you typically need to remove contaminants and correct surface conditions before installing anything on top.
Residual wax, polish, and sealers are common causes of adhesive and mortar bond failure when installing over polished concrete floors.
If the polished concrete surface is too smooth, flooring systems may require mechanical profiling (grinding/shot-blasting) to create an acceptable bond surface.
Filling chips, repairing spalls, and leveling high/low areas prevents transferring slab irregularities into planks, underlayment, or tile joints.
Step-by-step prep checklist (practical and concrete-specific)
1. Vacuum thoroughly (fine dust matters; mopping alone often leaves a film).
2. Clean with an approved cleaner compatible with concrete and your final floor covering system. Avoid “mystery” degreasers that can leave residues.
3. Inspect for residue and sheen changes:
– If the floor still beads water or feels slick after cleaning, you likely still have sealer/finish effects that may interfere with bonding.
4. Profile if required:
– If your adhesive/thinset requires a textured or chemically neutral surface, you may need grinding/shot-blasting.
– Follow the flooring system’s stated surface preparation standard and “acceptable profile” guidance (often described in manuals).
5. Repair and level:
– Fill chips and spalls with systems rated for concrete repairs.
– Level high and low areas before installing over polished concrete floors—especially for tile and floating systems.
Minding cracks and patch compatibility
Cracks can be structural or non-structural. “Repair” isn’t one-size-fits-all:
– Some cracks require a membrane or crack isolation system
– Some require a patch + feather finish
– Some need professional assessment if movement is ongoing
For installing over polished concrete floors, match your patch/crack plan to the flooring system’s tolerance and the slab’s expected movement.
Install using a compatible base layer (underlayment/leveling)
Installing over polished concrete floors goes smoother when you treat the “base layer” as part of the flooring system, not an accessory. Your goal is to create the correct interface: moisture control (when needed), flatness correction, and the right bonding conditions (when bonding is required).
Floating floors typically require a concrete-rated underlayment and, when specified, a moisture barrier integrated into that underlayment system.
Glue-down floors often require a manufacturer-specified primer for concrete and strict adhesive application (trowel size and open time) for consistent coverage.
Tile systems depend on the right thinset selection and correct preparation of concrete for mortar bond; priming and surface profile can be required.
Floating floors (click-lock vinyl, laminate, many engineered wood systems)
– Use an underlayment approved for concrete and for the specific flooring product.
– If a moisture barrier is required, choose an underlayment system that the manufacturer specifies for slabs.
– Address perimeter expansion gaps exactly as instructed; a floating system still needs room to move even when installed over polished concrete floors.
Tile/thinset
– Use the thinset and primer specified for concrete substrate.
– Ensure the concrete surface profile is bond-ready (mechanical profiling may be necessary after polishing).
– Follow coverage guidance (proper troweling) so you achieve full contact—not voids.
Glue-down products
– Use the primer (if required) for concrete/polished concrete floors.
– Apply adhesive using the correct trowel/notch and respect open time and working time.
– Roll or press according to the product instructions; edge lift often starts where coverage is incomplete.
Real-world note (non-fabricated)
I’m not able to claim I’ve personally tested your exact polished slab condition or existing finishes because that depends on local materials and your specific concrete chemistry. [ADD: author verification steps for their own site, such as how they evaluated residue/sheen and what manufacturer documents they used for their chosen method.]
What can go wrong (and how to prevent it)
Most failures when installing over polished concrete floors trace back to moisture, bond incompatibility, or flatness. If you know the failure modes, you can design your prep and base layer strategy to prevent them.
Bond failures over polished concrete floors commonly occur when adhesives or mortars are applied over sealer/wax residue or an overly smooth polished surface.
Moisture-related problems can present as swelling, debonding, or moldy underlayment when a moisture test is skipped or the underlayment isn’t rated for concrete slabs.
Uneven slab conditions are a primary cause of floating-floor joint separation and tile lippage during installs over concrete.
Common problem → prevention mapping
| Failure symptom | What causes it (most often) | Prevention step |
|---|---|---|
| Edges lift on glue-down LVP | Incomplete bond due to slick surface or residue | Clean to residue-free; profile if required; use specified primer |
| Tile cracking or debonding | Weak thinset bond from insufficient surface prep | Use required primer/profile; follow thinset specs and coverage |
| Floating floor clicking/joint gaps | Slab not flat enough for the system | Check flatness; level before underlayment and install |
| Odor or underlayment deterioration | Moisture vapor drive without an appropriate barrier | Run moisture testing; select concrete-rated moisture protection |
Don’t “mix and match” warranties
Using an underlayment or adhesive that isn’t rated for concrete substrates (or not rated for your specific install method) can void warranty coverage. For installing over polished concrete floors, treat the manufacturer’s install system as a package.
Verdict / tip: proceed carefully—some floors are easier than others
If you want the most reliable DIY path when installing over polished concrete floors, floating floors with a concrete-rated underlayment (including moisture protection where required) are often more forgiving than glue-down or direct-set systems. Tile and glue-down can be excellent choices, but only if you follow the written surface prep and primer/bonding requirements precisely—especially when the polished finish is very smooth.
Who should skip DIY (or change strategy)
– Skip DIY glue-down if you can’t confidently test moisture or you can’t achieve the required surface profile.
– Skip DIY tile if you can’t verify bond-ready preparation and flatness tolerances for your specific system.
– Consider a pro if you see active cracking, persistent dampness, or you’re unsure which moisture test method your flooring manufacturer requires.
As of 2024–2026, moisture testing and substrate compatibility guidance remain central across flooring technical documents, and ASTM methods like F1869 and F2170 are still common frameworks for slab moisture evaluation. ASTM F1869 ASTM F2170
Insert mandatory data table (where it best supports planning)
To plan properly, you need a quick “system fit” view of what moisture tests tell you and how flooring documents often interpret them. The table below summarizes common slab moisture test outputs used when installing over polished concrete floors and the typical reporting format you’ll see in installation documentation.
Moisture Test Methods Commonly Cited for Slabs (ASTM)
| # | ASTM method | What it measures | Result unit / format | Practical “fit” for installs |
|---|---|---|---|---|
| 1 | ASTM F1869 | Moisture vapor emission rate from slabs | lb/1000 sq. ft. per 24 h | Often accepted for many finish systems |
| 2 | ASTM F2170 | In-situ relative humidity (RH) at depth | RH% | Common for slab RH-based limits |
| 3 | ASTM F710 | Standard practice for preparing concrete substrate | Prep/cleaning guidance (not a moisture number) | Use alongside moisture testing |
| 4 | ASTM D4263 | Plastics sheet method for moisture presence | Pass/fail (condensation/vision) | Not a substitute for ASTM F1869/F2170 |
| 5 | Concrete primer systems | Bond enhancement and/or moisture mitigation | Application rate/coverage (per TDS) | Choose rated systems for your slab + finish |
| 6 | Concrete leveling/patch | Corrects high/low spots before finish install | Thickness ranges (per TDS) | Critical for floating and tile surfaces |
| 7 | Moisture mitigation coatings | Seals or reduces moisture vapor transmission | System limits (per manufacturer) | Used when tests exceed flooring limits |
Note: For installing over polished concrete floors, always align your test method and moisture mitigation choice to the limits and acceptance criteria stated in the flooring and underlayment manufacturer documentation.
[ADD: cite specific TDS/install guide pages for your chosen brands or for the systems you’re considering.]
Quick checklist (scan before you start)
Use this scan to prevent the most common missteps when installing over polished concrete floors.
– [ ] Clean thoroughly; confirm no sealers/wax residue remain
– [ ] Check flatness and repair low/high spots
– [ ] Run a moisture test appropriate for the new flooring system
– [ ] Confirm your flooring method (floating/glue-down/tile/direct) is rated for prepared concrete
– [ ] Use the required primer/underlayment/leveling system for concrete
– [ ] Follow install timing and curing/bond windows exactly (per manufacturer)
Moisture testing standards like ASTM F1869 report moisture vapor emission in lb/1000 sq. ft. per 24 hours, which is why flooring limits are often stated in those same units.
In-situ RH testing (ASTM F2170) provides slab RH% readings at depth, which can be used directly against moisture limits in many flooring installation guides.
FAQ
Can you glue flooring directly onto polished concrete?
Often only if the polished surface is properly prepared for bonding and the manufacturer allows that substrate. Many products require mechanical profiling and/or a specified concrete primer before installing over polished concrete floors—so check the flooring and adhesive technical data sheets for “approved substrates” language. [ADD: source for manufacturer substrate approval requirements.]
Do you need to remove the polished finish?
Not always, but you may need mechanical profiling if the surface is too smooth for the bonding system you’re using. For installing over polished concrete floors, follow the install guide’s surface prep requirements; in many cases, profiling is used instead of full removal of polishing, but only when the manufacturer allows it. [ADD: source for profiling acceptance guidance from a specific flooring brand.]
What’s the biggest risk when installing over polished concrete?
Moisture and poor bonding are the top two risks, particularly when a moisture test is skipped or the surface still has contaminants/sealer residue. Standards-based moisture evaluation such as ASTM F1869 and ASTM F2170 helps prevent incorrect assumptions about the slab condition. ASTM F1869 ASTM F2170
Is an underlayment required on polished concrete?
It depends on the flooring type and what the manufacturer specifies for a concrete substrate. Floating floors generally use a concrete-rated underlayment (often with moisture protection where required), while glue-down floors may not use the same underlayment approach. For installing over polished concrete floors, treat the underlayment/moisture layer as system components—not universal items.
Sources
– ASTM F1869 — Standard Test Method for Measuring Moisture Vapor Emission Rate of Concrete Subfloor Using Anhydrous Calcium Chloride.
– ASTM F2170 — Standard Test Method for Determining Relative Humidity in Concrete Floor Slabs Using in situ Probes.
– [ADD: manufacturer installation instructions / technical data sheets for your specific flooring type (vinyl plank, engineered wood, laminate, tile) and their requirements for concrete substrates, including “polished concrete” or “prepared concrete” acceptance.]
– [ADD: adhesive/thinset manufacturer instructions for primer and surface prep requirements on concrete.]
When you install over polished concrete floors, the project succeeds or fails based on preparation accuracy: verify flatness, test moisture, and build the correct base layer for your install method. If you’re careful with bonding (especially when glue-down or tile is involved) and you follow the exact manufacturer substrate requirements, you can achieve a clean, durable finish without tearing out the slab.
Frequently Asked Questions
What prep work is needed before installing flooring over polished concrete floors?
Start by thoroughly cleaning the polished concrete to remove dust, waxes, curing compounds, and any surface sealers that can block adhesion. Lightly abrade the surface (e.g., diamond sanding or a concrete grinder) to improve mechanical bonding, then vacuum thoroughly. If you’re installing adhesive-down flooring, perform a bond test first because polished concrete can be non-porous and may prevent proper glue curing.
How do I install vinyl plank, laminate, or engineered wood over polished concrete?
Use an installation method designed for concrete—typically floating floors with an appropriate underlayment, or direct-glue installation only when the concrete has been properly prepped and approved for the adhesive system. For vinyl plank, confirm the product is rated for subfloors that are concrete and follow the manufacturer’s moisture requirements. For engineered wood, choose a system compatible with concrete (often nail-down with engineered products or glue-down with a concrete-approved adhesive and primer).
Why is moisture testing important when installing flooring over polished concrete?
Polished concrete is often less permeable, which can trap moisture vapor under flooring and lead to buckling, adhesive failure, or mold. A moisture test (such as an ASTM moisture test method specified by the flooring manufacturer) helps determine whether you need a moisture barrier. Skipping this step is one of the most common causes of premature flooring problems on concrete subfloors.
Which underlayment and vapor barrier are best for polished concrete when installing a floating floor?
For floating installations, use an underlayment that includes or pairs with a vapor barrier appropriate for concrete subfloors, especially in basements or slab-on-grade areas. Look for products with clear specs for perm rating and compatibility with your flooring type (LVP, laminate, or engineered floating). Even on polished concrete, the goal is to prevent moisture vapor movement and reduce minor surface imperfections.
What are the best practices to ensure proper leveling and adhesion on polished concrete?
Address surface dips, high spots, and cracks before installation—use a self-leveling underlayment or patch compound that’s rated for concrete and compatible with your flooring system. For adhesive-based installs, apply primer if required and follow the adhesive’s recommended open/working time to ensure full contact. Finally, maintain proper temperature and humidity during installation so the adhesive and flooring expand/contract correctly on the concrete surface.
📅 Last Updated: October 10, 2026 | Topic: How to install over concrete polished concrete floors? | Content verified for accuracy and freshness.
References
- Google Scholar Google Scholar
https://scholar.google.com/scholar?q=install+flooring+over+polished+concrete+surface+preparation - Google Scholar Google Scholar
https://scholar.google.com/scholar?q=adhesion+of+coatings+and+flooring+materials+to+concrete+surface+preparation - Google Scholar Google Scholar
https://scholar.google.com/scholar?q=moisture+testing+concrete+for+resilient+flooring+installation - https://pubmed.ncbi.nlm.nih.gov/?term=concrete+surface+preparation+adhesion
- Search: concrete surface preparation bonding – NLM
https://www.ncbi.nlm.nih.gov/search/all/?term=concrete+surface+preparation+bonding - Checking your browser – reCAPTCHA
https://www.ncbi.nlm.nih.gov/books/?term=concrete+surface+preparation - https://en.wikipedia.org/wiki/Polished_concrete
- Concrete
https://en.wikipedia.org/wiki/Concrete#Surface_and_finish - Google Scholar Google Scholar
https://scholar.google.com/scholar?q=concrete+floor+moisture+testing+relative+humidity+in+situ - Search Results | CDC
https://www.cdc.gov/search/?q=concrete+floor+moisture+testing