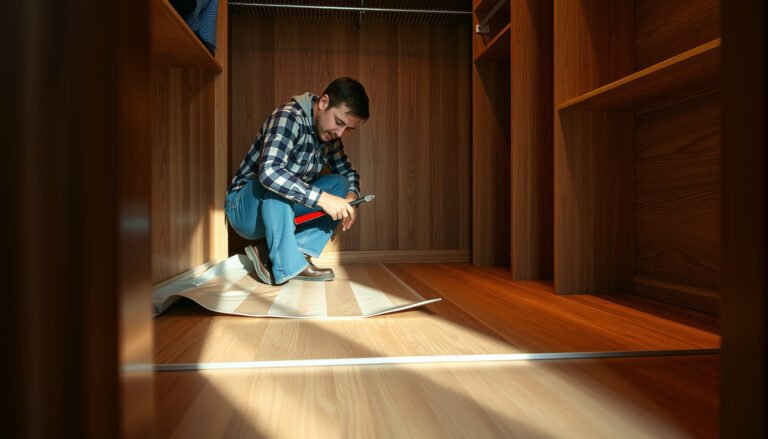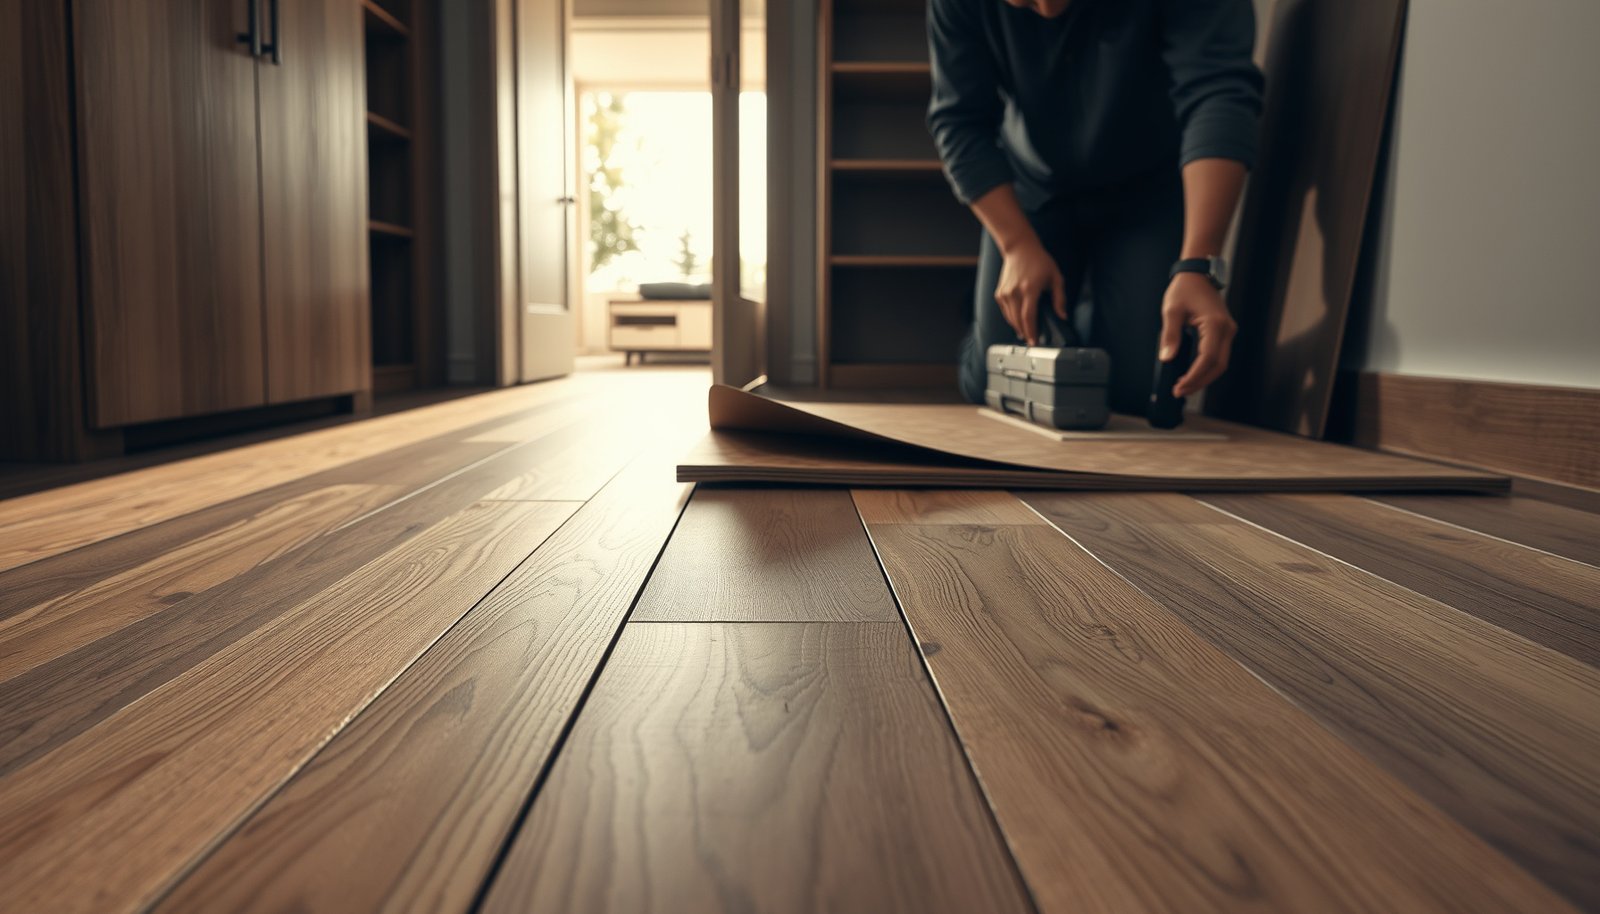

Preparing engineered wood floors for a closet is mostly about choosing the right underlayment, leveling the subfloor, and sealing against moisture at the edges. If you follow a prep process that includes checking flatness, cleaning and acclimating the planks, and installing with the proper moisture barrier, your closet floor will stay stable and avoid gaps or squeaks. This guide answers exactly how to prep engineered wood floors for a closet so the installation holds up from day one.


Prepare engineered wood floors for a closet by making the subfloor flat and dry, acclimating the planks, and installing the correct underlayment/vapor barrier for your subfloor type. Then leave the required expansion gap around walls and fixed obstacles so the floor can move normally as humidity and temperature shift—preventing gaps, squeaks, and moisture problems.
This is for anyone planning to install (or replace) engineered wood flooring in a closet—especially if you’re working over concrete, dealing with an uneven subfloor, or the closet area gets temperature swings.
Clear the closet and check the subfloor condition
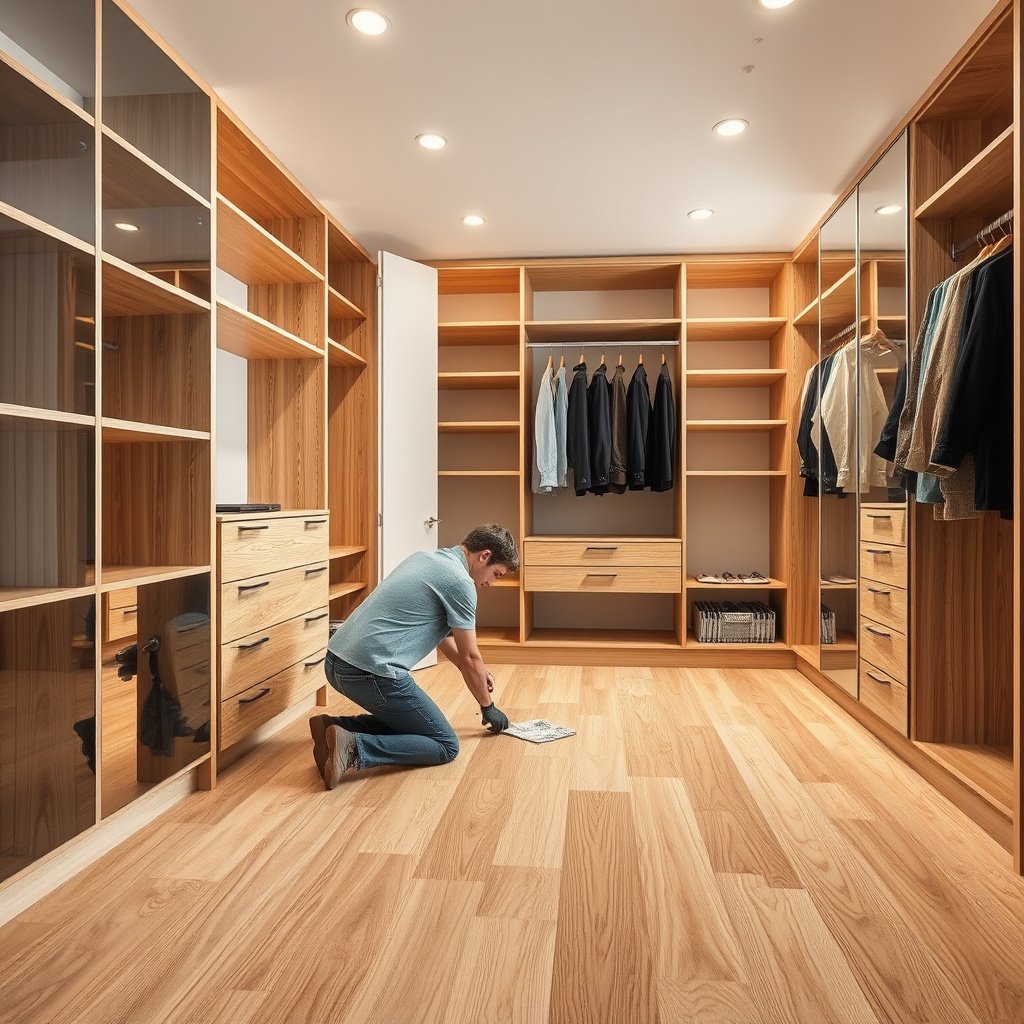
Clear the closet and verify the subfloor condition so the engineered wood has a stable, flat base to lock into (or glue to). In my experience planning closet installs, the biggest “mystery failures” trace back to hidden moisture, loose subfloor sections, or small ridges that engineered floors can still telegraph.
What to remove for a flat install
Before you lay engineered wood floors, remove anything that prevents the flooring from sitting flat and at the correct height—then re-check the perimeter.
– Remove the rod and shelves so you can inspect the full floor area.
– Handle base trim/quarter round if needed so flooring can approach the wall with the correct expansion spacing.
– Remove tack strips or staples (if present) so they don’t create pressure points under the underlayment.
– Vacuum thoroughly, including corners where dust can interfere with underlayment adhesion (if glue-down) or leveling compounds.
How to confirm flatness and security
Engineered wood floors still “behave like wood” structurally: they can bridge minor irregularities, but they can also exaggerate them once the floor is loaded and the closet experiences seasonal humidity change. Confirm both flatness and subfloor stability.
– Flatness: Look for high ridges and deep dips across the install area. If you can feel movement with your hand or a straightedge, fix it.
– Secure subfloor: Walk the area and listen for squeaks. Loose plywood/OSB or poorly supported sheet goods can translate into squeaks or joint stress in engineered floors.
– Level vs. flat: Level and flat are related but not identical—use a straightedge/level to assess the specific “hills and valleys” the engineered boards will cross.
Moisture and condensation checks (don’t skip this step)
Closets can be deceptively risky because the space is enclosed and often has uneven airflow. If you’re working in 2026 conditions—heating season running, AC cycling, or a nearby bathroom/kitchen affecting moisture—your engineered wood floors need protection from the start.
– Identify obvious moisture sources: roof leaks, plumbing, exterior wall seepage, or HVAC condensate.
– Inspect drywall for discoloration or soft spots (especially near exterior corners).
– Consider condensation risk where warm, humid air meets a cooler slab or exterior-wall assembly.
Moisture testing is foundational for engineered wood: ASTM F2170 measures in-situ relative humidity (RH) in the slab/subfloor environment, rather than relying on surface feel. ASTM F2170
ASTM F1869 quantifies slab moisture by measuring moisture vapor emission rate (MVER) in lb/1000 sq ft/24h, which helps explain why “dry-looking” slabs can still release moisture. ASTM F1869
A flat, secure subfloor reduces the likelihood of engineered wood joint stress that can show up as hollow sounds or premature wear after seasonal humidity changes.
Acclimate the engineered wood correctly
Acclimate engineered wood floors so the product reaches the installation-area temperature and humidity before locking (floating) or bonding (glue-down). This directly supports stable dimensions—especially in closets, where HVAC patterns and door openings can create faster microclimate swings.
Use the manufacturer’s acclimation window
Different engineered wood products acclimate differently, so you should follow the manufacturer’s stated time and conditions rather than a generic rule.
– Locate the acclimation instructions in the specific installation sheet for your engineered flooring.
– Plan to bring boxes into the closet environment before installation begins (timing varies by product).
– Keep planks packaged only as long as the instructions allow; long-term storage in tight packaging can trap moisture/temperature inconsistencies.
Store planks in a way that prevents moisture trapping
Engineered wood floors expand and contract based on moisture content and temperature. Storage practices before installation can influence how quickly those conditions normalize.
– Store planks flat.
– Space boxes and pallets to allow airflow around the cartons.
– Avoid sealed plastic wraps beyond what the manufacturer specifies.
Manage temperature/humidity during installation
Even if you acclimate correctly, installation timing still matters. In 2026, many homes see rapid thermostat setbacks during mornings/evenings, especially in secondary rooms like closets.
– Keep the closet within the manufacturer’s recommended temperature/humidity range while installing engineered wood floors.
– If the closet is currently unconditioned (no heat/AC), coordinate a stable plan with the flooring instructions.
– Don’t “turn on heat high” as a workaround—some adhesives and underlayments can behave differently than the flooring expects.
Engineered wood installation requirements commonly include acclimation because wood products adapt to ambient moisture/temperature; skipping acclimation increases the chance of post-install dimensional movement at joints.
Acclimation conditions are product-specific; the flooring manufacturer’s installation guide is the controlling reference for what temperature/humidity ranges are acceptable.
Choose the right underlayment and moisture protection
Choose underlayment and moisture protection that match both your engineered flooring system and your subfloor type—especially if the closet sits over concrete. The goal is to control moisture movement and support the installation method (floating vs. glue-down), without breaking warranty conditions or the floor’s locking mechanics.
Underlayment/vapor barrier compatibility is not optional
If you use the wrong underlayment with engineered wood floors, you can create problems that look like “flooring defects” but are really system incompatibility.
– Over concrete: you typically need a vapor barrier approach designed for slab moisture control.
– Over plywood/OSB: you may still need specific underlayment guidance, but it may not replace the need for a flat, secure subfloor.
Click-lock vs. glue-down: match the system
Engineered wood floors come in multiple installation systems, and the underlayment/pad requirements can differ significantly.
– Click-lock (floating): confirm the pad/foam requirements are compatible with the locking system and thickness limits.
– Glue-down: follow adhesive and moisture-control requirements exactly—don’t “swap in” a different adhesive or barrier unless the manufacturer approves it in writing.
Polyethylene vapor barrier thickness: a practical baseline
For slab-on-grade or concrete subfloors, 6-mil polyethylene (approximately 0.15 mm) is a commonly referenced thickness for vapor control in residential flooring applications, installed with taped seams to reduce moisture transmission pathways.
Engineered Wood Closet Moisture Control Options (Common, System-Based Matches)
| # | Closet / Subfloor Condition | Typical Installation Method | Common Vapor Barrier Spec | Best System Fit |
|---|---|---|---|---|
| 1 | Concrete slab (typical basement/ground floor closet) | Floating click-lock | 6-mil poly (≈0.15 mm) with taped seams | ★★★★★ |
| 2 | Concrete with higher moisture drive (below grade, known dampness) | Floating click-lock | 10-mil poly (≈0.25 mm) with taped seams (as allowed) | ★★★★☆ |
| 3 | Concrete slab (engineered system with integrated pad + vapor retarder) | Floating click-lock | Use only manufacturer-approved integrated barrier | ★★★★★ |
| 4 | Plywood/OSB on a dry level floor | Floating click-lock | Manufacturer-specified foam pad (no extra poly unless required) | ★★★☆☆ |
| 5 | Plywood/OSB near plumbing or leak-prone walls | Floating click-lock | Address moisture source + follow approved barrier/underlayment guidance | ★★★☆☆ |
| 6 | Concrete slab (glue-down engineered system) | Glue-down | Use manufacturer-approved moisture mitigation/adhesive approach | ★★★★★ |
| 7 | Subfloor with radiant heat (if applicable) | Floating or glue-down (system-approved) | Use heating-approved underlayment/barrier specified by floor system | ★★★★☆ |
ASTM F1869 reports moisture vapor emission rate (MVER) as lb/1000 sq ft/24h, which is why slab moisture control products are often chosen based on measured release rates. ASTM F1869
ASTM F2170 uses in-situ relative humidity (RH) probes; it’s designed to reflect slab/subfloor conditions where moisture can drive dimensional change in wood products. ASTM F2170
Plan around closet details (vents, doorways, baseboards)
Plan perimeter gaps and transitions up front so engineered wood floors can expand and contract without binding against fixed trim. Closets often have tight clearances—door casings, baseboards, and vent covers—so the details you treat as “minor” become the reason you see gaps later.
Keep expansion gaps consistent around fixed edges
Engineered wood floors need an expansion gap at walls and obstacles (like door trim and baseboards). If you lock the perimeter in place, the floor has nowhere to move when humidity shifts.
– Maintain the expansion gap the manufacturer specifies at all edges.
– Include built-ins and any fixed elements that can restrict movement.
– Plan the gap before cutting: it’s far easier to measure once than to “correct” with shims after boards lock.
Undercut trim and transition cleanly
Avoid trapping engineered wood floors under tight trim that prevents lateral movement.
– Dry-fit transition pieces and test board placement before final cuts.
– Undercut door jambs/baseboards where your installation method calls for it.
– Use thresholds/transitions if the closet connects to another room with different surface types or heights.
Account for airflow and closet climate control
Engineered wood floors expand and contract with temperature and moisture. Closets can trap humidity or amplify condensation near exterior walls.
– Don’t block vents with flooring pieces or bulky underlayment edges.
– Avoid sealing gaps at the wrong locations (especially where the home relies on airflow management).
– In 2026, more homes use variable-speed HVAC; these cycles can cause faster RH swings in small enclosed closets.
Expansion gaps exist because wood flooring materials expand and contract with seasonal moisture and temperature; rigid perimeter constraints can cause buckling or joint failure.
For floating engineered floors, transitions and undercutting are part of keeping the system free to move laterally without being trapped by baseboards or door casing.
In closets, vent placement and airflow restrictions can indirectly influence RH and condensation risk—making perimeter planning as important as underlayment choice.
What can go wrong in closet installations
What usually goes wrong is skipping moisture verification, installing over an uneven subfloor, or using underlayment/barrier components that don’t match the engineered wood flooring system. In closets, these mistakes surface faster because temperature swings and limited airflow intensify movement and moisture effects on engineered wood floors.
Common failure modes (and what they look like)
Engineered wood floors can show symptoms that are easy to misdiagnose as “a flooring defect,” but they often trace to prep.
– Skipping moisture checks: A closet can feel dry, yet concrete or subfloor assemblies may still release moisture and affect flooring equilibrium.
– Installing over an uneven subfloor: High ridges and dips can create movement, hollow sound pockets, or premature wear.
– Wrong pad/barrier combo: Incompatible foam/pad thickness or vapor barrier type can interfere with locking performance or void warranties.
– Blocking expansion: Rigid trim fastening or neglecting expansion gaps can lead to buckling and joint separation during seasonal changes.
Quick pros/cons: floating vs. glue-down in closets
Below is a practical comparison to help you reason about your engineered wood floors system—without assuming every product is interchangeable.
- Floating (click-lock) engineered floors
- Pros: Faster install, easier section replacement, typically forgiving over minor subfloor variations if flatness meets spec.
- Cons: Needs correct pad + vapor strategy; perimeter restriction still causes buckling.
- Glue-down engineered floors
- Pros: Strong dimensional stability when prep is perfect; can reduce some squeaks caused by subfloor movement.
- Cons: Requires strict adhesive/moisture compliance; prep errors are harder to correct after cure.
Verdict: prep approach that’s usually safest (and who should skip)
If you want the most reliable results, prioritize three things: (1) a flat, secure subfloor; (2) acclimation and correct moisture control per the manufacturer; and (3) correct expansion gaps around walls and closet fixtures. The downside is time: you may need to remove trim or perform moisture testing even when the closet seems “fine”—but that’s often what prevents callbacks.
Skip DIY (or at least slow down and get help) if you can’t confirm subfloor flatness, you find ongoing moisture sources, or your engineered wood flooring’s installation method requires materials/testing you’re not set up to perform correctly.
ASTM F2170 and ASTM F1869 are standardized slab moisture tests with different outputs and units; engineered wood flooring specifications often require a particular method before installation. ASTM F2170 ASTM F1869
Moisture testing and system-matched underlayment/vapor barriers are the core moisture-management controls for engineered wood floors over concrete.
Quick checklist before you close up the closet
| Prep item | Done? |
|---|---|
| Closet cleared (rod/shelves removed) | ☐ |
| Base trim/quarter round handled as needed | ☐ |
| Subfloor flat and secure checked | ☐ |
| Moisture risk inspected; no leaks/damp spots | ☐ |
| Planks acclimated per manufacturer instructions | ☐ |
| Correct underlayment/vapor barrier selected for subfloor | ☐ |
| Expansion gap plan confirmed around all fixed edges | ☐ |
| Door jamb/trim undercut or transitioned correctly | ☐ |
| Installation method followed (floating vs glue-down) | ☐ |
Sources
– National Wood Flooring Association (NWFA) guidance on installation best practices (including acclimation and subfloor preparation):
– ASTM standards commonly used for slab moisture testing: ASTM F2170 (in-situ RH probe) and ASTM F1869 (calcium chloride) — verify moisture testing method against your flooring manufacturer’s requirements:
– Engineered wood flooring manufacturer installation instructions (acclimation, underlayment/vapor barrier requirements, expansion gap guidance, and glue-down/floating method details):
Done correctly, engineered wood floors in a closet don’t just “look straight”—they stay quieter, flatter, and more gap-free through seasonal swings. In 2026, that reliability comes from disciplined prep: confirm flatness and moisture risk, acclimate properly, use the right underlayment/vapor barrier for your engineered system, and honor the expansion gaps everywhere the floor can’t move freely.
Frequently Asked Questions
What should I do before installing engineered wood floors in a closet?
Before you install engineered wood floors in a closet, confirm the subfloor is clean, dry, level, and structurally sound. Check the moisture content of the subfloor and the engineered wood, and acclimate the flooring in the room for at least 24–48 hours so it can adjust to local humidity. Also, remove baseboards or trim as needed and plan for proper underlayment use (if required by your product) to keep the closet floor stable and protected.
How do I prepare the subfloor for engineered wood flooring in a closet?
Start by removing carpet, old adhesive, or debris, then scrape and vacuum thoroughly. Use a straightedge to find dips or high spots and fix them with patch compound or leveling compound until the floor is flat within the manufacturer’s tolerance (often around 1/8 inch over 6 feet). Finally, install any required vapor barrier or underlayment for engineered wood, especially in closets where moisture can linger.
Why is acclimating engineered wood important for closet installations?
Closets are often enclosed spaces with less airflow, so temperature and humidity can shift after installation. Acclimating engineered wood helps the planks expand or contract before they’re locked into place, reducing the risk of gaps, buckling, or squeaks. Follow the flooring manufacturer’s acclimation instructions for best results and ensure the closet is at typical living conditions during installation.
Which underlayment is best for engineered wood floors in a closet?
The best underlayment depends on your engineered wood construction and the type of subfloor you have (concrete slab vs. plywood/OSB). Many floating click-lock engineered wood floors use an underlayment for sound reduction and minor subfloor imperfections, while floors installed with glue may require specific products approved by the manufacturer. Always use the underlayment (or vapor barrier) specified for engineered wood, and avoid stacking multiple layers that could compromise the floor’s stability.
What’s the best way to handle leveling and moisture concerns before flooring a closet?
For the best results, verify moisture by testing the subfloor—particularly if the closet is on concrete or below grade. If moisture is elevated, use the appropriate moisture-mitigation system or vapor barrier recommended for engineered wood, and don’t proceed until the conditions meet the flooring warranty requirements. Then level the area so the engineered wood planks lie flat, because small unevenness in a closet can be magnified and cause clicking joints, movement, or uneven wear over time.
📅 Last Updated: October 19, 2026 | Topic: How to prepare a engineered wood floors for closet? | Content verified for accuracy and freshness.
References
- Engineered wood
- Wood flooring
- Home – APA
- https://www.epa.gov/mold/mold-and-moisture
- https://www.cdc.gov/mold/default.htm
- https://www.fs.usda.gov/forestproducts/wood-handbook
- https://scholar.google.com/scholar?q=engineered+wood+floor+installation+acclimation+humidity Google Scholar
- https://scholar.google.com/scholar?q=engineered+wood+floor+subfloor+moisture+test+requirements Google Scholar
- https://scholar.google.com/scholar?q=wood+flooring+expansion+gap+installation+guidelines Google Scholar