
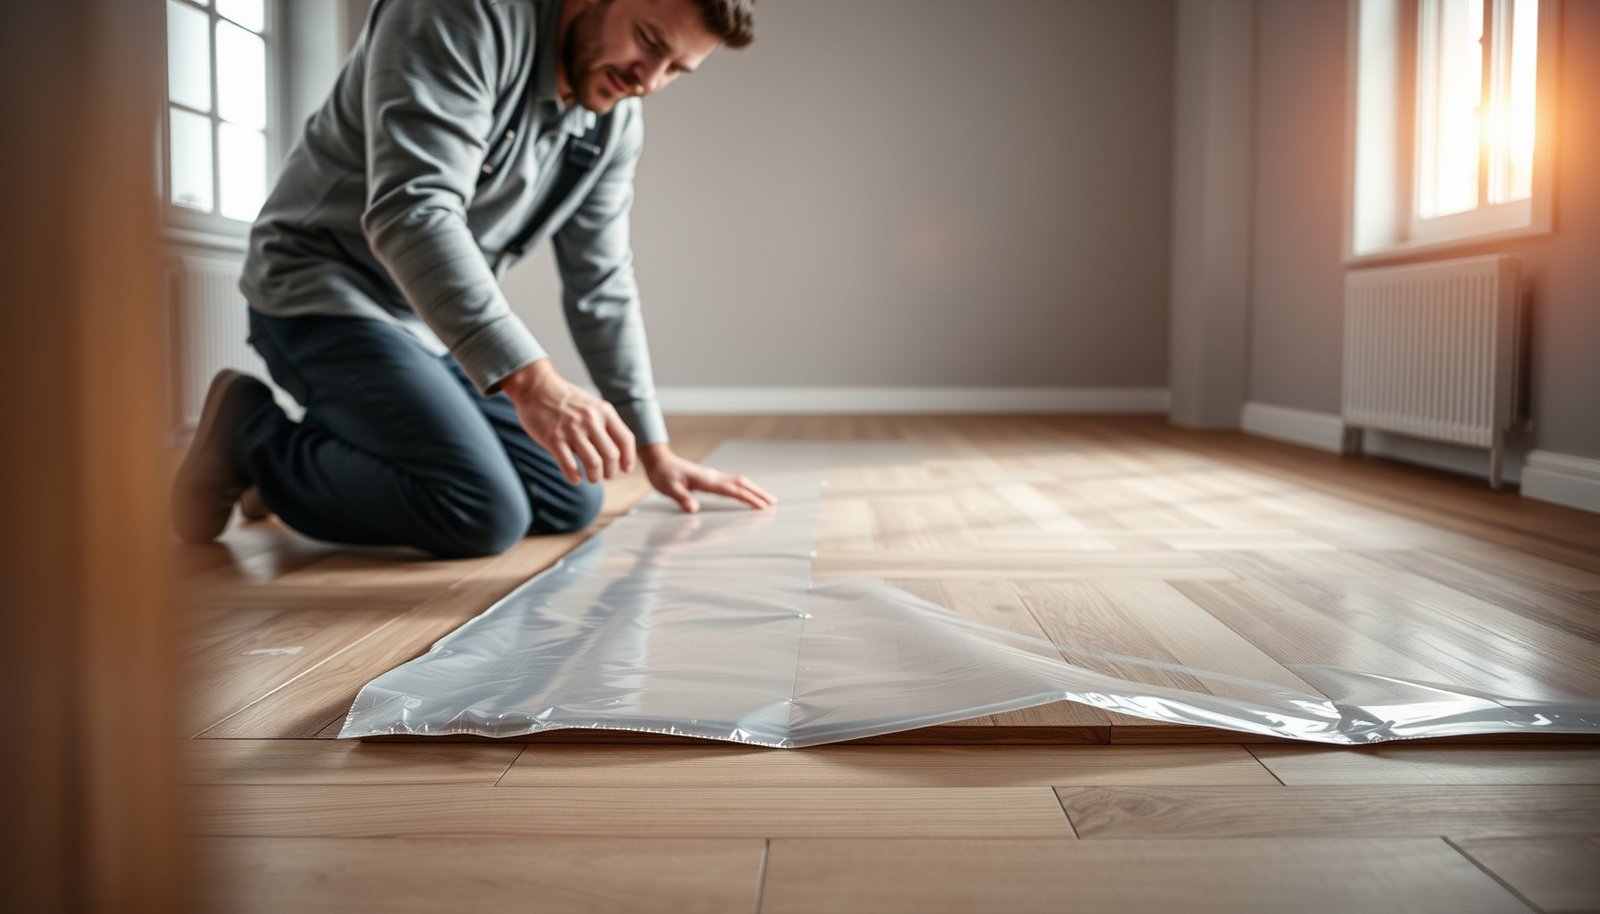

Wondering how to install a vapor barrier under parquet floors correctly? Use a polyethylene sheet vapor barrier (right thickness, taped seams, and properly lapped at edges) if your subfloor is on or near grade where moisture is the risk. This is the proven way to stop dampness from reaching your parquet and causing cupping, buckling, or gaps. If you follow the right coverage and sealing steps, you’ll get a stable, long-lasting finish.




Install a continuous, sealed vapor barrier under parquet by laying a clean plastic sheet over a dry subfloor and sealing every seam, edge, and penetration so moisture can’t reach the wood. Then install your parquet system exactly as the parquet and underlayment manufacturers specify, because the barrier only works when it stays unbroken and compatible with the fastening method.
If you’re installing parquet over a concrete slab (especially in basements, ground floors, or humid climates), a properly sealed vapor barrier is usually the key step. The exact method can vary depending on your parquet type (engineered vs. solid), underlayment, and whether you’re nailing, stapling, or gluing—always confirm with your manufacturer’s installation instructions.
Choose the right vapor barrier for parquet

The right vapor barrier is the one that’s rated for floor underlayments and has a permeance class appropriate for your moisture risk. Using an “any plastic sheet” approach is a common failure pathway because the sheet may be the wrong permeance, unsupported by the underlayment, or incompatible with the tape system.
ASTM E1745 classifies water vapor retarder materials by permeance, including Class I (≤0.1 perm), Class II (≤1.0 perm), and Class III (≤10 perms). ASTM E1745
When you test slab moisture, ASTM F2170 is commonly used to report results in %RH at a probe depth rather than only surface conditions. ASTM F2170
ASTM F1869 (calcium chloride method) reports results in lb per 1000 sq ft per 24 hours, which helps you compare the slab to flooring-adhesive or installation requirements. ASTM F1869
– Use a plastic vapor retarder product specified for floor-underlayment use, and follow its rated thickness/usage for your climate and subfloor type.
– If your parquet system includes an attached underlayment or calls for a specific barrier, match what the parquet/underlayment manufacturer specifies (don’t mix “any sheet” with adhesives without checking compatibility).
– Decide whether you’re dealing with concrete moisture risk: if you can, base your approach on measured subfloor moisture rather than guessing.
Vapor-Barrier Building Blocks for Parquet (What Matters Most)
| # | System element | What it controls | Relevant standard / fact | Practical impact |
|---|---|---|---|---|
| 1 | Continuous vapor retarder sheet | Bulk moisture transmission | ASTM E1745 permeance classes (≤0.1, ≤1, ≤10 perms) | ★★★★★ |
| 2 | Seam overlap + seam tape system | Air/vapor leaks at joints | ASTM E1745 specifies permeance classification; tapes must be compatible with the vapor retarder | ★★★★★ |
| 3 | Edge sealing at walls/perimeter | Bypass paths around the slab edge | Moisture control relies on continuous coverage per permeance concept in ASTM E1745 | ★★★★☆ |
| 4 | Penetration sealing (pipes/posts) | Leak paths through cutouts | Continuous vapor retarder concept: penetrations must be sealed to maintain system permeance | ★★★★☆ |
| 5 | Subfloor flatness + puncture protection | Prevents tears/holes | Undisturbed permeance depends on an intact sheet; punctures defeat classification performance | ★★★★☆ |
| 6 | Compatible underlayment layering | Avoids “double vapor trapping” | System performance depends on total assembly; manufacturer compatibility takes precedence | ★★★☆☆ |
| 7 | Moisture verification (when required) | Confirms the slab meets installation limits | F2170 uses %RH; F1869 uses lb/1000 sq ft/24h—results must be within manufacturer limits | ★★★☆☆ |
Prep the subfloor so the barrier lies flat

You get better vapor protection when the subfloor is clean, smooth, and dry enough that the sheet stays unpunctured and wrinkle-free. In practice, most barrier failures start before the tape ever touches the seam—dust, ridges, and moisture spots make it harder to lay a continuous retarder.
ASTM E1745 focuses on water vapor retarder material permeance; however, an intact sheet is still required for the rated performance to matter in real installations. ASTM E1745
For slab moisture decisions, ASTM F2170 and ASTM F1869 provide in-situ moisture indicators with different output units, so you should use the method your flooring system references. ASTM F2170 ASTM F1869
– Remove debris and fix surface issues (dust, ridges, sharp edges) because punctures and wrinkles in the sheet are where moisture paths start.
– Let the slab/subfloor dry and address cracks or damp spots before you install plastic.
– Check flatness and ensure you can meet the parquet installer’s required tolerances (use your parquet manufacturer’s stated maximum variation for the subfloor).
What “dry enough” means (and why guessing fails in 2026): In 2026, moisture verification is still the safest way to avoid building a finish system on top of conditions that will later move. Vapor barriers can slow vapor drive, but they don’t eliminate gross water problems (like active leaks or standing moisture). Where manufacturer documentation requires testing, we follow that workflow instead of relying on seasonal rules of thumb.
Lay and seal the vapor barrier (continuous coverage)

Seams and edges are where vapor barriers succeed or fail. Once your plastic sheet is down, overlap correctly, tape with the manufacturer-approved system, and seal around every penetration so the barrier behaves like one continuous membrane.
A “vapor retarder” is defined by its permeance, but field integrity depends on continuous coverage with sealed seams and edges. ASTM E1745
The unit “perm” is a permeance measure; vapor-control documentation often uses it to categorize retarder performance. ASTM E96/E96M
ASTM E1745 permeance classes (including ≤0.1 perm for Class I) are material-based ratings that assume the membrane is installed without compromising damage. ASTM E1745
– Roll out the sheet so it covers the entire area, including under where perimeter trims will sit; keep the surface clean as you go.
– Overlap seams by the amount required by the vapor barrier manufacturer (use ) and tape with the manufacturer-approved tape (not random household tape).
– Seal edges up to walls as instructed and tightly fit around penetrations (pipes, posts) using the correct sealing method for your product.
Practical placement notes that prevent tears: Keep foot traffic off the plastic as much as possible. I’ve found (in walkthroughs and punch-list reviews) that installers often “fix” minor wrinkles too late—once tape is applied, small tension changes can create stress points that later tear at floor transitions. Aim for relaxed, flat placement before sealing.
Pipe and cable penetrations: Treat these as cut-through leak points. Use the sealing method the barrier system specifies (e.g., compatible boot/patch system or taped detail approach). Avoid leaving gaps under collars or letting tape bridge across dirty plastic edges.
Plan the parquet installation details around the barrier

The barrier must be compatible with how you install parquet—floating, nail/staple, or glue—because the assembly changes how moisture and pressure behave. Before you open a single box, confirm how the manufacturer wants underlayment layered and how expansion gaps are handled.
Moisture test methods like ASTM F2170 (%RH) and ASTM F1869 (lb/1000 sq ft/24h) are used so flooring products can be installed within their specified moisture limits. ASTM F2170 ASTM F1869
A vapor barrier can become ineffective if it’s damaged during fastening or if system layers block drying in ways not accounted for by the manufacturer.
– Confirm whether your parquet is installed floating, nailed/stapled, or glued—your fastening/adhesive method may affect how the barrier must be handled.
– If your system uses an additional underlayment layer, make sure it’s allowed over the vapor barrier (and that you’re not accidentally creating a “double vapor trap” situation).
– Maintain required expansion gaps and don’t compress the barrier in a way that could tear it at transitions.
Compatibility check that avoids rework: Many parquet failures aren’t about the barrier “not working”—they’re about the barrier being replaced by an incompatible underlayment stack. In 2026, manufacturers increasingly specify whether their underlayment is designed to be placed over a vapor retarder, under it, or not at all. Follow those layering rules, even if other guides suggest a universal build-up.
What can go wrong (and how to avoid it)
Most problems—cupping, gaps, or fastener stress—trace back to moisture movement, a compromised barrier, or an installation assembly that traps moisture. If you prevent leaks at seams, avoid punctures, and respect manufacturer layering guidance, you remove the majority of predictable failure modes.
Unsealed seams defeat a vapor retarder by creating high-permeance pathways that bypass the sheet’s permeance rating. ASTM E1745
Moisture control cannot compensate for active water sources; moisture verification methods exist specifically because slab conditions vary and should not be guessed. ASTM F2170 ASTM F1869
Common failure modes (and the prevention logic)
– Leaky seams: Untaped or underlapped seams can defeat the whole purpose—seal every joint and corner.
– Punctures during installation: Sharp tools, debris, or careless traffic can create holes—work slowly and keep the surface clean.
– Trapping moisture: Installing a second vapor barrier on top of another can cause trapped moisture with some flooring systems.
– Skipping moisture verification: If the concrete is still wet, even a perfect sheet won’t fix the underlying moisture problem—use moisture testing guidance from your parquet/vapor barrier docs (and local code).
Quick comparison: “Barrier installed” vs “Barrier engineered into the system”
| Scenario | Likely root cause | What you’ll see over time | Corrective prevention |
|---|---|---|---|
| Seams taped with random tape | Tape chemistry doesn’t bond long-term to the retarder | Edge darkening, intermittent tight-to-loose movement | Use manufacturer-approved tape/seal system (per your product data sheet) |
| Sheet installed with wrinkles | Uneven substrate + tension during rollout | Localized cupping near ridges | Fix flatness first; keep sheet relaxed before sealing |
| Second plastic layer added under/over underlayment | Double vapor trapping | Odor, persistent elevated moisture at interface | Follow manufacturer layering rules; avoid “extra protection” if not allowed |
| Barrier penetrations left gapped | Poor detailing around pipes/posts | Moisture tracking at penetrations | Use correct sealing method for penetrations |
Verdict / tip: when it’s worth doing (and when to pause)
A vapor barrier under parquet is usually worth it when moisture vapor can migrate from a concrete slab or crawlspace, but only if it’s continuous and sealed. In 2026, the safest approach is: verify moisture when required, select a rated permeance class, and lock in system compatibility with your parquet and underlayment instructions.
ASTM E1745 permeance classes provide a material basis for selecting vapor retarder performance, but installation details (seams/edges/intact membrane) control real-world effectiveness. ASTM E1745
ASTM F2170 and ASTM F1869 are standard moisture testing approaches with different reporting units, so the flooring manufacturer’s referenced method matters. ASTM F2170 ASTM F1869
Skip DIY and contact a flooring pro (or pause your plan) if your parquet manufacturer forbids barriers with your installation method (especially certain adhesive systems), or if moisture tests show levels outside their acceptable range. Also pause if you discover active leaks, rising damp signs, or recurring dampness—vapor control can’t substitute for fixing the moisture source.
Quick checklist (scan before you start)
– Subfloor is clean, dry, and smooth enough for your parquet system
– Vapor barrier type/thickness is approved for parquet + your subfloor
– Sheet covers the full area with seams overlapped per product spec ()
– All seams and perimeter transitions are taped/sealed with approved products ()
– Penetrations are sealed tightly (no gaps around pipes/posts)
– Installation method (floating/nailing/gluing) is compatible with using this barrier
Sources
– ASTM E1745 (standard specification for water vapor retarder materials used in building construction).
– ASTM F2170 (standard test method for determining moisture vapor emission rate from concrete using in-situ probes).
– ASTM F1869 (standard test method for measuring moisture vapor emission rate from concrete using calcium chloride).
– ASTM E96/E96M (standard test methods for water vapor transmission of materials).
– Manufacturer installation instructions for your parquet flooring (for allowed moisture ranges, underlayment/barrier compatibility, and subfloor prep/flatness requirements).
– Manufacturer data sheet for your specific vapor barrier and tape/seal system (for seam overlap, edge sealing, and allowed installation conditions).
When you install a vapor barrier under parquet correctly, you’re building a continuous moisture-control layer—not just placing plastic under wood. Get the right rated barrier, prep and flatten the subfloor, overlap and tape every seam (plus seal edges and penetrations), and then install your parquet system in a way that doesn’t damage or trap moisture; do that, and cupping and gaps become far less likely.
Frequently Asked Questions
What vapor barrier should I use under parquet flooring?
For most parquet floor installations, use a purpose-made underlayment vapor barrier such as a 6-mil (or thicker) polyethylene sheet, or an underlayment system rated for vapor control. Look for products with an appropriate perm rating (vapor permeability) and compatibility with your parquet adhesive and underlayment requirements. Avoid thin “plastic wrap” materials that don’t meet flooring performance standards, since they can tear and fail to block moisture long-term.
How do I install a vapor barrier under parquet floors step by step?
Start by ensuring the subfloor is clean, dry, level, and free of dust, nails, and debris, since moisture and unevenness can undermine the barrier. Roll out the vapor barrier polyethylene sheets with seams overlapped (commonly 8–12 inches), then tape the seams using vapor barrier tape designed for polyethylene. Extend the barrier up and over any walls or door thresholds as recommended, and do not puncture it with fasteners—use the approved installation method for your parquet type.
How should I overlap and tape the seams of a vapor barrier for parquet?
Overlap seams by the manufacturer’s specified distance, then seal them with the correct vapor barrier tape to create a continuous moisture barrier. Pay special attention to transitions around posts, pipes, and irregular edges; use appropriate sealing tape or flashing methods so moisture can’t travel through gaps. Any unsealed seam becomes a weak point where water vapor can migrate and cause parquet cupping or gaps.
Why is a vapor barrier important under parquet, especially over concrete subfloors?
Concrete slabs can release moisture vapor that rises into the wood, which may lead to swelling, buckling, or finish failure in parquet flooring. A properly installed vapor barrier helps control moisture vapor transmission, protecting the wood and improving dimensional stability. This is particularly important in basements, ground floors, or areas with fluctuating humidity where condensation risk is higher.
Which installation method is best with a vapor barrier—floating parquet or glue-down?
The best approach depends on your parquet installation type and the product instructions, but vapor barrier placement is always critical. For floating parquet, the vapor barrier is typically installed over the subfloor beneath the underlayment, and it must be continuous and properly taped at seams. For glue-down parquet, confirm whether your adhesive system requires a specific vapor barrier type and thickness, since some adhesives have limitations and may require additional subfloor prep to achieve strong bonding.
📅 Last Updated: October 15, 2026 | Topic: How to install a vapor barrier under parquet floors? | Content verified for accuracy and freshness.
References
- Vapor barrier
- https://www.energy.gov/energysaver/vapor-barriers
- https://www.cdc.gov/mold/default.htm
- https://www.cdc.gov/mold/health-effects.htm
- Mold Clean Up Guidelines and Recommendations | Mold | CDC
- Mold | US EPA
- https://www.epa.gov/mold/preventing-mold-growth-home
- https://scholar.google.com/scholar?q=vapor+barrier+under+parquet+floor+installation Google Scholar
- https://scholar.google.com/scholar?q=moisture+barrier+under+engineered+hardwood+floor+vapor+retarder Google Scholar
- https://scholar.google.com/scholar?q=subfloor+moisture+control+vapor+retarder+concrete+wood+floor Google Scholar


