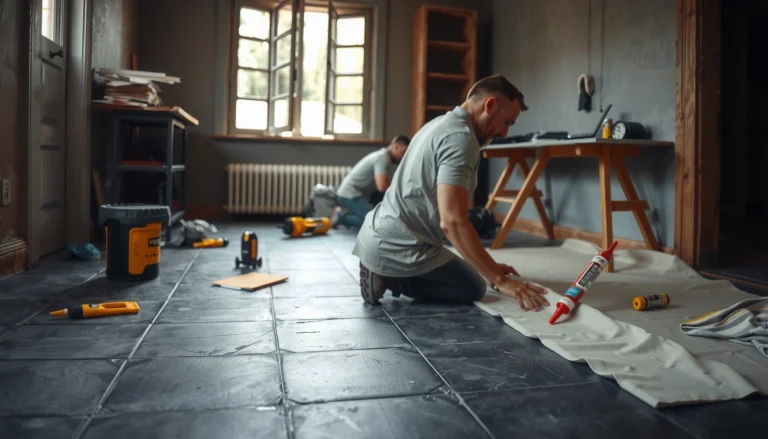
Learn how to measure engineered wood floors for a playroom with a simple, accurate method that prevents costly underage or gaps. This guide walks you step-by-step through measuring room dimensions, accounting for wall irregularities, and calculating the exact board quantity for a clean, safe fit. You’ll know precisely what numbers to take and how to convert them into order-ready measurements—so the installation starts right the first time.



Measure your playroom by finding the room’s usable square footage (length × width), subtracting non-floor areas (closets/fixtures), then converting that net area into the number of boxes using the coverage listed on your plank carton. If your room has odd shapes or built-ins, break it into sections and total the areas before you order. You’ll also want to add a small waste buffer based on your installer guide or manufacturer instructions. This is for anyone planning to install engineered wood in a playroom and needs a practical way to measure accurately—especially if the room includes closets, vents, or tricky corners. If you’re ordering online, getting the box count right matters more than perfect micrometer-level precision.
Measure the playroom’s length and width correctly
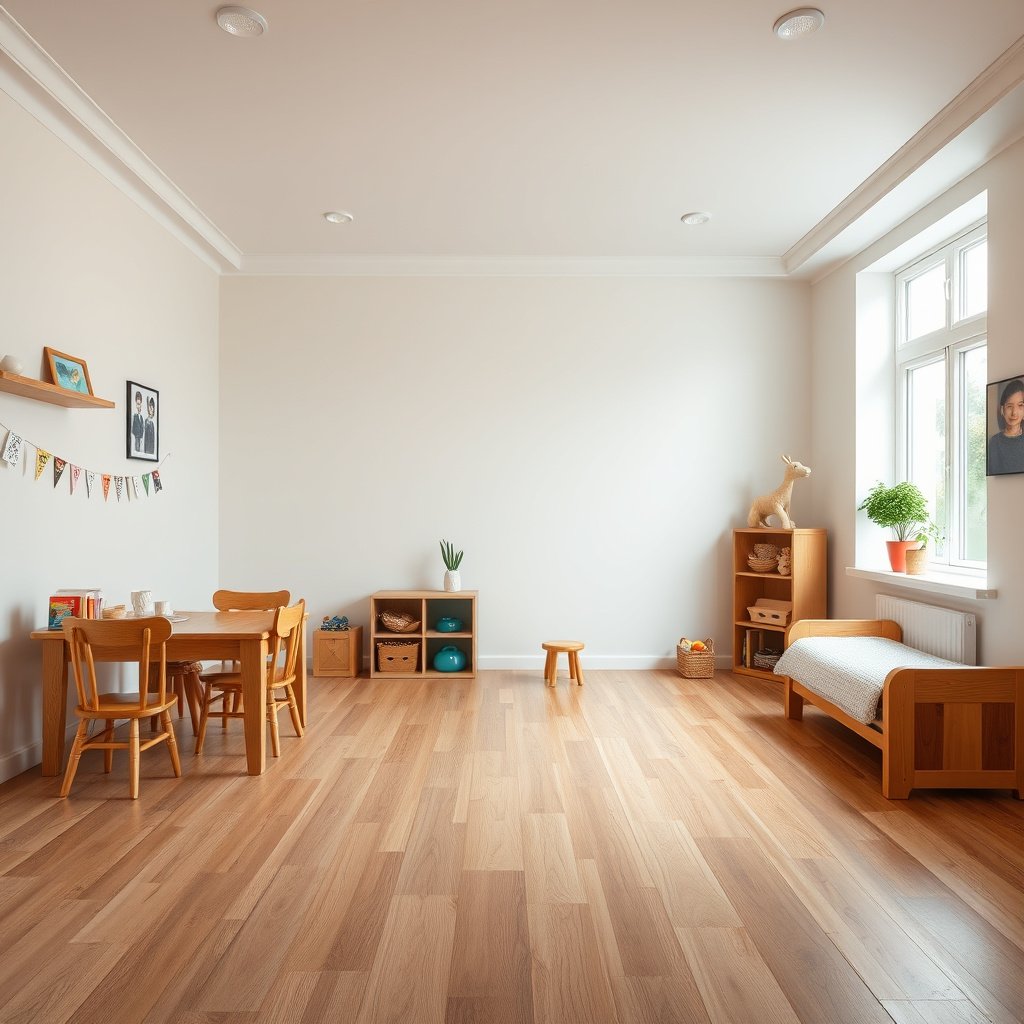
The fastest accurate method for engineered wood box planning is to measure the exact floor “footprint” where planks will actually be installed, not just the room’s outer walls. Once you lock the start/stop boundaries that match thresholds and trim lines, length × width becomes reliable enough to calculate engineered wood quantities.
For engineered wood flooring orders, tape measure accuracy matters most at the start/stop lines (thresholds, transitions), because those determine the usable length you’ll convert into box counts.
When you calculate engineered wood floor coverage using square footage, you’re really calculating how much of the room footprint is eligible for planks—so treat measurement boundaries as part of the math.
If your playroom layout changes direction (a jog or L-shape), measuring as separate engineered wood sections prevents one “average” dimension from hiding a real shortage.
– Measure wall-to-wall where the planks will actually lay, then note where trim/thresholds will affect the start/stop lines. In other words, decide whether engineered wood ends at a doorway threshold, continues through a transition strip, or terminates at a wall return.
– For irregular rooms, measure each “section” (straight runs vs. jogs) and keep the dimensions written down. Use the same measuring approach for each engineered wood run so the total net square footage stays consistent.
– Record measurements in the same unit you’ll use for calculations (feet/inches is fine as long as you convert consistently). If you measure in inches, convert at the end using 144 square inches per square foot (see conversions below).
Quick unit sanity checks (to avoid conversion slip-ups)
According to NIST SP 811 (SI units guide), 1 foot (ft) is exactly 0.3048 meters (m) and 1 inch (in) is exactly 25.4 millimeters (mm). According to NIST SP 811, 1 square foot (ft²) equals exactly 0.09290304 square meters (m²), which is the square-foot conversion you’re implicitly using when you translate areas between systems. These constants help confirm that your engineered wood square-foot math isn’t drifting due to unit confusion.
Unit Conversions Commonly Used When Measuring Engineered Wood Floors
| # | Conversion (for engineered wood measurement) | Exact value | Typical use | Measurement confidence |
|---|---|---|---|---|
| 1 | 1 ft to meters | 0.3048 m | Length checks | ★★★★★ |
| 2 | 1 in to millimeters | 25.4 mm | Small offset math | ★★★★★ |
| 3 | 1 ft² to m² | 0.09290304 m² | Square-foot conversions | ★★★★★ |
| 4 | 1 ft² to in² | 144 in² | Inch-based area math | ★★★★☆ |
| 5 | 1 in² to cm² | 6.4516 cm² | Metric conversion checks | ★★★★☆ |
| 6 | 1 m to ft | 3.28084 ft | Length translation | ★★★★☆ |
| 7 | 1 m² to ft² | 10.7639104167 ft² | Room area conversion | ★★★★☆ |
Identify what to subtract (and what to include)
The most common reason engineered wood orders come up short is subtracting the wrong areas (or forgetting areas entirely). Your subtraction step should reflect where the engineered wood will not be installed, so your net square footage matches the actual plank footprint.
For engineered wood flooring, the “net area” you calculate should exclude permanently fixed obstacles you won’t plank around (like built-in base cabinets), not the total room size.
Doorways, alcoves, and bump-outs affect where engineered wood ends—defining those termination points keeps your square footage math aligned with the real install plan.
Vents and plumbing don’t usually change the square-foot calculation, but they do increase cut waste, which is why engineered wood waste allowances matter.
– Subtract areas you won’t cover: closets with built-ins, island-style cabinets, or permanently fixed obstacles. If your engineered wood is floating, most manufacturers still expect you not to lay it under true permanent casework—confirm your installation guide.
– Don’t forget doorways, alcoves, and any bump-outs—decide where the flooring will end (usually at a doorway threshold or transition). For playrooms, this is especially important if there’s a separate hall, entry, or transition strip planned.
– Mark vent grilles and plumbing locations so you can plan cuts later (this doesn’t change the math much, but it affects your layout). When engineered wood is cut around vents, you’re generally not adding square footage—you’re creating waste and planning board breaks.
Practical subtraction rules for engineered wood in playrooms
– If an area will receive padding and a permanent built-in (for example, a closet system), subtract it. Built-in feet and fixed shelving typically mean the engineered wood won’t run uninterrupted.
– If you’re deciding between “run under” vs. “terminate at” a threshold, decide early and stick with it—your engineered wood box count depends on that termination rule.
Calculate total square footage (usable area)
The net square footage for engineered wood ordering is the total eligible floor area after subtracting fixed non-floor zones. Once you have net square feet, the rest of the ordering math becomes straightforward and repeatable.
Square footage for engineered wood is computed per section using Area = length × width, then totaled—this is the cleanest way to handle L-shaped or jogged playrooms.
Converting inches to feet is often where engineered wood calculations go wrong; converting once at the end is safer than mixing unit conversions midstream.
Your “net area” should match what the engineered wood will actually cover; it’s the input to box count, so small subtraction errors compound.
– Compute each section’s area: Area = length × width, then add all sections together. Treat each straight run and each jog as its own engineered wood rectangle.
– Convert to square feet (if you measured in inches, divide by 12 for linear dimensions, then apply length × width to get ft²; equivalently, 144 in² = 1 ft²).
– Your net area = total room area − areas you’re subtracting (fixtures/closets you’re not flooring).
A sample calculation structure (using your real numbers)
– Section A (engineered wood run): length = , width = → Area A =
– Section B (engineered wood run): length = , width = → Area B =
– Total eligible area = Area A + Area B =
– Subtractions (closet/built-in/obstacle footprint) =
– Net engineered wood area = − =
Convert square footage to box count
The correct engineered wood box count comes from dividing net square footage by the carton’s stated coverage per box, then rounding up. This step is where ordering mistakes happen, especially when customers estimate rather than using the exact coverage printed on the carton or in the product data sheet.
Engineered wood cartons list a coverage number per box; ordering should use that printed coverage rather than generic “rule of thumb” estimates.
When converting engineered wood net square feet to boxes, rounding up is standard because waste and layout cuts rarely reduce the need for extra boards.
Waste buffers for engineered wood should follow the manufacturer’s installation guidance, since the stated carton coverage may already assume a specific installation approach.
– Find the coverage per box on your engineered wood carton or product data (this is the “right” number to use—don’t estimate). Coverage is often stated in square feet per box and sometimes varies by plank length/width and installation method.
– Use: Boxes needed = net area ÷ box coverage, then round up.
– Add waste as recommended by the manufacturer/installation guide (common industry practice is a small percentage, but the exact figure should match your flooring instructions). Because playrooms typically involve more cuts around vents and doorways, you should not assume the minimum waste figure if your layout is complex.
Comparison: “easy rectangle” vs. “cut-heavy playroom” ordering
| Scenario (engineered wood) | What changes for measurement | What to adjust for box count |
|---|---|---|
| Mostly rectangular playroom | Net area is close to room area minus a few subtract zones. | Use standard manufacturer waste guidance; rounding up usually covers minor cut losses. |
| Irregular layout (jogs, alcoves, many terminations) | You must measure as multiple engineered wood sections; subtraction boundaries matter. | Increase the waste/extra-board allowance if the guide references cut-heavy installs; verify with the product instructions. |
Plan for layout changes that affect measurement accuracy
The engineered wood measure step stays consistent, but your layout decisions change where rows start and stop—so plan transitions before finalizing square footage. When you lock your first-row and last-row strategy, your net area and cut plan stop fighting each other.
For engineered wood, confirming where the first plank row starts relative to thresholds prevents “phantom shortages” that only show up after cutting.
A cut-heavy engineered wood layout (vents, offsets, many terminations) increases real waste even if the square footage math is correct.
If your engineered wood product specifies a direction or visual layout, that guidance can affect practical board utilization, not just appearance.
– If you’re installing under door thresholds or around a closet opening, confirm where the first plank row starts and where the last row will land. Mark these points on your sketch before you finalize net square footage.
– For rooms with lots of cuts (many obstacles, complex layouts), your waste buffer may need to be higher than a simple rectangular space. The goal is to cover engineered wood trim cuts, vent cutouts, and partial boards at terminations.
– If the product uses a specific direction (grain/layout guidance), note that now—layout choices can change how many boards you’ll practically need. Two engineered wood layouts with identical square footage can still require different cut patterns.
Where people mis-measure during engineered wood planning (and how to fix it)
– Start/stop confusion: measuring “pretty close” to a threshold that ends up moving by a row.
– Unclear termination decisions: deciding later to run engineered wood into a closet area that you originally subtracted (or vice versa).
What can go wrong (and how to avoid it)
Engineered wood measuring errors usually come from mixing “total room” math with “usable flooring” math. Fixing the root cause means tightening subtraction rules, using the carton’s coverage, and rounding in a way that respects waste.
Ordering too few engineered wood boxes is commonly caused by forgetting to subtract a closet or built-in footprint, which silently inflates your apparent net area.
Using the wrong carton coverage for engineered wood—such as a generic estimate—can produce a consistent shortfall across every box ordered.
Rounding down engineered wood boxes is risky in cut-heavy playrooms, because waste buffers exist specifically to absorb real-world trimming losses.
– Forgetting to subtract a closet, built-in base, or area that won’t receive flooring—this can lead to ordering too few boxes.
– Relying on “total room square footage” instead of usable/net area—trims, thresholds, and fixed obstacles can make the usable area smaller.
– Using the wrong box coverage—some cartons list coverage that includes specific waste assumptions or installation methods. Always use the coverage printed for your exact product.
– Rounding too aggressively—if your calculation lands close to the next box, rounding up is usually safer.
A quick, honest note on playrooms
Playrooms tend to have more obstacles (heaters/vents, door transitions, and built-ins), so even correct net area measurements can still produce higher waste. For anything beyond a simple rectangle, follow the engineered wood manufacturer’s waste guidance closely and treat the “extra material” recommendation as part of the measurement method, not a last-minute afterthought.
Verdict / tip (what I recommend before you buy)
If your playroom is mostly a rectangle, measuring for engineered wood is straightforward: compute net square footage, divide by the carton’s coverage, round up, and add the waste buffer your installation guide calls for. The downside is that any measurement uncertainty compounds when you’re converting to boxes—so if your room is very irregular (multiple nooks, unusual built-ins), consider measuring in sections more carefully or getting a pro quote for the estimate. Skip DIY measurement if you’re unsure where transitions/thresholds will be placed or if you don’t have access to the exact coverage/waste guidance for your specific engineered wood product.
Pros/cons snapshot (engineered wood measuring approach)
- Pros of section-by-section net-area measurement: aligns with real install boundaries, improves engineered wood box accuracy, and reduces re-order risk.
- Cons: takes longer than measuring wall-to-wall, and you must make clear decisions about closet/built-in termination.
- Pros of using total room area: fast for simple rectangles.
- Cons: engineered wood orders often come up short in playrooms with doors, alcoves, and fixed obstacles.
Quick measurement checklist (scan/save)
| Step | What to write down |
|---|---|
| 1 | Room length and width (each section if not a rectangle) |
| 2 | Areas to subtract (closets/built-ins/fixtures) |
| 3 | Net square footage = (sum of areas) − (subtract areas) |
| 4 | Box coverage (from your carton/product sheet) |
| 5 | Boxes = net sqft ÷ box coverage (round up) |
| 6 | Waste allowance per manufacturer/install guide (add before ordering if applicable) |
Sources:
– Use your engineered wood manufacturer’s installation guide for (1) carton coverage per box and (2) recommended waste/extra material guidance.
– If your flooring system specifies underlayment/threshold handling that affects where the floor starts/stops, follow the same official installation document.
– NIST SP 811, Guide for the Use of the International System of Units (SI) (unit conversion constants used for square-foot and linear-foot area checks).
In the end, accurate engineered wood playroom ordering comes down to one repeatable workflow: define the usable footprint, subtract fixed non-floor zones, calculate net square footage, divide by the carton’s real coverage, and then apply the exact waste allowance from your engineered wood installation guide.
Frequently Asked Questions
How do I measure engineered wood floors accurately for a playroom?
Measure the room’s length and width at the furthest points, then multiply to estimate total square footage. Account for odd shapes by breaking the space into sections (like alcoves) and adding their areas together. For engineered wood installation, measure any alcoves, closets, and doorways too, because playroom layouts often include transitions and built-ins that affect material needs. Finally, add 5–10% extra for cuts, waste, and board pattern matching.
What is the best way to measure for engineered wood flooring around furniture and fixtures?
Create a “plan” of the playroom and mark fixed items such as built-in shelves, radiators, and large play structures that won’t move. Measure clearances and note where you’ll need expansion gaps (typically along walls and any fixed surfaces). If the flooring will transition to tile or carpet, measure the exact width of those transition areas to ensure you order the right quantities for underlayment and trim. Accurate fixture measurements reduce under-ordering and help avoid awkward plank cuts in high-traffic play zones.
Why should I measure twice when buying engineered wood for a playroom?
Playrooms often need careful planning because they’re subject to frequent foot traffic, furniture rearranging, and sometimes roller toys, so layout precision matters. Measuring twice helps confirm the room’s square footage and prevents costly issues like running short of flooring mid-installation. It also lets you verify the direction of planks (lengthwise or across the room) so seams align neatly and look consistent. Better planning means fewer mistakes when cutting planks to fit outlets, vents, and irregular wall lines.
Which measurement method should I use for rooms with irregular walls or closets?
Use a tape measure and measure each wall segment separately, especially if corners aren’t perfectly square. For irregular rooms, measure from a reference point and calculate each section’s area individually, then total them to get the overall square footage. Don’t forget to measure closet openings and any recessed areas where engineered wood flooring may need to continue or stop. This method improves takeoff accuracy and avoids gaps or mismatched plank lengths in the playroom’s corners.
How do I calculate how many boxes of engineered wood I need after measuring?
After you calculate the room’s square footage, divide by the coverage area listed per box on the engineered wood packaging. Add 5–10% waste depending on complexity—more if you expect lots of cuts around playroom features like vents, vents/returns, or built-ins. If you’re installing with a click-lock system, also consider any extra material needed for trimming transitions and undercutting door jambs. This box calculation ensures you have enough engineered wood for a smooth, durable playroom floor install.
📅 Last Updated: October 19, 2026 | Topic: How to measure a engineered wood floors for playroom? | Content verified for accuracy and freshness.
References
- Wood flooring
- Floor area
- https://scholar.google.com/scholar?q=engineered+wood+flooring+measure+square+footage+layout+waste Google Scholar
- https://scholar.google.com/scholar?q=engineered+wood+flooring+subfloor+flatness+measurement+%28ASTM+E1155%29 Google Scholar
- https://scholar.google.com/scholar?q=engineered+wood+flooring+moisture+testing+ASTM+F1869+F2170 Google Scholar