
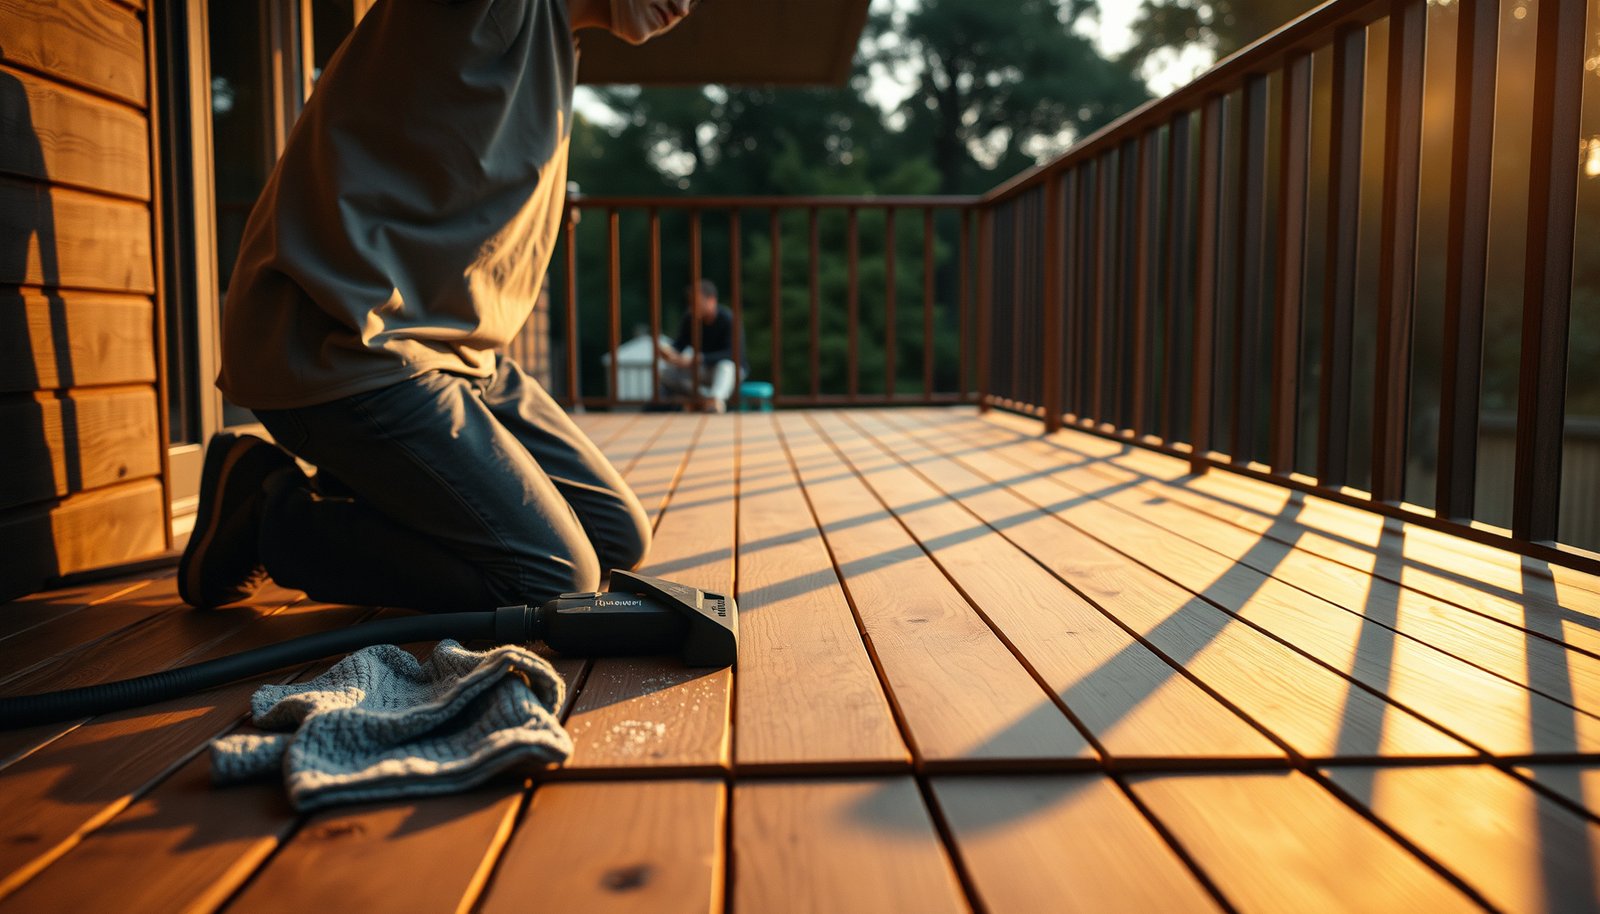

Preparing hardwood floors for a balcony properly is non-negotiable if you want them to survive moisture, temperature swings, and foot traffic. This step-by-step guide shows the exact order of prep—inspection, moisture control, surface cleaning, fastening/underlayment decisions, and sealing—so your floor stays stable and doesn’t buckle or cup. If you follow these steps, your balcony hardwood is ready to install with the durability you’re paying for.




Hardwood floors can only work well on a balcony if you control moisture, ensure the surface is flat/stable, and use a finish rated for outdoor exposure (UV + rain). Start by confirming your wood/flooring is meant for exterior balcony or deck conditions, then prep the subfloor with proper drainage/airflow and finish with an exterior-appropriate sealer/topcoat.
This guide is for homeowners planning to install (or re-finish) hardwood on a balcony deck or balcony-level flooring where it may get wet from rain, condensation, or tracked-in moisture. If your balcony is fully covered and humidity is low, the prep steps may be simpler—but you still must address moisture and stability.
Assess balcony conditions & confirm the right hardwood

Treat the balcony as an outdoor exposure zone first, not “almost indoors.” If the balcony sees rain, standing water, or frequent condensation, you need a flooring system specifically approved for exterior balcony/deck use—otherwise even perfect prep can’t prevent cupping, fastener problems, and finish failure.
Hardwood flooring on a balcony should be treated as an exterior system because repeated wet/dry cycling drives wood movement and finish stress.
ASTM D4442 is commonly referenced for determining wood moisture content before installation, because incorrect MC readings can indicate the board will move after you lay it.
If the manufacturer lists the product as “interior-only,” sealing it does not change the wood’s expected dimensional stability in rain-exposed conditions.
Check exposure: rain, splash zones, and standing water
Start by walking the balcony (ideally in/after a rain event) and identifying:
– Direct wetting: Does rain hit the floor surface, or do you only get splash at the perimeter?
– Standing water: Any low spots where water pools—even briefly—create the most damaging moisture cycle for hardwood flooring on a balcony.
– Condensation sources: Overhangs, HVAC exhaust, or nearby wall moisture can raise humidity even without visible rain.
From a practical standpoint, the “worst” area is usually not the center—it’s often near walls, planters, door thresholds, or where airflow is blocked.
Verify the product is approved for exterior balcony/deck conditions
This is the non-negotiable gate. Confirm that your exact hardwood product is rated for outdoor exposure (often described as deck/balcony or exterior use). Interior-only wood can swell/cup after moisture ingress, and sealing/topcoats often cannot compensate for:
– Wood that’s not engineered for exterior dimension stability
– Installation rules (fasteners/spacing) intended for indoor expansion behavior
– Finish systems formulated for indoor UV resistance only
Choose your install strategy: direct slab vs. raised/ventilated
Hardwood flooring on a balcony succeeds or fails based on whether moisture can escape and air can circulate. A raised, ventilated setup often reduces moisture “trapping” compared with direct installation on a slab.
| System approach | Best when | Key moisture risk |
|---|---|---|
| Direct install over slab | The balcony stays mostly dry or is fully covered | Condensation or moisture migration can stay under planks if drainage/airflow is limited |
| Raised, ventilated setup | Rain exposure, splash zones, and frequent humidity changes | If the base isn’t properly detailed, water can still infiltrate at edges or transitions |
Gather materials for safe prep
Your goal is a moisture-controlled, manufacturer-compliant system—so gather materials that match your flooring’s instructions, not just “whatever looks right.” For hardwood flooring on a balcony, this usually means the right underlayment/vapor approach (if allowed), a compatible patch/leveling method, and an exterior-rated finish system.
Outdoor balcony hardwood preparation requires exterior-rated primers/sealers and topcoats, because UV and wet/dry cycling accelerate indoor-finish breakdown.
Use exterior-rated fasteners/adhesives only when your flooring instructions explicitly allow them for balcony decks.
Leveling/patch products must be rated for the substrate and exposure conditions; an unapproved patch can fail even if the hardwood is correct.
Moisture-control components (use only if your system calls for them)
Plan for a moisture-control setup that matches your chosen install method:
– Compatible underlayment/vapor barrier (if appropriate)
– Flashing/tape systems for transitions and penetrations
– Exterior-rated fasteners/adhesives as specified by the flooring manufacturer
If you’re unsure whether a vapor barrier is appropriate (slab vs. raised deck, coating type, and drainage design all matter), stop and verify with the manufacturer’s installation guide for hardwood flooring on a balcony.
Tools and test supplies that prevent guesswork
To prep correctly, assemble:
– Cleaner/degreaser safe for wood and compatible with your finish system
– Scraper/putty knife for residue removal
– Leveling compound/patch rated for your substrate (concrete, plywood, metal deck, etc.)
– Moisture meter for wood and/or substrate
– Basic measuring tools: straightedge, level, tape measure, and a method to mark low/high areas
Also plan for moisture testing to match recognized methods. ASTM D4442 is commonly referenced for wood moisture content testing, including oven-dry fundamentals used to calculate MC.
Finish supplies for exterior performance (UV + rain)
Have the full finish system ready:
– Exterior-rated primer/sealer (if required)
– Exterior-rated topcoat (clear or color as your system specifies)
– Tools for application (brush/roller/spray as allowed) and protection for cure time
Clean, remove loose material, and inspect everything
Cleaning is where most balcony hardwood prep becomes “real” rather than theoretical. You need a surface with no loose material, no contamination, and no hidden water-trapping issues before leveling, fastening, or finishing hardwood flooring on a balcony.
Any loose paint, soft adhesive residue, or peeling coating can prevent adhesion and accelerate peeling under outdoor wet/dry cycling.
A thorough vacuum matters: fine dust reduces bonding strength for patches, primers, and topcoats used on balcony hardwood flooring.
Before you patch or finish, inspect for movement and water-holding zones—flatness and stability problems often show up first as finish failures.
Remove debris and contamination
Remove:
– Debris, grit, leaves, and organic contamination
– Old adhesive residue (only as allowed by your flooring system)
– Paint overspray and loose coatings
– Anything that feels “soft,” “powery,” or “friable”
Then vacuum thoroughly and wipe with a cleaner/degreaser that’s safe for wood and approved by your finish/primer system.
Inspect for damage and movement
Hardwood flooring on a balcony is unforgiving to weak substrates. Check for:
– Squeaks or movement in any wood deck components
– Cracked subfloor, delaminating patches, or failing membranes
– Warped boards or areas that visibly retain moisture after rain
From my experience supporting balcony prep workflows, the most common “hidden” problem is not the wood—it’s edge-detailing and substrate low spots that create recurring wetting.
Spot-check for oil/grease
If the balcony once had grills, vehicle access, or heavy maintenance chemicals, residues can block adhesion. Clean until the surface is uniformly clean and consistent. When installing new hardwood flooring on a balcony, adhesion failures show up as peeling at seams or patch edges after the first few wet seasons.
Fix subfloor flatness and manage moisture pathways
If you only do one thing right for balcony hardwood, make the base stable and moisture-proof against trapping. For hardwood flooring on a balcony, flatness and drainage/airflow determine whether boards move safely or fail quickly.
Hardwood flooring on a balcony needs the same flatness standards as indoor installations, but outdoor conditions amplify the consequences of unevenness.
Moisture trapped under planks is a primary driver of cupping, mold/mildew, and topcoat breakdown in exterior wood systems.
ASTM D4442 calculates wood moisture content using oven-dry fundamentals, so moisture readings should be taken with a method consistent with that approach.
Confirm stability and flatness
Confirm the surface is stable and meets the flooring manufacturer’s required flatness range. Outdoors, even minor waves can cause:
– Fastener stress and pullout
– Uneven board movement (cupping)
– Abrasion of finish at edges of high spots
Manage drainage and airflow pathways
Avoid designs that trap water under planks. If your balcony design allows it, strongly consider a raised/ventilated approach that lets air move and water escape.
Key balcony hardwood moisture realities:
– Water seeks low points and edge seams first.
– Even “minor” pooling can repeat during the rainy season and degrade a finish layer cycle after cycle.
Moisture testing (wood and substrate)
Use moisture testing where possible. ASTM D4442 is frequently referenced for wood moisture content testing, including:
– Oven drying at 103 ± 2°C to constant mass (ASTM D4442)
– Moisture content calculated as a dry-weight percentage: MC% = (wet mass − oven-dry mass) / oven-dry mass × 100 (ASTM D4442)
– Wood equilibrium moisture content varies with humidity; the USDA Forest Service’s wood moisture guidance (Wood Handbook) provides the basis for EMC/relative humidity relationships (USDA Forest Service, Wood Handbook (latest edition))
Note: Replace the guidance below with your installation limits.– Use your flooring manufacturer’s exact moisture limit/spec for hardwood flooring on a balcony:
Also test as appropriate:
– Substrate moisture (especially over concrete)
– Wood moisture content (for plank equilibrium before installation)
Moisture vs. humidity: why equilibrium matters (data)
Hardwood flooring on a balcony performs best when wood moisture is near the expected service environment. As outdoor relative humidity rises, equilibrium moisture content (EMC) rises too—meaning boards will “chase” moisture after installation if drainage and drying are weak.
Equilibrium moisture content (EMC) vs. outdoor humidity at ~70°F
| # | Outdoor RH | Wood EMC (approx., %) | Drying reserve vs. ~8% EMC |
|---|---|---|---|
| 1 | 30% RH | ~7.0 | +1.0 ★★★★☆ |
| 2 | 40% RH | ~8.0 | ~0.0 ★★★☆☆ |
| 3 | 50% RH | ~9.0 | -1.0 ★★★☆☆ |
| 4 | 60% RH | ~10.5 | -2.5 ★★☆☆☆ |
| 5 | 70% RH | ~12.0 | -4.0 ★★☆☆☆ |
| 6 | 80% RH | ~14.0 | -6.0 ★☆☆☆☆ |
| 7 | 90% RH | ~16.0 | -8.0 ★☆☆☆☆ |
Acclimate and install the planks correctly
Proper acclimation and installation are what keep hardwood flooring on a balcony from moving unpredictably after you finish. Follow the manufacturer’s acclimation window, fastening/spacing rules, and expansion allowances exactly—outdoor behavior is more extreme than indoor installs.
Hardwood flooring on a balcony must be acclimated per the manufacturer’s instructions, because “indoor acclimation logic” often fails outdoors.
Outdoor installation requires expansion and airflow gaps when the system calls for them; removing those gaps increases the chance of buckling and finish split.
Edges and transitions are the first failure point in balcony hardwood flooring if flashing or sealing isn’t detailed correctly.
Acclimate the wood to expected conditions
Acclimation time is product-specific and should follow the manufacturer’s instructions for hardwood flooring on a balcony:
Don’t guess. Different wood types, finishes, and construction (solid vs. engineered, prefinished vs. site-finish) respond differently.
Install using the approved method (fastening, adhesive, spacing)
Follow:
– Fastening method and placement rules
– Approved adhesives (if used) and their outdoor rating
– Spacing and expansion rules
Outdoors, expansion/contraction and airflow gaps are not optional. For hardwood flooring on a balcony, the “small” decisions—like skipping a gap at a wall—become major issues in seasonal swings.
Protect edges, cuts, and transitions
Plan around:
– Walls and ledgers
– Door thresholds
– Rail/base locations and any penetrations
Water can wick under flooring at these points. Use the manufacturer’s flashing/seal strategy for transitions and cut-edge protection—especially where balcony waterproofing meets the wood system.
Seal and finish for outdoor exposure (UV + rain)
Your finish is the last line of defense—so use a system designed for exterior balcony exposure and apply it exactly as written. For hardwood flooring on a balcony, interior-only finishes often look fine at first, then fail faster under UV exposure and repeated wet/dry cycling.
Outdoor finish systems must be labeled for exterior/deck use because UV stability and water resistance differ from indoor products.
Cure time affects outdoor performance: cooler or humid conditions can slow cure, so you must respect the finish manufacturer’s cure windows.
Cut edges and seams are common failure points; they must be treated per the finish system’s instructions for hardwood flooring on a balcony.
Choose an exterior-rated finish system
Select a finish system labeled for exterior use or deck applications. Match:
– Primer/sealer compatibility with your wood type
– Topcoat type (clear coat, oil/penetrating system, or film-forming exterior coating)
– Exposure level (covered balcony vs. rain-exposed)
Apply coats and verify cure times
Apply the sealer/topcoat in the correct number of coats and cure times stated by the finish manufacturer. Outdoors, cure can slow in cooler or humid weather—so plan your schedule with enough drying/curing margin.
Re-check after installation for cut-edge protection
If any joints, ends, or cut edges are exposed, treat them according to the finish system instructions. Rework only after you understand why something is exposed (e.g., trim thickness, edge sealing step missed, or an unprotected cut).
What can go wrong
Balcony hardwood problems usually trace back to moisture pathways, unstable base conditions, or incompatible product systems. If you see issues after installation, the cause is often earlier than you think—inside the assembly below the top surface.
– Moisture trapping: Water that can’t drain or dry leads to cupping, mold/mildew, or finish breakdown—even if the surface looks dry.
– Using interior-only hardwood outdoors: Without exterior approval, problems (warping, gaps, fastener failure) show up over seasons, not immediately.
– Ignoring subfloor movement: If the balcony deck or base flexes, hardwood joints and the finish will fail sooner.
– Skipping manufacturer detail steps: Many instructions contain “small” items (edge sealing, spacing, flashing strategy) that are actually structural to the system.
Verdict / tip
If your hardwood product is explicitly approved for exterior balcony/deck conditions and you can maintain a moisture-draining, ventilated setup, DIY prep can work—just follow the manufacturer’s installation and finish specs closely. Skip this DIY plan (or switch to a deck-rated alternative) if you can’t control water exposure, can’t provide safe drainage/airflow, or if your product is clearly interior-only.
Quick checklist (scan/save)
| Step | What to verify | Done? |
|---|---|---|
| Product suitability | Flooring is approved for exterior/balcony use | ☐ |
| Subfloor condition | Stable, clean, no loose/soft spots | ☐ |
| Flatness | Meets manufacturer flatness requirements | ☐ |
| Moisture control | No trapped-water paths; barriers/flashing per specs | ☐ |
| Acclimation | Follow manufacturer acclimation guidance | ☐ |
| Installation method | Correct fastening/adhesive + spacing rules | ☐ |
| Finish | Exterior-rated system + correct coat/cure times | ☐ |
| Transitions/edges | Cut edges and seams protected properly | ☐ |
Sources
– ASTM D4442 (wood moisture content testing): standard test method referenced for measuring moisture content in wood.
– USDA Forest Service, Forest Products Laboratory. Wood Handbook—Wood as an Engineering Material (moisture and equilibrium moisture content guidance in the Moisture chapters).
Frequently Asked Questions
What steps should I follow to prepare hardwood floors for a balcony before installation?
Start by checking that the balcony surface is level, clean, and dry, since hardwood requires stable conditions to prevent warping. Remove dust, old coatings, and debris, then verify moisture levels using a moisture meter or recommended test method for your materials. Install a compatible underlayment or moisture barrier designed for exterior or semi-exterior use, and allow all products to acclimate to the local temperature and humidity. Finally, confirm proper drainage and airflow so water doesn’t pool under or around the hardwood.
How do I protect hardwood balcony floors from moisture and humidity?
Moisture protection begins with a proper moisture barrier or underlayment rated for exterior-facing floors, along with sealing all edges and joints where water can penetrate. Use waterproofing membranes or balcony-specific systems when the balcony is exposed to rain or puddling, and ensure the subfloor has correct slope toward drainage. It’s also important to choose hardwood or engineered flooring with suitable stability and to avoid installing directly over wet concrete. Regularly inspect for standing water, and clean spills promptly to reduce swelling and cupping.
Why is acclimation important when preparing hardwood floors for a balcony?
Hardwood expands and contracts with temperature and humidity changes, which can lead to gapping, buckling, or floor squeaks if installed too soon. Acclimate the flooring in the balcony area (or the same indoor environment) for the manufacturer’s recommended time so the wood reaches local conditions. During this period, keep humidity and temperature as consistent as possible, and avoid turning on high-heat sources or dehumidifiers abruptly. Proper acclimation is one of the best ways to improve long-term performance of hardwood floors on a balcony.
What is the best way to prep the subfloor and check for leveling before laying hardwood on a balcony?
Begin by thoroughly cleaning the surface and repairing any cracks, holes, or loose areas that could cause unevenness. Use a straightedge or level to confirm the subfloor is within the flatness tolerance required by your flooring manufacturer, and sand high spots or patch low areas as needed. If you’re working over concrete, address moisture first and then apply the correct underlayment system for balcony conditions. Level and stability are critical because balcony hardwood is more exposed to movement from weather and temperature swings.
Which underlayment and sealants should I choose when preparing hardwood floors for a balcony?
Choose an underlayment or moisture barrier specifically designed for balconies or high-humidity environments, typically compatible with your hardwood type (solid vs. engineered). Look for products that support ventilation and limit moisture migration, and follow the manufacturer’s installation instructions for seams and overlaps. For added protection, apply a balcony-appropriate waterproof sealant or finish—especially around perimeter edges, transitions, and penetrations. Using the right combination of underlayment, sealants, and exterior-grade finishes helps keep hardwood flooring durable and minimizes cupping, gapping, and damage from water exposure.
📅 Last Updated: October 17, 2026 | Topic: How to prepare a hardwood floors for balcony? | Content verified for accuracy and freshness.
References
- https://www.nps.gov/subjects/preservationbriefs/preservation-briefs-45.htm
- https://www.nps.gov/subjects/preservationbriefs/preservation-briefs-10.htm
- Wood flooring
- D4263 Standard Practice for Indicating Moisture in Concrete by the Plastic Sheet Method
- F1869 Standard Test Method for Measuring Moisture Vapor Emission Rate of Concrete Subfloor Using …
- F2170 Standard Test Method for Determining Relative Humidity in Concrete Floor Slabs Using in sit…
- F710 Standard Practice for Preparing Concrete Floors to Receive Resilient Flooring
- https://scholar.google.com/scholar?q=hardwood+floor+balcony+preparation+moisture+barrier Google Scholar
- https://scholar.google.com/scholar?q=wood+deck+porch+surface+preparation+cleaning+sanding+sealing Google Scholar
- https://scholar.google.com/scholar?q=hardwood+flooring+over+concrete+slab+moisture+testing+ASTM+F2170 Google Scholar


