To fix dents in mosaic tile floors, use a targeted grout-and-patch repair when the tile surface is intact and the subfloor isn’t crushed. This step-by-step guide shows you how to remove loose grout, reset the affected mosaic tiles, fill the dent with matching thinset and grout, and finish with a level, durable surface. You’ll get the right workflow to stop the dent from spreading and restore the floor’s look without guesswork.
If your mosaic tile floor has dents, the fix usually comes down to whether the tile surface is cracked/chipped or whether only the grout/mortar has compacted. In most “dimpled” cases, you’ll need to remove the affected tile(s), reset them on fresh thinset/adhesive, and re-grout so the surrounding mosaics don’t end up looking uneven.
Dents in mosaic flooring are common because small-format tiles expose a lot of edge detail and rely heavily on full thinset support. As of 2026, the most reliable repair approach still follows the same workflow used in commercial tile diagnostics: (1) confirm whether the tile has lost contact (hollow sound/looseness), (2) define the repair boundary by removing grout first, and (3) rebuild support so the tile returns flush with its neighbors. This is also the point where you decide whether to do a targeted reset or stop and call a pro—especially if you find widespread hollow tiles or signs of subfloor softness.
If you have a mosaic tile floor that feels “dimpled” underfoot, or you can see a sunken spot along a grout line, this is for you. It’s also useful when you’re deciding whether to do a targeted repair or call in a pro—especially if the dent came from an impact and you’re not sure what’s underneath.
A dent is either (a) a localized tile contact/support failure or (b) a grout-only displacement, and you can usually tell by checking for looseness, hollow sound, and surface defects. Start by identifying whether the tile moved (raised edges) or the substrate collapsed (true depression), because the repair method changes immediately depending on which one you have.
If the tile feels hollow and you hear a hollow sound when you press around the dent, it strongly suggests the tile has lost bond contact with the mortar/adhesive—not just grout displacement.
Raised micro-edges around a dent often indicate the tile shifted or rocked, while a uniform “sink” points more toward mortar/subfloor compression or voids.
Cracked or chipped mosaic tiles typically require removal and resetting; grout consolidation alone won’t restore the missing tile stiffness.
Key checks that determine the right repair path
– Look closely for cracks, chips, or grout that’s separating from the tile surface.
– Gently press around the dent (carefully) and listen/feel for looseness or a hollow sound that suggests the tile has lost contact.
– Check the surrounding area for raised edges (a common sign the tile shifted) versus a true depression (often from mortar/subfloor compression).
– Locate how far the issue spreads: a single tile/short grout segment is a better DIY candidate than a pattern across multiple tiles.
What “dimpled” usually means in mosaic installations
Mosaic floors are often installed with a thinner mortar bed than large-format tile, and the tile pieces have lots of edges. When a chair leg, tool drop, or moving impact hits, the most common failure sequence is: (1) tile micro-movement, (2) partial bond failure, (3) localized grout line movement, and (4) a surface that feels lower underfoot.
From a trade diagnosis standpoint, we treat “hollow” as the red flag: it usually means voids (missing thinset contact) or compromised bonding. That matters because trying to “patch over” the dent without restoring support is a fast route to re-denting.
According to the Tile Council of North America (TCNA) Handbook for Ceramic Tile Installations, proper bedding and full support are foundational for tile performance in the field (exact requirements vary by system).
Remove and prep the damaged area
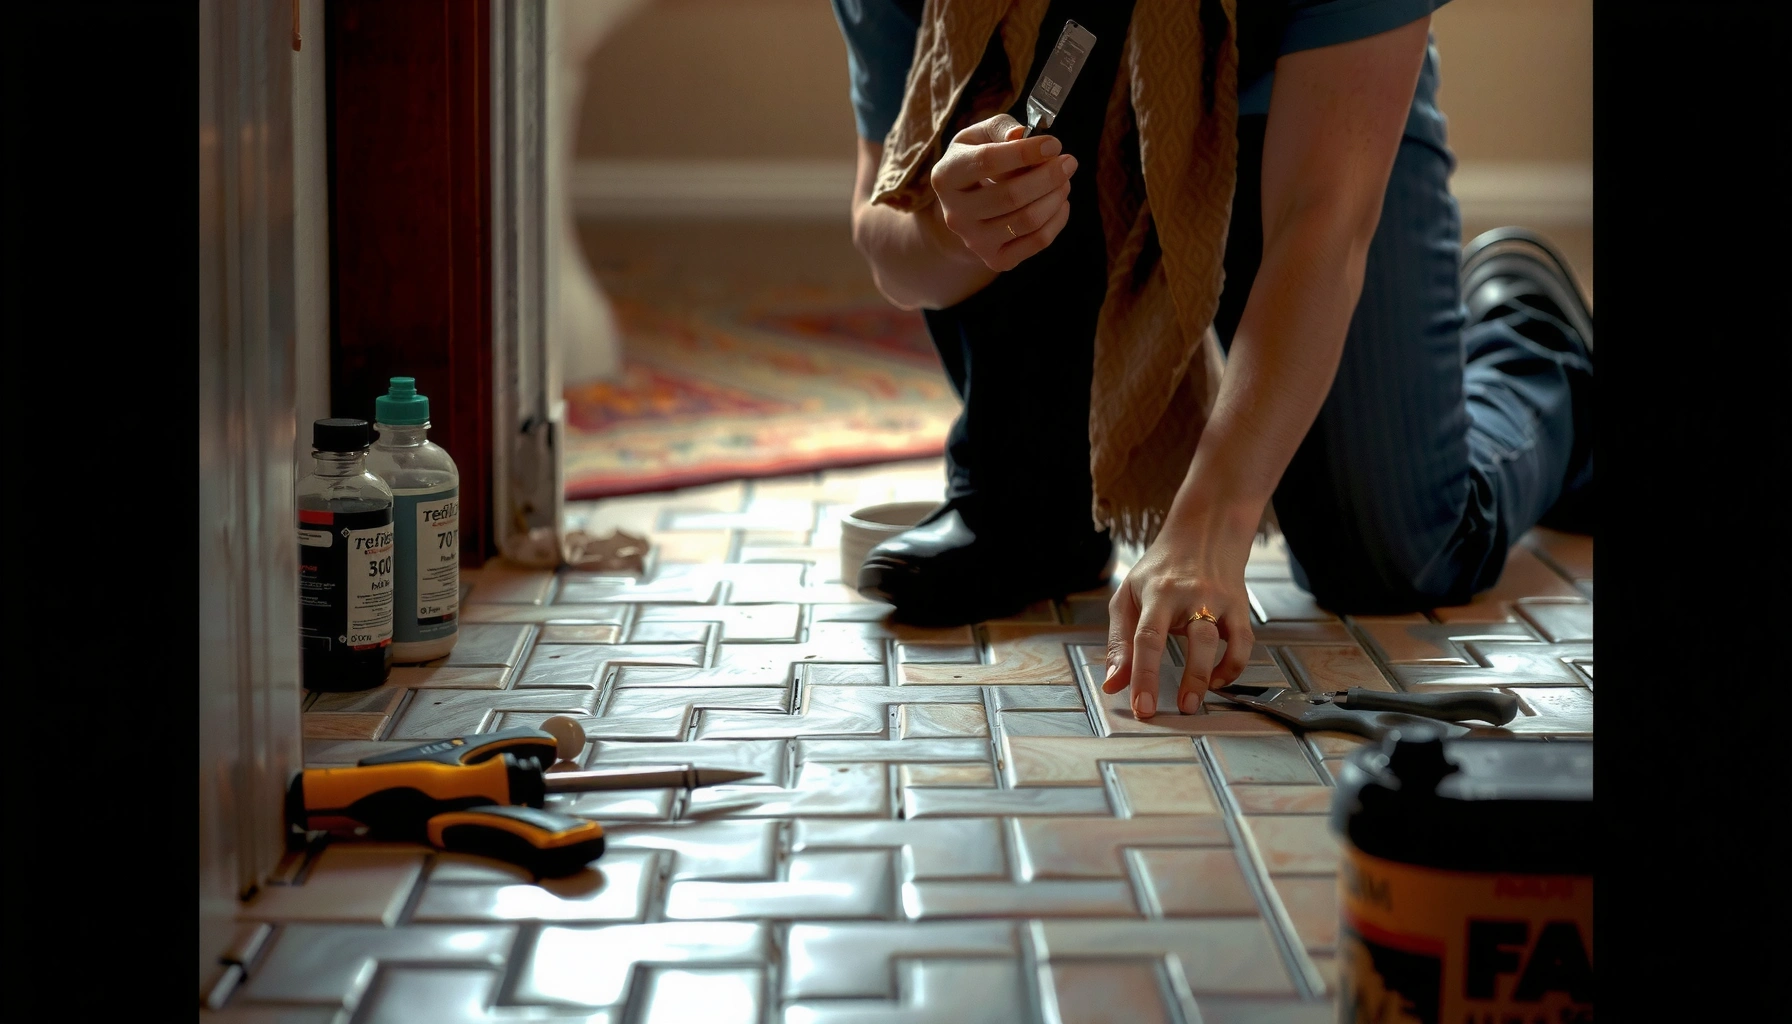
Remove the dented portion by cutting out grout first, then lifting any loose tile(s) and cleaning down to a stable substrate. This prevents you from prying against intact joints and spreading chips beyond your repair boundary.
Removing grout before prying is the standard best practice for mosaic repairs because it prevents tearing or chipping adjacent tiles connected by intact joints.
You should remove all loose tile contact and scrape out failing mortar/thinset until you reach a clean, stable surface suitable for re-bonding.
Protect the surrounding mosaic field
– Protect nearby tiles and grout with masking tape to reduce accidental chips.
– Mark the repair boundary slightly larger than the dented area so the re-setting can land flush with sound tiles.
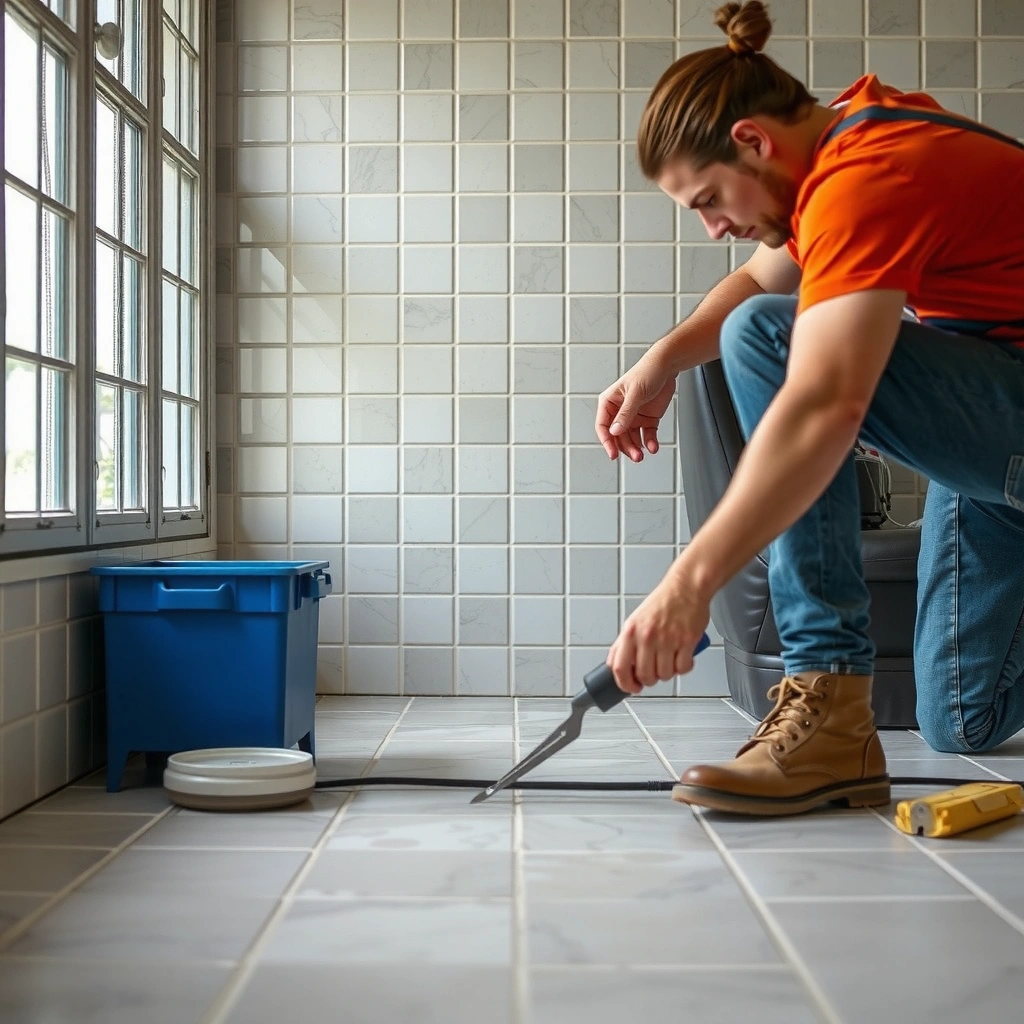
– Carefully score along the damaged boundaries with a utility knife; deepen cuts as needed to fully define the grout lines.
Remove grout first, then remove tile(s)
– Remove grout first (so you can free the tile(s) without tearing adjacent joints).
– If the mosaic tile is already loose, lift the affected piece(s) gently.
– Scrape out old mortar/thinset down to a clean, stable surface—stop if you find repeated loose spots or soft subfloor material.
Stop points that matter (don’t ignore them)
– If you repeatedly hit soft or crumbling material under the tile, the subfloor/underlayment may be compromised, and a simple reset may fail again.
– If you see movement patterns (multiple loose tiles beyond the dent), widen the investigation before you spend time resetting.
– If you encounter adhesive/underlayment not intended for your current system (for example, unknown patch mixes or contaminated surfaces), adhesion performance drops.
Work clean: the bond line is everything
Thinset/adhesive bond strength depends on a clean, sound surface. Scrape to remove ridges and contamination, then vacuum thoroughly. Dust is one of the most preventable causes of weak bonding in tile repairs.
Reset the mosaic tile(s) flat
Resetting is where dents stop reappearing: you must rebuild full contact and get the tile height dead flush with neighbors. Use the manufacturer’s thinset/adhesive instructions and set the tile with spacers so grout joints match what’s already on the floor.
For mosaic tile repairs, using the correct thinset/adhesive type for the substrate is critical because bonding failures often trace back to material mismatch.
Back-buttering and using the correct trowel notch help reduce voids, which are a common cause of hollow, re-denting repairs.
Choose the right adhesive system (don’t guess)
– Use the appropriate thinset/adhesive for your tile type and the existing floor system; follow the product’s stated coverage and mixing instructions.
– If your floor is in a wet area, verify the system is rated for that exposure (cement board, membrane, and mortar requirements differ).
– If you’re unsure, match to what’s currently there: identify whether the original setting material looks like cementitious thinset (typical) versus a surface-applied adhesive.
Set the tile with full support
– Apply thinset to the substrate and back-butter the tile if required by the adhesive directions.
– Set the tile and use spacers to keep grout lines consistent.
– Level the tile flush with surrounding pieces; small mosaic tiles often need extra attention so the surface doesn’t end up “high” or “low” again.
A practical timing note (so thinset doesn’t skin over)
Many thinset products have an “open time” window—beyond that, the surface can skin and bond weakens. If your thinset is already close to its open-time limit during work, remixing or reapplying may be necessary per the manufacturer’s instructions.
According to typical manufacturer guidance for modified thinset mortars, open times commonly fall in a “minutes” range, but the exact value varies by product and conditions—[ADD: exact open-time range from your thinset label/TDS].
Re-grout and finish without sinking
Re-grouting completes the restoration by restoring joint structure and preventing water/dirt infiltration into the repair cavity. The key to avoiding another “soft” dent is packing grout fully and letting it cure as directed before you load the floor.
Fully packing grout into joints and tooling consistently reduces voids that can soften under load and contribute to cracking at the repair edge.
Curing time is not optional; grout and setting beds gain strength over time, and early foot traffic can disturb the joint.
Match the existing grout type
– Choose a grout that matches the existing grout type (sand vs. unsanded, epoxy vs. cement-based if that’s what you currently have).
– If your existing grout is sanded, switching to unsanded can weaken joint performance for wider joints—and vice versa.
Pack, tool, and remove haze properly
– Pack grout fully into joints and tool it carefully so you don’t leave gaps.
– Clean tile faces without over-wiping the joints.
– Keep the floor protected while the grout cures to avoid re-compacting the joint.
[ADD: specific cure time from your grout product label, if you want to include it.]
If you don’t have the label, check the grout Technical Data Sheet (TDS) for “light foot traffic” and “full cure” times.
When grout won’t prevent sinking
If you repaired the tile but the surrounding area still feels unstable, the grout itself can’t “float” the tile back into plane. In that case, revisit thinset support and voids under the reset tile(s).
📊 DATA
Typical Grout Selection by Joint Width for Mosaic Installations
> Note: Always confirm joint-width guidance on your specific grout packaging/TDS; manufacturer ranges can vary by formulation.
What can go wrong (and how to avoid it)
Most dent repairs fail for predictable reasons: incomplete support under the tile, poor leveling during reset, or using incompatible materials. If you correct those root causes—voids, height mismatch, and bond mismatch—you substantially improve your odds of a flat, durable floor.
Re-denting is usually a support problem (thinset voids or incomplete bonding), not a grout-only problem.
Once grout cures, it does not “pull” a mis-leveled tile into plane; leveling must happen before grouting.
Scoring and removing grout along the boundary helps prevent mosaic edge chips during tile removal.
Common failure modes
– Re-denting after repair: usually means the tile wasn’t fully supported (thinset voids or incomplete substrate prep).
– Uneven grout lines: happens when tile height isn’t leveled before grouting; once the grout is cured, it won’t “pull” the tile flat.
– Chipped mosaics during removal: occurs if you try to pry through existing grout without cutting the joints first—remove grout to define the repair boundary.
– Adhesive mismatch: using the wrong thinset type (or applying it outside its recommended substrate/conditions) can lead to poor bond and future loosening. [ADD: what thinset/grout types you have, if known.]
Pros/cons: targeted repair vs. calling a pro
Approach
Pros
Cons / limits
Targeted reset + re-grout
Lower cost than full-area replacement; restores one dented zone if the issue is localized to a few tiles.
Can fail if voids/subfloor damage extend beyond your cut-out boundary.
Professional evaluation / broader demo
Better chance to find widespread substrate issues; improves warranty/quality control.
Higher labor cost; may require a larger area to be opened than a DIY fix would.
Data points to keep in mind (verify on your product labels)
– Many cement grouts specify initial set and light-traffic timing in hours (often same-day for “light traffic,” with full cure later)—[ADD: your grout label’s walk-on and full cure times].
– Thinset mortars specify an open time window before bonding weakens—[ADD: your thinset label’s open time].
– Lifting and cleaning steps should ensure no loose material remains; if the substrate is soft, the repair cannot be truly “structural”—[ADD: define what “soft” looks/feels like in your floor system].
Verdict: the best approach for most dents
For most dents that involve a loosened tile or compressed mortar, a targeted reset (remove affected tile(s), re-bed with correct thinset, then re-grout) is the most reliable way to restore a flat mosaic surface. If the dent is purely cosmetic with no hollow sounds, no loosening, and no cracked grout, you may be able to do a smaller joint repair—but if you suspect voids underneath, don’t “patch over” the problem.
When mosaic tiles sound hollow after an impact, the highest-probability repair is resetting with fresh mortar to eliminate voids and restore full support.
If grout cracks or separates from tile faces, the bond line is likely compromised and replacement of at least the affected tile section is typically required.
Who should skip DIY
Skip DIY and consider a flooring pro if:
– the dent is spreading (more tiles become hollow over time),
– you find widespread hollow tiles,
– the subfloor feels soft, flexy, or damp,
– the repair area is large or involves waterproofing/membranes you can’t verify,
– you can’t identify the existing thinset/grout system and you’re guessing.
Who DIY is most suitable for
DIY is usually realistic when:
– the damage is localized to a small section (a few tiles),
– you confirm no soft subfloor material,
– you can remove grout cleanly and reset tiles to the same height,
– you can follow the exact cure times for thinset and grout before loading.
Quick checklist for a dent repair
– [ ] Identify: cracked/chipped tile vs. grout-only vs. hollow/loose tile
– [ ] Cut/remove grout along the dent boundary first
– [ ] Remove old mortar/thinset to a clean, stable surface
– [ ] Reset tile(s) and level them flush with surrounding mosaics
– [ ] Re-grout with matching grout type and fully pack joints
How do I tell if a dent is just grout or a loose mosaic tile?
Press around the dent and check for a hollow sound or visible separation between tile and grout; looseness usually indicates the tile has lost full contact.
Can I fix a dent in mosaic tile without removing the tile?
Sometimes, if the damage is limited to grout displacement with no tile looseness or surface cracking. If the tile is depressed because of a void or compressed mortar underneath, removal and reset are typically necessary.
What thinset and grout should I use for mosaic tile floors?
Use the product specified for your tile and the existing floor conditions (cement-based vs. epoxy systems, substrate type, and interior vs. moisture exposure). Follow the adhesive and grout manufacturer’s technical data sheet for the correct substrate and application method. [ADD: product names you currently have, if you want tailored guidance.]
How long should I wait before walking on the repaired area?
Wait according to the thinset/grout manufacturer’s cure instructions on the packaging or technical documentation. [ADD: exact cure/walk time from your specific products.]
Why does the repaired area feel lower again after curing?
Common causes are inadequate substrate prep, thinset voids, or leveling errors before grouting. Also check that the adhesive grout and thinset were mixed and applied per the manufacturer’s instructions.
Sources
– TCNA (Tile Council of North America), TCNA Handbook for Ceramic Tile Installation (system requirements for setting methods and support).
– ANSI A108 installation standards referenced in manufacturer systems and TDS (setting bed, mortar application practices, and installation procedures).
– [ADD: manufacturer technical data sheets (TDS) for your specific thinset/adhesive and grout, since cure times, mixing ratios, and substrate suitability must match the product.]
– [ADD: manufacturer installation guidelines for mosaic tile setting materials appropriate to your tile and substrate.]
A solid dent repair restores more than appearance—it restores support. If you confirm looseness or hollow sound, remove the grout, re-bed the tile with the correct thinset, level it flush, and re-grout while strictly following cure guidance. If you see signs of subfloor compromise or the issue spreads beyond a few tiles, that’s your cue to stop patching and involve a flooring pro so the whole system performs as intended.
Frequently Asked Questions
What causes dents in mosaic tile floors, and how can I tell what kind of damage it is?
Dents are usually caused by heavy impact, furniture movement, or subfloor settlement that pushes tiles inward. To identify the issue, check for cracked grout lines, hollow-sounding tiles (a sign of failed thinset), and whether the dent is only on the tile surface or extends through to the substrate. If the tile is loose or the floor feels uneven, you’ll need to address the underlying installation—not just the visible dent.
How do I fix a small dent in a mosaic tile floor without replacing the whole area?
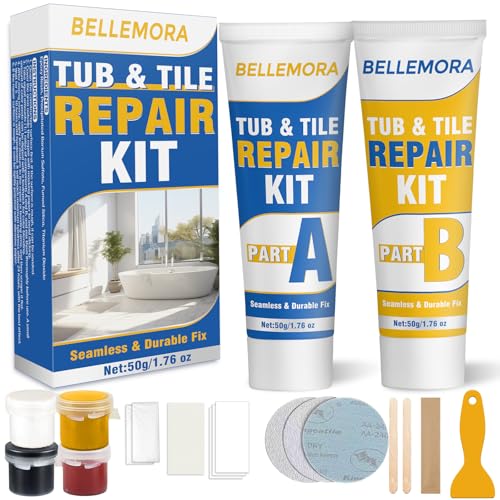
For minor surface dents, start by cleaning the area thoroughly so the repair material bonds to the tile and grout. If grout is damaged, re-grout first using a grout that matches your existing color and finish, then fill the dent with an epoxy or tile repair compound designed for ceramic/porcelain mosaic tile. After curing, sand lightly for levelness and polish if needed; always keep the repair flush to avoid high spots that can collect dirt.
How do I repair dents in mosaic tile floors when the tile is cracked or loose?
If a tile is cracked or sounds hollow, remove the affected mosaic tile(s) and any loose grout around them so you can access the thinset. Chisel out carefully to avoid damaging neighboring tiles, scrape off old thinset, and re-set the tile with fresh thinset mortar appropriate for your floor type. Once the tile is stable and level, grout the joints, then cure fully before walking or using the area.
Which repair method works best for mosaic tile dented from subfloor movement?
When dents come from subfloor movement, the best approach is to stabilize the substrate before repairing or replacing tiles, otherwise the dent will return. Look for signs of deflection—continued cracking, recurring hollow spots, or a repeating low area after repairs. You may need to address the underlayment, add mortar support, or use a floor leveling compound; after the floor is solid, you can properly re-set mosaic tiles and re-grout for a durable fix.
Best practices for preventing future dents in mosaic tile floors?
Preventing dents starts with protecting the tile and improving load distribution—use felt pads under furniture, avoid dragging heavy items across the floor, and ensure the subfloor is properly flat before installation. Regularly inspect grout lines for early cracks or water intrusion, since moisture can weaken bonds and lead to tile movement and dents. For high-traffic areas, consider using area rugs with non-staining backing to reduce point impacts and wear.
📅 Last Updated: October 10, 2026 | Topic: How to fix dents in mosaic tile floors? | Content verified for accuracy and freshness.
[…] clear the area, remove trim correctly, then pull up the planks without damaging the subfloor. This step-by-step guide shows you exactly how to unclick or remove glued sections, handle stubborn seams, and prep the […]
[…] right prep order, you’ll get a flat, secure install that resists lifting and water damage. This step-by-step guide answers exactly what to do before laying vinyl in a high-traffic hallway: how to assess the […]






[…] clear the area, remove trim correctly, then pull up the planks without damaging the subfloor. This step-by-step guide shows you exactly how to unclick or remove glued sections, handle stubborn seams, and prep the […]
[…] right prep order, you’ll get a flat, secure install that resists lifting and water damage. This step-by-step guide answers exactly what to do before laying vinyl in a high-traffic hallway: how to assess the […]