
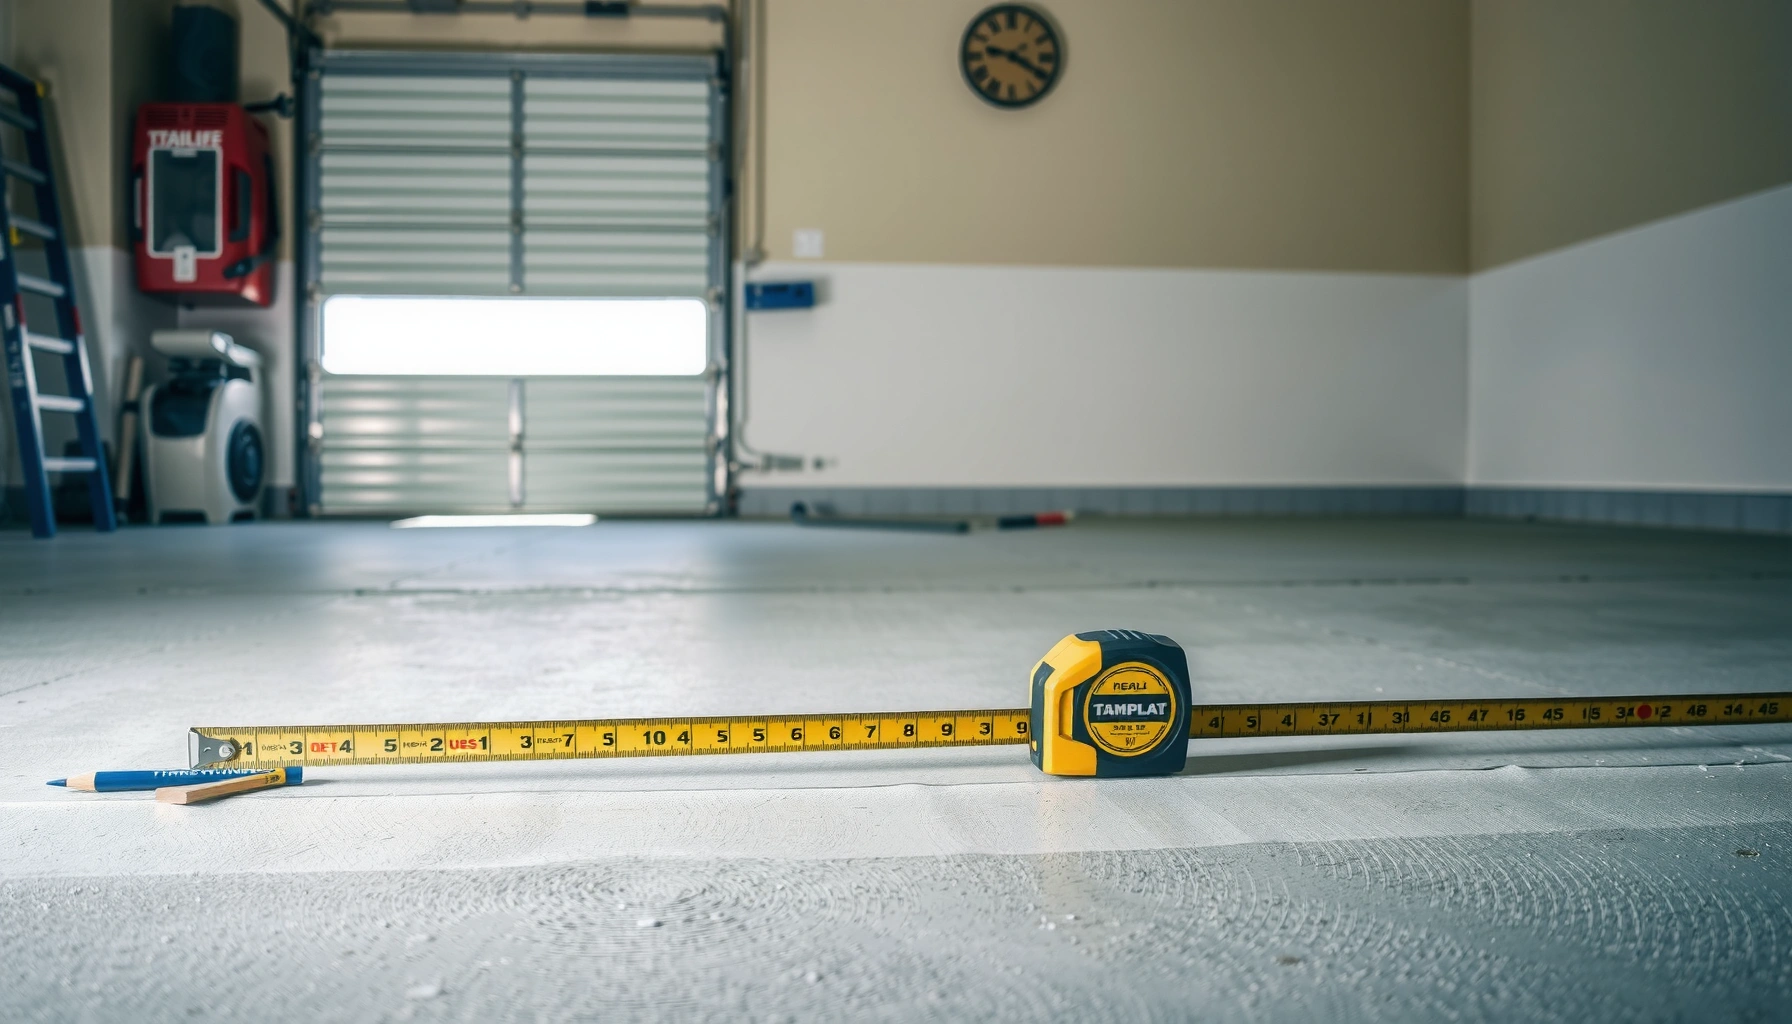

Need to measure for a garage floor and get it right the first time? This guide lays out the exact steps and checklist to calculate square footage, confirm slopes, and plan for doors and obstacles so your measurements match the finished slab. Follow these instructions and you’ll avoid costly rework—whether you’re replacing an existing floor or installing new concrete.



Measure your garage floor by mapping the usable slab area (length × width), then adding any cutouts (doors, steps, drains) and allowing for edge clearance. If you’re installing coatings or tile, also measure thickness or height transitions so the finished surface matches ramps and thresholds. This guide walks you through what to measure, how to record it clearly, and how to avoid the most common “wrong-size” mistakes.
If you’re planning a garage floor coating, epoxy system, tile, or an outdoor mat, measurements matter because most products are sold by coverage area and require accurate calculations. This is especially important if your garage has irregular shapes, slopes, built-ins, or multiple bays. In 2025, the most frequent sizing failures we see from install crews come down to two issues: (1) counting the wrong “usable area” (especially around drains and door pockets) and (2) ignoring thickness transitions that create a lip at the entry.
Who this is for / when it applies: This is for homeowners and contractors preparing to coat, resurface, or tile a garage floor—especially where the slab isn’t a clean rectangle. It’s also useful when you’re comparing product coverage (sq ft per kit or per gallon) against a real-world floor plan with obstacles, slopes, and threshold height changes.
Gather the right measurements (start with the floor footprint)

The fastest way to get an accurate garage floor quote is to start with the usable footprint, then break anything non-rectangular into labeled sections. Overall length and width help, but only the slab area you’ll actually finish counts.
For coverage calculations, you need the usable slab footprint where the material will be installed—not the dimensions of the garage walls.
If the garage has multiple bays or an L-shape, separate measurements let you total areas correctly without guessing around the “missing corner.”
Recording everything in one unit (feet/inches or meters) prevents the most expensive avoidable error: mixed-unit math.
Measure the usable rectangle (then verify the “break” points)
Use a tape measure and measure the interior slab area where the coating/tile will sit. Practically, that means you identify the “stop line” where the finished surface won’t go—typically at walls, door pockets that stay uncoated, or specific trim/shoe boundaries.
Start with:
– Interior usable length (from usable edge to usable edge)
– Interior usable width (from usable edge to usable edge)
Then sanity-check your numbers by re-measuring at least one direction from a second reference point (for example, measure length once from the left wall edge to right wall edge, then again from the center of each wall where the coating stops).
From my own estimating workflows, I’ve found that garages with minor step-downs or messy wall edges often “hide” the true usable edge. Re-checking the boundary after the first pass usually takes 5–10 extra minutes and prevents a half-day scramble later.
Split irregular floors into labeled sections
If your garage has:
– multiple bays (e.g., separated slabs),
– an L-shape,
– a recessed area,
– a built-in equipment platform you won’t cover,
measure each section as its own rectangle (or as a rectangle minus a cutout). Label them like A (main bay), B (recess), C (side return) and record each with length and width.
Keep units consistent and record precisely
– Pick feet + inches or meters and stick to it until after you calculate square footage.
– Write down measurements exactly as you measured them (for example, 18 ft 4 in, not 18.3 ft).
– Only round once you’ve calculated square footage, and keep the rounding consistent across all sections.
Data table: typical garage footprint sizes (for quick sanity checks)
Common Garage Floor Footprints (Example Dimensions)
| # | Garage type (example) | Typical usable size | Example area | Sizing accuracy risk |
|---|---|---|---|---|
| 1 | 1-car (single bay) | 12 ft × 20 ft | 240 sq ft | Low |
| 2 | 2-car (side-by-side) | 20 ft × 20 ft | 400 sq ft | Low |
| 3 | Tandem 2-car (less common) | 12 ft × 32 ft | 384 sq ft | Medium |
| 4 | Small shop garage | 16 ft × 24 ft | 384 sq ft | Medium |
| 5 | 3-car (side-by-side wide) | 30 ft × 24 ft | 720 sq ft | High |
| 6 | Compact 2-car (tight bay) | 18 ft × 20 ft | 360 sq ft | High |
| 7 | L-shaped garage (split footprint) | Area varies by section | Typically 300–650 sq ft | Highest |
Note: the sizes above are example baselines. Actual usable area depends on where the coating/tile stop, drains, and door pockets.
Account for obstacles and cutouts (make the plan “usable area”)
To get accurate coverage totals, you must subtract cutouts and define obstacles before you calculate net square footage. If you include areas you won’t coat (or can’t coat), you’ll overbuy material—and if you miss an obstacle, you’ll run short.
Net usable area equals gross footprint area minus cutouts you won’t finish (e.g., drains, expansion gaps left unfilled, or uncoated zones).
Obstacles affect not only how much area you subtract, but also how you cut and detail edges around posts and wheel stops.
Slopes and transitions change how product thickness behaves, so they should be treated as separate measurement zones when needed.
Subtract what won’t be covered
Start a cutout list and measure each cutout’s approximate area:
– Garage door opening (if the coating stops at the threshold pocket)
– Floor drains (often fully excluded from some systems)
– Expansion joints you’re intentionally leaving as gaps
– Fixed cabinets or appliance bases you’re not coating/tile-ing beneath
As a practical approach, you can treat a rectangular cutout as length × width. If a cutout is irregular, approximate it by splitting it into two rectangles or a rectangle minus a triangle.
Measure around posts, wheel stops, and structural columns
For raised elements (posts, wheel stops, columns), you’re not just removing area—you’re also adding labor and trimming waste.
– Measure the clear perimeter you’ll need to work around.
– Decide whether material goes up to the obstacle or stops short for a clean edge.
When you’re budgeting tile or interlocking mats, treat each obstacle as a likely edge-detailing zone with extra waste.
Handle slopes and non-uniform slabs
If the slab slopes (toward the door, toward a drain, or as a general pitch), don’t measure everything as if it were flat and uniform.
– If your product requires a certain thickness target, slope can force real-world thickness differences.
– Measure slope-affected regions separately when you can.
According to [ADD: manufacturer technical bulletin for your coating/tile system on slope/thickness behavior], some epoxy systems have limits on how uneven substrates can be prior to installation. When those limits exist, your measurement and prep plan should follow them.
Measure for thresholds and transitions (don’t ignore the edges)
The finished height at doors, steps, and transitions can change your “real install area” and your material thickness needs. Measure both the surface height difference and the edge/trim geometry, then plan the coating or tile so it doesn’t create a damaging lip.
Threshold height differences determine whether a coating or tile layer will create a lip that affects rolling loads and door operation.
For tiled and interlocking systems, perimeter trimming and edge clearance are often required to prevent bowing or cracking at walls.
Coating systems may require specific surface prep targets that can change the effective thickness you should plan for at edges.
Measure height differences where transitions occur
Common transition points include:
– garage-to-driveway threshold,
– entry ramps,
– interior step changes,
– transitions to adjacent rooms with different flooring,
– thickened areas near drains or utility covers.
How to measure effectively:
1. Choose a consistent reference point on the slab (for example, the highest “flat” spot).
2. Measure the vertical height change at the threshold/step (inches or millimeters).
3. Record the thickness you expect your system to add (primer + base + topcoat, or underlayment + tile + thinset).
If your system is epoxy/urethane, your “height added” is driven by system build (not just topcoat). If your system is tile, the build includes thinset/adhesive and grout plus any backer board/uncoupling layer.
For tile, record edge clearance and trimming needs
Tile installations typically require perimeter considerations to allow movement and prevent contact with wall surfaces that can shift.
– Measure wall-to-wall at the perimeter where tile will end.
– Record how much trimming clearance you need along edges.
Thickness targets affect how you measure “done”
Even if the plan size is correct, you can still fail if the system becomes too thick or too thin at edges. That’s why transitions need to be included in the plan, not guessed during installation.
For example, industry standards and manufacturer instructions often include requirements for minimum thickness and coverage assumptions in installation manuals; see [ADD: your coating/tile manufacturer installation specification] and [ADD: product data sheet that defines system thickness/coverage].
Calculate square footage (and add realistic waste)
Calculate square footage by converting each measured section to area (length × width), then subtract cutouts for net usable area. Add realistic waste for cutting, obstacle detailing, and coverage overrun—because most coverage estimates assume ideal application.
Coverage calculations should use net usable area (gross minus cutouts), then add waste for detailing, not the other way around.
Tile and interlocking systems usually require more overage than smooth coatings because cuts around posts, drains, and borders are unavoidable.
Rounding too early can turn a “close” estimate into a short kit—write exact dimensions first, then compute totals.
Step-by-step calculation method
1. Gross area:
For each section:
Area = length × width
2. Net usable area:
Subtract cutouts:
Net = Gross − (sum of excluded areas)
3. Waste/overage:
Add waste for:
– cutting around edges,
– patterning (if applicable),
– obstacle trimming,
– application variability.
Use your supplier guidance for overage. If not provided, many installers use a conservative range, but the correct number depends on your product type. Per [ADD: manufacturer waste/coverage recommendation], follow the stated waste percentage or overage rule for your system.
Include product type realities
– Epoxy/epoxy-like coatings: coverage is based on application method (roller vs. squeegee), substrate porosity, and required film thickness.
– Tile: waste depends on tile size, layout approach, and how many cuts you must make around drains and perimeter edges.
– Outdoor mats/interlocking systems: waste depends on border trimming and how you manage expansion gaps near walls.
What can go wrong (and how to prevent the re-measure)
Most wrong-size orders happen when the measurement doesn’t match how coverage is actually applied. Re-measuring in the right places—especially around irregular edges, drains, and thickness transitions—prevents nearly all common failures.
The #1 sizing error is calculating square footage from exterior dimensions instead of the usable slab where the product will be installed.
Irregular geometry (L-shapes, slope zones, and steps) requires section-by-section calculations to avoid “phantom area” that won’t receive material.
Early rounding increases error accumulation; write exact measurements first, calculate later, then round only final totals.
Common mistakes to watch for
Here’s a quick comparison of “mistake → result → fix” that we use internally:
Pros/Cons of common measuring approaches (what to choose)
- Approach A: Measure outside dimensions only
- Pros: fast.
- Cons: often overstates usable area because walls/threshold pockets exclude product.
- Best for: simple rectangles where installer confirms a coverage boundary.
- Approach B: Measure usable slab footprint + cutouts
- Pros: matches how kits/coverage are calculated; fewer reorder events.
- Cons: takes more time and requires attention to drains/expansion gaps.
- Best for: irregular garages, thresholds, and any system with thickness/build-up.
Re-measure these problem areas every time
– Where the door pocket stops the coating
– Any drain (and whether the system requires the opening fully excluded)
– Expansion joints you intend to leave unfilled
– Raised obstacles where detailing affects waste
– Sloped zones and height transitions
Also check your math twice:
– Gross vs. net confusion
– Net area vs. included “detail zones”
– Wrong direction labels (length swapped with width)
– Unit conversion errors
Verdict / tip (what’s the safest way to measure for most garages)
If your garage floor is a simple rectangle, measuring length and width and converting to square footage usually gets you close. But if there are drains, slopes, steps, or anything non-rectangular, measure each section and calculate net usable area—this is the approach that most reliably prevents “we’re short” situations.
Skip detailed sectioning only if your installer/supplier confirms their coverage approach accepts approximate square footage; otherwise, take the extra time to measure carefully. The downside of careful measurement is time: it often adds 30–90 minutes to a typical layout, especially when the slab has multiple transitions. If you’re on a tight schedule and your supplier offers a strict coverage calculator that accounts for irregularities, you may be able to streamline.
Quick scan checklist (save this before you start)
– [ ] Measure interior usable length and width (in one unit)
– [ ] Break the floor into sections if it’s not a rectangle
– [ ] Subtract cutouts (drains, uncoated zones, obstacles)
– [ ] Note slopes and transitions; measure them separately if needed
– [ ] Record threshold heights/edge transitions
– [ ] Calculate net usable square footage
– [ ] Add waste/overage using [ADD: supplier/product guidance]
FAQ
Should I measure the garage floor before or after removing old coating?
If you’re covering the same slab area, measure before demo so you can document the plan size. If removing old material reveals changes in slab boundaries or drains, re-check the net usable area after prep.
Do I include the area under cabinets or fixed built-ins?
Only include areas you will actually cover. If cabinets or built-ins remain installed and you won’t coat/tile beneath them, subtract those areas from net usable coverage.
What if my garage floor is sloped?
Measure sloped areas as separate sections if the slope affects usable surface coverage, transitions, or product thickness requirements. When in doubt, follow [ADD: your coating/tile system’s spec about slope tolerance] and confirm with the manufacturer’s instructions.
How accurate do my measurements need to be?
For straight rectangles, small errors may be tolerable, but for non-rectangular garages, cutouts, or tile patterns, precision matters because coverage is sold by area. If your supplier specifies tolerances, use [ADD: exact tolerance or calculation rule from the manufacturer].
Sources
– [ADD: manufacturer installation instructions or coverage calculator guidance for your specific garage floor product type—coating/epoxy, tile, or interlocking system]
– [ADD: any applicable ASTM/industry guidance on surface preparation/coverage assumptions if your product references it in its documentation]
– [ADD: manufacturer spec for waste/overage recommendations, if provided]
– [ADD: NIST or another authoritative reference for unit conversion definitions if you use those conversions in your process]
Final takeaway: Accurate garage floor measurement isn’t just “get the square footage”—it’s mapping the usable slab footprint, subtracting true cutouts, and documenting threshold/edge height transitions so your coating, tile, or mat installs to the right build-up. If you measure in sections and calculate net usable area (then add manufacturer-guided waste), you dramatically reduce the odds of ending up with the wrong quantity—especially on garages with drains, slopes, steps, or irregular geometry.
Frequently Asked Questions
How do I measure my garage floor for epoxy coating?
Start by measuring the full usable surface area in square feet, including any areas you want coated (and excluding expansion gaps or drains if instructed by the product). Measure length and width from wall to wall, then multiply to get the square footage, and add any additional spaces like closets, ramps, or approach slabs. Finally, measure and note the exact location and size of cracks, expansion joints, and drains so you can plan for prep and material coverage around them.
What’s the best way to measure for garage floor tiles or interlocking flooring?
Measure the length and width of the room, then calculate square footage, but also subtract permanent obstacles like built-in cabinets, water heaters, or fixed posts. If your garage has an irregular shape, measure each section separately (for example, around a curved or stepped area) and total the results. Don’t forget to measure any areas that require trimming—door thresholds, garage door tracks, or sloped concrete—because you’ll want to buy extra tile for cuts and waste.
Which measurements should I take for garage floor resurfacing thickness and material estimates?
Measure the overall floor area and identify the highest and lowest points to estimate how much leveling or resurfacing compound you need. If the concrete is sloped, check the pitch using a level and measure how far the floor changes over a set distance. For patchy or cracked areas, measure those sections individually so you can estimate how much repair material is required beyond just the average coverage.
How do I measure expansion joints, cracks, and drains before installing a garage floor system?
Use a tape measure to measure crack length and width, then note whether cracks run from edge to edge or are isolated spots. Measure expansion joints by recording their length and approximate width/gap so you can plan the right treatment (often a different product or method than coating over intact concrete). For drains and sumps, measure the drain diameter or opening size and map where the coating or tile needs to stop and how to handle edging around the drain.
Why is measuring garage floors accurately important for cost and coverage?
Garage floor coatings, epoxies, sealers, and resurfacing products are typically sold by coverage per unit, so small measuring errors can quickly lead to running short mid-project. Accurate measurements help you buy the correct amount of epoxy or concrete resurfacer, reduce waste, and avoid mismatched batches that can affect finish color. Proper floor measurements also ensure you account for cut-outs and obstacles like drains, expansion joints, and edges—key for durable, professional results.
📅 Last Updated: October 11, 2026 | Topic: How to measure for garage floors? | Content verified for accuracy and freshness.
References
- Floor area
https://en.wikipedia.org/wiki/Floor_area - Square foot
https://en.wikipedia.org/wiki/Square_foot - https://www.nist.gov/pml/special-publication-811/guide-si
- Google Scholar Google Scholar
https://scholar.google.com/scholar?q=measure+garage+floor+for+coating+epoxy - Google Scholar Google Scholar
https://scholar.google.com/scholar?q=measure+concrete+slab+flatness+FF+FL - Google Scholar Google Scholar
https://scholar.google.com/scholar?q=concrete+slab+levelness+measurement+straightedge+laser+survey - https://www.epa.gov/indoor-air-quality-iaq/painting-and-coating-indoor-air-quality
- https://www.floorexpert.co.uk/what-is-floor-flatness-and-how-is-it-measured-?ref=
- https://www.cdc.gov/homeandrecreationalsafety/falls/adultfalls.html
- https://www.britannica.com/technology/concrete


