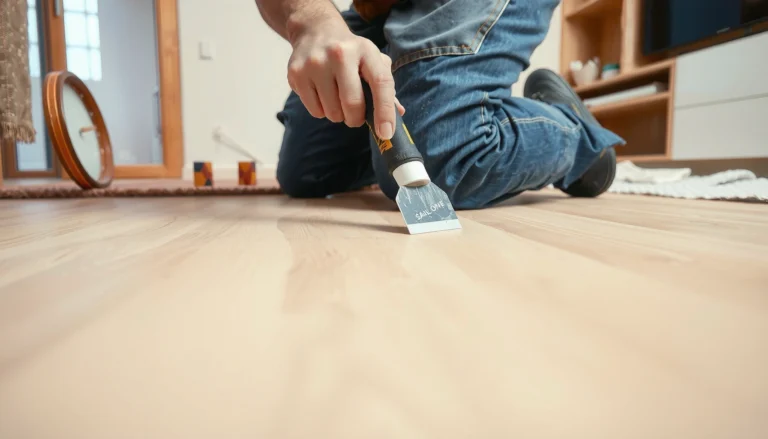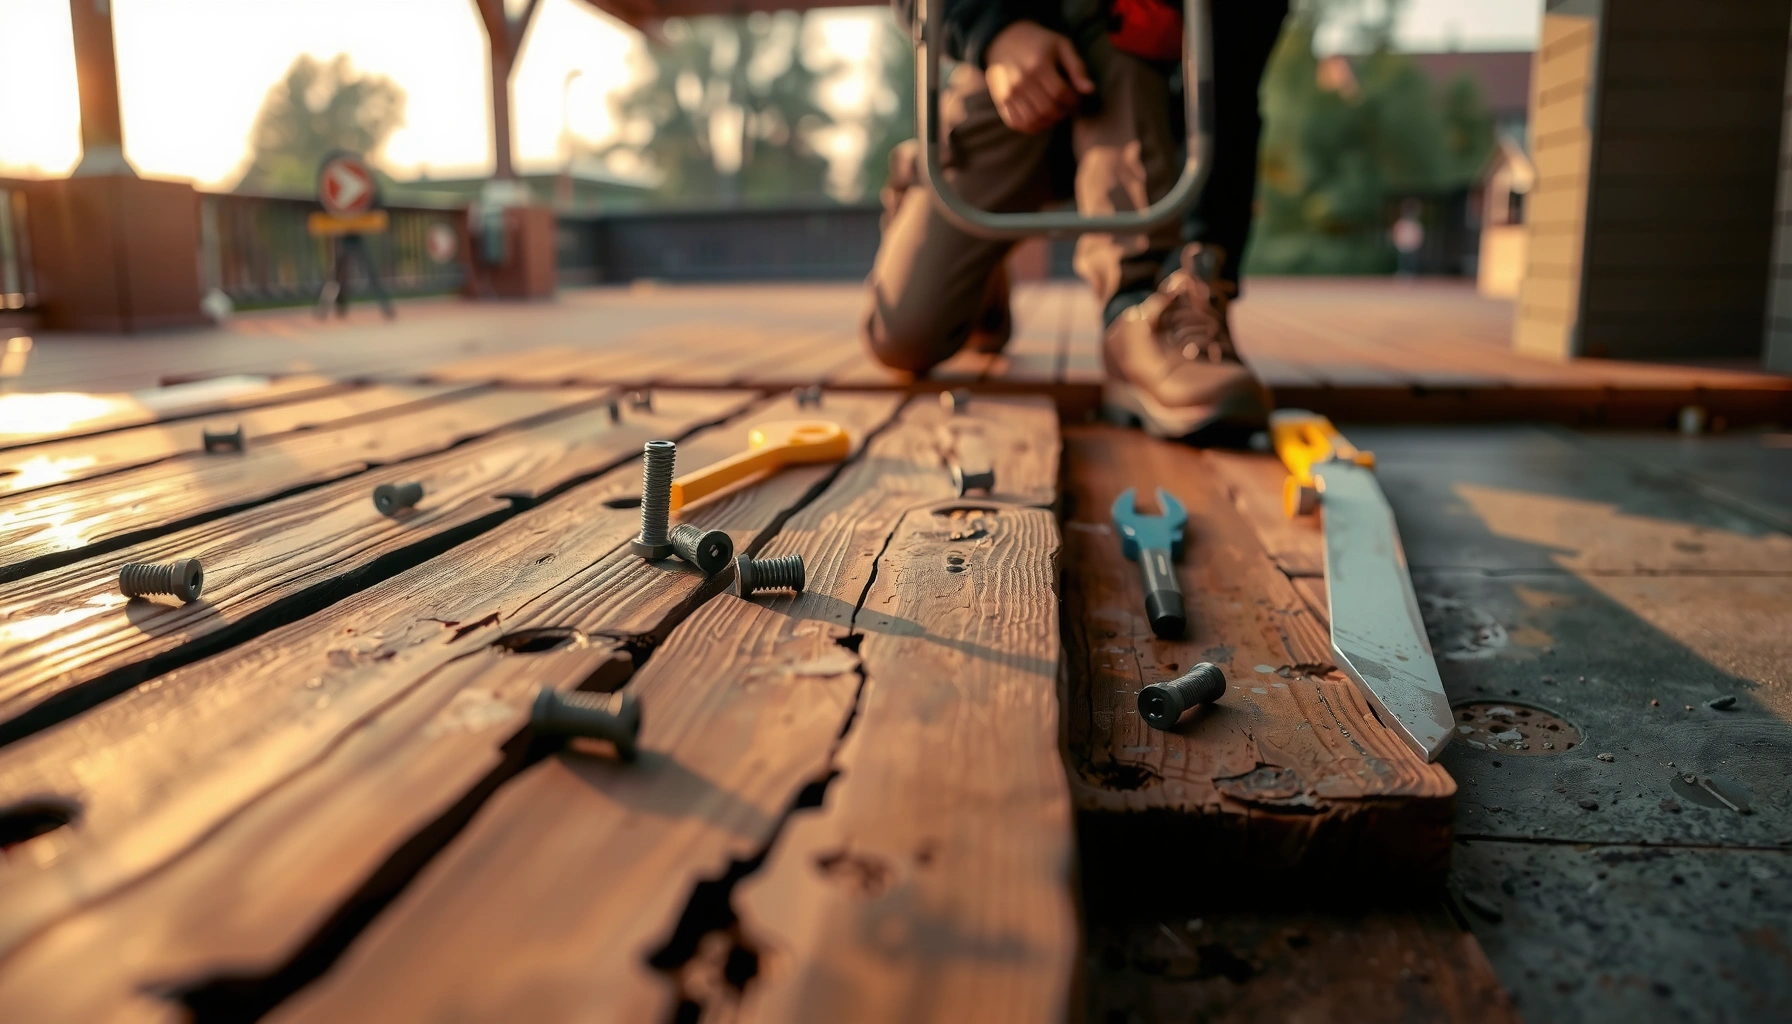

Buckling in outdoor floors is fixable, and the best way to do it is to follow a step-by-step repair process that stops the movement at the source, not just patches the surface. This guide walks you through diagnosing the cause, removing the damaged sections, re-leveling the base, and reinstalling outdoor flooring so it holds up against moisture and temperature swings. If your exterior boards or tiles are buckling, you’ll learn exactly what to do next and how to prevent it from coming back.




Buckling in outdoor floors is usually a moisture-and-support problem: trapped water weakens the subgrade or bedding, then seasonal temperature swings push the surface upward in waves. To fix it reliably, identify where the water is coming from, remove the buckled material to a stable base, then reinstall with the correct compaction, drainage plane, and expansion gaps so the system can move safely.
If your patio, deck, porch, or walkway is lifting, rippling, or forming waves, the steps below can help you plan a repair. This is most useful for common outdoor surfaces like wood deck boards, composite decking, pavers, and concrete/stone walkways—especially when the buckling is recent and localized.
Quick diagnosis: figure out what’s causing the buckling
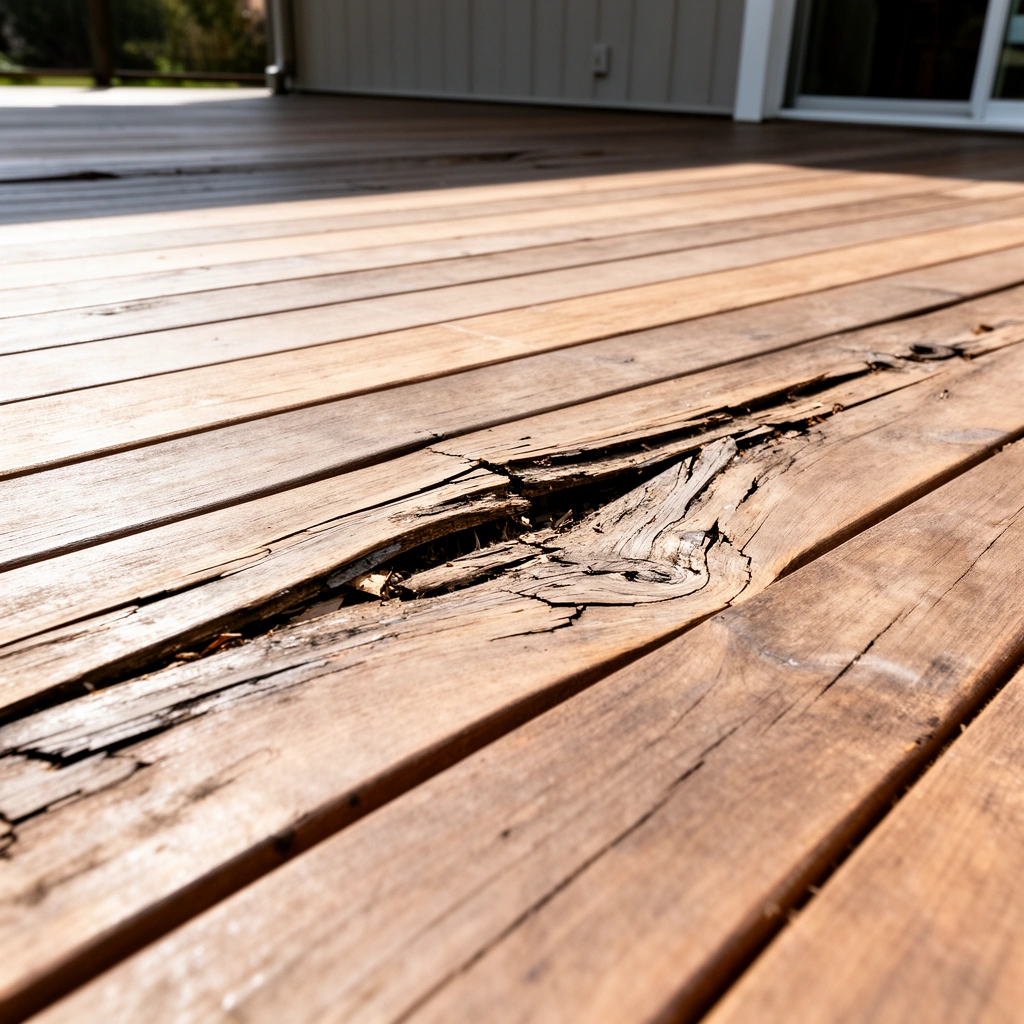
Buckling usually points to one of two mechanisms: (1) trapped moisture softening soil/bedding or (2) insufficient support and/or expansion space that forces movement to express itself at the surface. Your first job is to confirm which mechanism is dominant before you start tearing anything out.
Buckling that worsens after rain often indicates water is reaching the subbase or bedding and reducing bearing strength.
A localized “wave” pattern typically aligns with a specific drainage failure (pooling at one edge, leaking down a wall, or a blocked channel).
If fasteners show rust or the area smells moldy, the issue is likely moisture-driven rather than purely temperature-driven.
– Check where the movement is happening (single spot vs. an entire section) and whether it’s getting worse after rain.
– Look for moisture signs: dark spots, damp subgrade, standing water, moldy smell, or fastener rust.
– Confirm the likely mechanism: water expanding soil/subbase, insufficient drainage, or missing expansion/relief space.
What I check first (and why it matters)
When we assess buckling outdoors, the pattern tells a lot. A single “birdbath” spot often means one pathway delivers water to one sub-area. An entire run that heaves or ripples suggests a more systemic issue—like a deck ledger gap, widespread grading errors, or missing expansion spacing at a large perimeter.
Also, temperature effects are real, but they don’t create waves on their own if the base is stable and drained. When moisture is involved, even a perfectly built surface can buckle because the foundation loses stiffness.
Field reality: keep these observations consistent
To avoid guessing, observe and document:
– Timeline: does it appear after heavy rain, or after the first hot/dry days?
– Water path: where does water collect or track when you hose the area (low-flow garden hose is enough)?
– Boundary conditions: is the buckling next to a wall, post, doorway threshold, or downspout discharge?
Anchor facts you can use right away
According to the Interlocking Concrete Pavement Institute (ICPI), paver systems are designed around layered drainage and controlled compaction, not just surface aesthetics—when layers become saturated, they lose stiffness (source: ICPI installation guidance for interlocking concrete pavements).
According to ICPI, typical paver bedding is about 1 inch (25 mm), and that bedding only works as intended if it stays properly drained and compacted (source: ICPI technical specifications for paver base/bedding).
According to ICPI, base layers for pavers are commonly compacted to ~95% of the Modified Proctor density for many residential applications (source: ICPI technical specifications for paver base compaction targets).
> [ADD: If your system is not pavers—wood/composite or concrete/stone—add the relevant manufacturer or industry spec for that specific material, because the “right numbers” differ.]
Stop the water problem first (drainage and moisture control)
Stop the water at its source because even the best repair reinstall can fail if the subbase keeps getting saturated. In most outdoor buckling cases, the fix is less about “straightening” the surface and more about restoring a dry, stable bearing layer.
If runoff pools at the perimeter, water can infiltrate bedding and expand subgrade soils, leading to repeat buckling.
Blocked drainage pathways (weep holes, scuppers, or channels) commonly turn a marginal subbase into a moisture sponge.
Proper drainage relies on the full assembly—grading, underlayment (when used), and joints—so correcting only the surface often doesn’t last.
– Fix grading issues so water sheds away from the floor and doesn’t pool at the edges.
– Address drainage pathways (weep holes, scuppers, or clogged channels—if your system uses them).
– If needed, improve moisture barriers or underlayment based on your floor type and manufacturer guidance.
How to correct grading without “moving the problem”
You’re aiming for positive drainage away from the structure and away from the highest-risk infiltration points (edges, penetrations, ledger lines, and thresholds). A common failure mode is “flat by convenience”—a patio that looks level, but actually traps water due to subtle low spots.
Practical approach:
– Re-check slopes after rainfall using a long straightedge and a few tape-measure references.
– Clear vegetation and debris that intercepts runoff.
– Rebuild transitions at edges so water doesn’t creep underneath (for example, where a downspout discharges near the slab or where pavers sit too tight to a wall).
Material-specific moisture control notes
– Wood/composite decking: moisture management includes airflow under the deck, correct flashing/ledger detailing, and keeping water from being forced into joist bays.
– Pavers: moisture control is about maintaining a stable base and allowing water to drain through the correct layer structure (plus properly functioning joint filling).
– Concrete/stone walkways: moisture control often includes correcting surface slope, sealing is not a substitute for drainage, and preventing water from migrating to weak subbase zones.
> [ADD: add 1–2 sentences referencing your specific deck/paver/concrete product system and any required underlayment/moisture barrier details from the manufacturer.]
Remove the affected area and reset the base
Remove the buckled section to stable, well-supported material—patching over soft or wet substrate usually recreates the problem. The goal is to rebuild the entire load path: subbase → bedding/underlayment (as applicable) → surface, with the correct profile and thickness.
Buckling indicates the structural layers beneath the surface have moved; if you don’t remove compromised layers, the repaired area can heave again.
For pavers, replacing failed bedding sand is necessary because saturated bedding loses the friction and leveling function it provides.
For decking, checking joists for rot or deflection matters because board replacement alone can hide a failing substructure.
– For pavers/stone: lift the buckled section carefully, remove compromised bedding sand, and replace with properly compacted base + bedding per specs.
– For concrete/overlays: if cracking or heaving is present, you may need localized demolition and proper subbase rework—light patching alone often fails.
– For wood/composite decking: remove impacted boards, check joists for rot/deflection, then rebuild the framing/substructure if support is out of spec.
Pavers/stone: what “resetting the base” looks like
1. Mark the affected zone so you remove beyond the visible ripple (movement often extends slightly past the “wave” edge).
2. Lift pavers carefully and keep pieces usable if they’re not broken.
3. Remove bedding sand down to the sound layer (wet, loose, or contaminated sand needs replacement).
4. Rebuild and compact the base to your system’s target thickness and density.
5. Reinstall bedding to the specified thickness (commonly ~1 inch / 25 mm in many paver systems) and set pavers using a consistent technique to avoid bridging.
Concrete/overlays: when localized demolition is the only stable fix
If you see heaving and cracking, you often have subbase loss of support or moisture pressure. In those cases:
– Milling/surface leveling without subbase correction typically just postpones failure.
– Cutting out to stable layers (and rebuilding the preparation correctly) is usually the durable approach.
> [ADD: include concrete/stone industry guidance relevant to your system—e.g., how to evaluate subbase failure and what re-compaction/bed requirements apply—based on the product spec you’re using.]
Wood/composite decking: boards are rarely the whole story
For buckling in decking, boards can flex, but waves usually imply:
– joist spacing or framing layout that doesn’t match the decking system,
– localized rot/deflection in joists,
– missing blocking/support at perimeter areas,
– water exposure that reduces stiffness in the structural members.
Steps:
– Remove boards in the buckled region.
– Inspect joists for soft spots, fastening corrosion, and deflection.
– Replace components that are out of tolerance (don’t “shim” over rot).
– Rebuild framing/substructure where support is out of spec.
Reinstall correctly: expansion gaps, fasteners, and support
Reinstalling correctly is what prevents buckling from returning after you’ve corrected drainage. The surface must be able to move as intended (via expansion gaps) while the underlying layers remain stable and fully supported.
Outdoor materials expand and contract seasonally, so correct spacing and perimeter gaps are a key part of the “structural” design, not cosmetic detailing.
Using the wrong fastening method or hardware can trap moisture or restrict movement, both of which can contribute to uplift and rippling.
Continuous, well-supported layers reduce localized settlement—one of the most common causes of repeated buckling.
– Use the correct expansion/spacing rules for your material (board gap, perimeter gap, and any required spacing from walls/structures).
– Ensure full, continuous support where required (solid bearing for sublayers; correct joist spacing for decking).
– Use the specified fastening approach (materials rated for exterior use, corrosion-resistant hardware, and the right fastening method for composite vs. wood).
Comparison: common outdoor floor systems and what typically goes wrong
Below is a practical contrast of the major outdoor systems you mentioned and the most likely “reinstall errors” that trigger recurrence.
| System | What “correct reinstall” emphasizes | Most common reinstall mistake | Typical outcome |
|---|---|---|---|
| Wood decking | Stable joists + correct board spacing + exterior-rated fasteners | Replacing boards but leaving out-of-spec or water-damaged framing | Local uplift returns in the same zone |
| Composite decking | System-specific clip/screw method + required gaps for thermal movement | Installing too tight near edges/rails or using incompatible fasteners | Buckling or wave formation with seasonal cycling |
| Pavers/stone | Compacted base + correct bedding thickness + joint function | Under-compacted base or reusing failed bedding sand | Settlement waves appear after the next wet season |
| Concrete/stone walkway | Proper subbase preparation and controlled joints (where applicable) | Patch-only repairs over unstable support | Cracks or heave return quickly |
Field-driven tip: don’t “force” alignment
During reinstall, keep components in their intended movement relationship:
– Don’t drive boards flush to walls/railings.
– Don’t fill joints with rigid materials where movement is expected (system-specific allowances matter).
– Don’t rely on shims unless the system explicitly allows them—buckling tends to reappear where the system can’t distribute load.
How well each repair strategy matches the likely cause
Different buckling causes demand different fixes. Use this guide to align your repair approach with what your inspection suggests—especially for outdoor pavers, decks, and concrete/stone walkways.
Repair Match-Up for Outdoor Floor Buckling (Most Common Causes)
| # | Likely cause | Best repair approach | Expected durability | Fit rating |
|---|---|---|---|---|
| 1 | Pooling water at an edge | Regrade + restore drainage plane + rebuild base | High (when water source fixed) | ★★★★★ |
| 2 | Saturated bedding/subbase | Remove compromised layers + replace with compacted base | High (if layers replaced) | ★★★★★ |
| 3 | Missing or incorrect expansion gaps | Adjust perimeter/board spacing + reinstall correctly | Medium–High | ★★★★☆ |
| 4 | Weak/uneven subbase compaction | Recompact base to spec + reset bedding | High (when rebuilt correctly) | ★★★★☆ |
| 5 | Localized joist deflection/rot (deck) | Replace framing members + reinstall boards with gaps | High (structural fix) | ★★★★★ |
| 6 | Heaved concrete with unstable support | Localized demolition + subbase rework + rebuild | Medium–High | ★★★★☆ |
| 7 | Cosmetic patch over wet base | Surface leveling only (not recommended) | Low (recurs) | ★★☆☆☆ |
What can go wrong (and why buckling comes back)
Buckling comes back when the repair addresses symptoms (the surface) without correcting the engineering cause (water, support, or movement allowances). The most expensive failures usually happen after “quick fixes” that leave the unstable layer in place.
Trapped moisture under outdoor flooring can reactivate after repair if grading and drainage aren’t corrected.
Skipping compaction increases settlement; waves often reappear first in the same low-stiffness spots.
Too-tight expansion gaps can force seasonal movement upward, turning normal expansion into uplift and buckling.
– Trapped moisture under the surface: even a “perfect” reinstall can buckle again if drainage/grading isn’t corrected.
– Skipping compaction: weak or uneven subbase leads to settlement and new waves.
– Wrong expansion gaps: too-tight installation prevents movement and increases seasonal buckling risk.
– Using patch materials that don’t match the cause: cosmetic fixes won’t stabilize heaving or failed subgrade.
Pros/cons of the most common “repair shortcuts”
| Option | Pros | Cons / risk |
|---|---|---|
| Patch-level only (no subbase reset) | Fast and low disruption | High recurrence risk if moisture or unstable support remains |
| Partial lift only over the visible wave | Lower demo cost | Movement often extends; you may miss the true soft zone |
| Full reset with drainage correction | Most durable when diagnosis is right | More labor, potential for uncovering broader subgrade issues |
Verdict / practical tip: when you can DIY vs. when to call it in
DIY is reasonable when buckling is localized, you can verify the subbase/joists are sound, and you can correct drainage and reinstall to the correct spacings. If the buckling follows structural signs (major joist damage, widespread heaving, significant cracking in concrete, or recurring failure after repairs), consider hiring a pro—because the real fix may be subgrade/grading rework that isn’t worth guessing.
Localized buckling can often be repaired by rebuilding the relevant layers, but persistent recurrence typically signals an underlying drainage or support defect.
When substructure members (like deck joists) show rot or excessive deflection, surface repair alone is not structurally sufficient.
Concrete/stone heaving often involves subbase support loss; patching without subbase correction frequently fails in the next wet/cold cycle.
[ADD: cite your specific floor type here—e.g., deck vs. pavers vs. concrete—to match the next steps to your situation.]
Quick checklist (save this before you start)
– [ ] Identify the pattern: single area or widespread movement?
– [ ] Check after rain: is water pooling or leaking at edges?
– [ ] Confirm drainage/grading is correct and clears away from the floor
– [ ] Remove buckled material and inspect the subbase/joists
– [ ] Replace compromised bedding/subbase (don’t just patch over it)
– [ ] Reinstall with correct expansion gaps and exterior-rated hardware
– [ ] Test the water path again before finishing
FAQ
Can I fix buckling without removing the damaged section?
Sometimes—if the buckling is minor, localized, and the substructure is still solid. But in most real cases, buckling signals a support or moisture issue that needs inspection, and that usually means partial removal.
Why does outdoor flooring buckle mostly in wet weather?
Moisture can expand soil and bedding materials, reduce bearing strength, and create pressure under the surface. Temperature swings then amplify movement as the system expands and contracts.
What’s the most common reason buckling returns after a repair?
Not correcting the underlying moisture/drainage issue or failing to rebuild the base/support to the correct compacted profile and spacing requirements.
Do expansion gaps matter for outdoor flooring?
Yes. Outdoor materials move with heat and cold. Without proper perimeter/board spacing (per your material and system instructions), movement can force sections upward or sideways and cause buckling.
Sources
– ICPI (Interlocking Concrete Pavement Institute) technical specifications and installation guidance for paver base, bedding, compaction, and drainage.
– [ADD: manufacturer installation instructions for your specific material—e.g., your deck board or composite decking system’s spacing/fastener guidance]
– [ADD: manufacturer guidance for paver installation (base/bedding/compaction and drainage requirements) if you’re using pavers]
– [ADD: relevant technical guidance for exterior concrete/stone placement and subbase/drainage principles, based on your product/system]
When you fix buckling in outdoor floors, the durable outcome comes from treating buckling as a system problem—water + support + movement—not a surface-only issue. Diagnose the moisture and support mechanism, rebuild the layers to spec, and reinstall with correct compaction and expansion gaps so the floor can handle wet weather and seasonal cycling without returning to waves.
Frequently Asked Questions
What causes buckling in outdoor floors?
Outdoor floor buckling is often caused by moisture intrusion, freeze-thaw cycles, or poor drainage that lets water soak underneath the surface. Expanding and contracting materials due to temperature swings can also lift or warp decking, pavers, or concrete slabs if they weren’t installed with proper movement gaps. In many cases, buckling is worsened by inadequate subbase compaction or an uneven base that fails to support the floor uniformly.
How do I fix buckling in outdoor deck boards safely?
Start by identifying the source of moisture—check for leaks, clogged gutters, or standing water near the deck and improve drainage if needed. Remove the buckled deck boards, inspect joists and framing for rot or corrosion, and replace any damaged components before reinstalling. Use manufacturer-approved fasteners, leave correct spacing for expansion, and ensure joists are level and properly supported to prevent repeating the problem.
How can I repair a buckled concrete patio or slab?
If the slab is buckling due to voids or poor base support, simple patching usually won’t last—lifting or sinking often returns. Break out affected sections, remove the compromised subbase, and rebuild with properly compacted aggregate and correct grading to direct water away from the slab. For minor surface issues, stabilization grouts or crack repair may help, but significant heaving often requires structural repair to truly fix buckling in outdoor floors.
Which underlayment or base is best to prevent buckling in outdoor flooring?
The best prevention is a well-compacted, properly drained base that matches your flooring type—such as a compacted gravel subbase for deck footings, or a correctly engineered base for pavers. Use geotextile fabric where appropriate to reduce soil migration, and ensure there are fall/drainage measures so water doesn’t collect under the surface. Proper expansion gaps, edge restraints, and adherence to manufacturer specs are also key to minimizing future buckling caused by thermal movement.
Why does outdoor floor buckling keep coming back after repairs?
Recurrence usually means the underlying issue—water management, inadequate support, or missing expansion room—wasn’t fully corrected. If you repaired only the surface, but the joists, subbase, or slab support still hold moisture or shift, buckling will reappear with seasonal temperature changes. To fix outdoor flooring buckling permanently, address drainage, correct base levels/compaction, seal or waterproof critical areas, and allow for proper expansion and contraction.
📅 Last Updated: October 12, 2026 | Topic: How to fix buckling in outdoor floors? | Content verified for accuracy and freshness.
References
- Google Scholar Google Scholar
https://scholar.google.com/scholar?q=how+to+fix+buckling+outdoor+floor+boards+deck+repair - Google Scholar Google Scholar
https://scholar.google.com/scholar?q=wood+deck+board+cupping+warping+buckling+repair - Google Scholar Google Scholar
https://scholar.google.com/scholar?q=outdoor+floor+heaving+frost+heave+fix+foundation+repair - https://en.wikipedia.org/wiki/Deck_(building
- https://en.wikipedia.org/wiki/Wood_warpage
- Water content
https://en.wikipedia.org/wiki/Moisture_content - Frost heaving
https://en.wikipedia.org/wiki/Frost_heaving - https://en.wikipedia.org/wiki/Dimensional_change_of_wood
- Expansion joint
https://en.wikipedia.org/wiki/Expansion_joint - Structural integrity and failure
https://en.wikipedia.org/wiki/Structural_failure