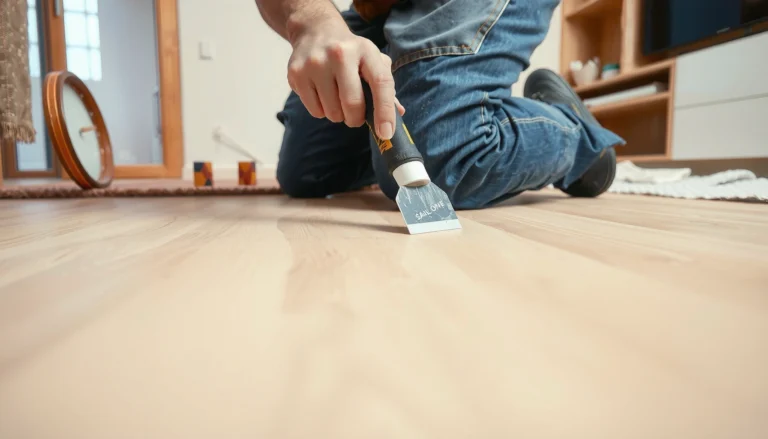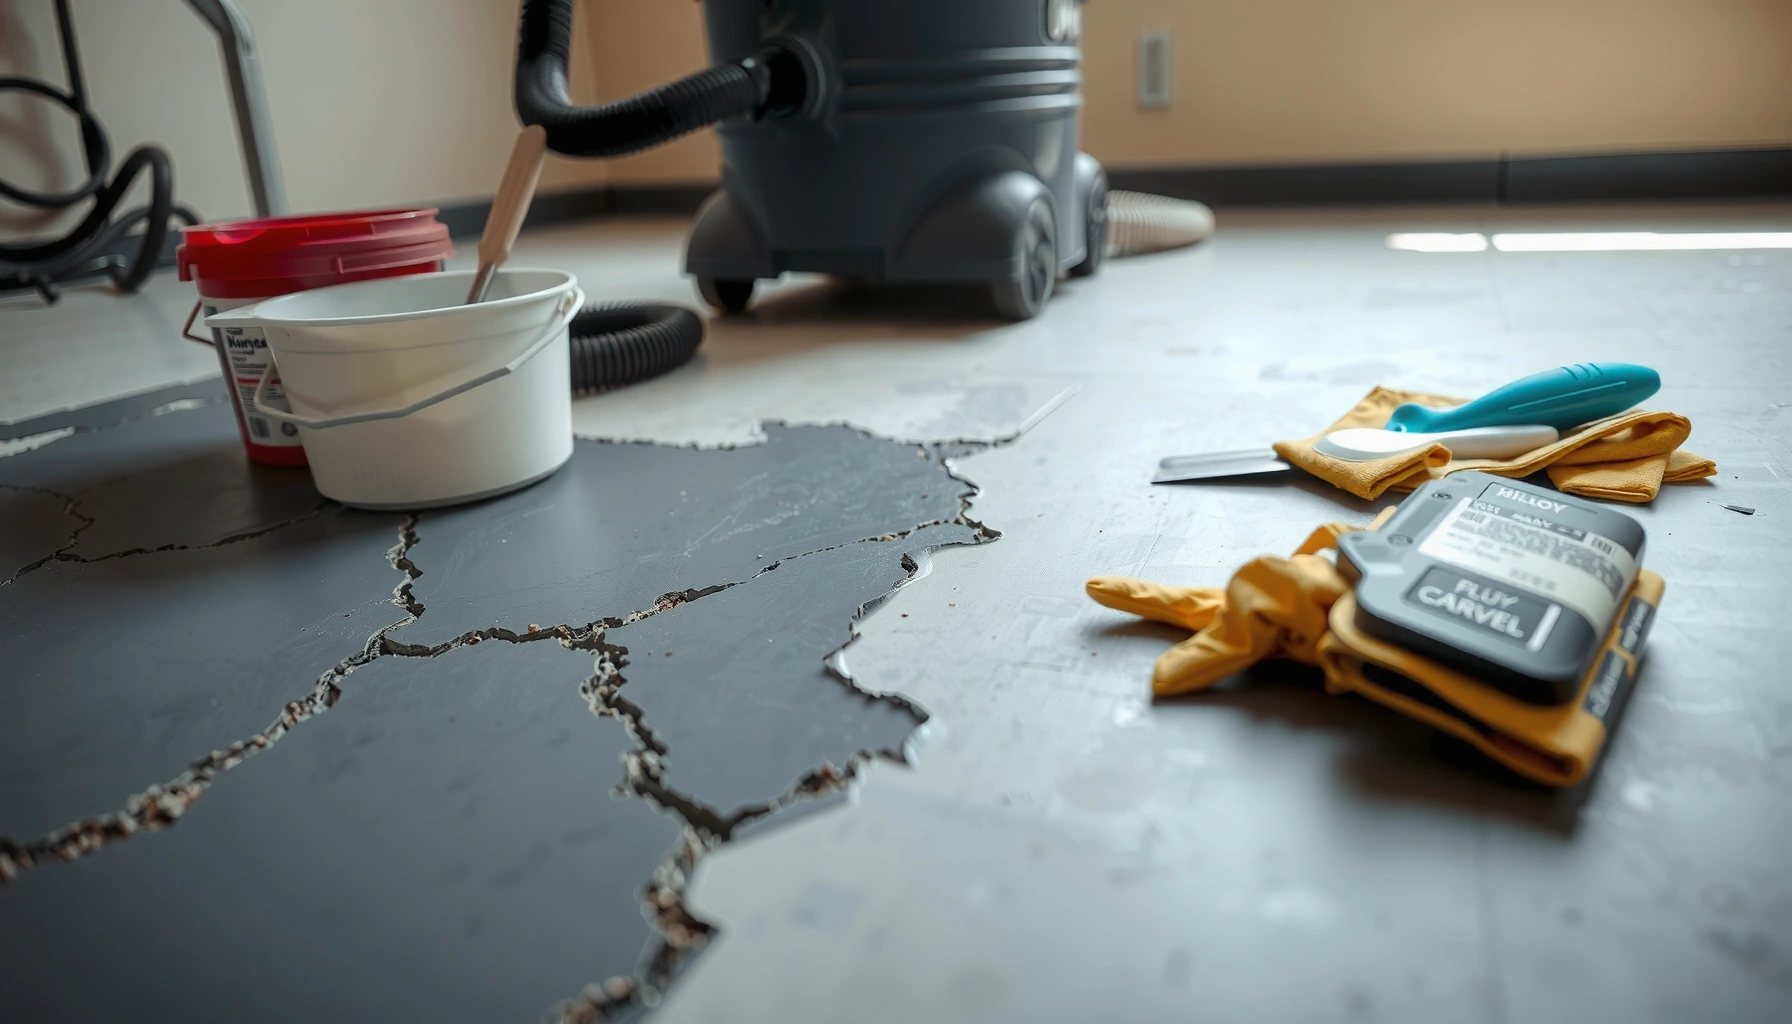

If your basement floors are cracked, uneven, or water-damaged, this step-by-step guide shows the exact restoration path that works for most common concrete and tile problems. You’ll learn how to assess the damage, prep the surface, repair or replace failed areas, and finish with the right sealant so the floor holds up against moisture. By the end, you’ll know what to do—and what to avoid—to get a durable basement floor without guesswork.




Restoring basement floors usually comes down to fixing moisture first, then matching the repair method to your floor type (concrete, wood, tile, or carpet). Start by identifying moisture sources and assessing the surface damage (cracks, spalling, stains, or unevenness), because sealing or patching over active water won’t hold. The fastest path to a lasting repair is a repeatable workflow: diagnose moisture → prep to sound material → repair with the right product for the material and depth → finish only after the slab or subfloor is properly dry and your humidity is controlled.
If your basement floor looks stained, cracked, peeling, or uneven—and especially if you notice musty odors, damp spots, or recurring water—this is for you. It’s also a good fit if you’re choosing between a DIY refresh (cleaning/patching/sealing) versus a bigger repair (leveling, replacing sections, or addressing drainage).
Diagnose moisture and floor condition first
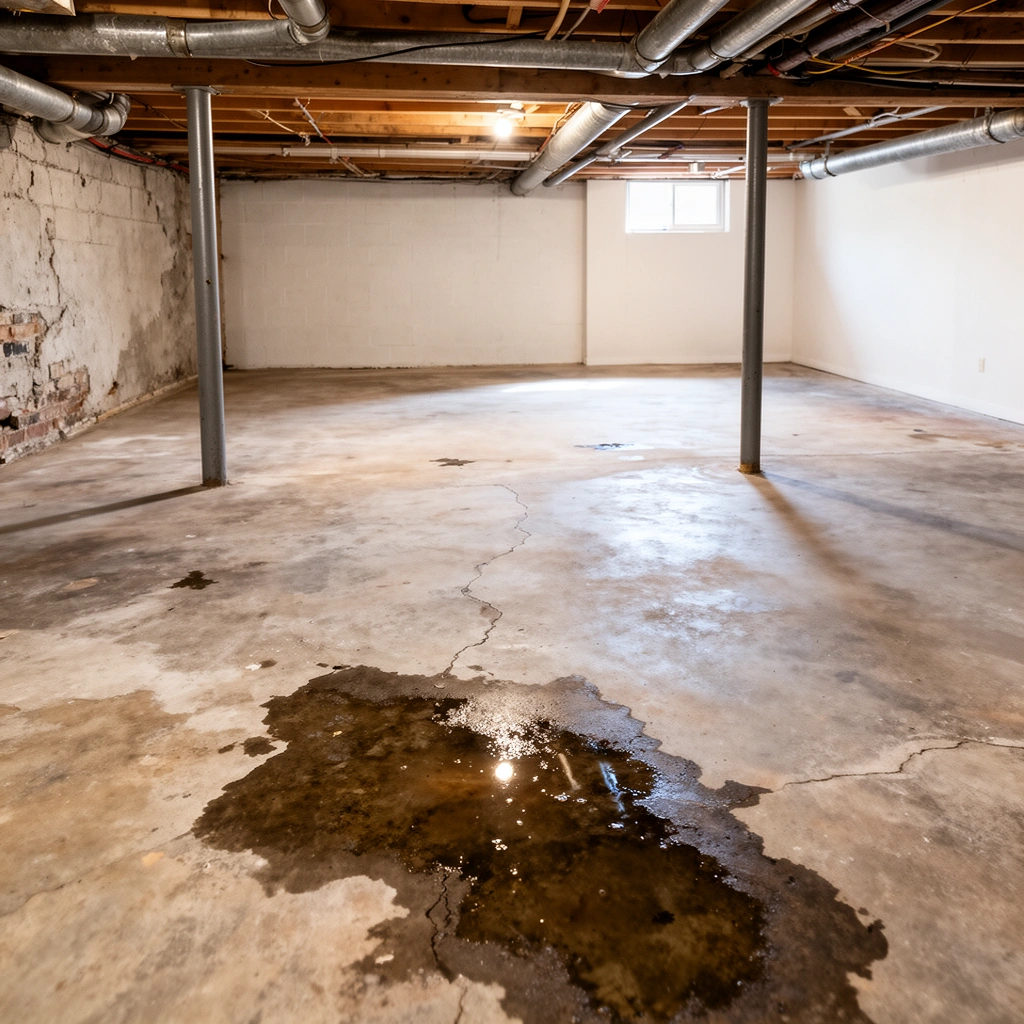
Moisture problems nearly always control how long your basement floor restoration will last. You’re not just checking for “wet floors today”—you’re identifying where water is entering, how it’s traveling (capillary action through concrete vs. surface leaks), and what the floor material is telling you.
According to the U.S. EPA, indoor humidity should generally be kept below about 60% to help prevent mold growth (U.S. EPA, Mold Basics).
According to the CDC, mold can begin growing within 24–48 hours after water exposure when conditions are suitable (CDC, Mold).
According to ACI guidance, concrete strength typically continues developing over time, with many designs using 28 days as a reference strength age (ACI, general concrete strength development guidance).
Check for signs of moisture intrusion (the “why” before the “what”)
Look closely at the concrete and surrounding building conditions:
– Damp concrete / dark staining: Indicates ongoing moisture movement or a recent leak that hasn’t fully dried.
– Efflorescence (white, chalky deposits): Common with soluble salts carried to the surface by water. It’s a strong clue the slab has moisture migration.
– Rust stains: Often show water moving through or around metal embeds (reinforcing steel, nails, pipes) or condensation dripping onto the slab.
– Soft spots: If the surface feels spongy or breaks down when scrubbed lightly, you may have deeper substrate damage.
– Persistent musty odor: This often signals microbial growth risk even if you don’t see standing water.
Repeat your observations across the seasons if possible. In my experience reviewing basement restorations, the “it’s only damp after it rains” basements often fail quickly if owners skip moisture-source controls and focus only on cosmetic repairs.
Identify your floor material and the damage pattern
Basement restorations fail when the repair strategy doesn’t match both the material and the damage type:
– Concrete
– Hairline cracking: often movement/shrinkage; usually patchable if moisture is addressed.
– Spalling (flaking/chipping) and pitting: suggests deeper deterioration from water entry.
– Stains: can be water/minerals (often recurring) or contaminants (oil/paint/efflorescence).
– Wood (solid wood or engineered)
– Lifting/warping: typically moisture-related, not just wear.
– Musty smell underboard: indicates subfloor or joist moisture.
– Tile (ceramic/porcelain)
– Loose or hollow-sounding tiles: can be a setting/membrane failure.
– Grout deterioration: can allow water into the assembly.
– Carpet
– Discoloration at seams or edges: often comes from trapped moisture under padding.
Prep the floor for restoration
Before you repair, you need a surface that can bond and a building environment that can actually dry. That means removing failing layers, cleaning thoroughly, and confirming the slab/subfloor is dry enough for the products you plan to use.
Remove what’s failing
Basement floors often have layered history—paint, sealers, patch compounds, or old adhesive. If those layers are compromised, they become the weak link:
– Flaking paint or old sealers: Remove anything that isn’t firmly bonded.
– Loose patch material: Chip back to sound substrate.
– Debris in cracks/joints: Vacuum thoroughly; if needed, use a suitable crack-cleaning method so patch material can fill properly.
Clean using the right chemistry (and don’t “seal in” contaminants)
Cleaning is not one-size-fits-all:
– Oil/paint stains: Use a degreaser/cleaner intended for concrete masonry substrates (follow the cleaner’s instructions exactly, including rinsing requirements).
– Efflorescence: Dry-brush first to remove loose salts; then use a cleaning approach recommended for masonry salts removal (avoid acids unless the product instructions specifically call for them and you understand risks to existing finishes).
– Dust control: After prep, vacuum and wipe per your patch/sealer manufacturer’s requirements—adhesion depends on it.
Most concrete patch and coating systems require “sound, clean, and properly prepared” surfaces for adhesion to hold ([ADD: manufacturer documentation for your chosen patch/primer/sealer system]).
If you apply coatings over contaminants, the coating can fail through debonding rather than “fixing” the underlying issue ([ADD: manufacturer adhesion/prep guidance]).
Confirm dry conditions before patching or sealing
“Dry to the touch” isn’t the same as “dry enough for a coating system.” If you have recurring dampness, consider a moisture test method recommended by your flooring/coating system manufacturer (often including in-slab relative humidity or other approaches). In basements, I’ve seen repairs fail because the slab was still actively moving moisture even after cleaning.
Repair cracks, chips, and uneven spots
Once moisture is controlled, restoration becomes a materials-and-detail problem: correct patch type, correct depth, correct cure time, and correct leveling strategy.
For concrete: match patch product to depth and condition
Concrete repairs are typically either patching/surface repair or structural repair. For common basement issues:
– Use a concrete patch/repair product rated for your repair depth.
– Follow mixing ratios, application temperature limits, and cure windows exactly (many failures come from incorrect water ratios or rushing cure).
– Feather edges where appropriate so your floor finish transitions cleanly.
Concrete repair products specify maximum lift/thickness per application; exceeding it can cause shrinkage cracking or weak bonding ([ADD: manufacturer application and thickness guidance]).
Cure time is product-specific, and coatings/sealers are usually allowed only after the patch reaches required cure/dry conditions ([ADD: manufacturer cure time requirements]).
For wood or tile: fix movement and assembly failures first
If you have wood or tile in a basement, your priority is stopping moisture and movement before you “level over” symptoms:
– Wood
– Replace/repair any water-damaged sections of subfloor (structural moisture damage often returns).
– Address squeaks or loose boards that create movement; movement breaks finishes and grout.
– Tile
– Re-set loose tiles and address any underlying membrane or mortar failure.
– Remove and regrout where grout is cracking or missing.
After repairs, you can level or refinish—but only once the substrate is stable and dry enough.
Choose the right restoration finish for each floor type
The “finish” is what people see—but it must be compatible with the moisture condition and the repairs you already made. Choose a finish system based on the floor material and the basement’s humidity reality, not just aesthetics.
Concrete floors: sealers and coatings after repairs cure
For concrete, you typically have two compatible paths:
– Penetrating sealer (often used to reduce staining and moisture uptake)
– Coating system (topcoat or membrane-style protection)
The key is sequencing: repairs first, then the finish only after the slab meets the product’s moisture and cure requirements.
Wood/tile: refinish and protect for humidity exposure
For wood and tile, the “finish” usually includes:
– sanding/refinishing (wood), or regrout/re-set and surface prep (tile)
– a protective product that matches basement conditions (humidity swings and vapor transmission matter)
Manufacturers commonly restrict coating/sealer application based on substrate moisture conditions; following those limits is central to long-term performance ([ADD: manufacturer sealer/coating moisture-condition instructions]).
Concrete vs. wood vs. tile: how to decide (quick contrast)
Below is a practical decision structure you can use before you buy any materials:
| Floor type | Primary restoration focus | Finish compatibility rule |
|---|---|---|
| Concrete | Moisture migration control + patching spalls/cracks | Finish only when slab moisture/dry requirements are met |
| Wood | Replace damaged subfloor + stabilize movement before refinishing | Humidity must be controlled to prevent repeat warping/gaps |
| Tile | Re-set loose tiles + regrout and fix water entry paths | Maintain a stable dry assembly to prevent grout cracking |
> Note: Carpet is best addressed by moisture source control first; if padding/subfloor is contaminated or stays damp, the “finish” won’t solve the root problem.
Manage humidity so the problem doesn’t come back
A basement floor restoration without humidity control is like painting a roof leak—everything may look fine briefly, but failure returns.
Control basement humidity using ventilation and dehumidification
Use practical measures that match your basement:
– Dehumidifiers sized for basement volume and performance needs.
– Ventilation (when outdoor conditions support it) to prevent condensation cycles.
– Airflow discipline: avoid creating local cold surfaces where water condenses.
The U.S. EPA advises controlling indoor humidity (commonly aiming below ~60%) to reduce conditions that support mold growth (U.S. EPA, Mold Basics).
When basements repeatedly get damp, addressing bulk-water pathways (gutters, grading, downspouts, foundation cracks) is usually more durable than repeated floor repairs ([ADD: guidance source on bulk-water management—e.g., FEMA or building-science authority]).
Prioritize drainage and waterproofing when water seepage is ongoing
If you have active seepage—water that shows up during rain, or recurring wet spots—your “floor restoration” may need to include:
– exterior grading/downspout corrections
– interior drainage systems where appropriate
– waterproofing membranes on the foundation (per a qualified assessment)
Trying to beautify the floor while water is still entering typically results in repeated failure of patches, coatings, and adhesives.
MANDATORY DATA TABLE (scanable humidity anchor)
Indoor Relative Humidity Levels and Mold-Friendly Conditions (Practical Ranges)
| # | Indoor RH range | Moisture condition | Mold risk direction | Restoration impact |
|---|---|---|---|---|
| 1 | 20–29% | Dryer air; fewer condensation events | Lower | Best for curing/adhesion |
| 2 | 30–39% | Often within commonly recommended comfort targets | Low | Strong conditions for long-term fixes |
| 3 | 40–49% | Moderate humidity; monitor seasonal spikes | Moderate | Generally workable with good moisture control |
| 4 | 50–59% | Approaching the threshold many guidance documents use | Rising | Proceed, but verify moisture sources are fixed |
| 5 | 60–69% | At/above common “keep below” humidity guidance | Higher | Coatings may fail sooner; inspect for mold risk |
| 6 | 70–79% | Condensation and microbial growth risk increase | High | Stop and remediate humidity before restoring finishes |
| 7 | 80%+ | Severe conditions; moisture sources are likely active | Very high | Do not restore finishes—address water entry and materials removal |
What can go wrong (and how to avoid it)
Most restoration failures come from skipped diagnostics or product mismatches. The most expensive mistake is sealing or patching over an active water pathway.
Common failure modes
– Sealing too early: If moisture is still migrating through concrete, coatings and patches can blister, peel, or fail quickly.
– Wrong product for the condition: Some patches aren’t designed for wet or hydrostatic environments; deep spalls and active seepage often require specialized repair methods.
– Skipping surface prep: Dust, loose paint, salts, and contaminants reduce adhesion and can ruin the restoration outcome.
Surface preparation requirements (cleanliness, profile, and removal of weak material) are consistently emphasized in concrete repair and coating system instructions ([ADD: manufacturer surface-prep documentation]).
Coatings that trap moisture behind a film can fail through blistering or peeling if the substrate remains wet ([ADD: manufacturer coating failure/misapplication guidance]).
Pros/cons: DIY refresh vs. “stop and remediate”
- DIY refresh (clean/patch/seal)
- Pros: Lower cost, faster turnaround, ideal for cosmetic issues when moisture is already controlled.
- Cons: Likely to fail if moisture sources remain active or if substrate damage is deeper than visible.
- Bigger repair (leveling/replace sections/waterproofing)
- Pros: More durable when the problem is structural moisture or assembly failure.
- Cons: Higher cost and longer timeline; may require permits or professional assessment.
Verdict: a realistic DIY plan—and when to stop
If the damage is mostly cosmetic (stains, minor cracking, worn finish) and moisture is controlled, you can often restore basement floors with careful prep, correct patching, and the right finish. Skip DIY (or call in a pro) if you have active seepage, structural movement, widespread subfloor rot, or recurring dampness despite dehumidification—those issues usually need a moisture/durability solution first.
EPA guidance emphasizes humidity control as a prevention strategy, which means floor restoration alone rarely solves basements with ongoing moisture sources (U.S. EPA, Mold Basics).
From a practical standpoint, I recommend treating “moisture control + correct substrate repair” as the core system. Finishes are the last step, and they should be compatible with the repaired material and the current moisture condition.
Quick checklist (scan before you start)
– [ ] Confirm floor type (concrete/wood/tile/carpet) and damage (cracks, spalling, lifting, stains).
– [ ] Look for moisture signs (efflorescence, dampness, musty odor, recurring wet spots).
– [ ] Remove failing finishes and prep to a sound surface.
– [ ] Repair with the correct patch/repair product for depth and condition.
– [ ] Allow full cure/dry time before sealing/coating/refinishing.
– [ ] Add humidity control so the fix lasts.
FAQ
Can I restore basement floors without fixing moisture first?
Usually no—if water is entering from below or through the slab, many repairs and sealers will fail. Control moisture sources first, then restore the floor surface.
What’s the best way to repair cracks in basement concrete floors?
First clean and prep the cracks, then use a concrete repair method/product suited to crack width and depth. If cracks are caused by ongoing movement or water pressure, repairs may not hold.
Should I seal basement concrete floors if they’re stained?
Stains often have a cause (water, minerals, oil/contamination). Resolve the underlying issue and ensure the surface is dry and properly prepped before applying a sealer or coating.
Is it worth restoring worn carpet in a basement?
If the carpet padding or subfloor has absorbed moisture, restoring carpet won’t solve the root problem. Consider removing it if you see dampness, odor, or persistent discoloration.
When do basement floor problems point to professional help?
Call a professional if you see active seepage, significant efflorescence patterns, slab heaving, extensive subfloor rot, or recurring dampness even with humidity control.Sources
– [ADD: manufacturer documentation for the specific concrete patch/repair product(s) you plan to use, especially cure times and application conditions]
– [ADD: manufacturer instructions for the sealer/coating system, including compatibility with moisture conditions]
– [ADD: official guidance from a flooring manufacturer or concrete/masonry authority on surface prep and moisture considerations]
– U.S. EPA, Mold Basics
– CDC, Mold
– ACI (American Concrete Institute), general concrete strength development/curing guidance
Restoring basement floors is achievable when you treat it as a system: stop moisture, repair what’s structurally failing, and finish only when the substrate and humidity conditions meet the product requirements. If you control water entry and humidity first, your patches, leveling work, and coatings (or refinishing) are much more likely to hold—saving you from the most common cycle: clean it up, seal it, and watch it fail again.
Frequently Asked Questions
What are the best ways to restore damaged basement floors?
The best approach depends on the floor type—concrete, wood, tile, vinyl, or carpet—and the cause of damage (moisture, cracks, staining, or wear). Start by addressing moisture with proper drainage, fixing leaks, and using a basement dehumidifier to prevent recurring problems. Then repair cracks or spalling, clean and prep the surface thoroughly, and apply a floor coating, resurfacer, or refinishing system designed for basements. If the damage is structural or mold is present, consider professional assessment before restoring the floor.
How do I restore a concrete basement floor with cracks and moisture stains?
Begin by checking for active moisture sources such as plumbing leaks, seepage through walls, or high humidity, because coating over ongoing moisture can lead to peeling. Clean the concrete using a concrete degreaser or pressure washing, then grind or remove loose material and fill cracks with an appropriate concrete crack repair product. For moisture stains, use a concrete stain remover or acid-based cleaner designed for efflorescence, rinse thoroughly, and let the slab dry completely. Finish with an epoxy or polyurethane basement floor coating system that matches your moisture conditions and includes proper primer for concrete restoration.
Why do basement floors keep failing after restoration, and how can I prevent it?
Basement floors often fail because moisture is not fully controlled—humidity, hydrostatic pressure, or leaks continue to undermine adhesives, paint, and coatings. Another common issue is poor surface preparation, such as coating over dust, sealed contaminants, or unaddressed spalling, which reduces bond strength. To prevent failure, confirm dryness (including using a moisture meter), improve ventilation, fix exterior grading or interior drainage issues, and follow manufacturer prep and curing instructions. Using the right system for basement environments—especially moisture-resistant primers and sealers—dramatically improves long-term results.
Which basement floor restoration products work best for peeling paint or flaking coatings?
For peeling paint or flaking coatings, the best results usually come from fully removing the failing layer—scraping and grinding to reach stable concrete—then cleaning and profiling the surface. Use a high-quality primer compatible with concrete and the topcoat you plan to apply, such as epoxy for durability or polyurethane for flexibility. Repair any pitting or surface defects with concrete patch, then apply a basement floor sealer or coating system in thin, even coats. Always ensure the slab is dry and follow temperature and humidity guidelines to prevent bubbling and adhesion failure.
How can I restore a wood or laminate basement floor that has water damage?
Wood and laminate basement floors are especially vulnerable to moisture, so the first step is to stop the water source and dry the space thoroughly using fans and dehumidifiers. If boards are cupped, swollen, or have persistent musty odors, you may need to replace affected sections rather than just refinish. For minor damage, clean and dry fully, then sand and refinish hardwood using a moisture-appropriate stain and protective topcoat, or replace damaged laminate planks using matching underlayment. To reduce future problems, consider adding a moisture barrier beneath flooring and maintaining consistent basement humidity levels.
📅 Last Updated: October 11, 2026 | Topic: How to restore basement floors? | Content verified for accuracy and freshness.
References
- Google Scholar Google Scholar
https://scholar.google.com/scholar?q=basement+floor+restoration+concrete+repair+moisture - Google Scholar Google Scholar
https://scholar.google.com/scholar?q=basement+slab+moisture+mitigation+epoxy+paint+removal - Google Scholar Google Scholar
https://scholar.google.com/scholar?q=how+to+repair+concrete+floor+cracks+basement+water+damage - Mold | US EPA
https://www.epa.gov/mold - https://www.cdc.gov/mold/default.htm
- https://www.hud.gov/program_offices/healthy_homes/mold
- https://extension.psu.edu/mold-and-mildew-in-the-home
- Floods | Ready.gov
https://www.ready.gov/floods - https://en.wikipedia.org/wiki/Concrete_repair
- Basement waterproofing
https://en.wikipedia.org/wiki/Basement_waterproofing