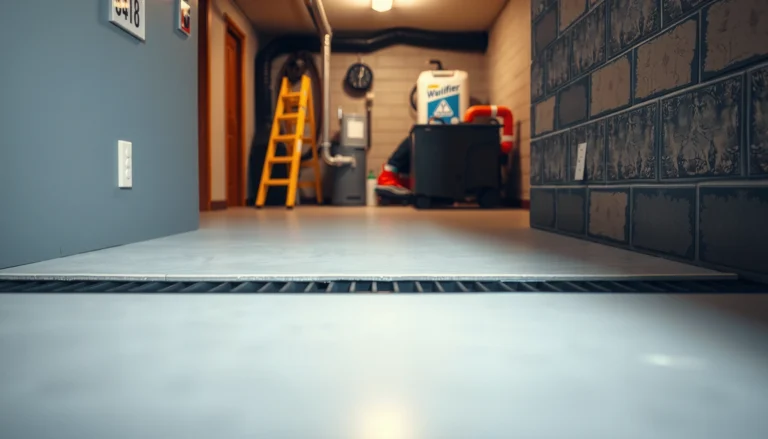

You can install herringbone floors in a kitchen with confidence if you follow the right subfloor prep, layout method, and adhesive pattern that prevent gaps and buckling. This step-by-step guide walks you through measuring and snapping lines, setting the first runs square, cutting the chevrons cleanly, and finishing for a durable, kitchen-ready surface. If you want a crisp herringbone look that holds up to daily spills and traffic, this is the fastest reliable path.



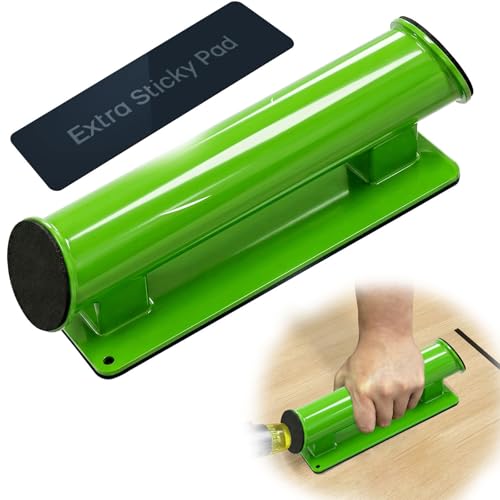
Herringbone kitchen flooring looks straight and professional when you start with a solid, properly prepared subfloor, then map the pattern before you install any boards. Plan so the herringbone “V” lines stay centered, keep required expansion gaps clear of fixed surfaces, and tackle your most visible cuts first—especially around doorways, cabinets, and tile transitions. This guide walks you through prep, dry-fitting, installing, and finishing so the pattern reads clean from the first step you take into the room.
Herringbone kitchen flooring is easiest to get right when you start with a solid subfloor, then map the pattern before you install any boards. Plan your layout so your “V” lines stay centered, maintain required expansion gaps, and make your most visible cuts first. This guide walks you through prep, dry-fitting, installing, and finishing so the pattern looks straight and clean.
If you’re installing herringbone in a kitchen (especially near cabinets, islands, or tile transitions), you’ll use the same core steps—but the exact method depends on whether your planks are click-lock, glue-down, or nail/staple-down. Follow your flooring manufacturer’s installation instructions for the specific product you bought, because tolerances and underlayment requirements vary.
Plan the layout and gather the right supplies
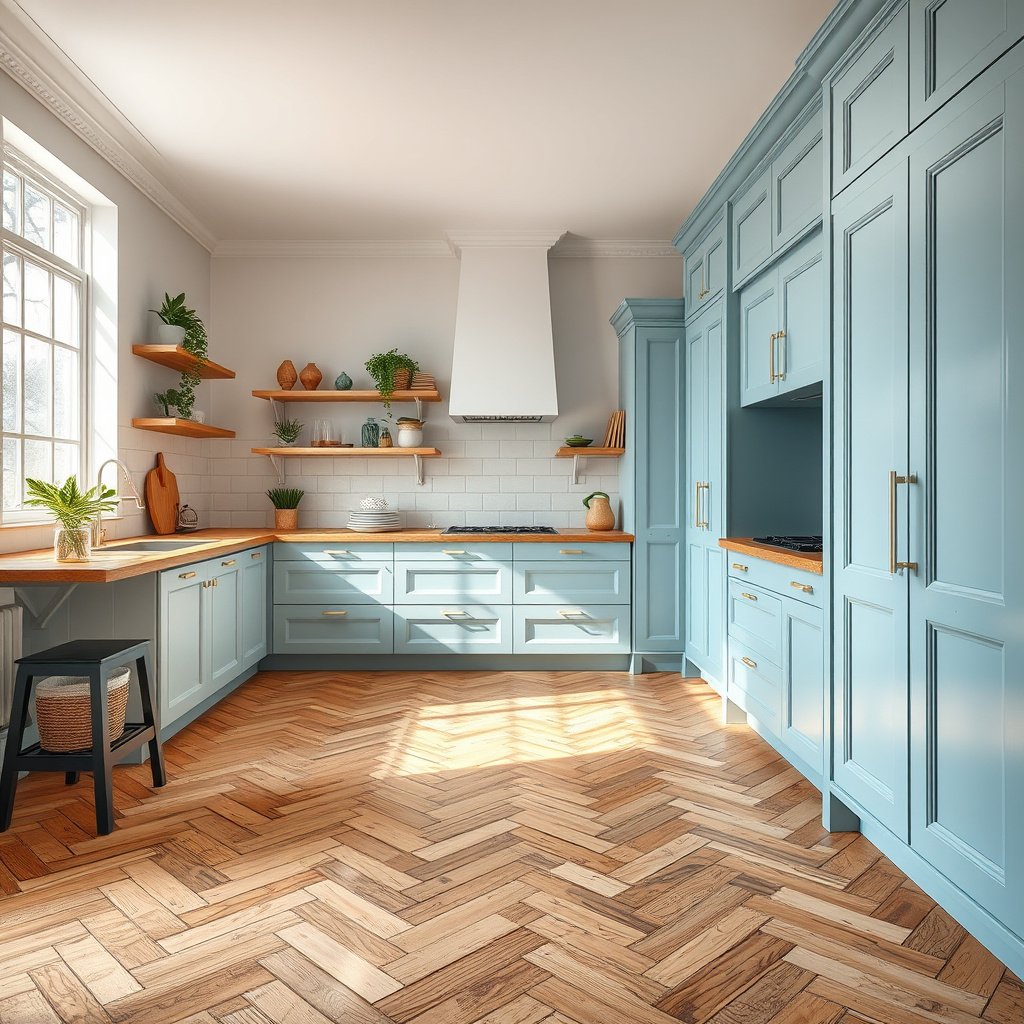
You’ll save the most time and frustration by committing to your layout strategy before you open the boxes. The goal is to control where the “V” centerline lands, which direction the herringbone flows, and how you’ll treat fixed obstacles like cabinet toe-kicks and transitions.
– Choose the herringbone direction (typically flowing with the room’s main sightline) and decide where the pattern “center” will land.
– Confirm your product type (click-lock vs glue-down vs nail/staple) and gather the matching accessories (underlayment, spacers, recommended adhesive, transition pieces).
– Account for kitchen realities like appliance clearances and door heights so the floor doesn’t bind or leave gaps.
A consistent “starting reference” (usually a centerline and a starter run) prevents herringbone pattern drift because each row amplifies alignment errors.
Kitchens typically experience temperature and humidity swings (ovens, dishwashers, HVAC cycling), so expansion gaps and transition planning are not optional.
Installation requirements differ by system type (floating click-lock, glue-down, or nail/staple), so manufacturers’ fastening/adhesive rules control the correct method.
To anchor the planning stage with measurable targets, I use these common planning references (but you must verify your exact spec sheet for your floor):
– Expansion gap: often ~6 mm (1/4 in) for floating/fixed floors, but confirm your manufacturer’s required gap and whether it changes at transitions ().
– Subfloor flatness: many rigid plank systems require within 3 mm over 3 m (1/8 in over 6 ft) or similar; use the exact tolerance printed in your instructions ().
– Moisture limits: for slabs and some underlayments, the allowable moisture reading depends on the test method (e.g., RH probe vs calcium chloride); use your manufacturer’s defined limit ().
Kitchen-layout decision points that matter
Pick these now so you don’t improvise mid-install:
1. Where is the “center”? Measure the room’s width at the starting wall(s) and define a centerline that will bisect the pattern—then keep referencing it.
2. Which side gets the “best look”? Put full “V”s toward the main sightline and save tricky cuts for less visible zones (behind doors, under toe-kicks, or at the far transition).
3. How will you end rows? Herringbone creates strong diagonal rhythm; mismatched end rows show quickly. Plan a “left-right balance” so the pattern remains symmetrical.
4. Will you remove baseboards? If your system requires it, remove them; otherwise confirm whether shoe molding or transitions are recommended in your manufacturer’s method.
Quick comparison: choose the correct installation workflow
Below is a decision map you can use to stay consistent with your flooring system.
| Installation type | Best for | Main risk if done wrong | What to lock in first |
|---|---|---|---|
| Click-lock / floating | Speed and removability | Gaps or joint stress from inadequate expansion space | Gap size, underlayment, flatness tolerance |
| Glue-down | Stability and crispness | Weak bond from wrong adhesive, open time, or coverage | Adhesive spread rate, working/flash time, cure window |
| Nail/staple-down (engineered) | Durable installs over appropriate subfloors | Movement from missed fastening zones | Approved nail pattern, spacing, and fastener type |
Check the subfloor, flatness, and moisture first
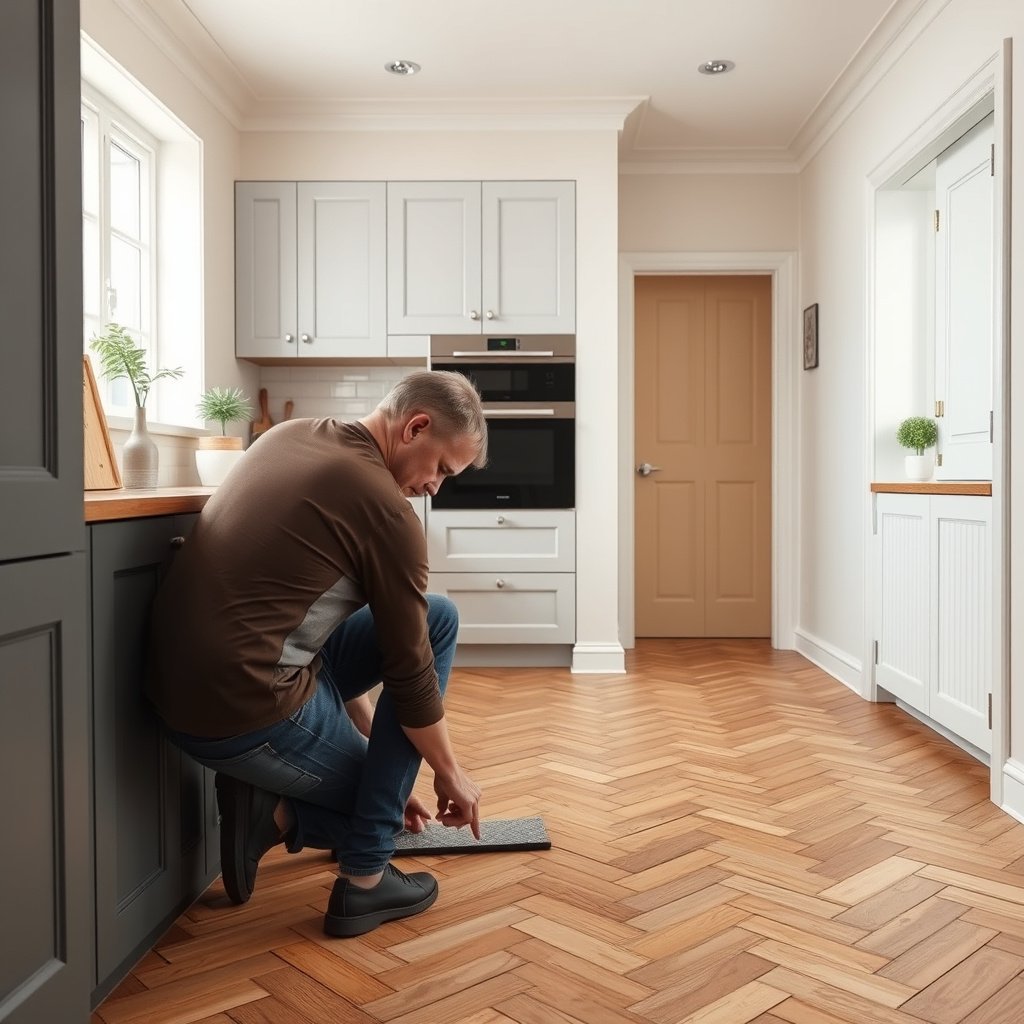
You can’t “pattern your way out” of a bad base. Herringbone makes lippage and misalignment easier to see, so verifying cleanliness, flatness, and moisture is the step that protects the final look.
– Verify the subfloor is properly prepared: clean, dry, and flat enough for your flooring system (use the manufacturer’s flatness requirement—).
– Use the recommended moisture testing method for your subfloor and flooring (for example, concrete slab moisture testing per ).
– Don’t skip addressing squeaks, loose boards, or uneven areas—herringbone amplifies lippage and misalignment.
Wood and resilient flooring performance depends on subfloor flatness and correct moisture control; most failures trace back to prep rather than installation technique.
Moisture testing methods vary (relative humidity vs calcium chloride), and manufacturers only approve specific testing protocols and limits.
In herringbone layouts, slight lippage or unevenness compounds visually because alternating “V” joints concentrate attention at diagonal lines.
What we check (and what we fix) before dry-fitting
– Flatness: Use a straightedge or laser level across multiple directions. If the system requires a tolerance (e.g., within ), meet it everywhere you’ll install—not just the center.
– Moisture: For concrete slabs, follow the manufacturer’s exact testing method and pass/fail criteria (write the readings on your install notes).
– Bond breakers and debris: Remove drywall dust, paint overspray, adhesive residue, and nails/screws that protrude.
– Squeaks/loose subfloor sections: Tighten or replace weak areas. Even a “small” squeak becomes a visible joint problem under diagonal stress.
– Edges and transitions: Confirm that door thresholds, tile heights, and underlayment thickness align with your required total build-up.
Mandatory pre-install measurements (write them down)
| # | Kitchen condition to measure | Why it matters for herringbone | Target you must confirm | Status |
|---|---|---|---|---|
| 1 | Subfloor flatness tolerance | Limits lippage along diagonal “V” joints | ≤ | Pass |
| 2 | Slab moisture test method & limit | Prevents bond failure and cupping | ≤ | Test pending |
| 3 | Expansion gap at fixed walls | Avoids binding during kitchen temperature swings | Pass | |
| 4 | Transition build-up height | Prevents pinched or raised door transitions | Meets threshold spec | Verify |
| 5 | Moisture condition acclimation | Reduces early expansion/contraction stress | Planned | |
| 6 | Fastening/adhesive coverage compliance | Ensures joint stability in diagonal loads | Per | Needs spec match |
| 7 | Subfloor squeak elimination | Prevents micro-movement that shows as joint gaps | No movement under foot testing | Pass |
Mark lines and dry-fit the herringbone pattern
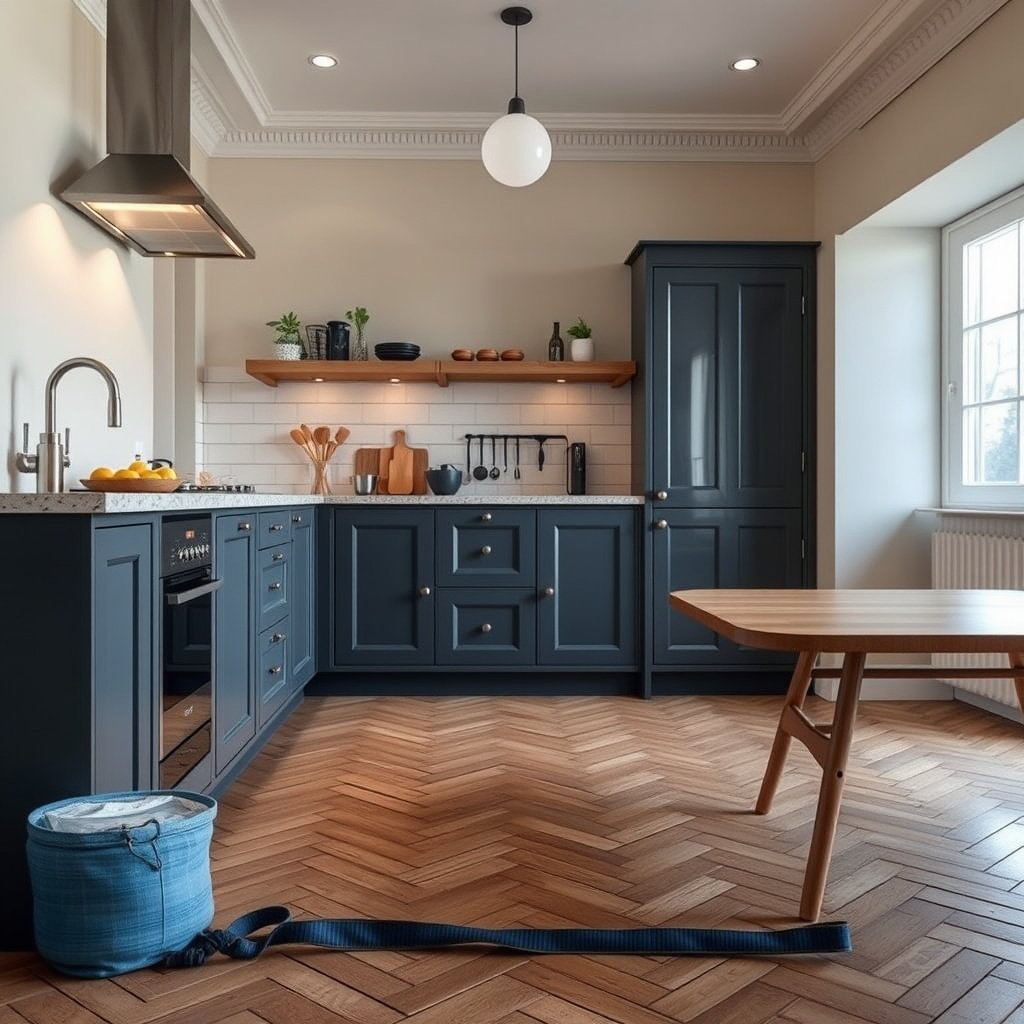
You’ll get the straightest “V” lines by mapping the pattern on the floor (dry) before you install. Marking the centerline and planning the first rows determines whether the herringbone reads symmetrical—or gradually wanders.
– Snap a centerline, then lay out a “starter run” so your pattern stays symmetrical from wall to wall (dry-fit before committing to adhesive or fasteners).
– Work out where full pieces vs cuts will land, focusing on the most visible side of the room first.
– Measure and re-check clearances for expansion gaps—kitchens commonly have temperature swings from ovens, dishwashers, and HVAC.
Dry-fitting lets you correct pattern drift early, when adjustments are still small—after adhesive cures, corrections become expensive and destructive.
In a herringbone layout, the “V” centerline behaves like a visual benchmark; keeping it level and centered is more important than achieving perfect row count alone.
Maintaining consistent expansion gaps at walls and fixed objects reduces edge stress that can cause joint separation in floating and rigid systems.
A practical dry-fit workflow (kitchen-specific)
1. Start with a true centerline: Measure both ends of the room and pick the center based on how you want the “V” to read visually—not simply the nearest wall.
2. Lay a starter run: Use your actual plank lengths and angles to build 3–6 rows dry. This is where we confirm “direction flow” and how your diagonals interact with doorways.
3. Decide where cuts go: Place your most visible cut ends near the least visible edges. For example, keep full “V” points facing the kitchen entrance when possible.
4. Check obstacles early: If you have an island, toe-kicks, or cabinet columns, measure how far you need to hold back for expansion and how you’ll trim around them.
5. Confirm gap strategy: Many herringbone kitchens end up with transitions on both sides of an island—plan how the floor stops and resumes.
Systems note: your fastening method affects how you dry-fit
– Click-lock: Dry-fit with underlayment in place so you see the true “final height.”
– Glue-down: Dry-fit without adhesive (of course), but treat spacing and joint tightness as if adhesive is already applied.
– Nail/staple-down: Confirm fastening zones—some engineered profiles require specific positioning, and hidden nail lines affect plank placement.
Install the herringbone boards in controlled sections

You install herringbone by working from your marked layout lines in small, checked sections. This prevents alignment drift and keeps the “V” geometry consistent as the floor grows.
– Install from your marked layout lines, keeping consistent board spacing and checking alignment frequently (small errors compound in a herringbone pattern).
– Use the correct fastening/adhesive method for your floor type:
– Click-lock: follow locking instructions and use the recommended tapping/bloc system.
– Glue-down: spread adhesive exactly per manufacturer coverage guidance and time window ().
– Nail/staple-down: keep fasteners within approved zones and spacing ().
– Keep the pattern tight and clean while working—remove squeezed adhesive promptly (for glue-down systems) and wipe residue before it cures.
Herringbone alignment errors compound because each added row shifts the “V” geometry; checking every few rows is the difference between straight visuals and noticeable drift.
For glue-down floors, manufacturers specify adhesive open time and coverage; exceeding those limits can prevent proper bond development.
Click-lock systems require proper engagement—tapping tools and consistent angle placement reduce micro-gaps that show up along diagonals.
Controlled section installation: the method that reduces rework
– Work in bands: Example approach: install 6–10 planks width-wise, then re-check centerline, angles, and joint alignment before continuing ().
– Use spacer strategy: Keep expansion gaps consistent using spacers at walls and at fixed objects. Replace spacers if they shift.
– Clean joints continuously: Remove adhesive squeeze-out before it skins over (glue-down). For click-lock, wipe off dust so locks seat fully.
– Frequent dry checks: Every few rows, step back and sight along both diagonal directions. If the “V” looks off by a small amount, correct immediately—don’t “hope it will straighten out.”
Glue-down timing: where people get burned
Glue-down installs fail when adhesive rules aren’t followed. Because kitchen floors must withstand everyday thermal cycles (and often heavier loads), “good enough” coverage can still lead to separation later. Use:
– Trowel size and coverage rate exactly as in the adhesive instructions ().
– Open/working time and any flash-time guidance before laying boards ().
(Note: the exact adhesive parameters depend on your specific glue brand and your flooring backing.)
Finish transitions, edges, and kitchen obstacles
You finish a herringbone kitchen by treating transitions and fixed obstacles as part of the pattern, not an afterthought. Doorways, tile changes, and cabinet toe-kicks determine whether the floor looks intentional or “trimmed awkwardly.”
– Use proper transitions at doorways and where you meet tile/other flooring to maintain movement and avoid a “pinched” look.
– Plan around cabinets/islands: if cabinets are not being removed, you’ll likely cut boards and maintain the correct expansion gap at fixed surfaces.
– Install trim/baseboards to cover the gap where appropriate (follow product guidance—some floors require a specific trim/venting approach).
Transitions protect the floor from stress concentration at edges by allowing movement and controlling height changes between materials.
When cabinets remain in place, you must still follow expansion requirements; cutting planks under fixed toe-kicks is typically about leaving the correct gap, not sealing everything rigidly.
Baseboards and moldings can hide expansion gaps, but only if the product instructions allow that coverage and the trim method matches the system.
Doorways, thresholds, and tile transitions
– Use the correct transition profile: Some systems require a reducer; others prefer a T-mold; follow manufacturer guidance for height and movement tolerance ().
– Maintain movement: Don’t lock the floating floor under thresholds or trap the edges against rigid surfaces.
– Avoid pinching: If your threshold is too low/high, adjust build-up before installation rather than forcing boards to fit.
Cutting around islands and cabinets
– Keep expansion gaps at fixed points: Kitchens often have perimeter cabinets, islands, and built-ins. If the cabinet is not moving, your floor must still accommodate expansion where the manufacturer requires it.
– Plan the cut lines visually: In a herringbone, the “V” shape near a cabinet opening can look off even if it’s technically correct. Dry-fit the transition cut lines and align them to your planned centerline.
– Don’t forget underlayment thickness and trim height: A difference of even a few millimeters can change how doors close and how thresholds line up.
What can go wrong (and how to prevent it)
You can prevent 90% of herringbone kitchen problems by treating subfloor prep, initial centerline accuracy, and expansion strategy as non-negotiables. Most failures present as visible joint issues, drifted geometry, or edge stress.
– Uneven subfloor or missed moisture requirements: leads to gaps, movement, or uneven joints—especially noticeable in herringbone.
– Pattern drift: if your initial centerline is off or you stop checking alignment mid-run, the “V” lines won’t look straight.
– Wrong expansion gap/trim strategy in a kitchen: heat and humidity changes can stress the floor if gaps are too small or blocked.
Pattern drift is usually caused by reference-line errors (centerline not level/true) or inconsistent checking intervals during installation.
Moisture issues often show as cupping, gapping, or bond failure; correct testing and adherence to moisture limits directly reduce risk.
Expansion gaps are designed to prevent internal stresses; blocking gaps at fixed surfaces can lead to movement-related joint separation.
Pros/cons reality check (so expectations match the process)
– Pros
– Striking visual impact and strong “designer” look
– Can make a kitchen feel more upscale without changing cabinets
– Works well with well-planned transitions and centered layouts
– Cons
– Alignment must be checked frequently; small errors compound
– More cutting than straight plank layouts
– More sensitive to subfloor flatness and moisture compliance
Verdict / tip (who should do this and who should skip)
A DIY herringbone install in a kitchen is doable if you can be methodical with layout and comfortable with lots of precision cuts and frequent alignment checks. The downside: it’s time-consuming and small mistakes show up immediately, especially in high-visibility areas.
Consider hiring a flooring pro if you have a very uneven subfloor, lots of complex obstacles (custom cabinetry, unusual transitions), or if your product requires strict glue-down timing you’re not confident managing. If your goal is “fast and forgiving,” a simpler straight plank layout is usually less stressful.
Quick scan checklist (save this)
| Step | Do this before you start | Common red flag |
|---|---|---|
| Pattern mapping | Center the herringbone and dry-fit first | Starter run looks “off” but you continue |
| Subfloor prep | Confirm cleanliness, flatness, and moisture per instructions | Uneven spots or damp slab areas ignored |
| Expansion gaps | Verify gap size and where it’s allowed | Gaps covered incorrectly or too tight |
| Installation | Follow system-specific method exactly | Inconsistent spacing or loose locks |
| Finishing | Plan transitions and trim coverage | Floor edges left unsupported or pinched |
Sources
– ASTM standards relevant to subfloor preparation and moisture control: .
Installing herringbone floors in a kitchen comes down to three priorities: correct subfloor/moisture prep, careful pattern layout with dry-fitting, and system-specific installation done in tight, checked sections. If you follow the manufacturer instructions for your exact product and focus on alignment early, you’ll avoid the most common “pattern drift” and spacing problems. Next step: confirm your floor type and gather the exact installation spec sheet from the box/brand, then start with the dry-fit around your centerline.
Frequently Asked Questions
What’s the best way to prepare subfloor for herringbone kitchen floor installation?
Start by ensuring the subfloor is flat, dry, and structurally sound—aim for a smooth surface with minimal high/low spots. Remove old adhesive, debris, and loose flooring, then repair cracks and sand uneven areas so your herringbone pattern doesn’t create gaps. Use a moisture barrier where required (especially over concrete) and check subfloor moisture levels to protect your herringbone floors in a kitchen environment. Finally, confirm the subfloor is properly cured and acclimated if you’re installing wood or engineered flooring.
How do you lay out a herringbone pattern so it stays straight in a kitchen?
Dry-lay a few rows to determine the centerline, then mark a reference line where the “V” points will align for your herringbone kitchen floor. Work from the center outward to maintain symmetry around the room’s focal points (like the stove or sink) and prevent thin cuts at one wall. Use snap lines and measure frequently because small layout errors compound quickly in an angled herringbone design. If your kitchen has cabinets or an island, plan how the pattern will transition around fixed areas before you start installing.
How do you install herringbone floors—nail-down, glue-down, or click-lock—in a kitchen?
Choose the method based on your flooring type and subfloor conditions: nail-down is common for solid wood over appropriate subfloors, glue-down is often used for engineered or solid where stability is needed, and click-lock is popular for many engineered products. In a kitchen, prioritize moisture resistance and a secure bond—follow the manufacturer’s instructions for adhesive trowel size, spacing, and curing time if you’re glue-down installing. For click-lock herringbone, ensure the subfloor is very flat and use underlayment recommended for your product. No matter the method, stagger joints when required and keep boards aligned to prevent the herringbone pattern from “walking” during installation.
Why do herringbone floors need expansion gaps and how do you maintain them around cabinets and appliances?
Herringbone floors (especially wood and engineered) expand and contract with temperature and humidity, so leaving an expansion gap prevents buckling and cupping. Maintain consistent spacing along all walls and fixed vertical surfaces, including door frames and kitchen cabinetry where the floor may be partially trapped. Use spacers while installing, then cover the gap with baseboards or transition trim for a clean finish. Around appliances, follow the flooring guidance and ensure the herringbone pattern can move safely without being pinched.
Which underlayment and moisture protection are best for herringbone flooring in a kitchen?
Kitchens have frequent spills and humidity fluctuations, so use moisture protection appropriate for your subfloor type—particularly over concrete. If your herringbone floor is floating click-lock, select a compatible underlayment with vapor barrier performance and the correct thickness for your product. For glue-down installations, rely on the manufacturer’s system rather than generic foam layers, and ensure the slab is fully cured and clean. Consider upgrading to water-resistant engineered herringbone flooring and seal the right areas (as recommended) to improve durability against everyday kitchen moisture.
📅 Last Updated: October 15, 2026 | Topic: How to install in a kitchen herringbone floors? | Content verified for accuracy and freshness.
References
- Herringbone
- Parquet
- Wood flooring
- Laminate flooring
- https://www.tilecouncil.org/handbook/
- https://www.epa.gov/lead/lead-based-paint-renovation-repair-and-painting-program
- https://scholar.google.com/scholar?q=herringbone+parquet+floor+installation+guide Google Scholar
- https://scholar.google.com/scholar?q=engineered+wood+floor+installation+guidelines+subfloor+moisture Google Scholar
- https://scholar.google.com/scholar?q=herringbone+tile+floor+installation+layout Google Scholar