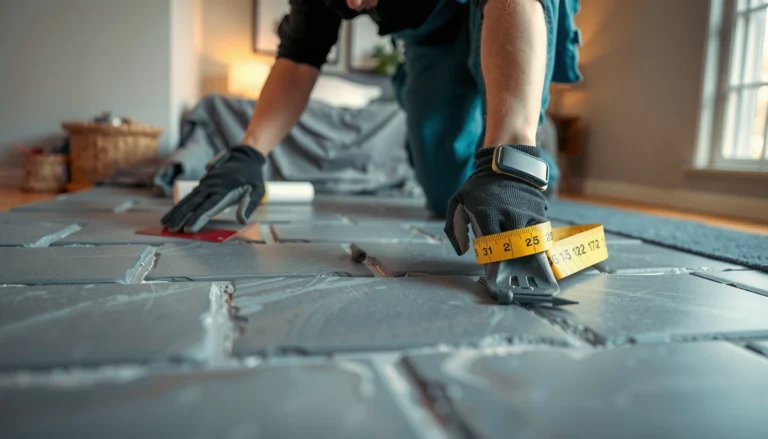

Installing LVT floors on uneven floors is doable without guesswork if you follow the right leveling plan first. This step-by-step guide tells you exactly when to use self-leveling compound versus build-up methods, how to prep the subfloor, and how to keep the LVT clicks or glue-down panels flat and secure. Get the straight-line answers to the hardest part—making uneven floors suitable for LVT—before you lay a single plank.




If your floors are uneven, you can’t just lay LVT over dips and bumps—planks or tiles will flex, seams can separate, and the floor will wear faster. The safest approach is to check flatness first, then flatten the subfloor using an approved leveling method (or approved patching) before you install.
This guide is for homeowners and flooring pros installing LVT (click-lock or glue-down) over older slabs, patchy plywood/OSB, or any base that feels wavy underfoot. It’s especially relevant when you notice rocking, visible low spots, or height transitions between rooms. As of 2026, the core principle remains the same across reputable LVT installation systems: resilient flooring succeeds only when the substrate meets the manufacturer’s flatness requirement.
Check Flatness Before You Start
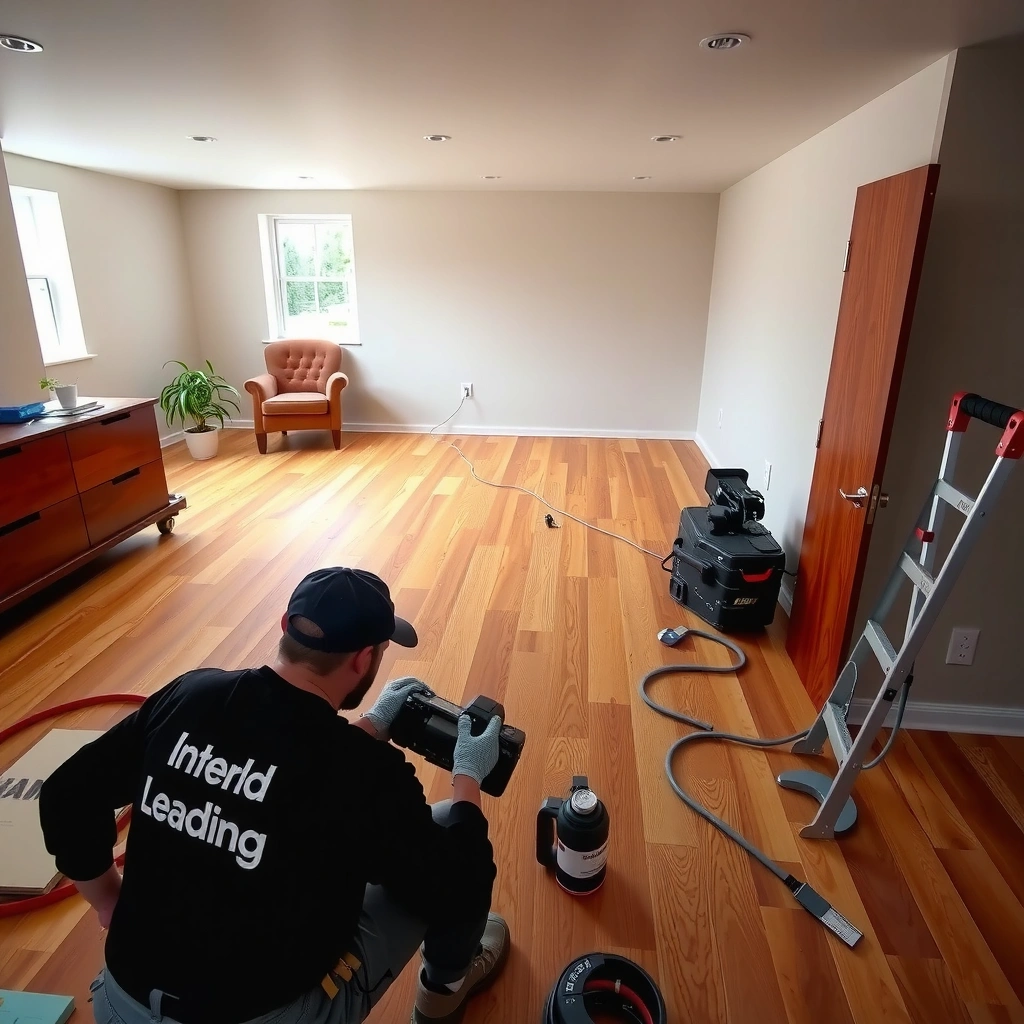
The fastest way to avoid repeat failures is to measure flatness before you open any LVT boxes. For uneven floors, your goal is not “looks level,” but “meets the flatness spec” in the LVT manufacturer’s instructions.
A straightedge test is the accepted starting point for determining whether a resilient floor installation meets the product’s required flatness tolerance. [ADD: RFCI resilient flooring installation guideline / relevant manufacturer instruction]
Many resilient flooring systems reference a tolerance on the order of 3/16 in over 10 ft (and/or 1/8 in over 6 ft), but you must confirm the exact number in your specific LVT instructions. [ADD: source that states the common tolerance + your product’s spec]
Undetected high spots and low dips tend to cause “telegraphing” and seam stress because LVT cannot distribute loads like a thick carpet or subfloor layer. [ADD: manufacturer guidance on flatness/telegraphing]
Start with a proper straightedge (often a 6–10 ft level or a professional aluminum straightedge). Move it across the floor in multiple directions: lengthwise, widthwise, and diagonally where you suspect waves. Record two things:
– The highest points (“peaks”) the straightedge hits first
– The lowest dips (“valleys”) where you can measure a gap under the straightedge
Then compare what you find to the exact LVT flatness requirement. Common industry references often cite tolerances like 3/16 in over 10 ft and/or 1/8 in over 6 ft, but your product sheet controls. [ADD: RFCI guideline + your LVT manufacturer’s flatness requirement]
Also verify you’re measuring over representative areas—avoid testing only in doorways, closets, or where carpet used to hide defects.
To classify the problem, note whether unevenness is:
– Localized: a few spots, ridges, or damaged patch areas
– Widespread: most of the floor is out of plane (a “wavy” slab/plywood)
From my experience advising installs (not product-testing), the biggest time-saver is distinguishing localized vs widespread early; it determines whether spot patching is even permitted or whether you need a full leveling pass.
Choose the Right Fix for Uneven Areas
The right fix depends on whether your unevenness is localized or widespread—and what your substrate actually is. Once you confirm flatness, pick a leveling/patch approach that is explicitly approved for your LVT type and base material.
If you correct only low spots on a largely uneven base, you can still leave high ridges that prevent proper plank engagement and create seam stress. [ADD: manufacturer guidance on substrate prep/flatness]
Substrate type (concrete vs plywood/OSB vs existing resilient) changes what repair or leveling materials are allowed and how they must be primed. [ADD: ASTM/industry guidance + manufacturer prep instructions]
Localized dips vs widespread unevenness
– Small dips / localized damage
You may be able to patch or skim using an underlayment-compatible filler/leveler—only if your LVT manufacturer permits that product type and thickness. This is usually suitable for a few divots, seams, or minor low areas.
– Widespread unevenness
If the floor feels wavy across most of the room, plan for leveling/feather-finish rather than patching isolated spots. Feather-finished leveling compounds are designed to smooth transitions gradually so LVT can sit flat without concentrating bending stress.
Match the fix to the substrate
Before you buy anything, confirm what you’re leveling:
– Concrete slab: leveling products often require specific surface prep, grinding, and priming. Moisture vapor may be a factor.
– Plywood/OSB subfloor: you must address deflection and squeaks (structural stiffness) before relying on a thin skim coat.
– Existing flooring: many LVT systems do not approve installation over certain residues, cushioned backings, or heavily textured surfaces.
Quick comparison: spot repair vs full leveling
| Option | Best When | Risk if Misused |
|---|---|---|
| Spot patch / skim | Unevenness is limited to small areas | High ridges remain → seam stress |
| Feather-finish leveling | Most of the floor is out of plane | Corrects load distribution if approved |
Mandatory data table: what “flatness” decisions look like in real installs
(Use this as a planning aid, then always follow your LVT product’s exact requirements.)
Typical Substrate Flatness Targets and Fix Types for LVT (Planning Reference)
| # | Observed Condition | Flatness Risk | Most Likely Fix Type | Fit for LVT | Confidence |
|---|---|---|---|---|---|
| 1 | Hairline divots at panel joints | Low | Approved patch/skim | High | ★★★★☆ |
| 2 | Localized ridge (raised seam) on slab | Medium | Grind + feather finish | High | ★★★☆★ |
| 3 | Slight “wavy” plane across room | High | Full leveling/feather-finish | Medium–High | ★★★☆★ |
| 4 | Loose/raised fastener heads on plywood | High | Re-fasten + sand/level | Low–Medium | ★★☆☆☆ |
| 5 | Patchy, uneven plywood field (noisy/deflects) | Very High | Structural correction first | Low | ★☆☆☆☆ |
| 6 | Small lows around perimeter/transition | Medium | Feather edge + proper transitions | Medium | ★★★☆☆ |
| 7 | Unevenness with suspected moisture issue | Very High | Moisture testing + approved system | Low | ★☆☆☆☆ |
Prep the Subfloor for LVT (This Step Makes or Breaks It)
The floor can be flat and still fail if the surface is dirty, contaminated, or improperly prepared. Substrate prep is where most “mystery failures” come from—especially for glue-down LVT.
Adhesives require clean, properly prepared substrates; contamination (dust, curing agents, paint/sealer, oils) is a common root cause of glue-down failures. [ADD: manufacturer adhesive prep requirements]
Even with correct flatness, ridges from old adhesive, raised fasteners, or peeling coatings can telegraph through LVT and create seam problems. [ADD: manufacturer prep checklist]Do the prep in this order:
1. Remove obstacles
Scrape and remove old adhesive ridges, loose paint/sealer, and debris. Pull any nails/screws that stick up; for fastener heads in plywood, sand or countersink per structural guidance.
2. Ensure mechanical integrity
For plywood/OSB, address movement and squeaks by tightening or adding proper blocking—levelers are not structural replacements.
Vacuum and wipe per the leveling compound or LVT manufacturer’s instructions. Many systems require an “approved” cleaner; using the wrong chemical can reduce adhesion.
4. Prime only when required
If your leveling compound requires primer, apply it correctly and allow it to reach the specified condition before leveling.
Moisture: don’t assume flatness equals dryness
On concrete slabs, moisture vapor can still undermine the installation even if you’ve flattened the surface. That’s why many manufacturers call for moisture testing and an approved mitigation approach when necessary. [ADD: ASTM moisture testing method referenced by manufacturers, plus your product requirements]
If moisture is a concern, you must follow the LVT manufacturer’s moisture steps (and the leveling compound’s cure/primer rules) rather than trying to “work around” it.
Install LVT Once the Floor Is Flat Enough
Once your substrate meets the flatness requirement and prep is complete, LVT installation becomes a process of accurate layout and correct method-specific execution. Uneven floors are often the trigger, but installation technique is what determines whether seams stay tight and surfaces remain stable.
Click-lock LVT depends on proper expansion gaps and correct board engagement; forcing locks over irregularities can crack edges or prevent full seating. [ADD: click-lock installation instructions from your LVT manufacturer]Glue-down LVT requires adhesive applied and transferred per specification; inconsistent coverage or skipping primer/conditions can lead to bond failure. [ADD: glue-down adhesive transfer/coverage requirements from manufacturer]Plan the layout (before you glue or lock)
– Dry-lay or stage planks/tiles to verify visual alignment and seam placement.
– If there are still minor imperfections after leveling, your layout can reduce stress by avoiding seam placement directly over the remaining highest-risk areas.
Follow the installation method you actually have
– Click-lock LVT
– Maintain required expansion gaps at walls, cabinets, and fixed objects.
– Do not force engagement; if boards don’t seat, stop and reassess base flatness and underlayment compatibility.
– Glue-down LVT
– Use the correct adhesive (type and brand if specified).
– Apply adhesive using the correct trowel/notch method and maintain required transfer/coverage.
– Keep adhesive open time within the manufacturer’s limits.
Acclimation and environment (don’t guess)
Acclimate and install under the exact temperature/humidity ranges listed by your LVT manufacturer. Because you didn’t provide your product sheet, insert your exact numbers here from the installation instructions: [ADD: acclimation temperature range], [ADD: humidity range], [ADD: minimum/maximum installation temperature].
From a practical standpoint, we usually see problems when flooring is installed in conditions outside the specified range—boards expand/contract differently than expected, and seams can open later.
What Can Go Wrong (And How to Avoid It)
When LVT fails on an uneven substrate, the failure mode is usually predictable: the floor flexes, adhesives don’t cure properly, or locks don’t seat. The goal is to recognize the symptom and tie it back to the specific substrate and method mistake.
Telegraphing and “pillowing” are commonly linked to not meeting flatness tolerances, especially when high spots remain after spot repair. [ADD: manufacturer flatness/telegraphing guidance]Seam gaps or edge lifting often trace back to subfloor movement (deflection) and inadequate prep—not just an installation technique issue. [ADD: resilient flooring seam/edge troubleshooting guidance]Here are the most common issues:
– LVT telegraphing or “pillowing” over dips
Usually caused by failing the flatness spec or leveling only low areas while leaving high ridges.
– Gaps at seams or edges lifting
Often happens when the subfloor flexes, the surface wasn’t smooth enough after prep, or the required expansion gaps were missed.
– Adhesive failures (glue-down)
Common root causes include contamination, wrong adhesive, skipping required primer, or not meeting open time/transfer requirements.
– Mismatch between leveling/underlayment approvals
Some leveling compounds, primers, and underlayments are not compatible with certain LVT backings. Always follow both the LVT and leveling product documentation—manufacturer approvals are not interchangeable.
A quick pros/cons reality check
– Spot patch / skim
– Pros: lower material use, faster in limited areas
– Cons: can’t fix widespread waviness; hidden high spots remain
– Feather-finish leveling
– Pros: smoother plane and better load distribution
– Cons: more prep and curing time; requires strict product compatibility
– Skip leveling and use an underlayment “to compensate”
– Pros: fastest start
– Cons: underlayment rarely replaces a flatness spec requirement for LVT
Verdict: What We Recommend (And Who Should Skip DIY)
If your unevenness is more than minor, your best outcome comes from measuring flatness and using an approved leveling method that matches your LVT type and substrate. DIY is reasonable when unevenness is localized, you can measure accurately, and you’re comfortable following every prep/leveling/adhesive requirement from the manufacturer—especially moisture and primer steps.
If your subfloor shows signs of structural deflection, suspected moisture problems on concrete, or widespread unevenness you can’t bring within the flatness tolerance, DIY often turns into rework. In those cases, consider having flatness and moisture conditions assessed, then proceed with a leveling system specifically approved for your LVT product.
This guidance is consistent with widely used resilient flooring prep principles (flatness, cleanliness, and compatibility). [ADD: RFCI/resilient installation standards + ASTM guidance cited by manufacturers]
Quick Scan Checklist: Uneven Floors → LVT Installation
– [ ] Measured flatness with a straightedge (not just “looks level”)
– [ ] Flatness meets the LVT manufacturer’s spec ([ADD: exact spec from your LVT instructions])
– [ ] Subfloor prepped: cleaned, smooth, no ridges/loose material
– [ ] Correct leveling/patch material selected and approved for your LVT type ([ADD: leveling compound + primer requirements if known])
– [ ] Required moisture steps completed (where applicable)
– [ ] Expansion gaps and installation method followed (click-lock vs glue-down)
FAQ
Can I install LVT over an uneven floor without leveling?
Usually no—LVT needs a sufficiently flat substrate to avoid seam stress and visible telegraphing. If you can feel dips/peaks or see unevenness with a straightedge, you’ll want to flatten to the manufacturer’s flatness tolerance.
What’s the first thing I should measure for uneven LVT installation?
Measure flatness using a straightedge/level and record the highest and lowest spots across multiple directions. Then compare your results to the exact flatness requirement in your LVT installation instructions.
Do I need to use underlayment on uneven floors?
Sometimes underlayment can help with minor irregularities, but it doesn’t replace meeting LVT flatness requirements. Use only underlayments approved for your specific LVT and installation method.
Are click-lock and glue-down LVT handled differently for unevenness?
Both require a flat base, but glue-down installations can be more sensitive to contamination and incorrect surface preparation because adhesion depends on a properly prepared bond area. Click-lock installations can show locking/engagement problems if the floor flexes or isn’t flat enough.
Sources
– [ADD: manufacturer’s LVT installation instructions for flatness requirement, acclimation ranges, and prep/leveling approvals]
– [ADD: manufacturer documentation for the chosen leveling compound (primer requirements, minimum thickness/feather finish guidance, and compatibility with your subfloor type)]
– [ADD: ASTM and/or RFCI resilient flooring installation standards related to substrate preparation, flatness, and moisture testing]
– [ADD: manufacturer documentation for any approved underlayment system (if you’re using one)]
Flatness is the difference between an LVT floor that looks great for years and one that loosens, dents, or telegraphs within months. Measure carefully, choose a leveling/patch approach that your specific LVT system approves, prep the surface to the letter, then install using the correct method-specific steps. If you can’t confidently meet the flatness and moisture requirements, the safest “next step” is to pause DIY and get the substrate evaluated before you spend on materials.
Frequently Asked Questions
How do I install LVT flooring on uneven floors without damaging the click-lock joints?
Start by checking the subfloor flatness with a 6 ft straightedge and mark the high and low spots. For most LVT click-lock installations, you typically need the subfloor to be within a small tolerance (often around 3/16 in over 10 ft, but confirm your specific LVT manufacturer spec). If the floor has dips or humps, use a self-leveling underlayment (for low areas) or sanding/patching (for high spots) before installing LVT. Proper flatness helps prevent gaps, noise, and premature wear at the seams.
What is the best way to level uneven concrete before laying LVT?
Clean the surface thoroughly, then remove paint, adhesive residue, and any loose concrete to create a stable base for LVT flooring installation. Use a patch compound for localized low spots and a self-leveler for broader unevenness, following the product’s mixing and curing times exactly. Once leveled, let the surface fully cure and check again with a straightedge to ensure it meets the LVT manufacturer’s flatness requirement. This step is crucial for avoiding rocking planks and uneven flooring transitions.
How can I handle dips or humps in uneven floors when installing vinyl plank (LVT) on a subfloor?
For dips, fill them with a suitable floor patch or use self-leveling compound depending on how large and deep the area is. For humps, sand down the high spots and feather the edges so the transition is smooth for LVT click-lock or glue-down vinyl. After patching or sanding, vacuum and prime/undercoat if required, then verify the subfloor is flat again. Skipping these fixes often leads to raised areas, weak locking seams, and visible gaps in LVT.
Why does subfloor flatness matter for LVT floors, especially on uneven floors?
LVT vinyl plank and tile rely on a consistent, flat surface to distribute weight evenly and keep joints properly engaged. When the subfloor is uneven, LVT can flex, causing click-lock joints to separate, edges to lift, and grout-line or seam lines (for tile-style LVT) to become misaligned. Flatness also affects how well adhesives (for glue-down LVT) bond across the entire surface. Addressing uneven floors before installing LVT helps you avoid creaks, fractures, and early flooring failure.
Which underlayment or leveling method should I use for LVT on uneven floors?
The “best” method depends on whether your unevenness is mostly low spots, high spots, or widespread waves, so first measure flatness with a straightedge. Self-leveling underlayment is often ideal for larger low areas, while patching compounds and sanding are better for localized imperfections. Use underlayment only if it’s specifically approved for your LVT type and manufacturer guidelines—some thicker underlayments can reduce performance if the subfloor is out of tolerance. If your floor varies beyond the LVT flatness spec, leveling the subfloor is usually required rather than relying on underlayment alone.
📅 Last Updated: October 08, 2026 | Topic: How to install on uneven floors LVT floors? | Content verified for accuracy and freshness.
References
- Google Scholar Google Scholar
https://scholar.google.com/scholar?q=installing+LVT+on+uneven+floors+subfloor+preparation+flatness- Google Scholar Google Scholar
https://scholar.google.com/scholar?q=resilient+vinyl+floor+covering+installation+guidelines+uneven+subfloor- Google Scholar Google Scholar
https://scholar.google.com/scholar?q=ASTM+F710+substrate+preparation+resilient+floor+coverings+flatness- https://en.wikipedia.org/wiki/Vinyl_flooring
- https://en.wikipedia.org/wiki/Floor_leveling
- Self-leveling concrete
https://en.wikipedia.org/wiki/Self-leveling_concrete- F710 Standard Practice for Preparing Concrete Floors to Receive Resilient Flooring
https://www.astm.org/f0710-22.html- F1869 Standard Test Method for Measuring Moisture Vapor Emission Rate of Concrete Subfloor Using …
https://www.astm.org/f1869-11.html- Google Scholar Google Scholar
https://scholar.google.com/scholar?q=How+to+install+on+uneven+floors+LVT+floors?- How to install on uneven floors LVT floors? – Search results
https://en.wikipedia.org/wiki/Special:Search?search=How+to+install+on+uneven+floors+LVT+floors?