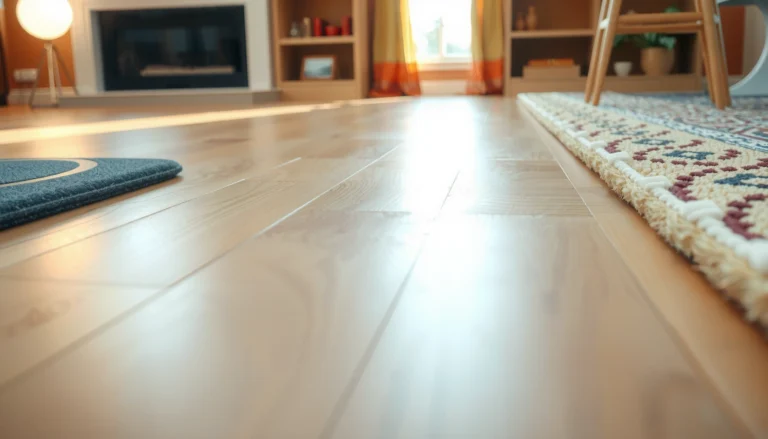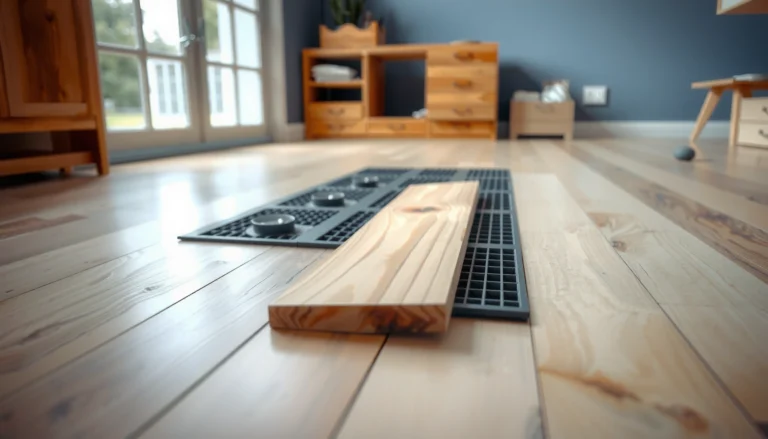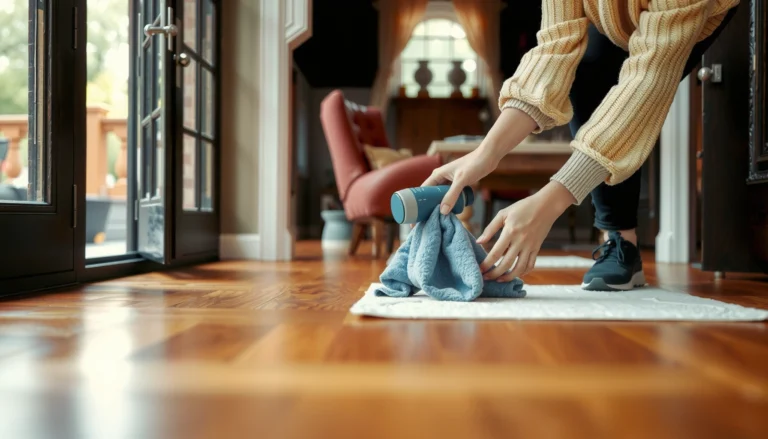

Want a step-by-step way to refinish hardwood floors that actually works? This guide walks you through sanding, repairing damage, staining, and sealing so you get a smooth, even finish that lasts—without guesswork. If you’re dealing with worn, scratched, or dulled planks, following these exact steps is the fastest path to a showroom-ready floor.




If you’re dealing with worn, scratched, or cloudy hardwood and you’re comfortable following a careful DIY process, this is for you. If your boards are badly cupped/rotted, the floor has deep structural damage, or you’re unsure about lead/asbestos in older homes, you’ll need a different plan (we cover what to watch for).
Assess your floor and pick the right refinishing approach
A correct refinishing plan starts with identifying what you’re actually sanding and whether the subfloor is stable. Most “bad DIY results” come from skipping condition checks—especially when the wood is hardwood in name only (or when the subfloor motion keeps telegraphing through the new finish).
Before you touch a sander, confirm three things: the material, the problem scope, and the compatibility of the existing topcoat.
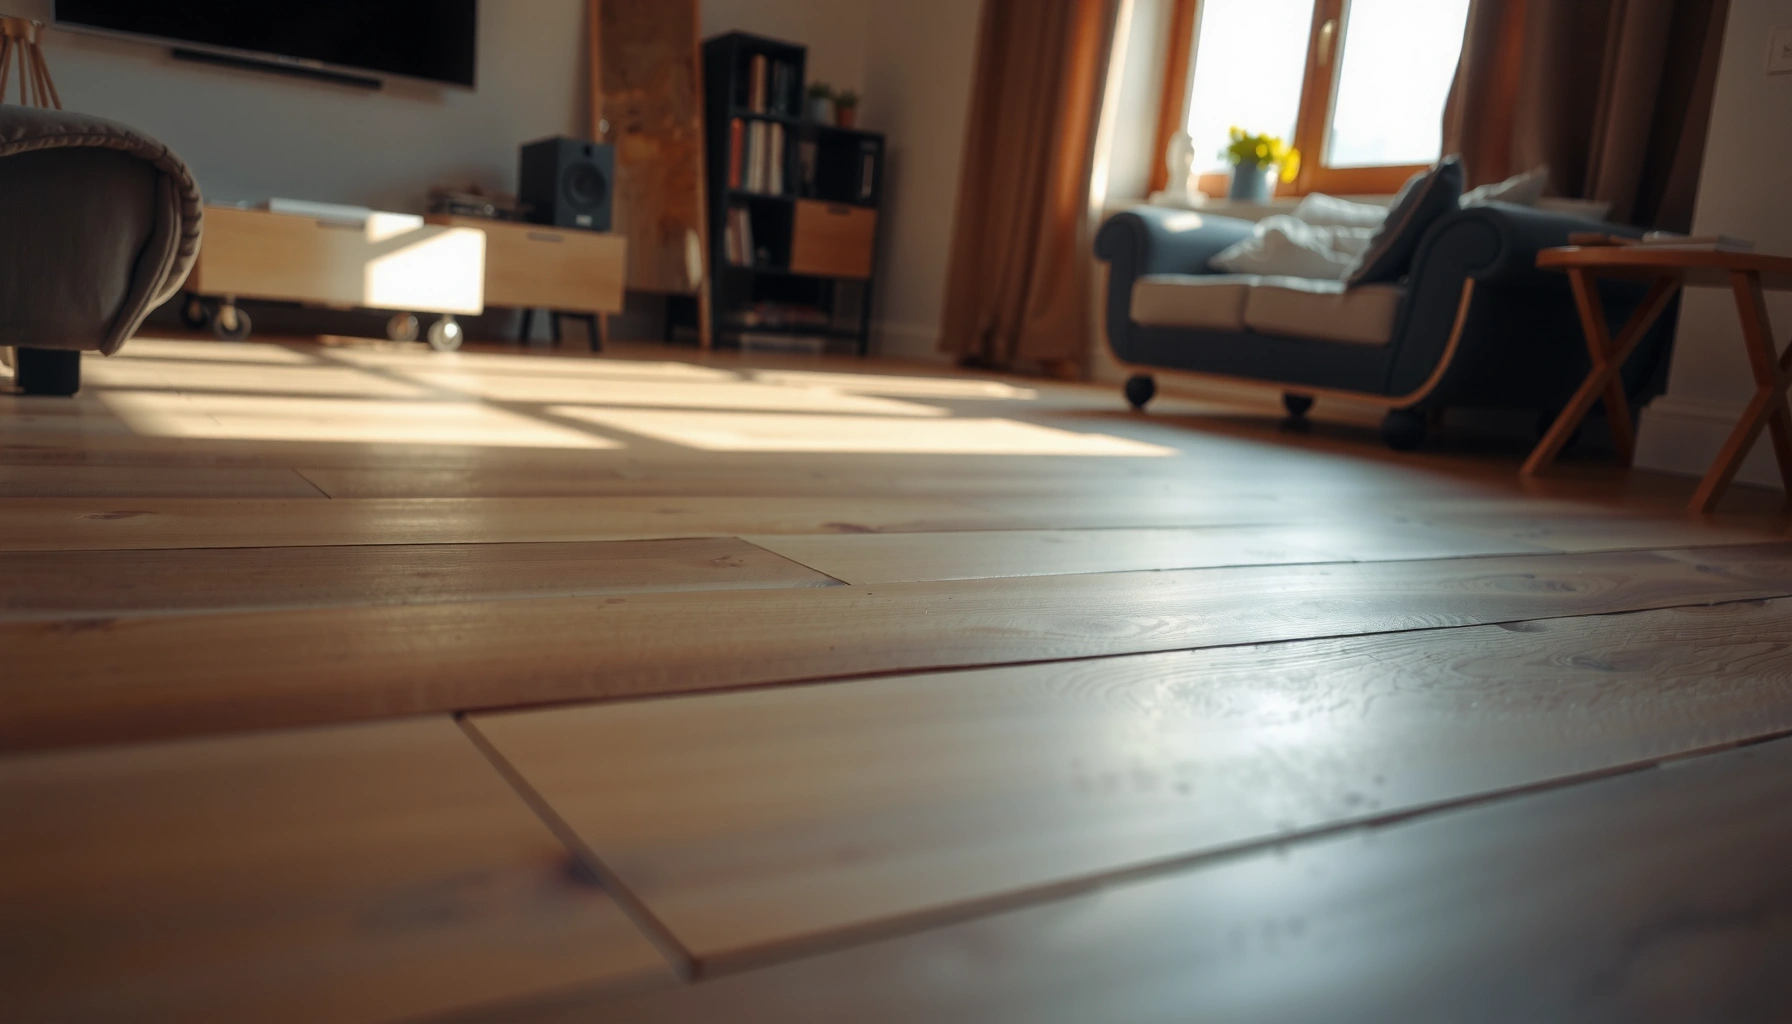
If the boards are moving (cupping, repeated gaps, or persistent waves), refinishing can’t fix the underlying moisture or subfloor issue—it only adds a new surface layer that can fail sooner.
To bond a new finish, you generally need sound preparation of the existing coating; sanding is the most reliable way to create that mechanical bond for polyurethane systems.
Wood dust from sanding is a real health hazard; OSHA lists enforceable exposure limits for wood dust, reinforcing that ventilation and respiratory protection are not optional.
– Check whether it’s truly hardwood in the affected areas (and confirm the condition of the subfloor if boards look warped).
– Decide whether you need a full refinish (whole-floor sanding) or a targeted repair approach (spot sanding + blending).
– Identify what finish is currently on top (water-based vs oil-based vs unknown)—it affects sanding behavior and compatibility with new products.
To help you choose how aggressive to get, it’s useful to think in terms of “hardness,” because harder species tend to resist dents better (and they usually sand differently than softer boards). Here’s a practical reference for common North American hardwoods and their Janka hardness.
Common Hardwood Species Used in Floors: Janka Hardness & Refinishing Toughness (U.S./Canada)
| # | Hardwood species | Janka hardness (lbf) | Typical sand behavior | Refinishing toughness |
|---|---|---|---|---|
| 1 | Red oak (Quercus rubra) | 1290 | Easy to sand; shows stain variation due to grain | ★★★★☆ |
| 2 | White oak (Quercus alba) | 1360 | Very durable; can resist dents and wear | ★★★★★ |
| 3 | Hard maple (Acer saccharum) | 1450 | Sands cleanly; can be blotch-prone with stain | ★★★★★ |
| 4 | Hickory (Carya spp.) | 1820 | Very tough; remove finish without gouging | ★★★★★ |
| 5 | Walnut (Juglans nigra) | 1010 | Softer; dents more easily than oak/maple | ★★★☆☆ |
| 6 | Brazilian cherry / Jatobá (Hymenaea courbaril) | 3540 | Extremely hard; expect slower sanding | ★★★★★ |
| 7 | Teak (Tectona grandis) | 2200 | Hard and oily; surface prep matters for adhesion | ★★★★★ |
> Note: Star “refinishing toughness” here is an interpretive scale based on Janka hardness bands (not a manufacturer rating). For your exact floor, still follow the coating system’s prep requirements.
Gather tools, prep the room, and protect everything
A clean, controlled workspace is the difference between a smooth, clear finish and a gritty, uneven one. Before sanding starts, you set up dust containment, ventilation, and the right equipment so the finish can level and cure as intended.
If you want professional-looking results, treat dust control like part of the finishing system—not a separate chore.
OSHA sets an 8-hour time-weighted-average exposure limit for wood dust of 15 mg/m³ (total dust) and 5 mg/m³ (respirable fraction) for hardwood and softwood not otherwise regulated.
Lead dust clearance standards are regulated by EPA for post-renovation activities; for example, floors have a clearance level of 40 µg/ft² for lead-contaminated dust (as specified by EPA).
Sanding generates fine particulates that can settle on tacky coatings; strict cleanup and curing-time restrictions help prevent texture defects.
– Remove furniture, cover vents, and protect walls/baseboards; plan for dust control before sanding starts.
– Fix loose boards and address squeaks before you refinish, since movement can telegraph through the finish.
– Make sure you have sanding supplies for the whole grit progression and the right applicators for your chosen topcoat.
Practical prep checklist for a smoother workflow:
– Ventilation: Keep air moving without blasting dust everywhere. Use a HEPA-filtered vacuum connected to your sander where possible.
– PPE (personal protective equipment): At minimum, use respiratory protection appropriate for wood dust; follow OSHA guidance and your local requirements.
– Moisture stability: Run HVAC so the room stays stable; large humidity swings can affect how coatings flow and how the wood responds during and after sanding.
– Lighting: Use bright, angled work lights. They reveal “waves,” scratches, and edge issues early—before staining and topcoat.
Sanding: the step that determines the final look
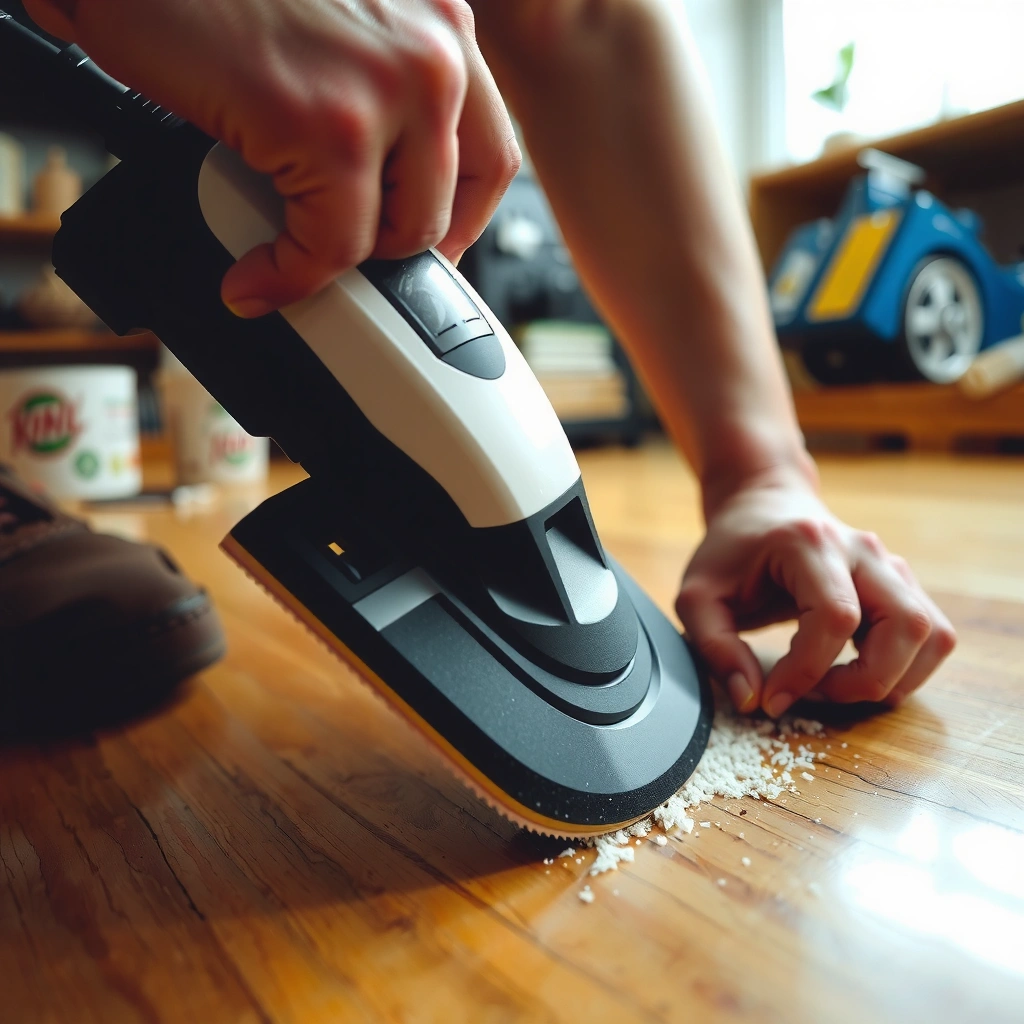
Sanding controls the surface level, scratch pattern, and how uniformly stain or clear coat will bond and reflect light. When sanding is inconsistent, the finish will highlight everything—especially dents, shallow ruts, and uneven sheen.
This is the phase where you earn (or lose) your final appearance.
A progressive grit sanding schedule is standard practice: you remove the old coating with coarser grits, then refine with progressively finer grits for a smoother, less scratchy surface.
Between sanding passes, thorough vacuuming and surface prep reduce dust nibs that can cause bumps visible under glossy or semi-gloss finishes.
Uniform sanding pressure and overlapping passes help prevent “ruts,” which otherwise show through as darker, lower-looking areas after finishing.
– Start with the appropriate grit and move progressively to finer grits to remove old finish and level the surface.
– Keep your sanding path consistent and avoid “ruts” by controlling pressure and overlapping passes.
– Vacuum thoroughly between steps and wipe/prepare the surface per the finish manufacturer’s instructions.
How I suggest thinking about sanding workflow (in plain terms):
– Pass 1 (surface/finish removal): Focus on removing the old protective layer evenly. Stop when the surface looks uniformly abraded—no shiny islands of untouched finish.
– Pass 2+ (leveling): You’re not trying to “make it pretty” yet; you’re eliminating sanding ridges and flattening the floor plane.
– Final refinement: Keep the last sanding step consistent so stain (if used) absorbs evenly and the clear coat lays without drag marks.
Important: if the floor has deep scratches that don’t disappear with your planned grit progression, don’t keep forcing the issue—your filler, leveling, and abrasion strategy may need adjustment.
Repair dents, fill gaps, and get the surface ready for finishing
Repairs and filling are what make the floor look “new,” because clear coatings don’t hide defects—they magnify them. This step is also where DIY results commonly diverge: fillers that aren’t sanded flush can telegraph through the final topcoat.
Treat repair like part of the sanding process, not a separate “touch-up” job.
Wood filler should be sanded flush after it cures so the filler grain doesn’t create a visible ridge or sink spot under polyurethane sheen.
Edges and corners trap sanding inconsistencies because they limit tool overlap; dedicated hand-sanding helps produce more uniform appearance at the perimeter.
A final cleanup immediately before coating reduces the chance of dust nibs and grit-related texture in the cured finish.
– Use wood filler for dents and gaps, then sand flush so the filler doesn’t show through the topcoat.
– Address edge and corner details (often where DIY results vary most) using the right hand-sanding strategy.
– Do a final clean immediately before coating to reduce dust nibs and gritty texture.
What to watch for during repairs:
– Filler mismatch: If you plan to stain, verify the filler is compatible (color can shift).
– Sanding too aggressively after filling: If you sand down through filler spots, you create low areas that reflect light differently.
– Dry time discipline: Fillers and wood putties typically need to cure per label instructions—rushing leads to soft spots that can break later.
Apply stain (optional) and finish coatings correctly
The right finish is what protects the wood for years, and application technique controls the final clarity and sheen. Whether you use water-based or oil-based polyurethane, follow the manufacturer’s coat count and recoat windows—most failures trace back to rushed timing or incompatible systems.
If you use stain, your goal is even absorption and consistent dwell time.
Stain quality and application method determine blotch risk; uneven spreading or inconsistent dwell time commonly causes darker patches, especially on red oak and maple.
Polyurethane systems are designed as a build-up: adhering to the manufacturer’s recommended number of coats and recoat windows is key to full cure and durability.
Stable temperature and humidity during curing helps ensure the coating levels properly and forms a uniform film.
– If you’re staining, apply evenly and manage dwell time so you don’t get dark patches or blotchy color.
– For the clear protective coating, follow the product’s recommended number of coats and dry/recoat windows.
– Maintain stable temperature/humidity and avoid traffic or heavy dust exposure while the finish cures.
Application method basics (high impact):
– Stir, don’t shake: Shaking can introduce bubbles that show through.
– Thin first coat if label allows: Some systems recommend specific thinning or sanding between coats. Always follow the TDS (technical data sheet).
– Sand between coats only if the system calls for it: Over-sanding can cut through earlier film build; skipping abrasion can reduce intercoat adhesion.
What can go wrong (and how to avoid the most common failures)
DIY refinishing goes wrong when prep is rushed or when the coating chemistry doesn’t match the substrate conditions. The good news: most common failures have clear causes, and you can prevent them by aligning surface prep, product compatibility, and application timing.
Here are the frequent problems and what to do instead.
Peeling and adhesion failures are usually traced to inadequate surface prep (insufficient sanding, residue, or moisture) or using an incompatible finish system without following manufacturer prep steps.
Cloudiness and uneven sheen commonly come from applying coats inconsistently, contaminating the surface, or trapping dust in the wet film.
Gritty texture is typically a dust-control problem—vacuum quality, wipe method, and timing before coating all matter.
– Peeling or adhesion problems: usually caused by poor prep or incompatible finish systems—verify product compatibility and follow manufacturer prep steps.
– Haze, cloudiness, or uneven sheen: often comes from contaminated surfaces, sanding residue, or applying coats inconsistently.
– Gritty texture: happens when dust isn’t controlled—use thorough vacuuming and follow cleanup steps exactly.
– Edges look different than the field: frequent in DIY because perimeter sanding and application technique differ—plan extra attention to transitions.
Quick comparison: common DIY issues vs root causes
| Symptom | Most likely cause | Prevention |
|---|---|---|
| Peeling | Insufficient surface sanding or residue | Sand to a uniform profile; clean/wipe per TDS; avoid moisture |
| Haze | Dust contamination or coat scheduling issues | Vacuum between coats; respect recoat/dry windows |
| Rough feel | Nibbed dust in the finish | HEPA vacuuming + correct wipe method before topcoat |
| Perimeter mismatch | Different sanding depth and cutting-in technique | Use consistent hand-sanding overlap and feather application edges |
Verdict: DIY is doable, but skip it if the risk is high
Refinishing hardwood floors can be a solid DIY project if your boards are structurally sound, the damage is mostly cosmetic, and you’re willing to treat sanding and cleanup as the real “work.” The downsides are time, dust exposure, and the possibility of uneven stain or sheen if preparation and timing aren’t meticulous.
OSHA’s wood dust exposure limits are a strong signal that DIY refinishing needs engineered controls (HEPA vacuum, ventilation) and appropriate respiratory protection.
EPA lead clearance standards exist specifically to reduce lead dust risk after renovation or repair work in older housing.
If your wood shows significant moisture-driven distortion (cupping/warping), a new finish may fail even if sanding looks perfect.
Skip DIY (or get professional help) if you suspect major subfloor issues, extensive cupping/warping, widespread staining that won’t sand out, or if you need testing/abatement for hazardous materials in older homes—[ADD: source for when lead/asbestos testing is recommended, if you include it in your site policy]. In those cases, the right sequence is investigation → abatement/repair → refinishing, not sanding first and “hoping for the best.”
Quick checklist (scan before you start)
– [ ] Confirm hardwood condition and whether full or spot refinishing is needed
– [ ] Identify current finish type as best as possible
– [ ] Protect room (vents, baseboards, flooring edges) and plan dust control
– [ ] Repair loose boards, dents, and gaps before final sanding
– [ ] Sand with a grit progression and vacuum between steps
– [ ] Clean and prep exactly per finish manufacturer instructions
– [ ] Apply stain (optional) evenly and follow coat count + dry/recoat windows
– [ ] Let finish cure fully before moving furniture back
FAQ
Can you refinish hardwood floors without sanding?
Sometimes only minor surface refinishing is possible, but most true refinishing work requires sanding to ensure adhesion and an even surface. If you’re trying to coat over existing finish, compatibility and prep requirements vary—[ADD: source for your specific finish system’s prep guidance].
How long does it take to refinish hardwood floors?
Time depends on floor size, sanding method, and drying/curing windows, plus how many coats you apply. Expect significant time for sanding and multiple coats; for exact timing, follow the manufacturer’s recommended dry and recoat intervals—[ADD: exact time guidance from the product instructions you plan to use].
What finish should I use: water-based or oil-based polyurethane?
Water-based finishes typically offer faster cleanup and often lower odor, while oil-based can provide different build/ambering characteristics. The best choice depends on your desired look and the manufacturer’s compatibility with your sanding/prep and (if applicable) stain—[ADD: reference to the finish manufacturer comparison or specs].
Why does my floor look blotchy after staining?
Blotchy results usually come from uneven absorption, residue, or not controlling dwell time. Surface prep and stain application method are the biggest drivers—[ADD: cite the stain manufacturer’s application/prep instructions].
Sources
– OSHA—Wood dust exposure limits (8-hour time-weighted-average PELs for hardwood/softwood, total and respirable fractions) [ADD: official OSHA document name/section]
– EPA—Lead clearance standards used for post-renovation dust testing (including floor dust clearance level) [ADD: official EPA guidance name/section]
– [ADD: finish manufacturer technical data sheet for prep steps, coat count, dry/recoat windows, and curing guidance]
– [ADD: stain manufacturer instructions for surface prep, dwell time, and cleaning/overcoating requirements]
– [ADD: manufacturer instructions/specs for the specific sanding method and grit progression you recommend]
– [ADD: official guidance on dust control/ventilation or floor refinishing safety, if you include it on your site]
Refinishing hardwood floors works best when you treat the process as a sequence: assess the wood and subfloor, control dust during sanding, repair and sand flush, then follow the finish system’s exact prep and recoat schedule. If you keep those priorities straight—and you pause when the floor’s condition suggests a structural or hazardous-material issue—you’ll get a durable, even-looking surface that matches what you see in professional results.
Frequently Asked Questions
What’s the best way to refinish hardwood floors without damaging the finish?
Start by thoroughly cleaning the floor and inspecting for loose boards, deep gouges, and nails that might catch the sander. Use the right abrasives in a sequence (typically sanding from coarse to fine) and keep a steady motion to avoid uneven sanding and swirl marks. Vacuum dust between grits and after sanding, then apply a compatible hardwood floor stain and finish to protect the surface and enhance durability.
How do I refinish hardwood floors step-by-step using a drum or orbital sander?
Begin by removing baseboards or masking them carefully, then clear the room and tape off vents and transitions. Sand in passes, moving from rougher grit to finer grit, and use a detail sander/edger around edges and corners for consistent results. After sanding, vacuum thoroughly, wipe with a tack cloth if recommended, apply stain (optional), let it cure, and finish with polyurethane or another hardwood floor finish according to the manufacturer’s drying times.
Why do hardwood floors look blotchy after sanding and staining, and how can I prevent it?
Blotchy results often come from uneven wood absorption, inadequate prep, or sanding that leaves certain areas rougher than others. To prevent blotching, sand evenly to the recommended final grit, remove all dust, and consider conditioning the wood with a pre-stain conditioner on porous species like pine or maple. If you already see uneven tone, you may need to re-sand lightly and re-apply stain in controlled layers.
Which polyurethane finish is best for refinish hardwood floors—water-based or oil-based?
Water-based polyurethane is popular for refinish projects because it tends to dry faster and usually preserves the natural color with less ambering. Oil-based finishes often provide a slightly richer color tone and can be more forgiving for some homeowners, but they typically have stronger odors and longer cure times. The best choice depends on your floor’s traffic level, desired sheen, and how quickly you need the space ready again—always match products to your stain and follow the same system.
How do I fix scratches, dents, and gaps before sanding when refacing hardwood floors?
Address visible damage before you refinish hardwood floors by filling dents and scratches with a wood filler or putty that matches your floor tone, then sanding smooth once cured. For gaps between boards, use the right filler method for your type of hardwood and seasonality—some situations may require professional guidance if movement is significant. After repairs, re-sand to level the surface and ensure the final coat adheres evenly for a smooth, professional-looking finish.
📅 Last Updated: October 07, 2026 | Topic: How to refinish hardwood floors? | Content verified for accuracy and freshness.
References
- Google Scholar Google Scholar
https://scholar.google.com/scholar?q=how+to+refinish+hardwood+floors - Google Scholar Google Scholar
https://scholar.google.com/scholar?q=hardwood+floor+refinishing+screening+sanding+staining+sealing - Google Scholar Google Scholar
https://scholar.google.com/scholar?q=hardwood+floor+refinishing+polyurethane+water-based+oil-based+comparison - https://en.wikipedia.org/wiki/Hardwood_flooring
- https://en.wikipedia.org/wiki/Floor_sanding
- Lead Renovation, Repair and Painting Program | US EPA
https://www.epa.gov/lead/renovation-repair-and-painting-program - https://www.epa.gov/lead/protect-your-family-from-lead-in-your-home
- Wood Dust – Overview | Occupational Safety and Health Administration
https://www.osha.gov/wood-dust - https://www.cdc.gov/niosh/topics/wooddust/default.html
- https://www.epa.gov/lead/lead-safely-renovate-right