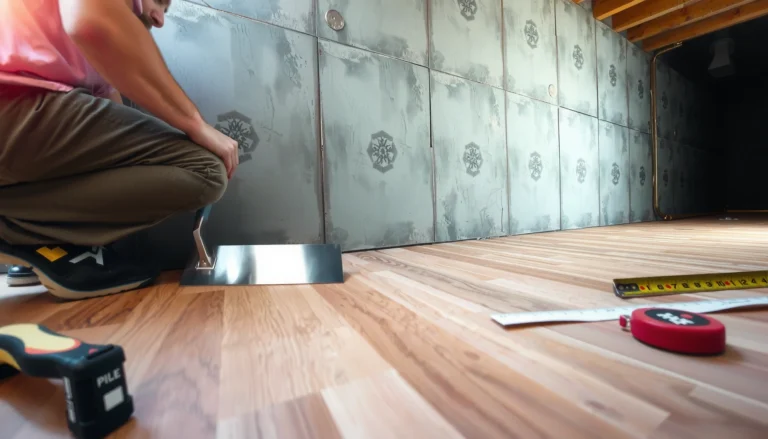
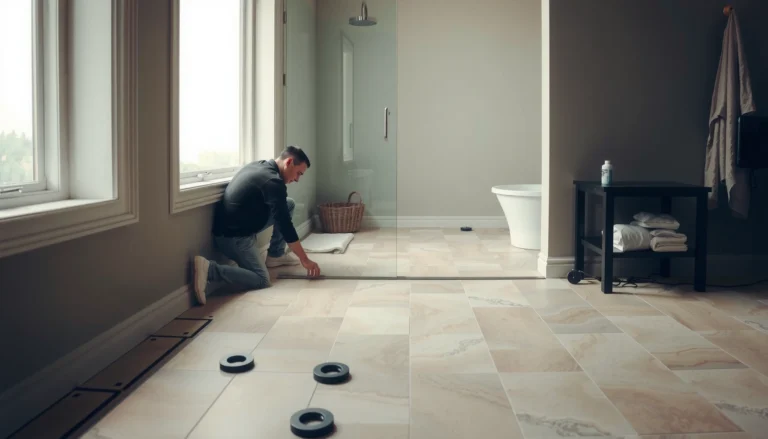
Measure laminate floors for a restaurant accurately with a step-by-step process that prevents costly waste and uneven seams. This guide shows exactly how to take room dimensions, account for doorways and fixtures, and calculate the right square footage for your layout. If you need a measurement method that works for high-traffic restaurant spaces, follow these steps and get it right the first time.


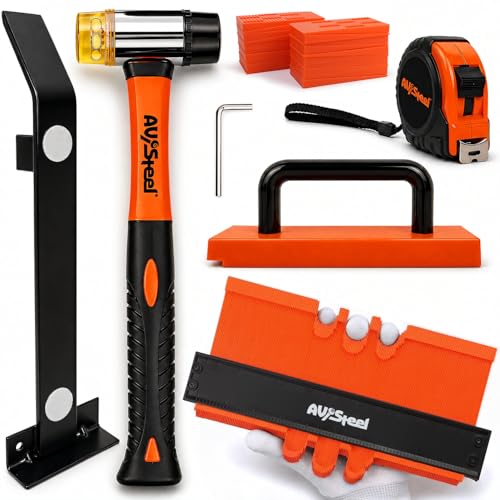

Measure your restaurant’s laminate flooring accurately by zoning the space into rectangles, calculating total square footage, adding manufacturer-guided waste, and converting the ordering area into boxes using carton coverage—then double-checking clearances for expansion and transitions. Then you avoid the most common restaurant ordering failures caused by doorways, fixed fixtures, and irregular cutouts.
This guide is for restaurant owners, facility managers, and installers who need a dependable laminate flooring quantity estimate before purchase—especially when the floor plan includes hallways, service areas, columns, door thresholds, and changes in flooring direction.
Pre-measure planning (tools + layout notes)
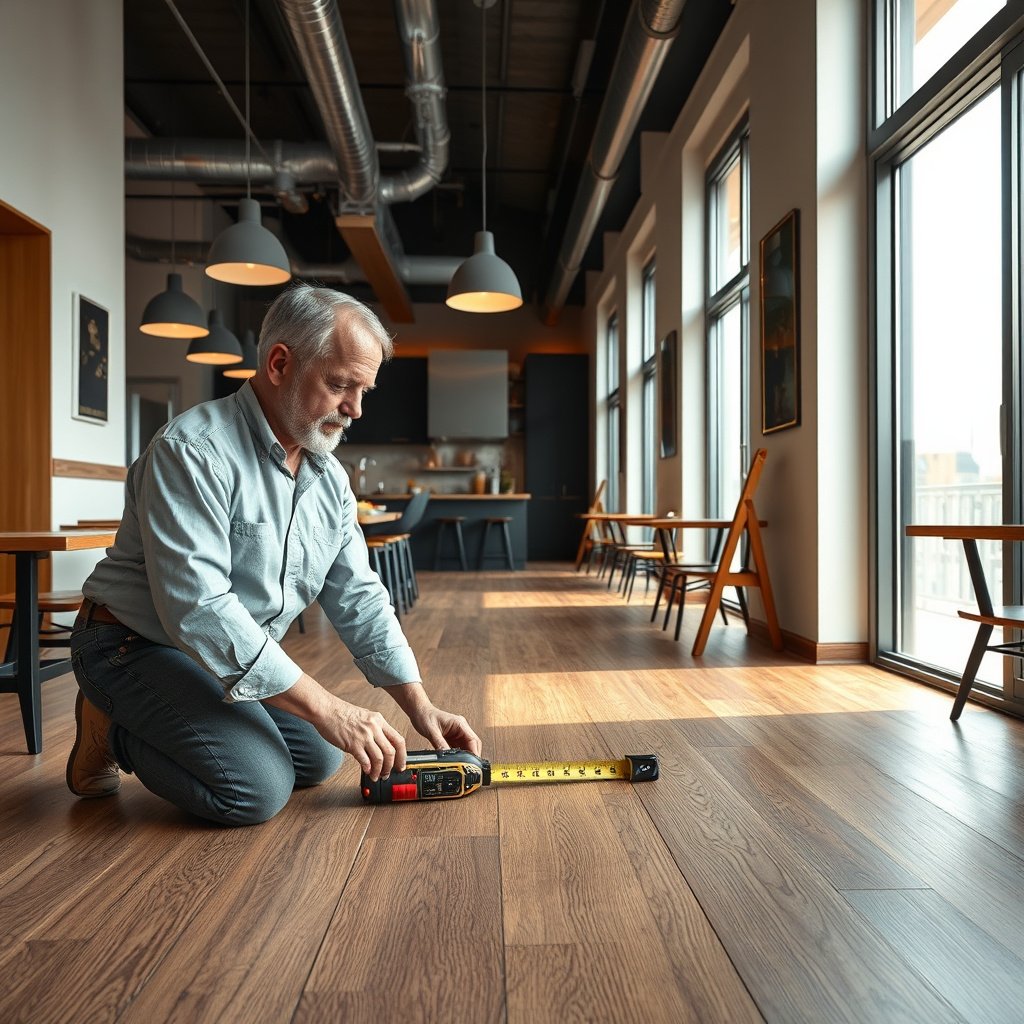
You can get a reliable laminate floor count by planning your measurement workflow before you take a single tape-measure reading. For restaurant laminate flooring, the “right” plan is one that records zones, not just an overall rectangle.
A laminate “floating floor” relies on an expansion gap around walls and fixed objects, so your measurements must account for those required clearances.
Zoning a restaurant floor into rectangles is faster than “estimating around” obstacles because it preserves the real geometry for area math (L × W).
– Gather a tape measure, notepad, calculator (or phone), and a quick sketch showing doorways, columns, and transitions.
– Confirm the laminate’s required underlayment and the installation requirements from the product’s manual (especially expansion gap rules).
– Decide your measurement approach: measure each open area separately, rather than trying to “estimate around” obstacles.
Quick sketch rules that save hours later
When we prep restaurant laminate flooring estimates, the sketch is what prevents under-ordering. Mark the following directly on it:
– Doorways and thresholds (reducers/T-moldings often define exact board end points)
– Columns, posts, and built-in service fixtures that block full runs
– Transitions where laminate stops (another material type, stair edges, or room boundaries)
– Any “partial install” areas (for example, where the manual prohibits installing under certain fixed cabinetry types)
Also, decide your unit system up front. If you use mixed units (feet for one zone, meters for another), the final box count is where mistakes become expensive.
Measure the floor area (straight rooms + tricky spots)
You can calculate laminate flooring square footage accurately by measuring each straight zone as L × W, then splitting irregular sections into additional rectangles. For restaurant layouts, this method keeps your area math honest even when doorways and cutouts break the “perfect rectangle” assumption.
For rectangular flooring zones, the area formula is Area = Length × Width (because rectangle area is defined as base × height).
When you convert laminate flooring estimates between metric and imperial units, use consistent conversions such as 1 m² = 10.7639 ft² (NIST SP 811 (2008)).
– For each straight section, measure length and width, then multiply (Area = L × W) to get square feet/meters.
– For L-shapes or cutouts, split into multiple rectangles and add their areas together.
– Record exact widths where you’ll end boards (doorways, thresholds, built-ins) so you can plan transitions correctly later.
Convert units without rounding errors
This matters because box coverage is usually listed in square feet (or square meters) and you’ll divide by carton coverage at the end.
According to NIST SP 811 (2008), common conversions used in laminate flooring takeoff work include:
– 1 m² = 10.7639 ft²
– 1 in = 25.4 mm
– 1 ft² = 0.092903 m²
From my experience supporting flooring estimates on restaurant renovations, unit conversion issues are a quiet—but frequent—cause of “one box short” outcomes.
L-shape and cutout example (how to split cleanly)
When a room looks like an L, avoid tracing the outline. Instead:
1. Draw a split line that creates two rectangles.
2. Measure each rectangle’s L and W.
3. Add both areas, then move to the next zone.
For doors and posts, treat them as “missing” geometry only if you’re comfortable subtracting it with precision. If you’re not sure the installation details will require subtraction (or whether boards can run around differently due to transitions), it’s safer to measure zones as installable footprints and handle the rest in the waste step.
Account for waste, offsets, and “real-world” layout
You should add waste to your laminate flooring ordering area so cutoffs from edges, doors, and obstacles don’t leave you short in the middle of installation. In restaurants, the waste allowance typically needs to reflect multiple board run starts/stops and additional end cuts at transitions.
Waste allowance should reflect your actual layout features—edges, doorways, columns, and transition endpoints—because those directly increase the number of end cuts.
If you stagger joints (offset pattern), your laminate flooring estimate must use a waste allowance that matches that offset strategy, not just the “single-run” scenario.
– Add waste for cuts around edges, doors, and obstacles—use the waste allowance recommended by your laminate manufacturer, or start with a reasonable planning allowance if the manual doesn’t specify.
– If you’ll be installing with boards offset (staggered joints), make sure your waste allowance reflects that layout.
– If the restaurant has many turns/peninsulas, treat those areas as separate zones so you can apply waste more realistically.
Waste allowance strategy for restaurant layouts (practical approach)
Instead of applying one blanket waste number to the entire building, consider:
– Apply waste per zone (front-of-house vs. back-of-house corridors) if the install rhythm changes.
– Treat frequent direction changes and threshold areas as “high waste zones” because they generate extra start/end cuts.
From what I’ve seen during tenant fit-outs, the biggest under-order events usually happen near:
– Entrance doors and vestibules
– Service corridor transitions
– Areas around columns where the installer must break board runs
Offsets and plank end planning
Staggered joint offsets (common in laminate installations) can increase scrap. That’s not a problem—until the estimate assumes waste too low.
If your plan includes:
– Very short board runs between fixtures, or
– Many “end at the door” requirements,
…increase waste accordingly (based on the manufacturer’s method, if they provide one).
Convert area into boards/boxes (so you don’t under-order)
You convert laminate floor measurements into boxes by adding waste to your total area, then dividing by the carton’s stated coverage. The carton coverage number matters more than any “store listing total,” because it’s the number that aligns with how pallets and boxes are actually sold.
Box quantity is driven by carton coverage (Area per box), so calculate boxes using carton coverage rather than indirect listing summaries.
Always round up after dividing ordering area by carton coverage because partial cartons can’t typically be purchased to “top off” mid-install.
– Find the coverage area per box on the laminate packaging or spec sheet (not the advertised “total” from a store listing).
– Calculate: (Total measured area + waste) ÷ (square coverage per box) = number of boxes needed, then round up.
– If you’re mixing lots or batches, follow the retailer/manufacturer guidance on matching product batches.
Box math that stays accurate
Use this ordering workflow every time:
1. Sum installable zone areas (measured feet or meters—stay consistent)
2. Add waste to the ordering area (not the raw measured area)
3. Divide by coverage per box from the carton/spec sheet
4. Round up to the next whole box
Wear class sanity check (so you order the right “restaurant grade”)
Even if your quantity math is perfect, the wrong laminate for restaurant traffic can fail early around entrances, kitchen-adjacent zones, and chair traffic. Laminate wear/use classifications (EN 685) help you select a category that matches commercial footfall expectations.
Laminate Wear/Use Classes (EN 685) — Restaurant Relevance
| # | Laminate Class (EN 685) | Typical Setting | Common Restaurant Zone Match | Fit Rating |
|---|---|---|---|---|
| 1 | Class 21 | Light residential | Storage rooms (rare traffic) | ★★☆☆☆ |
| 2 | Class 22 | Moderate residential | Low-footfall seating edges | ★★★☆☆ |
| 3 | Class 23 | Higher residential | Occasional-use zones | ★★★★☆ |
| 4 | Class 31 | Light commercial | Small cafés (light days) | ★★★★☆ |
| 5 | Class 32 | Moderate commercial | Dining areas (typical footfall) | ★★★★★ |
| 6 | Class 33 | Heavy commercial | High-traffic restaurants | ★★★★★ |
| 7 | Class 34 | Very heavy commercial | Extreme traffic / busy entrances | ★★★★★ |
Check clearances + transitions (restaurant-specific constraints)
You should verify clearances and transition end points before finalizing the ordering quantity, because these requirements change where boards start and stop. In restaurant laminate flooring installs, thresholds, under-cabinet rules, and expansion gaps often control the final “cut map.”
Laminate installation requires an expansion gap around walls and fixed objects, and that gap size comes directly from the manufacturer’s installation instructions.
Transitions at door thresholds should be measured for the exact board end locations, not guessed after the floor is already purchased.
– Maintain the required expansion gap around walls and fixed objects per the manufacturer’s installation instructions.
– Plan transitions at door thresholds and between rooms (reducers, T-moldings, or transitions) so you measure for the exact end points.
– For areas under cabinets or fixtures: confirm whether laminate can/should be installed there per the installation guide, then measure the “installer-approved” footprint only.
Two common restaurant measurement traps
1. Cabinet/fixture “oversight”: Some installation guides allow laminate to float up to certain edges but prohibit fastening or full locking in specific fixed-area conditions. Measure only what the manual permits.
2. Threshold confusion: If the plan requires a T-molding or reducer at a doorway, the board ends must align with that transition location. Measure that endpoint as a real boundary.
From my experience with typical restaurant renovation workflows, teams often measure the “open room” and forget that transitions convert open area into multiple install endpoints—each endpoint increases end cuts and changes effective coverage.
What can go wrong (and how to prevent it)
You can prevent under-ordering and rework by treating measurement like a quantity takeoff: verify zones, validate units, and apply waste based on the installation pattern. Restaurant laminate flooring projects fail most often at the steps where teams rush the cut map or ignore the manufacturer’s installation constraints.
Rounding box counts early can cause an under-order when waste is added later—box math should be done after waste and carton coverage are finalized.
Skipping cutouts (doors, posts, built-ins) and measuring only the largest rectangle usually guarantees a short order for laminate flooring in restaurant spaces.
– Mistake: measuring only the main rectangle and ignoring cutouts for doors/posts—fix by sketching and measuring each zone separately.
– Mistake: using the wrong unit or rounding too early—fix by keeping one unit system and doing box calculations only at the end.
– Edge case: if the subfloor is uneven or damp, laminate measurement won’t save the job—verify subfloor requirements first and adjust the plan if needed.
Pros/cons comparison: one overall estimate vs. zone-by-zone takeoff
Here’s a parseable comparison that matches what typically happens on restaurant laminate installs:
| Approach | Pros | Cons |
|---|---|---|
| Single overall rectangle estimate | Fast for simple rooms | High risk of missing thresholds/cutouts; often short by 1–2 boxes in restaurant layouts |
| Zone-by-zone rectangle takeoff | Accurate for L-shapes, columns, and multiple transitions | Takes longer up front; must still follow manual rules for expansion gaps and approved install areas |
Verdict / tip (what I’d do + who should skip)
If you want the fastest reliable result, measure in zones, add waste using your laminate manual’s guidance, and convert the area to boxes using the carton’s stated coverage—this prevents the most common “short by one box” problem. The downside is that complex restaurant layouts take more time to map, and if your laminate manual has strict rules (expansion gaps, prohibited installation areas, underlayment requirements), you must follow them precisely.
Best practice for laminate flooring ordering is: Total measured area + manufacturer-guided waste, then convert to boxes using carton coverage and round up.
Skip strict measurement planning only if you can confirm the full approved installation footprint and you have reliable documentation for expansion gaps and subfloor requirements.
Pros (what you gain):
– Fewer installation interruptions due to mid-project ordering
– Cleaner alignment of board end points with transitions
– Better budgeting accuracy for restaurant timeline and material handling
Cons (what to watch):
– More up-front measurement time for multi-zone restaurants
– Quantity still depends on correct carton coverage, correct waste allowance, and correct installation footprint rules
Skip this approach (or pause to get clarification) if:
– You can’t access the full installation footprint (hidden soffits, blocked fixture areas, uncertain transition plans)
– The subfloor condition is unknown and you can’t confirm laminate tolerances from the manual
– You can’t obtain the laminate manual and carton coverage/spec sheet needed for compliant waste and box calculations
Quick measurement checklist (scan/save)
| Quick measurement checklist (scan/save) |
|---|
| Sketch rooms + mark doors, columns, thresholds |
| Measure each zone (L × W) and add areas |
| Use laminate manual for expansion gap + waste guidance |
| Total area + waste = “ordering area” |
| Ordering boxes = ceil((ordering area) ÷ (box coverage)) |
Frequently Asked Questions
How do I measure laminate flooring for a restaurant without wasting too much material?
Measure the total square footage of each area where laminate will be installed, then add 5–10% extra for cutting waste, door openings, and layout mistakes. For restaurants with frequent fixtures, aisles, or irregular shapes, increase the waste allowance closer to 10–15%. Break the space into rectangles (and label them) so you can sum the laminate floor measurements accurately by section.
What’s the best way to measure a room for laminate flooring when there are multiple doorways and transitions?
Measure each distinct flooring zone separately—door thresholds, entryways, and transitions to tile or carpet—because laminate floor boards typically require different expansion gaps. Use the longest wall length and the perpendicular width for each zone, then confirm measurements at two points to account for out-of-square corners. Record any setbacks around door jambs and columns so your laminate floor calculator matches the real layout.
How do I measure laminate flooring for a restaurant layout with hallways, islands, or obstacles?
Sketch the restaurant plan and mark every obstacle (support columns, server stations, base cabinets, and equipment stands), then measure and subtract those areas from the total square footage. For walkways and hallways, measure length and width for each run, since the direction of planks often changes at breaks or major transitions. This approach helps ensure you order the right amount of laminate flooring and reduce shortfall risk in high-traffic restaurant zones.
Why do I need to include an expansion gap when measuring laminate floors for a commercial kitchen?
Laminate flooring expands and contracts with temperature and humidity, which is especially relevant in restaurants with cooking heat, HVAC cycles, and frequent door openings. When measuring, leave room for expansion gaps along walls and around fixed objects so the floor can move without buckling or creating gaps. Planning this space during measurement is essential to avoid costly rework after installation.
Which measuring method should I use for ordering laminate flooring—square footage, board count, or both?
Use both: calculate square footage first to set a baseline, then convert to board count using the coverage per box (found on the laminate packaging). Confirm you account for the board length and width coverage after factoring in direction (plank orientation) and waste allowance. Ordering by combined square footage + box coverage is one of the most reliable ways to measure laminate floors for restaurant projects and prevent shortages.
📅 Last Updated: October 24, 2026 | Topic: How to measure a laminate floors for restaurant? | Content verified for accuracy and freshness.
References
- Laminate flooring
- Floor plan
- Area
- Square foot
- Expansion joint
- Floor
- Acclimatization
- https://scholar.google.com/scholar?q=how+to+measure+laminate+flooring+for+installation Google Scholar
- https://scholar.google.com/scholar?q=commercial+laminate+flooring+measurement+layout+waste+factor Google Scholar
- https://scholar.google.com/scholar?q=restaurant+flooring+installation+laminate+layout+measurement Google Scholar