
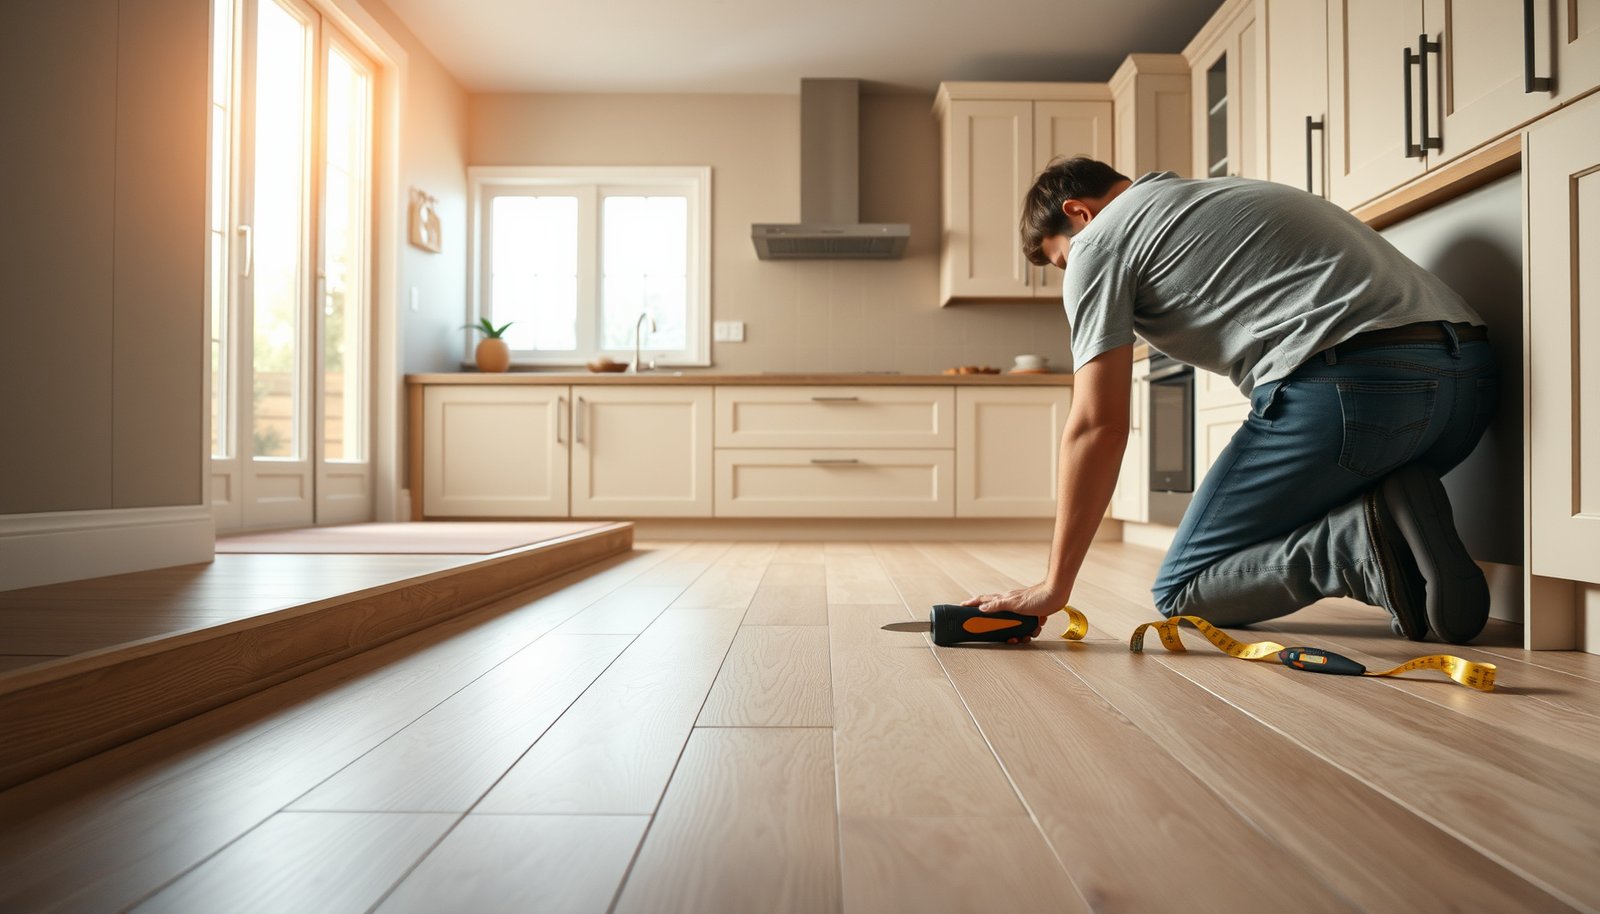

Follow these step-by-step instructions to install vinyl floors in a kitchen fast, clean, and with a durable, watertight finish. This guide walks you through prepping the subfloor, planning the layout, clicking or gluing planks correctly, and sealing the edges where kitchen moisture matters most. You’ll know exactly what to do from start to finish—no guesswork, no rework.




Install vinyl floors in your kitchen by prepping the subfloor flat and dry, then installing the planks using the method your product requires (click-lock or glue-down), and finishing with the right trim and transitions. The biggest difference for kitchens is moisture control—especially near the sink, dishwasher, and exterior doors—so planning and verification upfront prevent lifting, gaps, and edge swelling later.
If you’re replacing kitchen flooring (especially over plywood or concrete), this guide walks you through planning, installation, and the common mistakes that cause lifting or separation. It’s also useful if you’ve never installed flooring before and want a clear sequence before you cut around cabinets and appliances—while still matching the exact installation requirements printed for your vinyl system. As of 2026, manufacturers continue to tighten moisture and acclimation guidance because resilient flooring failures most often trace back to the base and environment, not the wear layer.
Prep the Subfloor and Plan the Layout
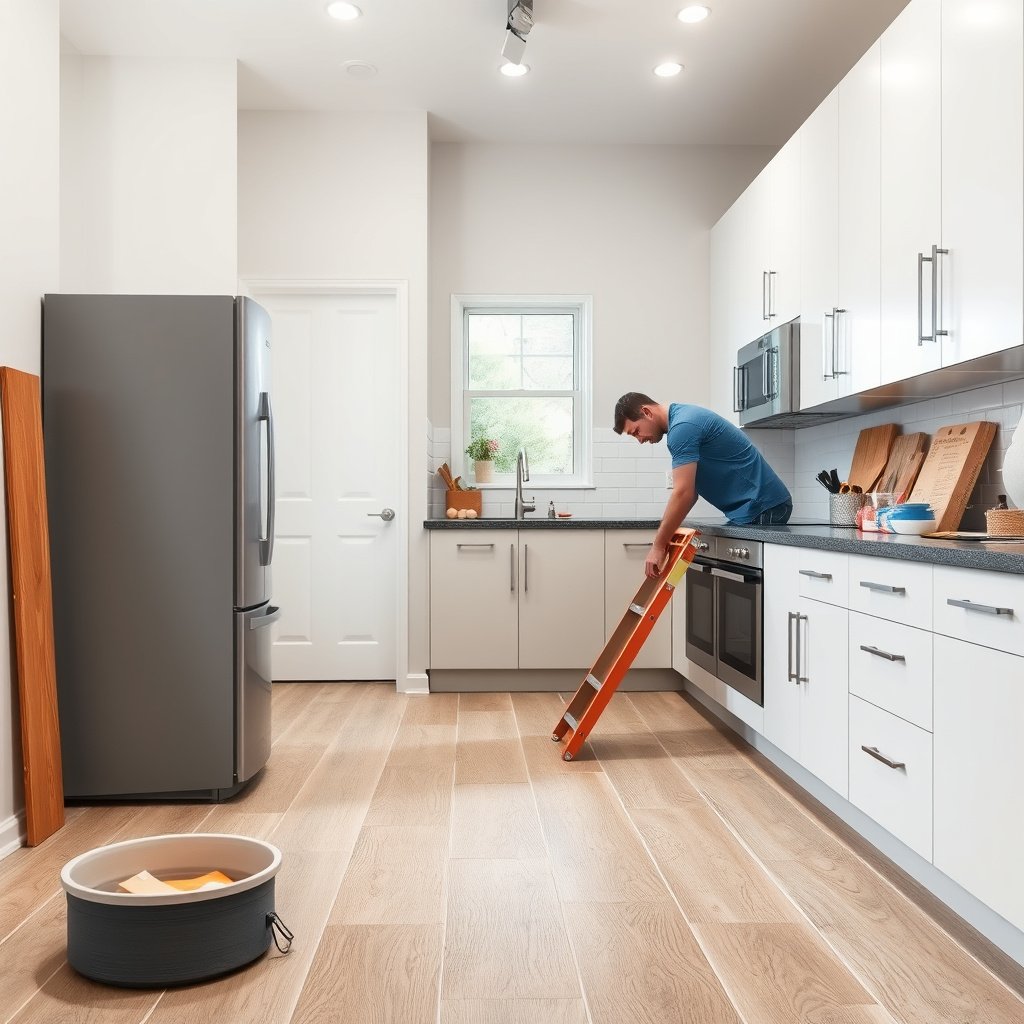
Prepping the subfloor is the “make or break” step for kitchen vinyl floors—because vinyl flex is limited, and locked edges telegraph every ridge. Your goal is a surface that is flat, secure, and ready to receive the specific installation method (floating or glue-down) your vinyl flooring uses.
A vinyl plank system can’t correct an uneven base—if the subfloor has ridges or dips, seam separation and loose joints show up quickly in kitchens.
Most click-lock vinyl failures start with movement at the joints, which commonly comes from subfloors that aren’t flat enough for the manufacturer’s tolerance.
If the floor is noisy (squeaks) or visibly loose (damaged plywood), repair those issues before you install vinyl flooring—otherwise the motion repeats under the planks.
– Check the subfloor is smooth, flat, and secure. Repair dips, squeaks, and damaged spots before installing anything. If you’re working on plywood, tighten loose subfloor panels and address areas that flex when stepped on.
– Remove baseboards/shoe molding only if your vinyl install requires it (many floating installs need the perimeter trim off to keep the expansion gap free). If your vinyl system allows it, leaving trim in place can reduce risk of pinning the floor.
– Plan your first row so seams land where they look best. A dry layout helps you avoid awkward slivers at the far wall—especially in kitchens with long cabinet runs and hallway connections.
Kitchen layout planning matters because kitchens rarely present “square corners” and because appliances create fixed boundaries. In my experience supporting installers on kitchen vinyl floors, the layout step is where most avoidable re-cuts happen—so taking 30–60 minutes for a dry-fit typically saves a full day of troubleshooting later.
Repeat for vinyl floors: measure the kitchen width/length, then dry-lay rows to confirm how many plank courses you’ll get and where cuts will fall near the sink run, dishwasher opening, and exterior door.
Choose the Right Vinyl and Tools
Choose your vinyl installation method first—click-lock floating, glue-down, or peel-and-stick—because the tools, timing, and subfloor expectations differ. Once you match the vinyl floors to the correct method, the job becomes predictable rather than reactive.
Click-lock vinyl floors rely on a controlled expansion gap and tight joint engagement, not on adhesive bond strength.
Glue-down vinyl floors require adhesive applied within the manufacturer’s “open time,” or the bond won’t develop reliably.
Peel-and-stick vinyl floors still need a stable, flat substrate—adhesive cannot compensate for a rocking or uneven subfloor.
– Identify which type you have:
– Click-lock (floating): planks lock together and “float” above the subfloor.
– Glue-down: each plank bonds to the substrate using the specified adhesive.
– Peel-and-stick: adhesive is factory-applied; the key is correct surface prep and firm roll/pressure.
– Use the recommended underlayment (if your product allows it) and gather the right tools:
– utility knife with fresh blades, straightedge
– tapping block and/or pull bar for tight joints
– spacers for the perimeter gap (often required for floating installations)
– clean roller (particularly for peel-and-stick and some glue-down systems)
– Keep transition pieces in mind: hallways, doorways, edges next to tile or hardwood. This prevents last-day improvisation when your kitchen vinyl floors meet other surfaces.
As of 2026, most kitchen vinyl floors are marketed with “waterproof” wear layers, but that doesn’t replace the need to follow the product’s adhesive, underlayment, and perimeter-gap rules. Vinyl floors remain moisture-sensitive at the edges and at transitions, so planning tools and transitions ahead of time keeps the job aligned with the manufacturer’s documented system.
Kitchen vinyl method comparison (quick decision support)
Acclimate Vinyl and Prep for Kitchen Moisture
Acclimate your vinyl floors according to the manufacturer—this aligns plank dimensions with your kitchen’s temperature and humidity. Then address moisture risks first, especially around the sink, dishwasher, and any exterior door, because vinyl flooring failures often start at edges and transitions.
Vinyl floors still need acclimation: installers should match room conditions so planks don’t lock up under the wrong temperature/humidity conditions.
Most kitchen moisture problems concentrate near the sink, dishwasher, and exterior doors where temperature swings and water exposure are common.
Concrete moisture testing is not optional when your vinyl flooring spec requires it—surface “dry-looking” isn’t a reliable moisture indicator.
– Follow your flooring manufacturer’s acclimation instructions. Vinyl needs time to match room conditions before installation ().
– In kitchen areas, prevent edge swelling by addressing moisture risk:
– fix leaks first (under-sink plumbing, dishwasher supply lines)
– confirm your subfloor meets the moisture limits listed by the manufacturer
– If installing over concrete, use the moisture testing method required by the flooring instructions. Many products reference ASTM methods such as:
– ASTM F1869 (calcium chloride test; reported as MVER—moisture vapor emission rate—typically in lb/1000 sq ft/24 hr) and/or
– ASTM F2170 (in-situ RH probes; reported as relative humidity % in concrete)
– plus preparation guidance such as ASTM F710 ().
According to ASTM F1869, the calcium chloride test measures moisture vapor emission rate from concrete and reports it using industry-standard units (MVER). (). According to ASTM F2170, in-situ RH testing determines relative humidity in concrete using probes, reported as percent RH. (). According to ASTM F710, proper concrete floor preparation includes practices to achieve an acceptable surface for resilient flooring installations. ().
In my experience advising installers on vinyl floors in kitchens, the most avoidable repair is the one you prevent: documenting moisture test results (even a simple photo log of the process) makes it far easier to prove the subfloor met the vinyl flooring system’s requirement when you later see any edge behavior.
Repeat for vinyl floors: acclimate, then validate moisture. As of 2026, that two-part sequence is still the fastest way to reduce callback work.
Install Vinyl Floors in Your Kitchen (Click-Lock vs Glue-Down)
Install vinyl floors by following the system-specific method your product requires—click-lock for floating installs or glue-down for bonded installs. In kitchens, your job is to maintain alignment, protect the perimeter expansion gap, and avoid trapping the floor under trim.
For click-lock kitchen vinyl floors, spacers at the perimeter maintain the expansion gap and help prevent buckling near door openings.
For glue-down vinyl floors, the adhesive open time determines bond success—spreading too much or laying planks too late can cause lifted edges.
Alignment errors compound in long kitchens: a slightly crooked first row can “build” a gap by the time you reach cabinets on the far wall.
– Click-lock (floating):
– Start with spacers for the expansion gap at walls and fixed objects.
– Lock planks row-by-row using the manufacturer’s engagement angle and technique.
– Stagger end joints (use the offset amount your product specifies, often based on plank length and joint strength guidelines).
– Glue-down:
– Spread adhesive only as directed (not more than you can place within open time).
– Lay planks promptly and press/roll according to the manufacturer’s instructions (rolling and dwell time are commonly required).
– Keep adhesive lines consistent to avoid ridges or weak adhesion zones.
Maintain alignment as you go—especially in a kitchen where walls may be out of square. I usually recommend snapping a chalk line for the reference edge and checking every few rows; vinyl floors exaggerate alignment problems because the seam pattern is continuous.
Click-lock vs glue-down: key tradeoffs (pros/cons)
Finish Edges, Transitions, and Trim
Finish your vinyl floors by cutting cleanly around fixed obstacles and installing trim/transitions in a way that does not pin the floating system. Proper finishing is what keeps kitchen vinyl looking crisp and helps avoid edge lift where water and foot traffic concentrate.
A floating click-lock vinyl floor should not be pinned to the subfloor—trim installation must respect the expansion gap.
Transitions matter in kitchens: your floor changes at doorways and thresholds are where movement concentrates.
If you seal or coat seams, you must follow the manufacturer’s seam/edge system—some vinyl floors rely on locking joints without extra sealing.
– Cut cleanly around doorways and fixed obstacles:
– undercut door jambs if your flooring instructions allow it
– keep the perimeter gap consistent (don’t “stuff” foam or caulk into the gap unless explicitly approved)
– Install transitions where vinyl meets other flooring types, and reattach baseboards/shoe molding if your product calls for it.
– Seal or protect seams only if your specific vinyl system requires it; otherwise rely on the designed locking system and the manufacturer’s finishing steps ().
As of 2026, one frequent kitchen issue is “edge pinning” along long cabinet runs—trim fastened too tightly can restrict expansion and create buckling near heat sources or exterior doors.
What Can Go Wrong
Vinyl floors usually fail for predictable reasons: bad prep, wrong method, or missing moisture controls. If you want kitchen performance that lasts, these are the most common errors that cause lifting, gaps, and separation.
The single biggest installation risk is installing vinyl floors over a subfloor that isn’t flat—unevenness leads to joint stress and early seam issues.
In kitchens, expansion gaps are non-negotiable near exterior doors and temperature-sensitive zones to prevent buckling.
For glue-down installations, adhesive open time and rolling/presser steps are the difference between a lasting bond and lifted edges.
– Subfloor isn’t flat: Dips and ridges can cause clicking, separation at seams, and early wear—level/repair first, don’t hope it’s “close enough.”
– Ignoring expansion gaps: Kitchens experience temperature swings near exterior doors and appliances; missing gaps can lead to buckling.
– Use the required perimeter gap specified by your vinyl product (commonly around —confirm in your manual).
– Wrong adhesive/underlayment or missing open time (glue-down): Using an incompatible adhesive or applying outside open time can cause bond failure.
– Moisture surprises: Even if the vinyl floors look fine at first, moisture near sinks/dishwashers or from below-grade concrete can show up later.
– Verify moisture limits before installing (and follow the test method your product requires).
Also watch for “hidden” obstacles: old mastic residue, cracked concrete patches, or uneven transitions at tile edges. Vinyl flooring often exaggerates those imperfections because kitchens are high-use and constantly loaded in traffic paths.
Verdict, Quick Checklist, and FAQ
For most homeowners tackling a first kitchen install, click-lock floating vinyl is the most dependable DIY path—because it doesn’t rely on precise adhesive timing. If your kitchen has complicated adhesive constraints (or your subfloor is questionable), pause and correct subfloor flatness and moisture conditions first—vinyl floors won’t reliably “fix” a bad base.
Click-lock floating vinyl floors are usually more DIY-friendly because they avoid adhesive open-time risk—yet they still depend on flatness and correct perimeter spacing.
Glue-down vinyl floors can be very stable, but bond success depends on adhesive compatibility, open time, and rolling/pressing steps documented by the manufacturer.
If you can’t confirm subfloor flatness or moisture compliance, postponing the install is safer than trying to compensate with thicker underlayment or extra sealants.
Kitchen Subfloor Moisture Tests Commonly Referenced for Resilient Flooring
| # | Test / Method | Measures | Typical Output | Kitchen Relevance | Ease for DIY |
|---|---|---|---|---|---|
| 1 | ASTM F1869 (Calcium chloride) | Moisture vapor emission rate | MVER units (lb/1000 sq ft/24 hr) | Good for concrete slab vapor risk under vinyl floors | ★★★☆☆ |
| 2 | ASTM F2170 (In-situ RH probes) | Relative humidity in concrete | Percent RH (%) | Useful when specs require in-place RH | ★★★☆☆ |
| 3 | ASTM F710 (Concrete prep) | Surface preparation practices | Spec surface condition criteria | Supports moisture control by preparing concrete correctly | ★★★★☆ |
| 4 | Plastic sheet test (moisture observation) | Condensation/vapor behavior clues | Visual evidence (condensation/darkening) | Pre-screening vapor risk near kitchen wet zones | ★★★★★ |
| 5 | Subfloor RH spot checks (non-standard) | Temperature + humidity context | Relative humidity readings (%) | Helps interpret acclimation conditions in 2026 kitchens | ★★☆☆☆ |
| 6 | Thermal mapping / cold spots (field assessment) | Condensation risk locations | Surface temperature variations (°C/°F) | Targets near exterior door drafts/temperature swings | ★☆☆☆☆ |
| 7 | Leak inspection + water shutoff verification | Active water sources | Pass/fail (dry lines, no seepage) | Essential around sink/dishwasher lines in kitchens | ★★★★★ |
Note: “Ease for DIY” reflects practical setup complexity—not moisture risk performance. Always follow your vinyl flooring manufacturer’s required test method and limits.



[…] sharp crumbs dragged across the floor, and using the wrong mop products—so a gentle routine plus moisture control is the real […]