To replace a boat floor, start by removing the old flooring and cleaning the area thoroughly. Then, cut and fit the new floor panels to size and secure them in place with marine-grade adhesive and screws.
Finally, finish by sealing the edges and adding any necessary finishing touches. Whether you’re a DIY enthusiast or hiring a professional, replacing a boat floor is a straightforward process that can help ensure the safety and longevity of your vessel.
Taking the time to properly replace your boat floor will provide a sturdy and reliable foundation for all of your boating adventures. So, let’s dive in and explore the steps involved in replacing a boat floor in more detail.
Assessing The Damage
Inspecting the Boat Floor:
When it comes to replacing a boat floor, the first step is to thoroughly inspect the entire floor for any damage. Look for signs of weak spots and rot, such as soft or spongy areas. Pay close attention to areas near the edges and around any fixtures or supports.
Identifying Weak Spots and Rot:
To identify weak spots, use a screwdriver or awl to gently probe the floor. If the tool easily sinks into the wood or if you notice discolored or crumbling sections, it indicates rot. Take note of all the damaged areas for further evaluation.
Evaluating the Extent of Damage:
Once you have identified the weak spots and rot, evaluate the extent of the damage. Determine how much of the boat floor needs to be replaced and whether it includes structural components. Consider consulting a marine professional or boat repair specialist for a more accurate assessment.
Gathering The Materials And Tools
When it comes to replacing the boat floor, gathering the necessary materials and tools is the first step. The key is to measure and calculate the required materials accurately. Begin by selecting the right type of boat flooring that suits your needs. Whether it’s plywood, vinyl, or fiberglass, ensure it is durable and resistant to water damage.
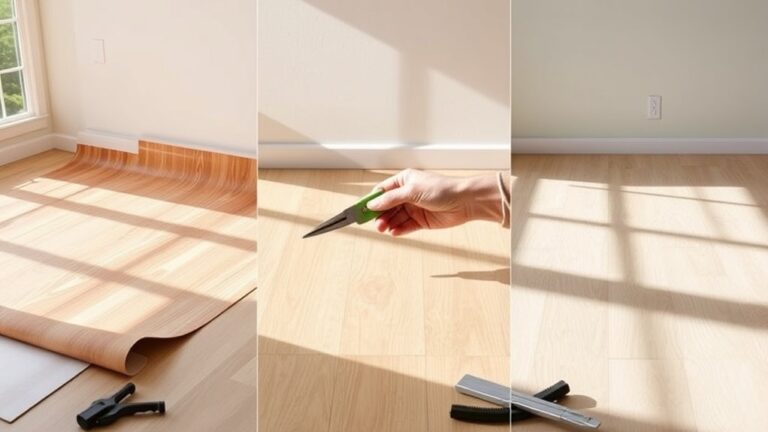
| Measuring and Calculating the Required Materials | Selecting the Right Type of Boat Flooring | Gathering the Necessary Tools and Equipment |
|
|
|
By following these steps and gathering the proper materials and tools, you will be well-prepared to replace your boat floor effectively and efficiently.
Removing The Old Boat Floor
When replacing a boat floor, the first step is to clear the boat of all items and accessories. This includes removing any seats, tables, storage compartments, or other materials that may be on top of the existing flooring. It’s important to disconnect any electronics and wiring that may be attached to the floor to avoid any damage.
Once the boat is cleared, the next step is to carefully remove the existing flooring. This can typically be done by unscrewing or unbolting the floor panels. It’s important to take your time and be cautious when removing the flooring to avoid any damage to the boat’s structure.
| Steps: | |
|---|---|
| 1 | Clear the boat of items and accessories |
| 2 | Disconnect electronics and wiring |
| 3 | Remove the existing flooring |
Preparing The Boat For Installation
To replace a boat floor, it’s important to first prepare the boat for installation. This includes cleaning and prepping the boat surface to ensure proper adhesion of the new flooring. Start by thoroughly cleaning the existing boat floor with a boat cleaner or degreaser to remove any dirt, grime, or residue. Next, treat any existing damage and rot by removing the affected areas and replacing them with new, rot-resistant materials. This will help ensure that the new boat floor is installed on a solid and stable foundation. Additionally, it’s important to level the subfloor to ensure proper fit and function of the new flooring. Use a level and shims as necessary to create a level and even surface. By properly preparing the boat for installation, you can help ensure a successful and long-lasting boat floor replacement project.
Installing The New Boat Floor
Installing the new boat floor requires careful measurement and cutting of the new flooring material. To ensure a precise fit, it is important to measure the area accurately and cut the new flooring material accordingly. Once the measurements are taken, applying adhesive or sealant is the next step. This will help to secure the new flooring in place and ensure that it stays firmly in position. It is important to follow the manufacturer’s instructions for applying the adhesive or sealant and to allow it to dry properly before moving on to the next step. Finally, the new flooring can be secured in place by using screws, nails, or other appropriate fasteners. This will help to ensure that the new floor is secure and will provide a stable and safe surface for your boat.
Making Finishing Touches
When replacing a boat floor, making finishing touches is an important step. One of these finishing touches involves trimming and finishing the edges to ensure a seamless and professional-looking result. Trimming the edges involves removing any excess material that may be sticking out or uneven. This can be done using a utility knife or a handheld saw, being careful to follow the natural contours of the boat’s floor. Once the edges are trimmed, sanding and smoothing the floor surface is necessary to create a smooth and even texture. This can be achieved using a belt sander or sandpaper, gradually working through different grits to achieve the desired smoothness. Finally, applying a protective coating or sealant is crucial to enhance the durability and longevity of the boat floor. This can be done using a brush or roller, following the manufacturer’s instructions for the specific product being used.
Testing And Inspecting The New Boat Floor
When replacing a boat floor, it is crucial to thoroughly test and inspect the new floor to ensure proper alignment and stability. Start by checking for water resistance and durability. Ensure that the new floor is capable of withstanding exposure to water and other elements without deteriorating or causing any damage to the boat. Inspect the floor for any signs of damage or weakness that could compromise its structural integrity.

Maintaining And Extending The Lifespan Of The Boat Floor
Maintaining and extending the lifespan of the boat floor requires regular cleaning and maintenance. Regular cleaning is essential to prevent dirt, grime, and moisture from accumulating on the floor. Sweeping the floor thoroughly and washing it with a mild detergent and water solution will help remove any build-up. Avoid using harsh chemicals that could damage the floor material. Inspecting for any signs of damage, such as cracks or soft spots, is important to address them promptly and prevent further issues.
Avoiding common mistakes and damaging factors is also crucial. Never leave standing water on the floor, as it can seep into the material and cause damage. Using harsh abrasives or scrub brushes can scratch the surface and compromise its integrity. Avoid dragging heavy objects across the floor, as this can cause scratches and even structural damage. Implementing preventive measures can go a long way in extending the floor lifespan. Using floor protectors under furniture and equipment helps distribute weight and prevent damage. Applying a marine-grade sealant or coating can provide an extra layer of protection against water and UV damage.
| Regular Cleaning and Maintenance Tips | Avoiding Common Mistakes and Damaging Factors | Implementing Preventive Measures to Extend Floor Lifespan |
|---|---|---|
| – Sweep the floor regularly | – Avoid leaving standing water | – Use floor protectors under furniture |
| – Wash with mild detergent and water | – Avoid using harsh abrasives or scrub brushes | – Apply marine-grade sealant or coating |
| – Inspect for signs of damage | – Avoid dragging heavy objects |
Frequently Asked Questions On How To Replace A Boat Floor
How Much Does It Cost To Replace A Boat Floor?
The cost to replace a boat floor can vary depending on the size of the boat, the materials used, and the complexity of the job. On average, you can expect to spend between $1,000 and $5,000 for this type of project.
It’s best to get a few quotes from boat repair professionals to get an accurate estimate for your specific situation.
How Long Does It Take To Replace A Boat Floor?
The time it takes to replace a boat floor can vary depending on the size of the boat and the extent of the damage. In general, a professional boat repair technician can complete this type of project in a few days to a week.
However, it’s important to factor in additional time for any necessary drying or curing of materials.
Can I Replace The Boat Floor Myself?
Replacing a boat floor is a complex and technical task that typically requires professional expertise. It involves removing the old floor, preparing the surface, and installing the new flooring material correctly. It’s best to hire a qualified boat repair technician with experience in this type of project to ensure that it is done correctly and to avoid any potential safety issues.
Conclusion
Replacing a boat floor may seem like a daunting task, but with the right knowledge and guidance, it can be done smoothly. By following the step-by-step process we’ve discussed you’ll be well-equipped to tackle this project and restore your boat’s floor to its former glory.
Remember to thoroughly assess the damage, gather the necessary materials, and take your time during the installation. With patience and determination, you’ll be enjoying your newly replaced boat floor in no time. Happy sailing!


