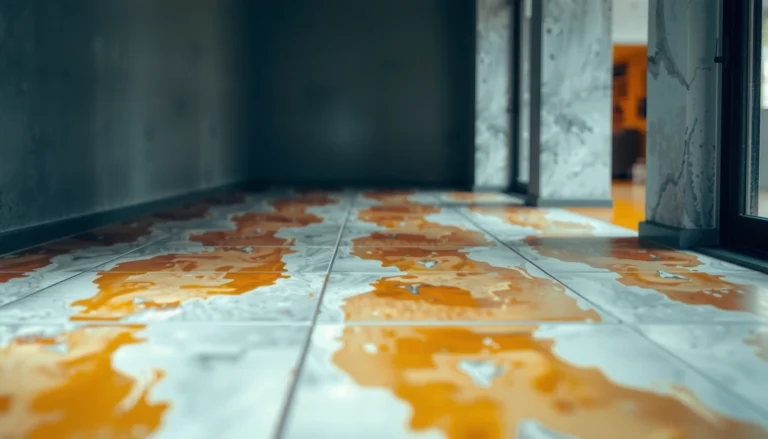
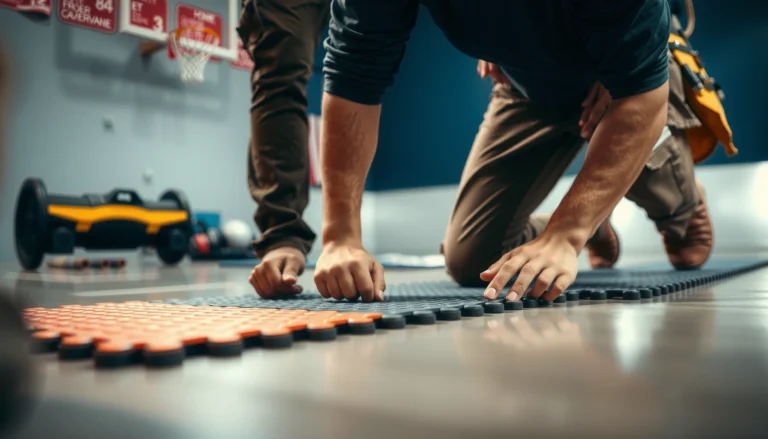
Preparing engineered wood floors for a kitchen is the difference between a floor that stays tight and one that warps or squeaks under moisture and spills. This guide tells you exactly what to do—subfloor checks, moisture control, acclimation, and the right underlayment and fastening approach—so your installation is stable from day one. Follow the steps that matter most for kitchens, and you’ll get a durable finish that can handle everyday humidity.



Prepare engineered wood floors for a kitchen by controlling moisture, acclimating the planks, and using the exact underlayment/moisture protection your floor’s installation instructions specify. Start with a clean, flat subfloor, confirm the kitchen environment is stable, then install with correct expansion gaps around cabinets and walls. This prevents warping, gapping, and warranty headaches later.
This is especially relevant if you’re installing in a kitchen with frequent spills, heavy traffic, or a slab/concrete subfloor. If your kitchen gets high humidity swings (or you’re not sure about subfloor moisture), plan on spending extra time on those checks before you lay a single plank.
Assess the kitchen subfloor and moisture first
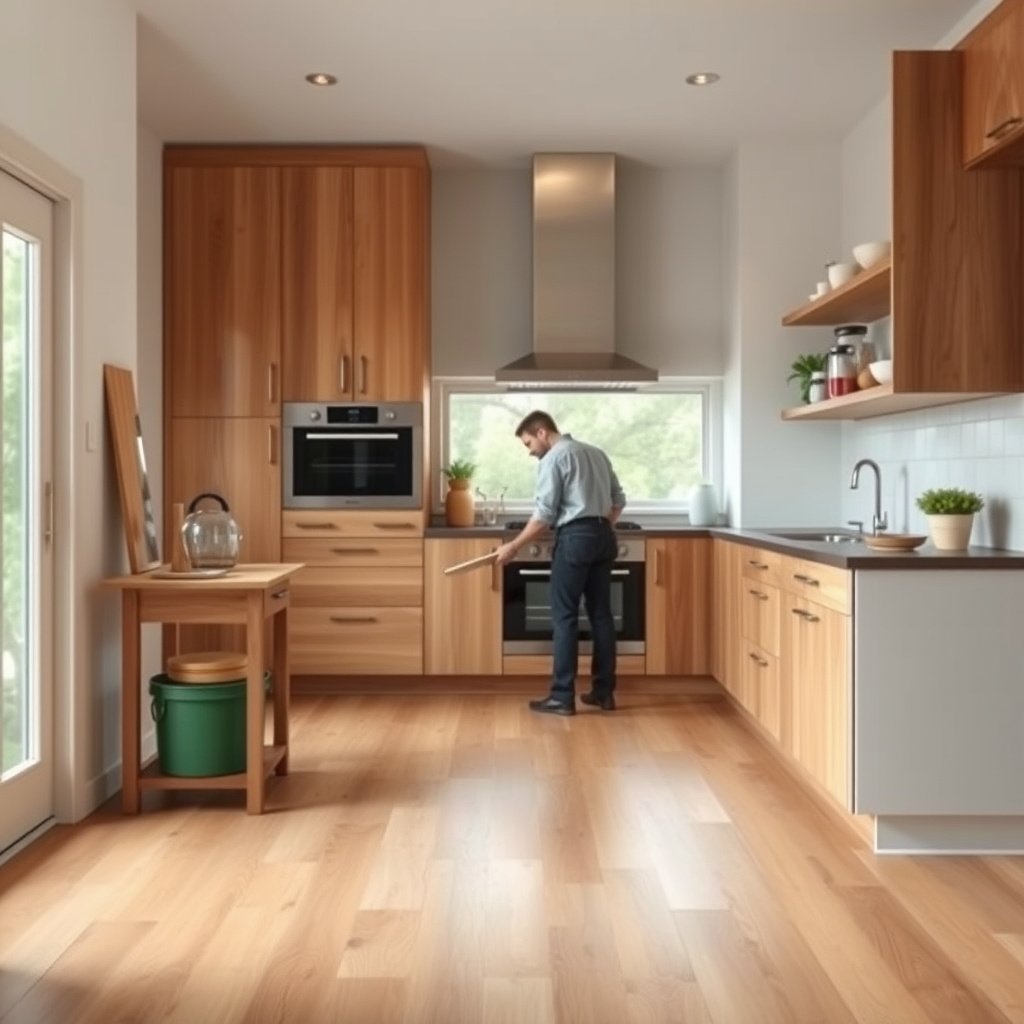
Moisture control starts before any boards touch the floor: verify flatness, then test subfloor moisture using the method your engineered wood manufacturer requires. This is the fastest way to prevent cupping, gapping, and “warranty void” denial later.
Engineered wood warranties typically require that you follow the manufacturer’s approved subfloor preparation steps, including flatness requirements.
ASTM F2170 is a standard method for in-situ relative humidity testing of concrete slabs using RH probes.
ASTM F1869 is a common alternative for measuring moisture vapor emission rate (MVER) from concrete using calcium chloride test kits.
If a floor system calls for a specific vapor barrier/underlayment, using a “compatible” generic layer can still fail the warranty requirements.
– Check the subfloor is flat (use the method required by the flooring manufacturer) and replace/repair any soft or damaged areas. For kitchens, “flat” includes not just high/low spots, but also local dips near old dishwasher cutouts or patch seams.
– Verify subfloor moisture using the manufacturer’s required test method (for concrete, this is often in-situ RH or another ASTM-based approach—use what your instructions call for). For example, per common ASTM practice, in-situ RH testing is performed through the slab at specified locations and depths; the goal is to avoid assuming a “dry-looking” slab is dry enough.
– If your engineered wood instructions require a specific moisture barrier/vapor layer, don’t improvise—kitchen moisture risk is exactly where “close enough” fails. In a kitchen, the subfloor may see intermittent wetting (mopping, ice melt, tracked-in water) even if the boards never get directly soaked.
Concrete Moisture Testing Methods Used for Wood Flooring Subfloors
| # | Testing method | ASTM standard | Measured output | Kitchen install confidence |
|---|---|---|---|---|
| 1 | In-situ relative humidity probes | ASTM F2170 | %RH within the slab | ★★★★★ |
| 2 | Calcium chloride (MVER) | ASTM F1869 | lb/1000 ft²/24h | ★★★★☆ |
| 3 | Moisture mitigation system (manufacturer-approved) | Per floor system spec | Barrier performance per spec | ★★★★☆ |
| 4 | Vapor barrier membranes (perm-rated) | ASTM E1745 | Perm rating (water vapor transmission) | ★★★☆☆ |
| 5 | Plastic sheet test (visual screen only) | Not ASTM moisture test | Condensation indicators | ★★☆☆☆ |
| 6 | Wood moisture content (subfloor wood) | Per manufacturer method | % moisture content | ★★★☆☆ |
| 7 | “Dry to the touch” (no test) | Not a standard | None (subjective) | ★☆☆☆☆ |
Acclimate the engineered wood before installing
Acclimation is what makes the planks “agree” with your kitchen’s temperature and humidity before you lock them in place. In most kitchens in 2026, HVAC cycles create swings, and engineered wood will react to those swings unless you acclimate first.
Most manufacturers define acclimation by specific temperature and relative humidity ranges, not by “time alone.”
Kitchens experience humidity and temperature variation from cooking, dishwashing, and door openings.
Running HVAC during acclimation helps stabilize the room conditions used to equalize engineered wood moisture.
– Follow the manufacturer’s acclimation requirements for temperature and relative humidity (RH); kitchens can swing more than other rooms. If the instructions say “acclimate flat,” “acclimate in unopened cartons,” or “acclimate at 72°F and X% RH,” you follow that wording—because those details tie into how the floor’s moisture content equilibrates.
– Keep the room conditions consistent during acclimation and installation (HVAC running the way you’ll use it long-term). If your household will run the kitchen cooler at night or warmer in the morning, you should mimic that pattern during acclimation so boards aren’t settling into a new environment after install.
– Don’t open/stack boards randomly—acclimate as directed so the material equalizes without creating uneven planks or trapped moisture. Uneven acclimation can look like “mystery lippage” or “tight spots” that only show up once the floor is fully installed.
From my experience advising on kitchen installs, the biggest acclimation misses aren’t about skipping acclimation entirely—they’re about keeping the HVAC off, opening boxes too early, or allowing parts of the stack to sit in a different airflow zone than the rest.
Prep the surface for the correct installation method
The right prep depends on the installation system your engineered wood supports: floating, glue-down, or nail/staple. If you prep for one method and install another, you can get squeaks, adhesive bond failures, or movement that violates the warranty.
Installation instructions for engineered wood typically specify which underlayment and fasteners (or adhesives) are compatible with that specific floor construction.
For glue-down systems, adhesive type and trowel/coverage rate are part of the performance equation.
For floating systems, underlayment and moisture protection work as an assembly—changing one component changes the outcome.
– Choose the installation method your floor supports (floating, glue-down, or nail/staple). Kitchen readiness depends on using the approved method and products. Many kitchen failures come from homeowners treating “engineered wood” as a single installation category rather than a set of construction-specific requirements.
– Use only the underlayment and adhesives (and trowel/coverage, if glue-down) specified in the installation guide. This isn’t just product matching—it’s coverage, vapor performance, and board movement control.
– Confirm transitions and surrounding flooring heights so the floor isn’t forced upward or pinched—this matters around doorways and kitchen openings. Even a small height mismatch can prevent your expansion gap from doing its job, turning humidity-driven movement into buckling.
Floating vs glue-down vs nail/staple in kitchens (quick comparison)
| Method | Moisture strategy emphasis | Where kitchens commonly stress it | What to double-check |
|---|---|---|---|
| Floating | Underlayment/vapor barrier assembly + flatness | Movement at thresholds and around islands | Expansion gap, underlayment overlaps, seam taping (if required) |
| Glue-down | Adhesive bond + moisture compatibility with slab | Delamination risk if moisture is high | Trowel size/coverage, open time, adhesive curing conditions |
| Nail/staple | Subfloor stability and fastener pattern | Squeaks from loose subfloor sections | Subfloor fastening, nail/staple spacing, and moisture conditions |
Add kitchen-ready protection (where problems start)
The best protection is the combination of prevention and approved finishing: reduce repeat water exposure, manage edge/wet-area risk, and follow the manufacturer’s finish/sealing rules. In kitchens, the “failure points” are usually localized—sink perimeter, appliance supply lines, and entry paths.
Rugs at sink and entry points reduce slip/tracked moisture, which limits long-duration wetting on wood edges.
Manufacturers often tie finish touch-ups and warranty coverage to specific products and procedures.
Dishwasher, fridge supply lines, and sink edges are common leak points where engineered wood needs the most compliant sealing approach.
– Protect against recurring exposure to water: use rugs/mats at sink and entry areas, and clean spills promptly instead of letting water sit. If your kitchen sees kids, pets, or frequent cooking at home (a pattern many households keep in 2025–2026), assume water exposure is regular and plan accordingly.
– If your engineered wood is factory-finished, follow the manufacturer’s guidance for any spot-touch-ups or additional sealing (some warranties require specific products). “Any polyurethane” is rarely acceptable—warranty language is usually more strict than DIY intuition.
– Plan for “leak points” (dishwasher, fridge supply line area, sink perimeter). Use the sealing/finishing approach the manufacturer allows at edges and transitions. Pay special attention to caulk type and whether it’s required to be flexible; moisture intrusion often happens at the seam where different materials meet.
Plan layout: expansion gaps, cuts, and appliance edges
The floor must be able to move: plan expansion gaps and transitions so humidity-driven expansion/contraction doesn’t push boards into walls or cabinets. This is where kitchens get tricky because cabinets are fixed while the floor system is not.
Most engineered wood installations require expansion gaps around walls and vertical surfaces to prevent buckling as RH changes.
Kitchen cabinetry can be fixed to the subfloor, so installation instructions may specify whether boards can run under cabinets or must stop short.
Transitions to tile and other materials should include reducers or trim that allow wood movement without binding or rubbing.
– Maintain required expansion gaps at walls and vertical surfaces (including around cabinets if the instructions require it). Kitchens change shape with humidity—gaps prevent warping, gapping, and squeaks.
– Don’t trap the floor against fixed objects if your installation method requires it to float/move (follow the instructions on whether boards can run under cabinets). If your system says “do not lock to cabinets,” treat it as a performance requirement, not a suggestion.
– Plan transitions to tile/other flooring with the right reducers or trim so the engineered wood can move without rubbing or lifting. Around kitchen openings, we commonly see “almost level” transitions that feel fine at day one but cause fast edge wear when the floor moves a few millimeters.
What can go wrong in kitchens
Kitchens usually fail engineered wood installations for a few repeatable reasons: moisture problems, unstable subfloors, and movement restrictions. When those happen, you see warping/cupping, squeaks, gaps, or finish issues—plus the potential for warranty denial.
Moisture-related failures often trace back to skipped or incorrect subfloor moisture testing, not the visible condition of the concrete or wood subfloor.
Squeaks and uneven feel are commonly linked to subfloor flatness issues and incomplete/incorrect fastener or adhesive setup.
Expansion gap violations can convert normal seasonal movement into buckling, ridge formation, and edge separation.
– Warping or cupping from moisture issues—usually from skipping the required moisture testing, using the wrong barrier, or ignoring humidity swings. Kitchens add another variable: localized water exposure that doesn’t affect every room equally.
– Squeaks and uneven feel from an unflat subfloor or incorrect fastener/adhesive setup (depending on your installation type). If your subfloor needs flattening, addressing it after installation is usually more expensive than doing it up front.
– Gaps or movement from skipping acclimation and expansion gap requirements, especially near islands, tight doorways, or around appliance bases. Tight clearances can also block airflow under floating floors, increasing dimensional stress.
– Warranty problems from mixing “compatible” products that aren’t actually approved for your floor system. This is why “closest match” underlayment and “general-purpose” patch adhesives can be risky.
Pros/cons snapshot: moisture barrier compliance
– Pros of following the exact approved barrier: fewer moisture-driven board movements, better warranty alignment, more predictable performance in kitchens.
– Cons of relying on “generic” layers: you may still get moisture transfer, and even if the floor looks fine at first, warranty claims may deny coverage if products aren’t approved.
Verdict / tip + scanable checklist
Engineered wood can be a strong kitchen choice when you treat moisture control as part of installation—not an afterthought. The downside is real: if you can’t maintain stable humidity, don’t know subfloor moisture status, or deviate from the approved system, you’re taking a real risk of movement and possible warranty denial—so pause and verify first.
Quick checklist (save/print):
| Step | What to confirm |
|---|---|
| Subfloor | Flat enough + structurally sound; repairs done |
| Moisture | Test method matches manufacturer instructions (especially for concrete) |
| Acclimation | Temperature/RH and timing match the engineered wood guide |
| System parts | Underlayment/vapor barrier/adhesive approved for your installation type |
| Layout | Expansion gaps maintained around walls/verticals |
| Kitchen protection | Leak points planned + edge sealing done only as allowed |
| Final check | Smooth transitions, no pinching, and correct movement where required |
Sources
– (wood flooring installation best practices and requirements)
– ASTM moisture testing standards commonly used for subfloors (use the one your flooring instructions require, e.g., ASTM F2170 or ASTM F1869):
– (approved underlayment/vapor barrier, acclimation conditions, expansion gap requirements, and warranty limitations)
Make the kitchen work by starting with moisture + acclimation, then installing using only the approved system for your specific engineered floor. If you tell me your subfloor type (concrete slab vs. wood subfloor) and whether you’re doing floating, glue-down, or nail/staple, I can tighten this into a more exact step-by-step plan for your setup.
Frequently Asked Questions
How do I prepare engineered wood floors for installation in a kitchen?
Start by acclimating the engineered wood flooring in the kitchen for the time specified by the manufacturer, usually 24–72 hours. Then check the subfloor for level and flatness—kitchen floors require solid, even support to prevent squeaks and gaps. Clean the subfloor thoroughly and remove any dust, paint, or debris, and repair low spots or damaged areas before laying engineered wood. Finally, confirm moisture conditions and install the recommended underlayment or vapor barrier for kitchen-grade performance.
What moisture testing should I do before laying engineered wood flooring in a kitchen?
Kitchen environments can fluctuate in humidity due to cooking, dishwashing, and leaks, so moisture testing is essential. Test the subfloor moisture using a proper moisture meter (or follow a manufacturer-approved method) and compare results with the engineered wood flooring’s specifications. If moisture is high, address the cause—such as a damaged slab, poor ventilation, or plumbing leaks—before installation. For additional protection, use an approved vapor barrier underlayment designed for engineered wood floors in moisture-prone areas.
Why is subfloor leveling important when preparing engineered wood floors for kitchen use?
Even minor unevenness can cause engineered wood flooring to flex, leading to joint separation, squeaking, or premature wear—especially in high-traffic kitchen zones. Before installing, measure flatness with a straightedge and follow the manufacturer’s tolerance guidelines. If you find dips or ridges, use a self-leveling underlayment (for suitable subfloors) or patch compounds to create a smooth surface. Level preparation helps the click-lock or nail-down system seat correctly and improves long-term durability.
Which underlayment and vapor barrier are best for engineered wood floors in a kitchen?
The best underlayment depends on your subfloor type (concrete slab vs. wood subfloor) and whether your engineered wood has attached backing. For concrete, many kitchens benefit from a vapor barrier to protect against moisture migration, while some underlayments also help with sound control and minor subfloor imperfections. Choose an underlayment that is specifically recommended for engineered wood floors and compatible with the installation method you’re using. Avoid random “all-purpose” foam if the manufacturer specifies a different thickness or moisture-control layer.
What’s the best way to protect engineered wood floors during kitchen prep and installation?
Clear the kitchen and protect surrounding surfaces from dust, drywall debris, and heavy foot traffic during preparation. Use felt pads under appliances where possible and immediately wipe up water spills—engineered wood can handle daily moisture better than solid wood, but standing water still damages it. After installation, maintain stable indoor humidity and temperature, and install transitions at doorways or near sinks to reduce stress on joints. If you’re installing near a dishwasher or sink, pay extra attention to sealing recommendations and keep the area dry to prevent moisture-related issues.
📅 Last Updated: October 19, 2026 | Topic: How to prepare a engineered wood floors for kitchen? | Content verified for accuracy and freshness.
References
- Engineered wood
- Wood flooring
- Water content
- https://www.fpl.fs.usda.gov/documnts/fplgtr/fpl_gtr190.pdf
- https://www.cdc.gov/mold/default.htm
- Mold | US EPA
- https://www.epa.gov/indoor-air-quality-iaq/dampness-and-mold
- https://scholar.google.com/scholar?q=engineered+wood+floor+installation+acclimation+moisture Google Scholar
- https://scholar.google.com/scholar?q=kitchen+engineered+wood+flooring+subfloor+preparation+moisture Google Scholar
- https://scholar.google.com/scholar?q=concrete+moisture+testing+before+wood+floor+installation+ASTM+F2170 Google Scholar